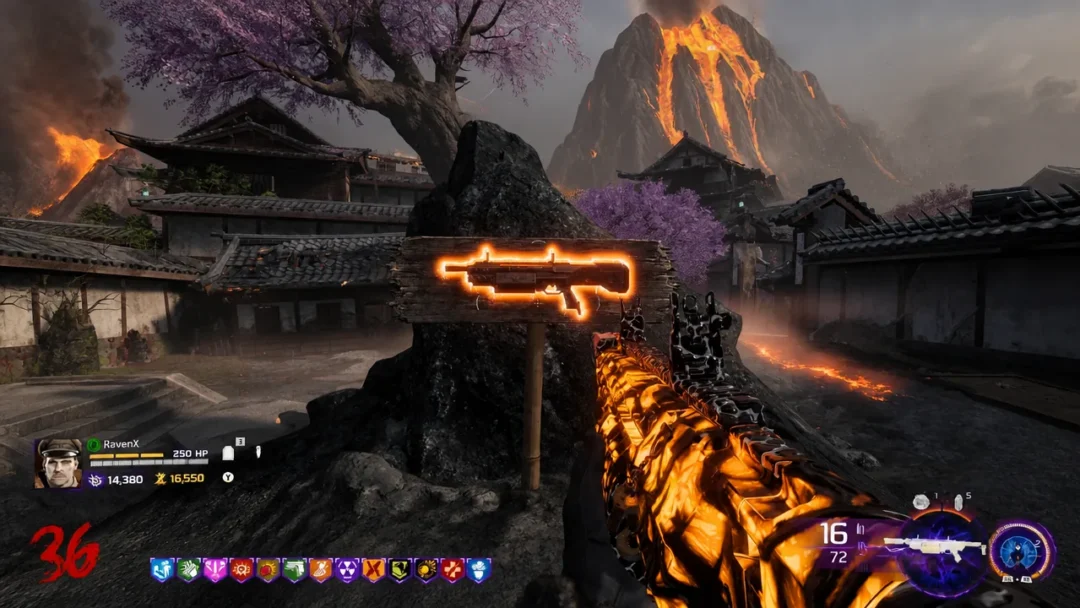
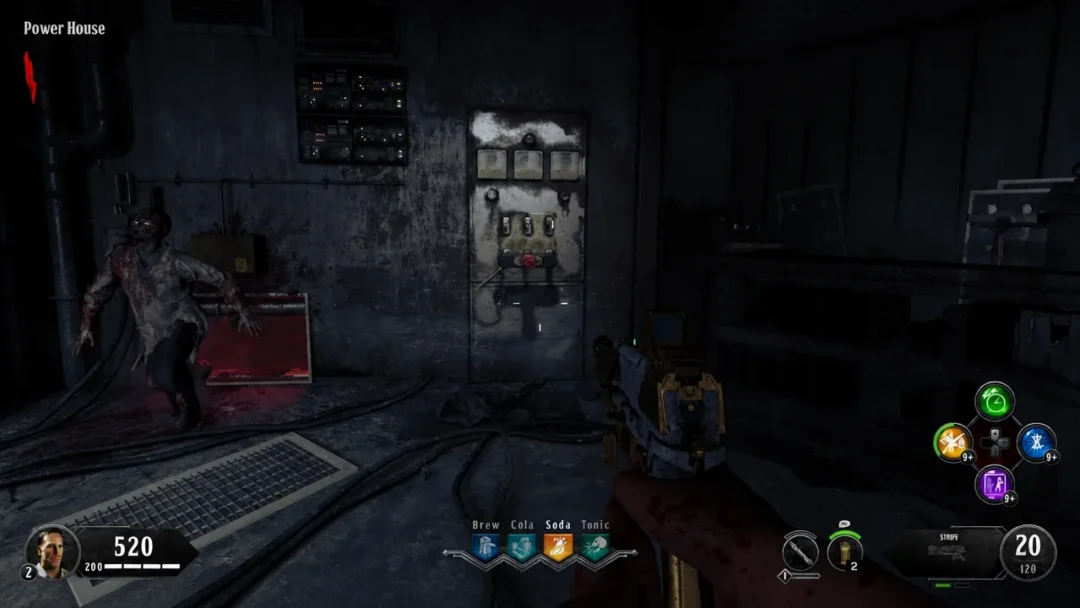
Blood of the Dead sends you across Alcatraz to build weapons, hunt a ghostly bird, clear five challenges, and finally beat the Warden. It is one of the most demanding Zombies quests in Black Ops 4, but the path is fixed and repeatable once you know the order. Run it on normal difficulty with no modifiers active, or the quest will not progress.
Quick answer: Turn on both power switches, build and upgrade the Spectral Shield, get the Hell’s Retriever, Spoon, Blundergat, and Monkey Bombs, open the Warden’s Ritual Chamber, retrieve the Kronorium from the bird, complete all five challenges for orange orbs, place the Summoning Key, then defeat the Warden boss fight to earn “Most Escape Alive.”
Setup items you need before the quest can start
The quest does not begin until you have a fixed toolkit. Everything below must be in hand before you can open the Warden’s Ritual Chamber, so treat this as your prep checklist.
| Item | Why you need it |
|---|---|
| Both power switches | Enables Pack-a-Punch, the Hell’s Retriever, and spawns the Warden |
| Spectral Shield | Spirit Blasts, spectral vision, and draining ghosts |
| Hell’s Retriever | Grabs skulls, the Spoon, and the Kronorium from the bird |
| Spoon | Melees the marked wall in the Warden’s House |
| Blundergat | Strong weapon for challenges and the boss |
| Monkey Bombs | Baits the Warden into opening the sealed wall |
Turn on both power switches
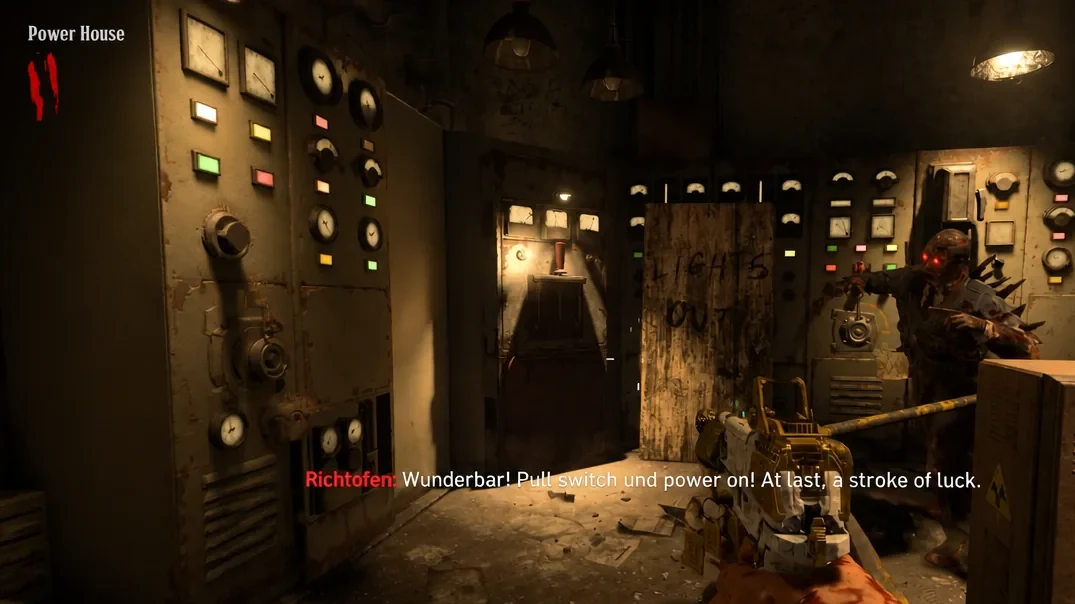
The map runs on two separate power sources, one on the west side of the island and one on the east. You need both active.
Build and upgrade the Spectral Shield
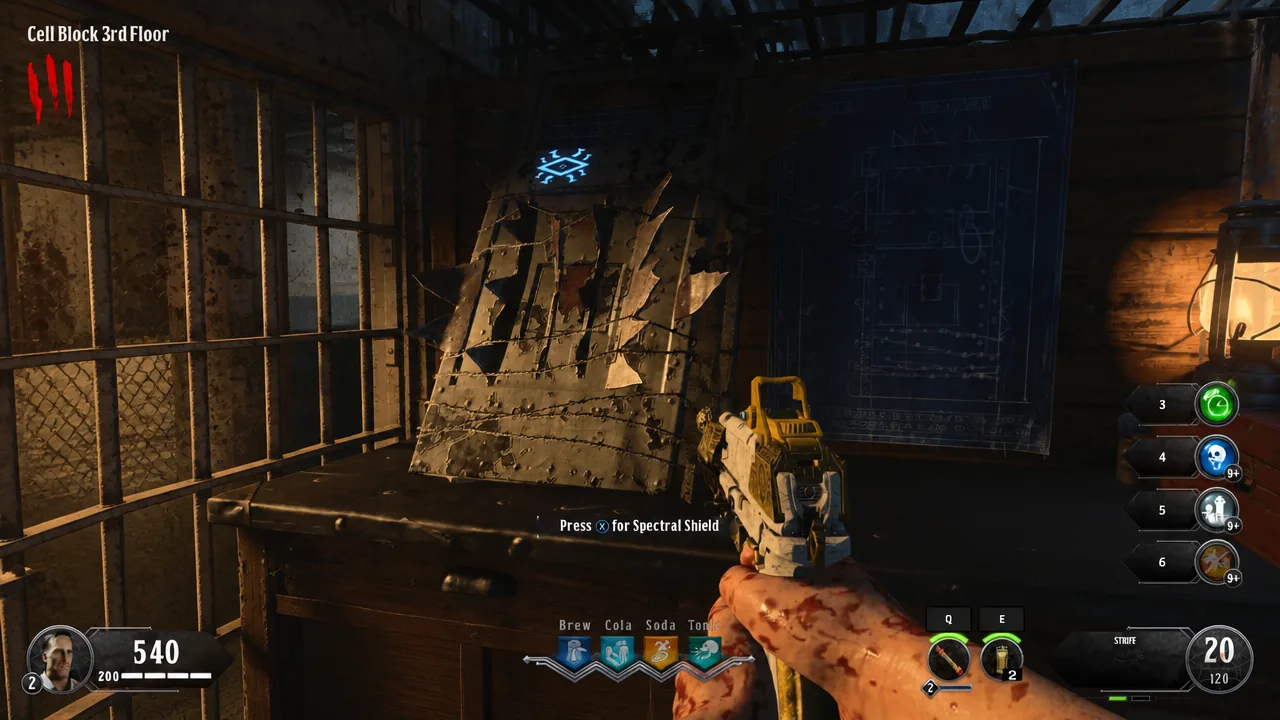
The Spectral Shield is crafted at the workbench on the Cell Block 3rd Floor. It uses three parts, and each part has fixed or random spawn spots.
Warden’s Key
Kill the Warden for the first time to drop the Warden’s Key. He spawns when you flip the first power switch, or if you throw a grenade at him during the Catwalk and Recreation Yard cutscene.
Essence
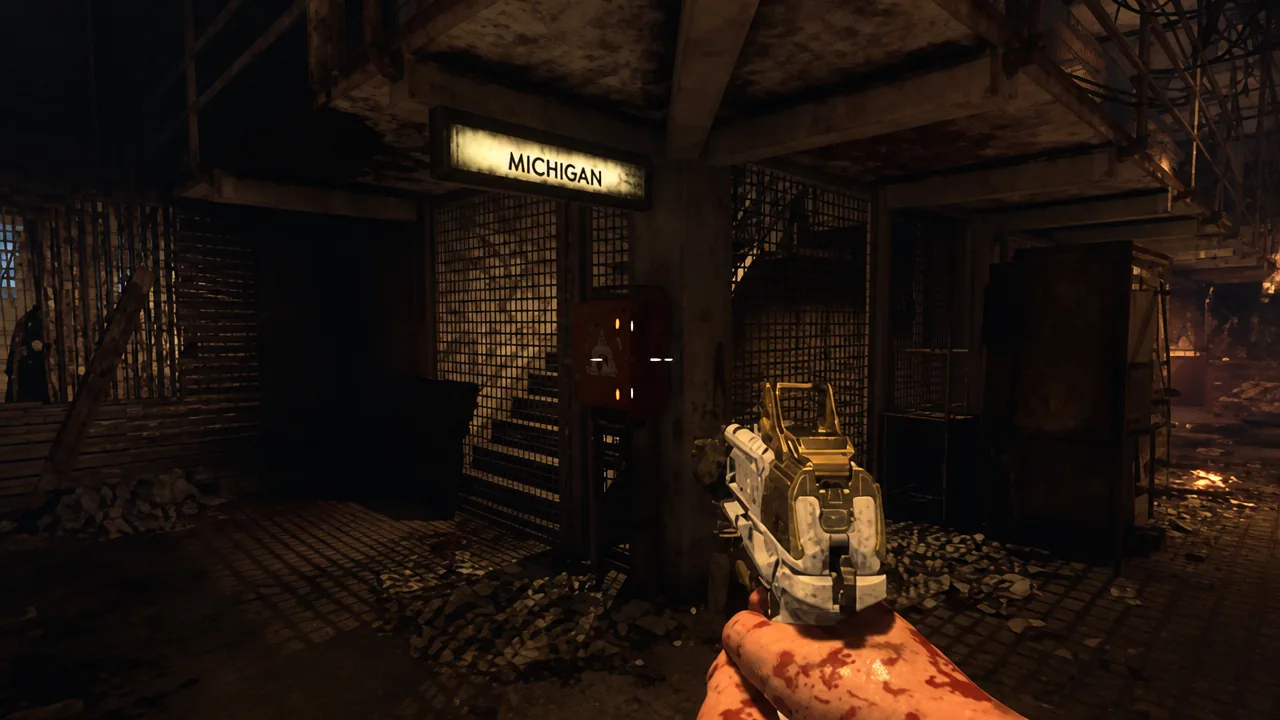
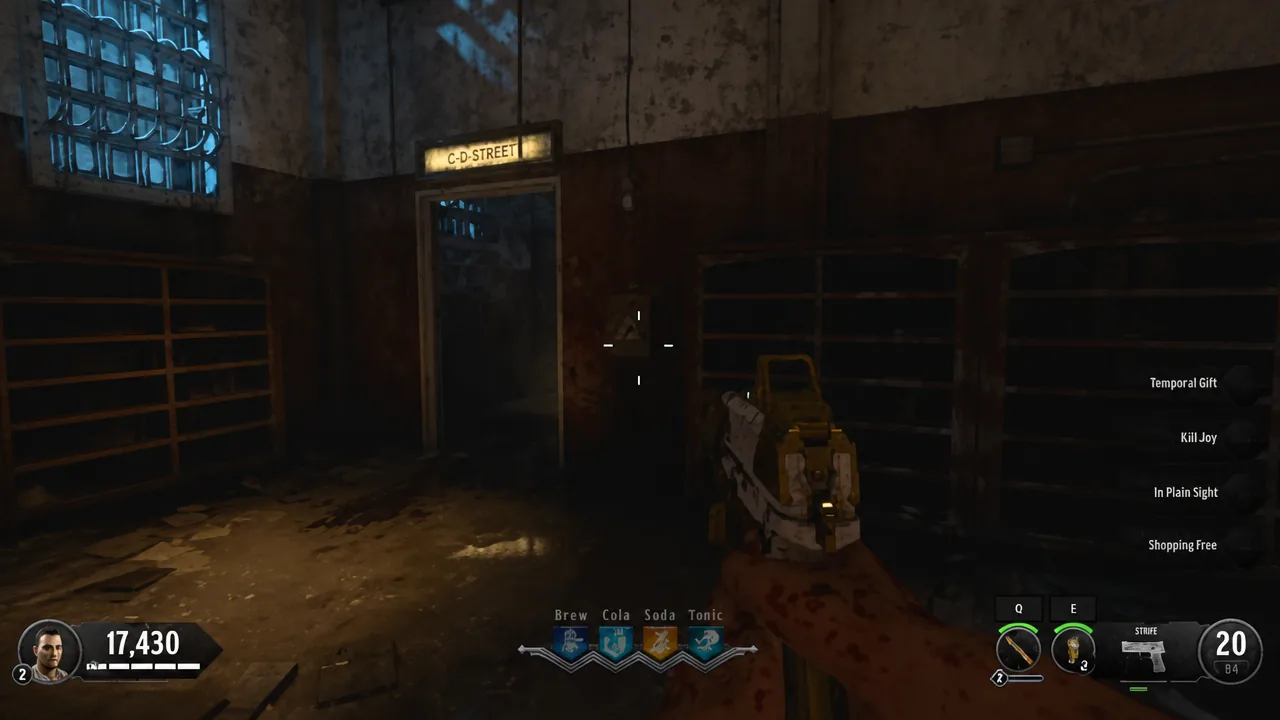
The Essence sits inside an Afterlife box that changes location each match. Check these three spots: the Library, Time Square, and Michigan Avenue.
Door
The Door piece appears in one of three spots: on the stairs of the Citadel Tunnels, by the skulls at the bottom of the Citadel Tunnels, or by the zombie barrier in China Alley opposite Building 64.
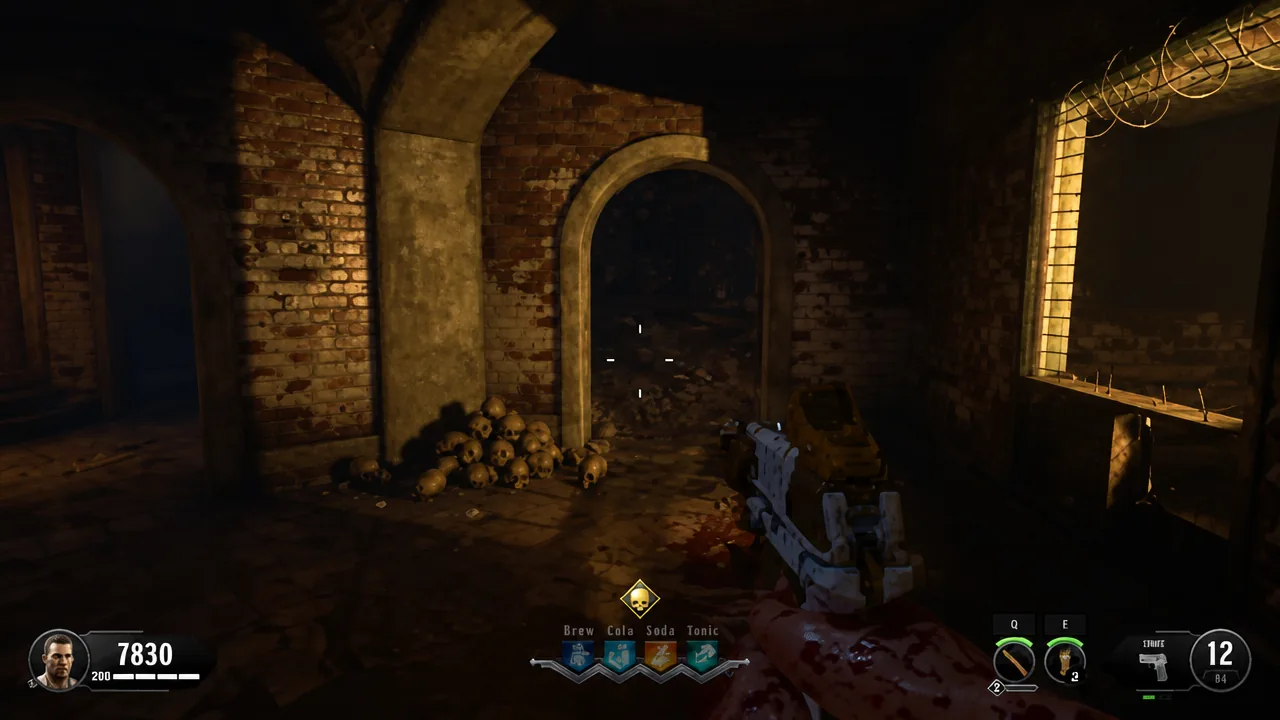
Once the shield is built, upgrade it by using the Warden’s Key on the Mystery Box’s lock until it turns blue, then grabbing it with the Hell’s Retriever. The upgraded shield gives you four Spirit Blasts, which you need for later steps.
Activate Pack-a-Punch
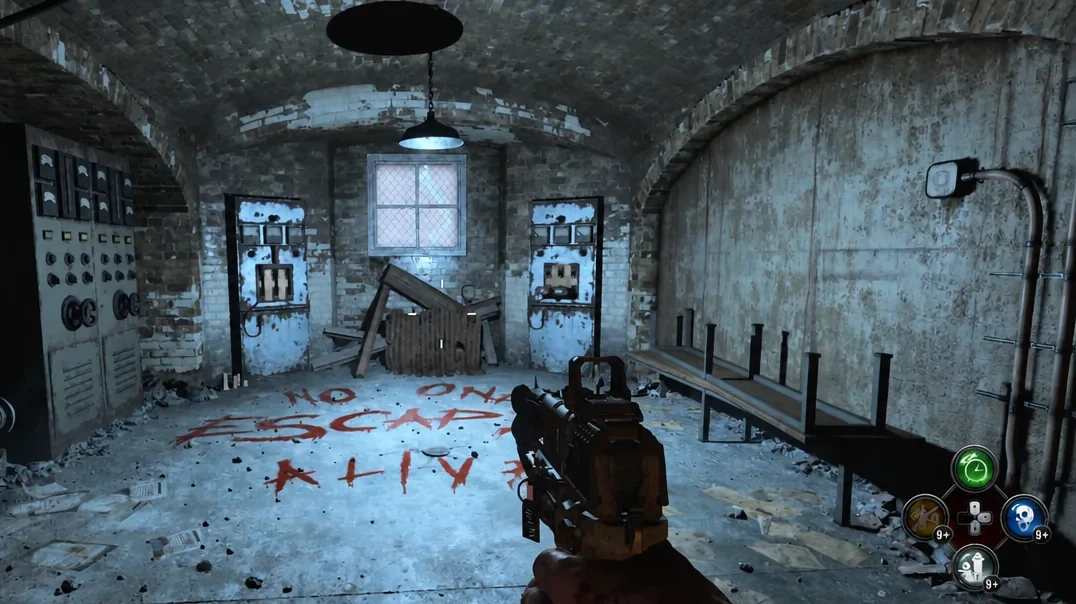
Head through the Cafeteria’s left path onto the Roof. With the shield equipped, suck up zombie souls to build Spirit Blast charges. Fire a Spirit Blast at the electrical box near the “NO ONE ESCAPES ALIVE” sign to turn on Pack-a-Punch.
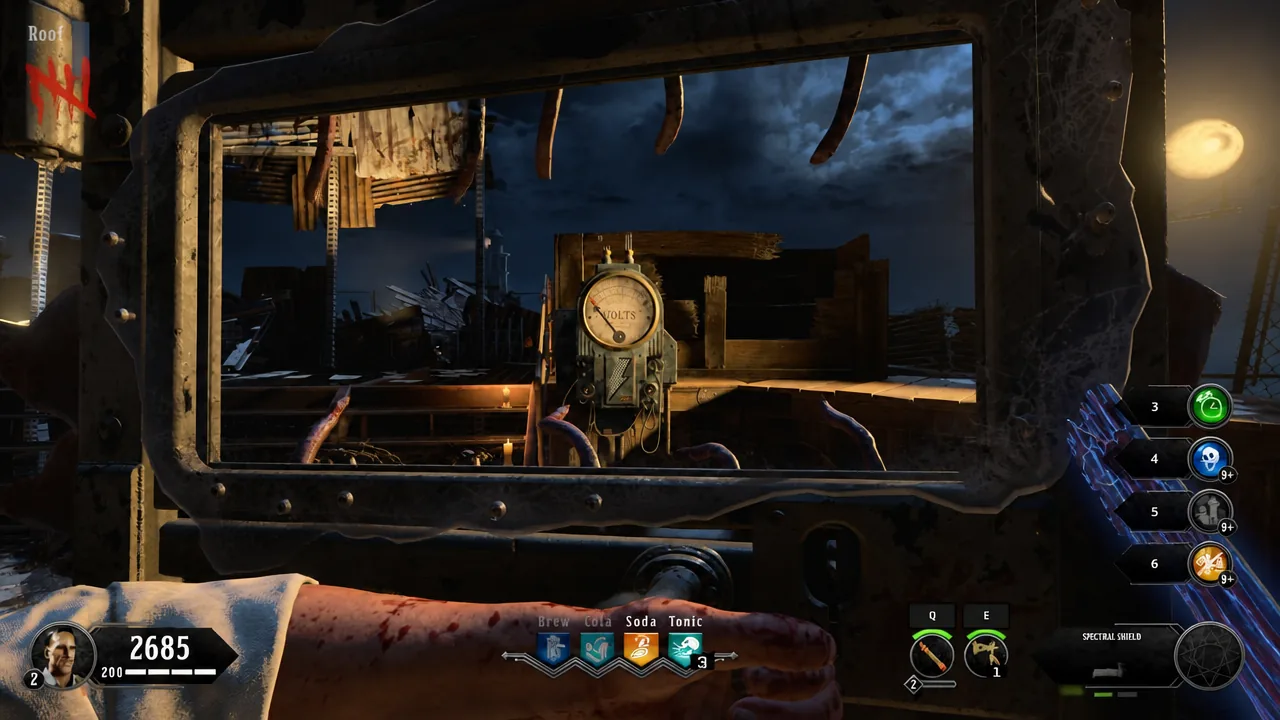
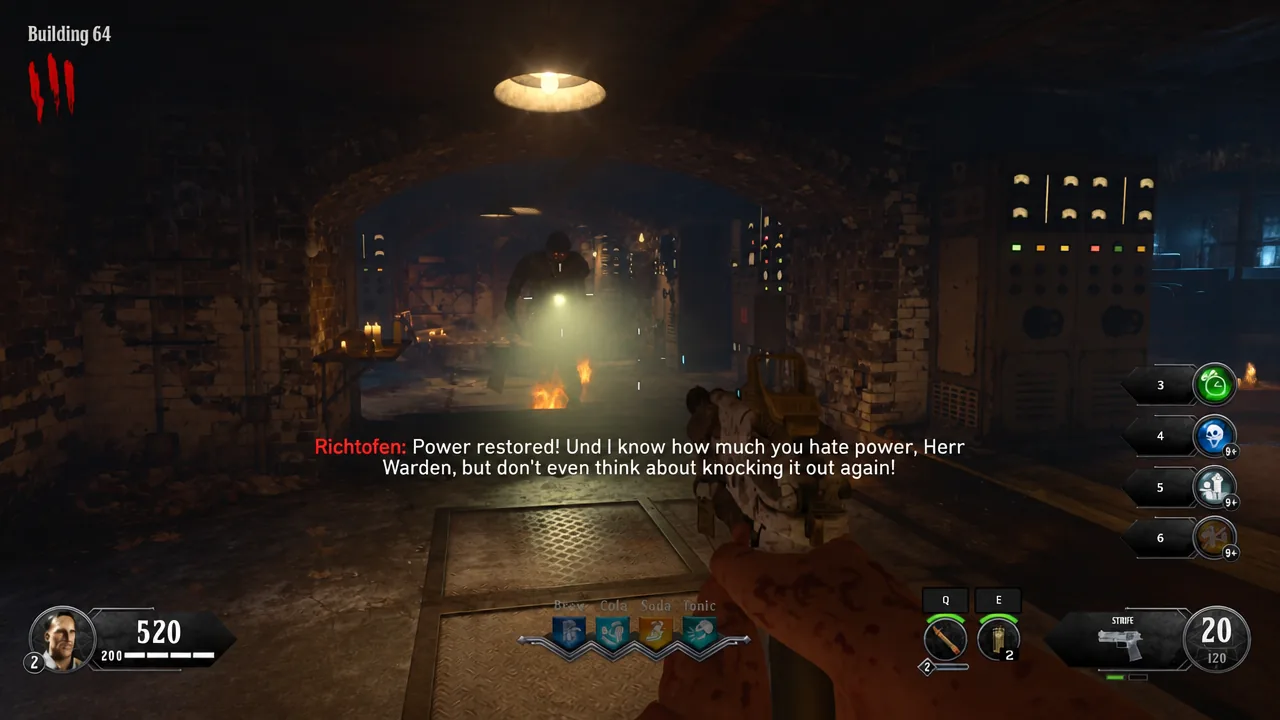
Note: Pack-a-Punch teleports between the Roof, Power House, and Building 64. There is no indicator, so check each spot. If it leaves the Roof, it moves to the Power House or Building 64 before it can return.
Get the Hell’s Retriever
Three Cerberus (Hellhound) heads sit around the map, each needing six zombies fed to it before it vanishes. Wait for a head to finish chewing before feeding the next kill.
- New Industries, left of the GKS wallbuy
- Cell Block 2nd Floor, near the Mozu wallbuy
- Eagle Plaza, outside the Warden’s Office
With all three fed, use the fast travel at the Warden’s House or Showers. During the fast travel section, the Hell’s Retriever floats above a rock. Spam interact to grab it as you fly past.
Obtain the Spoon
Acquire the Blundergat
You can pull the Blundergat from the Mystery Box, or earn a free one by collecting five ghost skulls with the Hell’s Retriever. The skulls are only visible through the shield.
- West Grounds, outside Richtofen’s Lab, facing the white door above the truck
- C-D Street, in the corner cell opposite the Library
- Roof, on a box behind the right side of Pack-a-Punch
- Docks, on the third wooden pillar
- Eagle Plaza, on the telephone pole above the Warden’s Office
After collecting all five, the free Blundergat appears on the table in the Warden’s Office. It can be converted into the Acidgat or Magmagat, and the Magmagat is a good pick to bring into the challenges and boss fight.
Acquire the Monkey Bombs
Go to the dead-end tunnel in C-D Street and stand inside it. Get 20 to 30 kills with a Level 2 Specialist Weapon to feed souls into a stone Monkey Bomb. Once it glows red, shoot it to teleport it, then grab the finished Monkey Bombs from the table in Richtofen’s Lab.
Open the Warden’s Ritual Chamber
Hunt the spectral bird for the Kronorium
Tip: Before ending a round, stand on the Upper Gondola Platform. When the round ends, a thin blue line shoots toward the bird’s next location.
If you miss this throw, you have to wait for the next round to try again.
Read the Kronorium code and open each challenge portal
Bring the Kronorium back to the chamber and place it on the corpse. The pages flip, then reveal a three-digit code when you view them with spectral vision. Enter that code on the Citadel Tunnels number pad, and the lighthouse shines a red beam at a random location.
Go where the beam lands, use spectral vision to reveal a portal, and Spirit Blast it to start one of five challenges. After finishing a challenge, return to the Kronorium for a new code and repeat until all five orange orbs are placed on the map. The challenges come in random order, so use the portal location to identify which one you have.
Note: If you cannot see the beam anywhere, check Michigan Avenue. The beam does not appear there, but the portal still does.
| Portal location | Challenge |
|---|---|
| Docks | Morse code, then escort the ghost |
| Power House | Simon Says |
| Michigan Avenue | Escort the ghost |
| New Industries | Drain the ghost |
| Showers | Banjo defense |
Docks: Morse code and escort challenge
In Sally Port, the small room by the Warden’s Office, there is a Morse code machine. Your goal is to input the correct code without triggering the Warden’s laugh, which signals a wrong input. Hold interact briefly for a dot (about 1 second) and longer for a line (about 3 seconds).
To brute-force it, work through these ten sequences and cross out each one you try until nothing laughs back.
- Dot, Line, Line, Line, Line
- Dot, Dot, Line, Line, Line
- Dot, Dot, Dot, Line, Line
- Dot, Dot, Dot, Dot, Line
- Dot, Dot, Dot, Dot, Dot
- Line, Dot, Dot, Dot, Dot
- Line, Line, Dot, Dot, Dot
- Line, Line, Line, Dot, Dot
- Line, Line, Line, Line, Dot
- Line, Line, Line, Line, Line
If no laugh plays after five inputs, that is your first correct number. Find the second the same way, but a laugh means you must re-enter the first number. When the code is right, your character says a line and no laugh triggers. Then head to the Infirmary, kill a zombie to spawn a ghost, Spirit Blast and interact with it, and escort it to the Docks portal. It drops an orange orb to place on the map.
Power House: Simon Says challenge
Michigan Avenue: Protect and escort the ghost
Kill a zombie in the Cafeteria, then use the shield to reveal and Spirit Blast the ghost. Follow it to Michigan Avenue while zombies try to kill it. Your own weapons can hurt the ghost too, so use the Magmagat on the ground to pull zombies away instead of firing near it. When the ghost enters the portal, the next orange orb spawns.
New Industries: Drain the ghost challenge
Head to the Library and kill a zombie, then reveal and Spirit Blast the ghost. Use the Warden’s Key to zap the ghost for as long as you can. When it vanishes, blast it again and keep zapping. After about four blast-and-zap cycles it turns red and becomes visible without the shield.
The ghost then tries to return to New Industries. When it enters the building, activate the trap in the middle to kill it, dropping your next orange orb.
Showers: Defend the banjo player
A banjo player waits by the Showers portal. Interact with him to take the banjo, then find a blue ring of fire and stand inside it or you take damage. Kill zombies inside the ring until it disappears, then move to the next ring. Do this three times total, then hand the banjo back to the ghost for your orange orb.
Tip: If this is your fifth and final challenge, prep for the boss fight now. Carry a fresh Spectral Shield, since it is required, and bring something with punch like the Hellion Salvo or the Magmagat.
Place the Summoning Key and start the boss fight
With all six orange orbs on the map in Richtofen’s Lab, return to the Warden’s Ritual Chamber and interact with the Warden’s corpse to place the Summoning Key. A cutscene locks you in a cell, then the spectral bird frees you.
Follow the bird to a bag holding your gear, then keep following it to the West Grounds. When the Warden is carried away, grab the orb it drops and place it on the map. This opens a new area. Once every player interacts with the shutter doors, the boss fight begins.
Defeat the Warden boss fight
The fight throws zombies, hellhounds, and Wardens at you. After a few Warden kills, a red ring appears and you must stand in it. Three red orbs float above you, so shoot and destroy all three. Note that the Magmagat cannot damage the orbs, so use a bullet weapon.
Then Spirit Blast the white orb on top of the device. Repeat this whole cycle a second time. After that, Richtofen (an NPC if you are not playing him) needs to enter the device.
Great War Richtofen then exits a cryo pod and returns to the arena, automatically raising a crystal into the air. Kill the large Warden to end the fight and trigger the final cutscene. Completing it earns the “Most Escape Alive” trophy or achievement, and the game credits roll to confirm the quest is finished.