Every squad in My Hero Academia United Survival runs three heroes, and the trio you bring decides whether a stage feels smooth or impossible. Some stages pile on swarms of small enemies, others end in a single tough boss, and a few mix both. Matching the right characters to the right stage type is what carries you past walls you keep dying on.
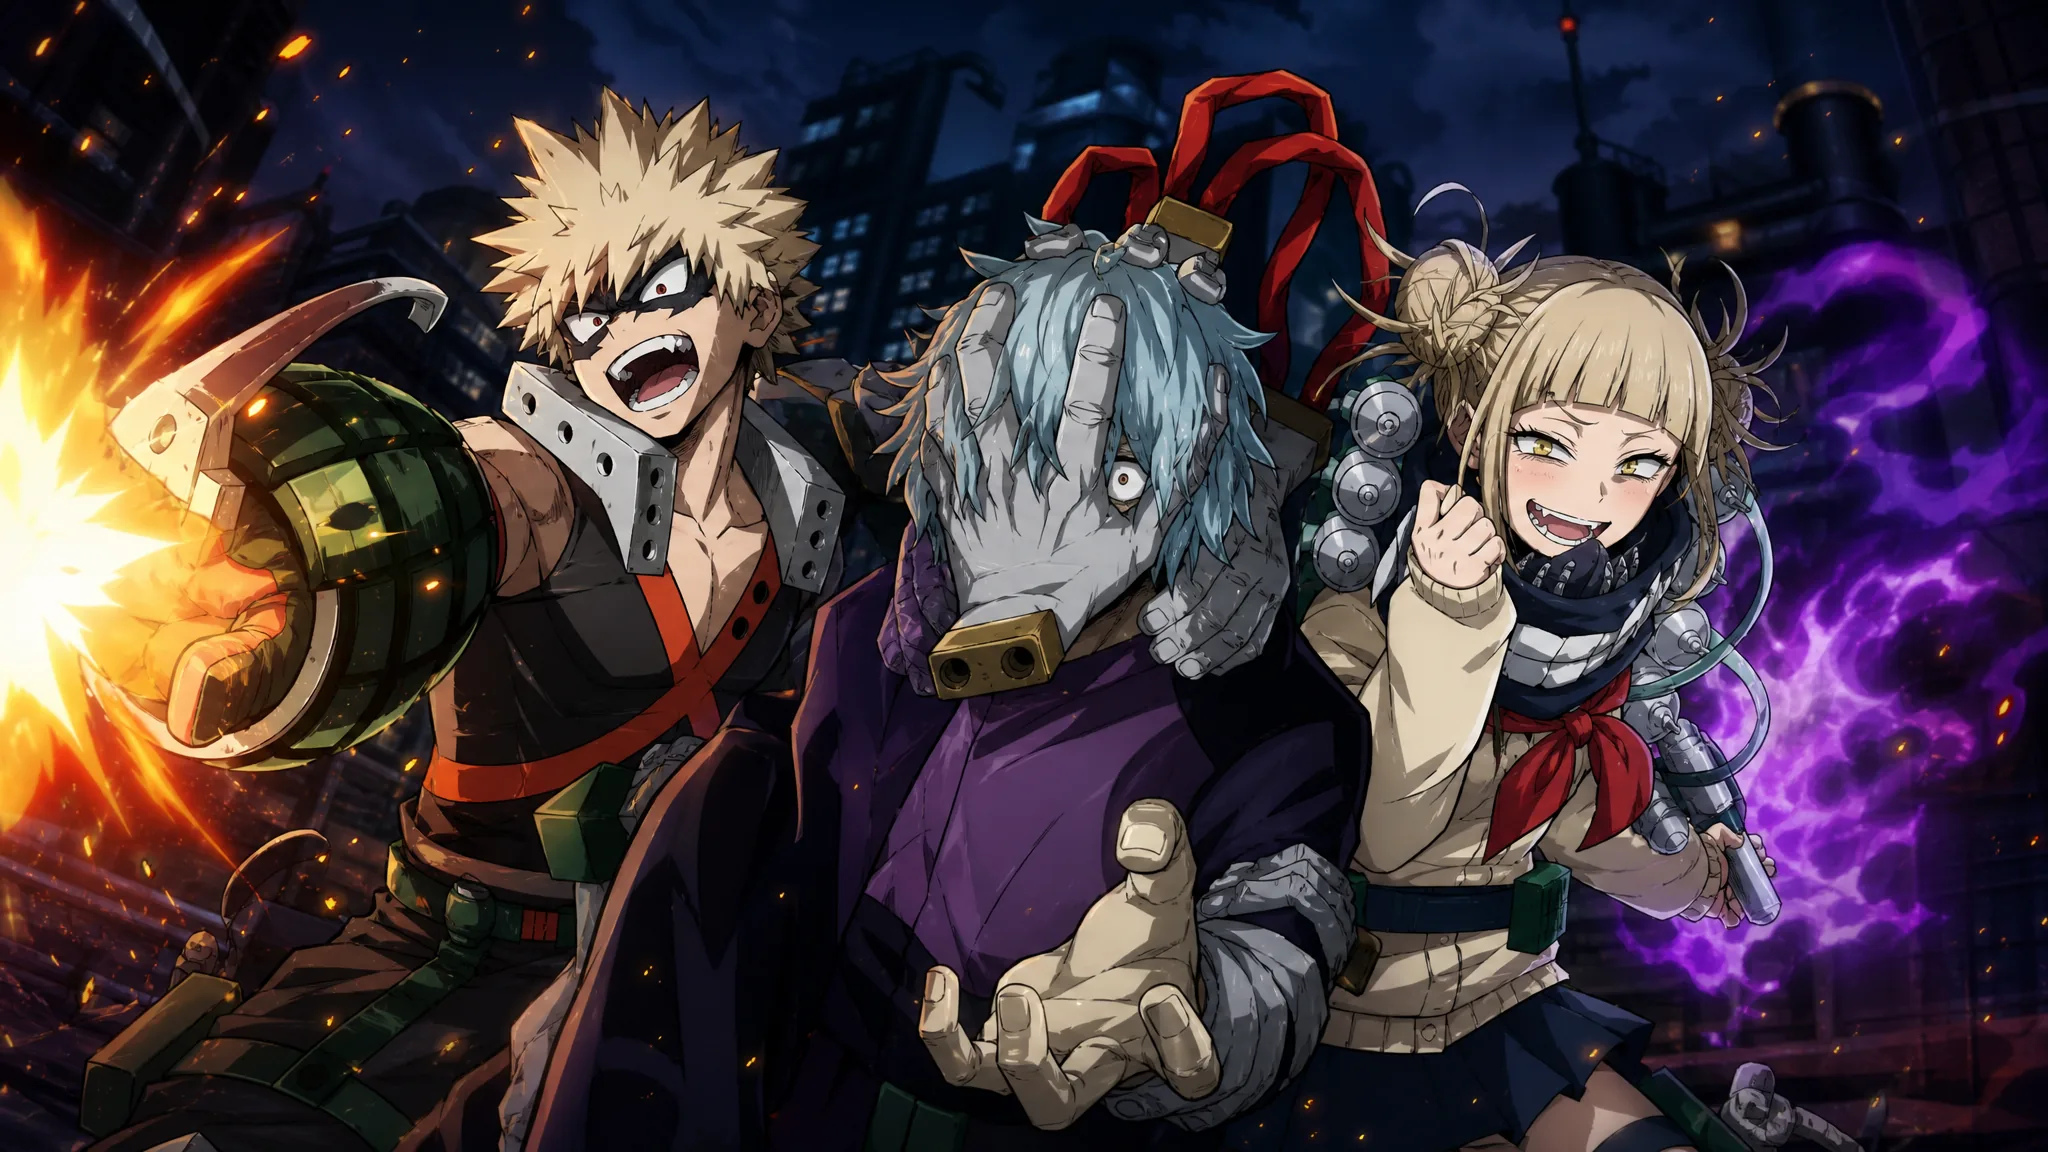
Quick answer: Put Hawks in the main slot for almost any stage, keep Deku (Izuku Midoriya) in a sub slot for steady damage, and change only the third slot to fit the stage: Bakugo for mixed content, Toga for boss-only fights, Uraraka or Present Mic for mob waves, and Shigaraki for area control.
Why Hawks and Deku anchor most teams
Two characters sit far ahead of the rest of the roster, which is why they show up in nearly every strong build. Hawks is the top main character right now. His high movement speed makes dodging boss attacks simple, and unlike a pure speedster he still deals solid damage and clears groups of enemies. That combination lets him work as your main on almost any stage.
Deku fills the sub slot with reliable, consistent damage. His hits are not huge bursts, but they stack up fast across a run, and you get him for free from the tutorial. That means you never need to spend pulls to lock in half of a good team.
With those two fixed, the third slot is where you adapt. The tables below cover the five setups worth building.
All-rounder team for unknown stages
When you do not know what a stage will throw at you, this is the safe default. It handles bosses, swarms, and everything in between without a glaring weakness.
| Slot | Character | Role |
|---|---|---|
| Main | 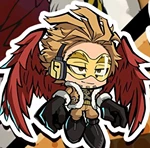 Hawks | Evasion and mobility |
| Sub 1 |  Izuku Midoriya | Consistent damage |
| Sub 2 | 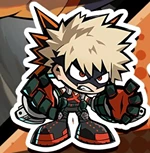 Katsuki Bakugo | Burst damage with ultimate |
Bakugo is the reason this team works everywhere. As a melee character he deals 360-degree damage with knockback, so he hits everything around him and pushes enemies back at the same time. That makes him strong against packs of small enemies and large bosses alike. Since sub characters do not need to dodge as carefully, he can dive into the fight and keep swinging without getting punished.
This setup lacks the raw boss burst that Toga brings, but it also never feels dead weight on a mob stage. If your roster is strong enough to survive comfortably, Bakugo is usually the better third pick because he stays useful on every stage type.
Boss killer team for single-wave fights
For stages that are one big boss with no swarm before it, swap in Toga for a heavy burst finish.
| Slot | Character | Role |
|---|---|---|
| Main | Hawks | Evasion and mobility |
| Sub 1 | Izuku Midoriya | Consistent damage |
| Sub 2 | 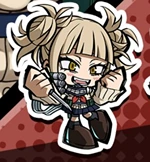 Himiko Toga | Burst damage with ultimate |
Hawks weaves around the boss’s attacks while Deku chips away steady damage from the sub slot. Once Toga’s Ultimate is charged, fire it to drop a large chunk of the boss’s health at once. Her Ult hits hard even with few upgrades, so a weaker team can still push through tougher bosses without pouring in resources.
The catch is that Toga struggles to clear mobs. If a stage sends smaller enemies before the boss, this team can bog down. Keep it for boss-only content.
Mob melter team for pure wave stages
Some stages never end in a boss and are just wave after wave of small enemies. This trio clears those faster than anything else.
| Slot | Character | Role |
|---|---|---|
| Main | Hawks | Fast mob clearing and movement |
| Sub 1 | 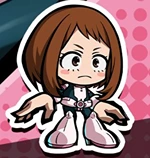 Ochaco Uraraka | Mob clearing specialist |
| Sub 2 | 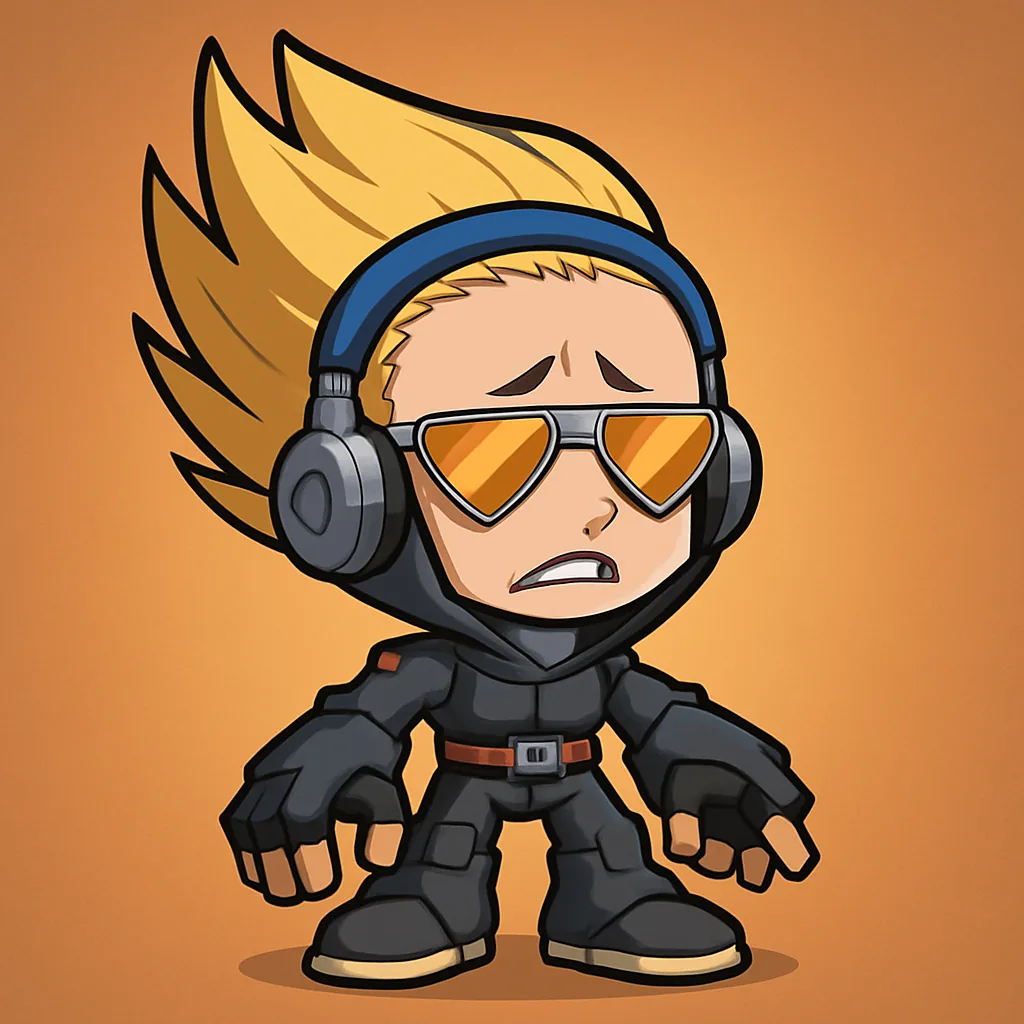 Present Mic | Mob clearing specialist |
Uraraka and Present Mic both shred groups of enemies quickly, and Hawks adds his own mob-clearing on top. Together they wipe waves back to back with almost no downtime. The trade-off is a lack of dedicated boss damage, so if a strong boss appears at the end, the team can run short on burst.
Tip: If a stage is mostly waves but caps off with a boss, drop one of the two specialists for Deku to cover that final fight.
Area denial team built around Shigaraki
This build turns your position into a kill zone. It needs some investment first, but once set up it covers both waves and bosses.
| Slot | Character | Role |
|---|---|---|
| Main | Hawks | Mobility and damage |
| Sub 1 | Izuku Midoriya | Consistent damage |
| Sub 2 | 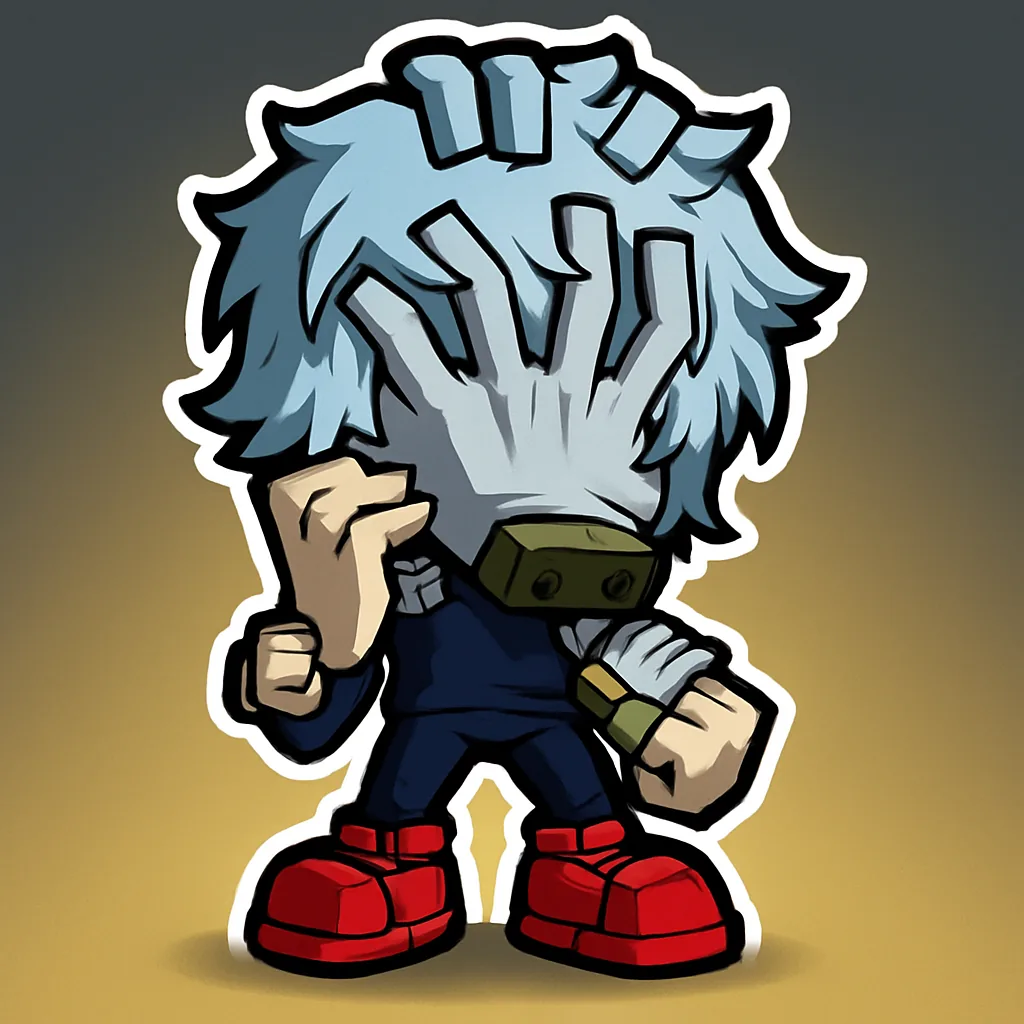 Tomura Shigaraki | Firecracker placement and defense debuff |
The plan is to raise Shigaraki’s attack range and scatter his firecrackers around where you stand. Enemies take damage as they cross into that area before they ever reach you, which makes clearing waves easy. At higher levels his firecrackers also cut enemy defense, so Hawks and Deku hit harder against everything, bosses included.
The downside is the ramp-up. Shigaraki needs upgrades before this team hits its ceiling. Once his range and firecracker placement are dialed in, it clears mobs comfortably while still holding up in boss fights.
Free-to-play team without Hawks
If you have not pulled Hawks, you can still build a strong boss team from free or low-investment characters.
| Slot | Character | Role |
|---|---|---|
| Main | 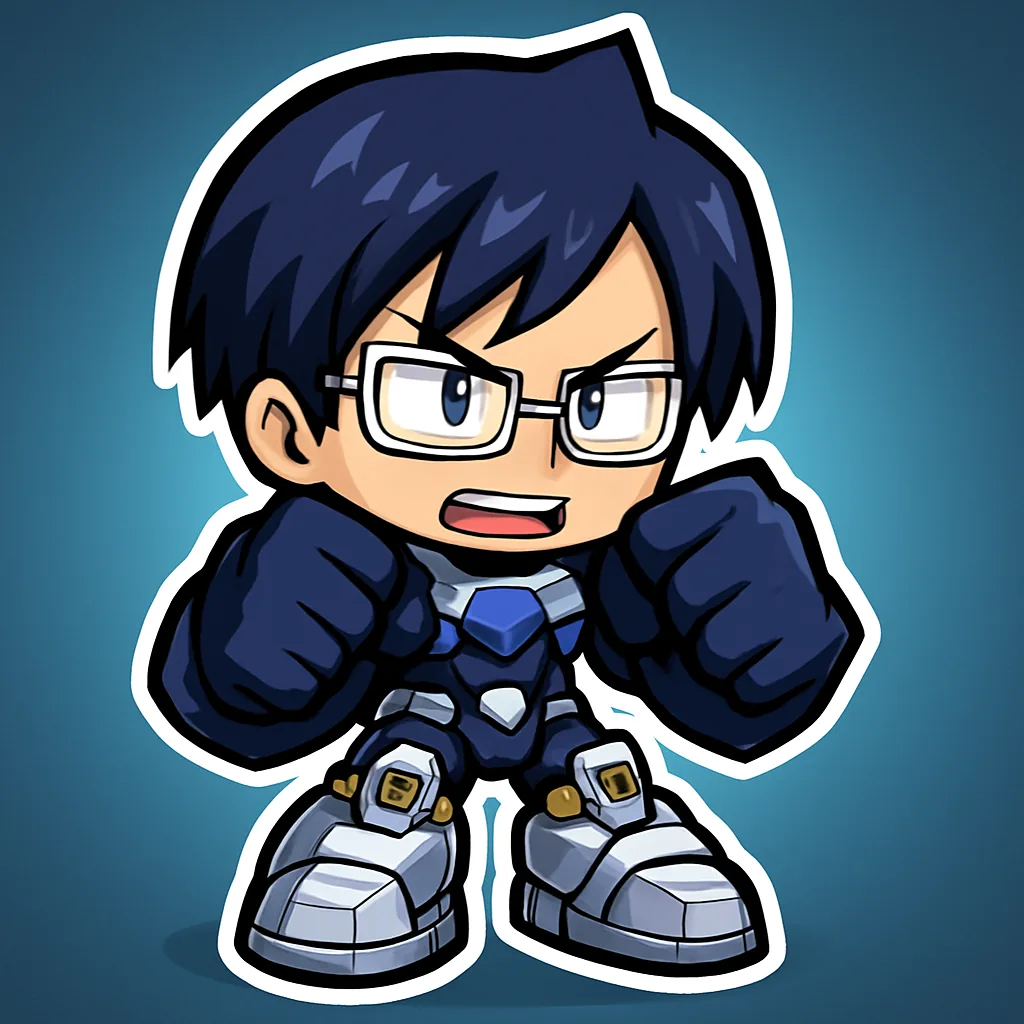 Tenya Iida | Fastest character for evasion |
| Sub 1 | Izuku Midoriya | Consistent damage |
| Sub 2 | Himiko Toga | Burst damage without heavy investment |
Iida has the highest movement speed in the game, even faster than Hawks, so his job is to dodge boss attacks and keep the squad alive. He does not deal much damage himself, but that speed keeps you from getting hit. Deku comes from the tutorial for steady damage, and Toga’s Ultimate provides big burst without needing many upgrades.
The weakness is that Iida cannot clear mobs or add real damage, which is exactly where Hawks pulls ahead once you have him. For boss fights on a limited roster, though, this trio holds its own.
Useful swap characters for the third slot
These heroes do not headline a fixed team, but they make strong situational swaps depending on what a stage demands.
| Character | Best for | What they do |
|---|---|---|
 Shota Aizawa | Boss fights | Slows bosses with a movement speed debuff so your main dodges easily, plus decent mob clearing on the side. |
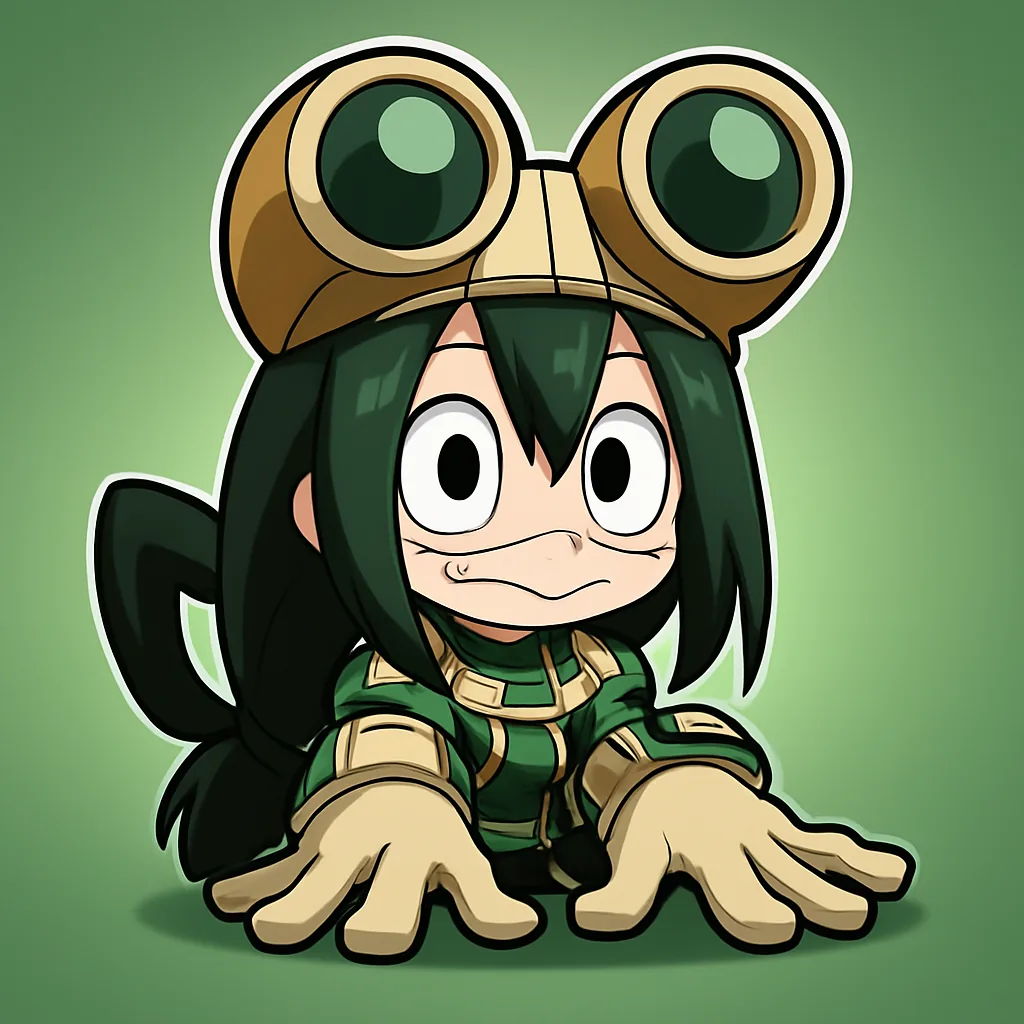 Tsuyu Asui | Survival | The only healer in the game, but her heal is tied to her Ultimate, so she works as a safety-net sub rather than a full-time healer. |
 All Might | Mob clearing | A reliable wave clearer and a solid drop-in for mob-heavy stages. |
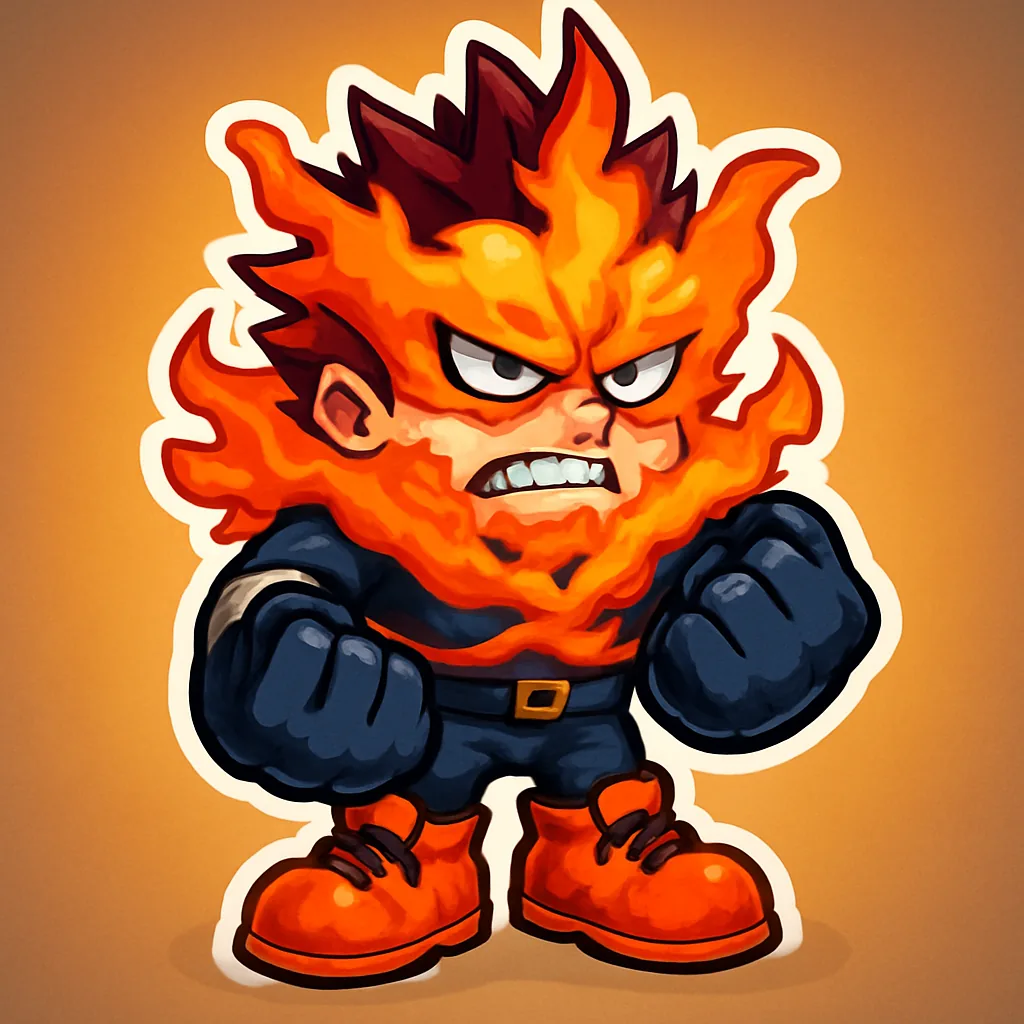 Endeavor | Mixed content | His Ultimate hits hard at high levels, making him a flexible sub when you want a bit of everything. |
Read the stage before you deploy: check whether it is boss-only, wave-only, or mixed, then lock Hawks and Deku and slot the third hero that answers what is in front of you. With those five templates covered, you have a squad for whatever the run puts in your path.