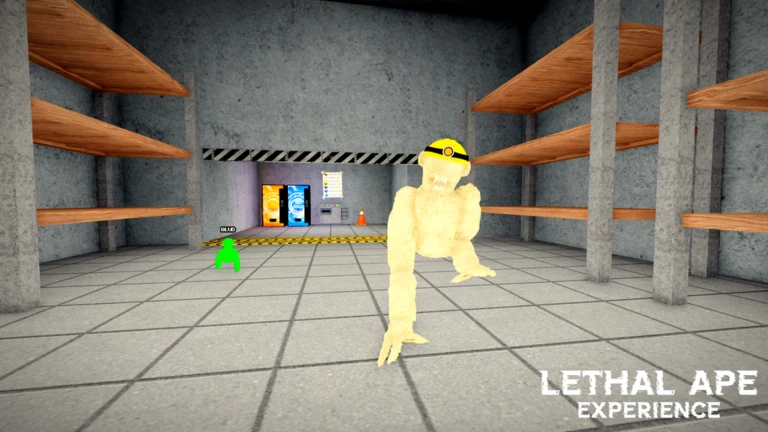
The Halloween event in Lethal Ape Experience hides 20 pumpkins across the Play area. Grab all of them and you earn the Pumpkin Hat cosmetic plus the “Collected all 20 Pumpkins” badge. The pickups are small and tucked behind pipes, shelves, cars, and giant decorative pumpkins, so clear landmarks make the hunt far quicker.
Quick answer: Enter the Play area and collect all 20 pumpkins in any order before November 1, 2026. They are saved on death, so a run ending does not reset your progress.
How pumpkin collecting works
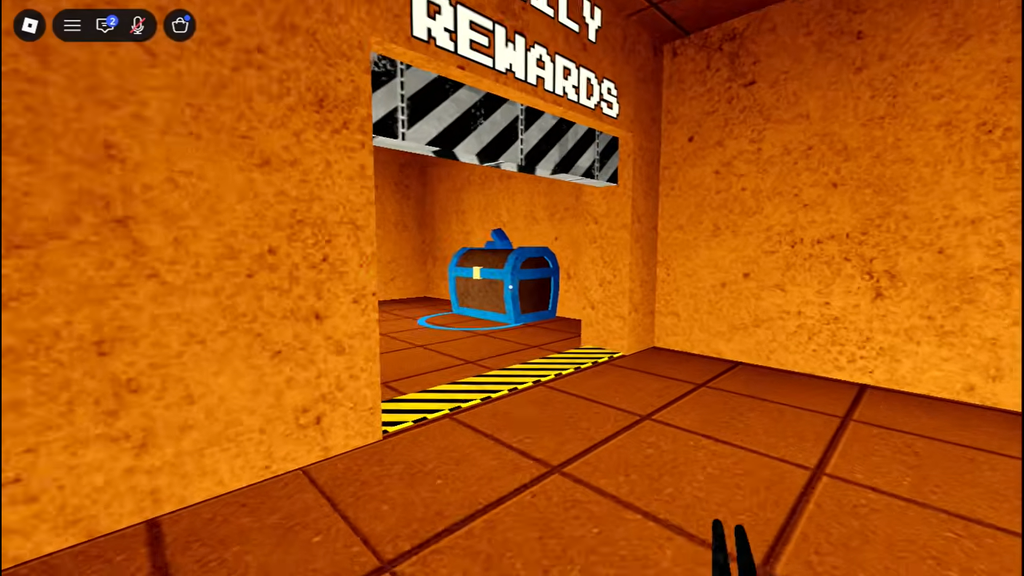
Pumpkins only spawn inside the Play area, so you have to start a run, survive the hunters roaming the facility, and search as you go. You can pick them up in any order, which means you can grab whatever you pass and chase the rest on later runs.
Every pumpkin you collect stays claimed permanently. If a monster kills you, you keep the pumpkins you have already found and only need to track down the ones still missing. Each pickup shows a Collect Pumpkin prompt, so use that to confirm you are standing on the right spot.
Move quietly and stay hidden while you search, since the hunters patrol the same rooms where the pumpkins sit. You can start a run from the official game page at Lethal Ape Experience on Roblox.
Pumpkins 1 to 4: Pipe room and outdoor area
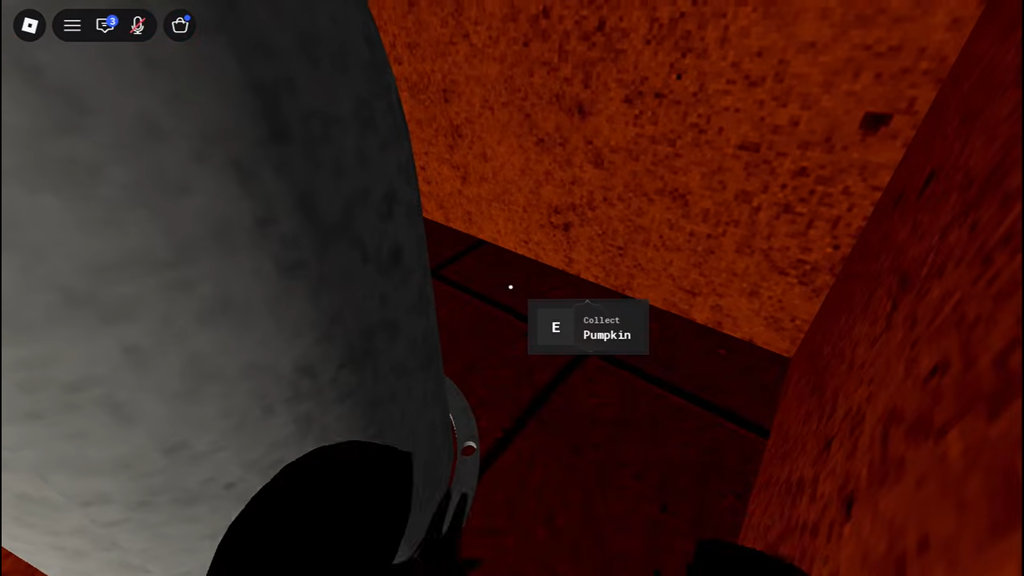
Pumpkin 1 — pipe corner
Enter the Play area, follow the corridor to the pair of doors on your left, and use the farther one. In that room, inspect the right-hand corner beside the pipe.
Pumpkin 2 — below the outdoor wall light
Leave the first room and head outside, turning left while facing the wall. Follow the wall to the right and look underneath a wall light along the exterior.
Pumpkin 3 — under the lone tree
Continue along that wall to its far end, where a giant decorative pumpkin sits. The pickup is beneath a lone tree by the wall, to the left of the giant pumpkin.
Pumpkin 4 — first right bunk
Move straight from Pumpkin 1, then make a left beside the wall to enter the bunk room, with beds lining each side. Find the pumpkin on the first bunk to your right.
Pumpkins 5 to 8: Yellow maze, pool, and cones
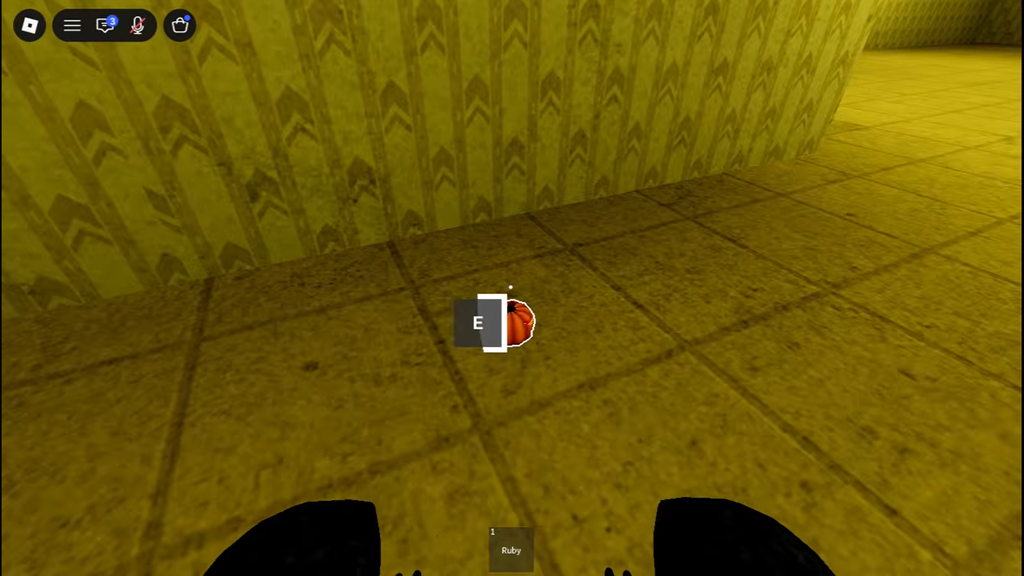
Pumpkin 5 — left side of the yellow maze
At the entrance to the Backrooms-themed yellow maze, go left, then make another left followed by a right. Choose the left-hand branch, turn right, and proceed straight. The pumpkin rests on the yellow-patterned floor to your left.
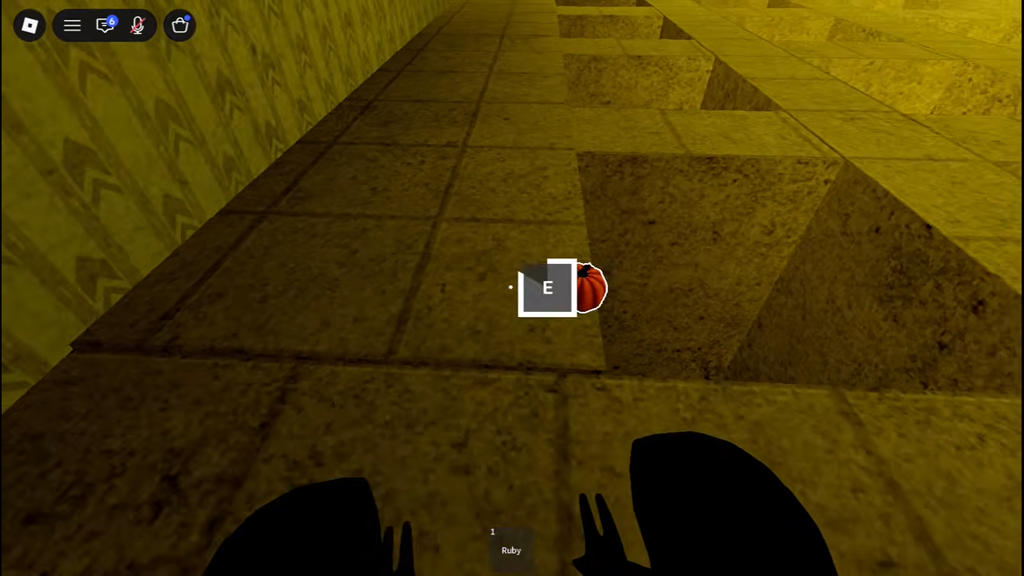
Pumpkin 6 — left corner of the left room
From the maze entrance, continue ahead along the right-hand path. At the wall, turn left and head toward the giant pumpkin; choose the route on its right. When rooms flank the way, enter the one on the left and inspect its left-hand corner.
Pumpkin 7 — pool room wall
Return to the bunk room associated with Pumpkin 4, then take the doorway beside the Backrooms door. Proceed forward, turn left at the first opportunity, then make right and left turns at the fork. Once in the pool room, inspect the wall area to the left of its entrance.
Pumpkin 8 — under the half-open door
Return to the entrance adjacent to the Backrooms door. Walk straight ahead, take a right at the junction, and continue to the far end. Make a left, then inspect beneath the door that’s ajar near the traffic cones.
Pumpkins 9 to 14: Scrap Recycler and cafeteria floor
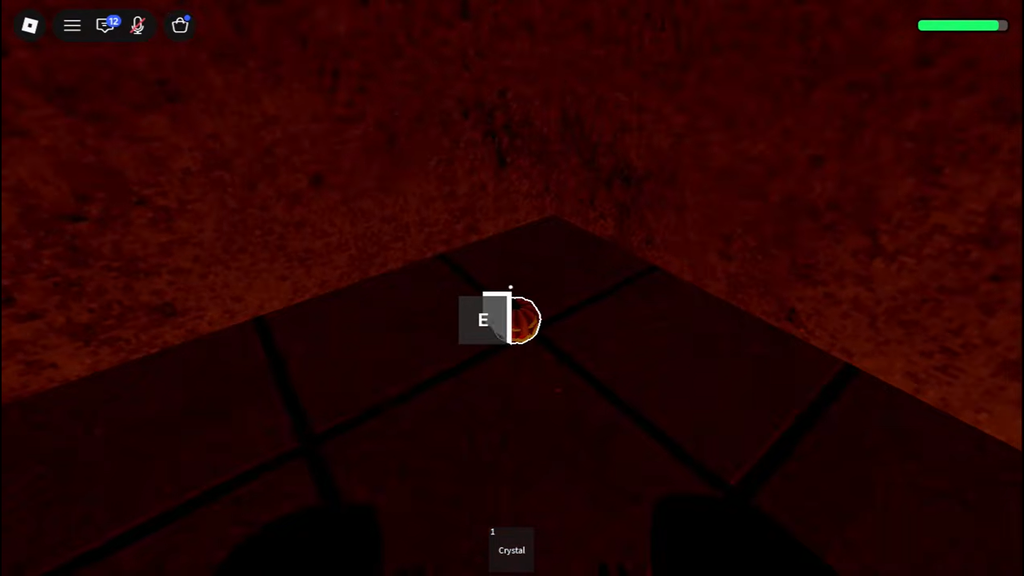
Pumpkin 9 — small room past the Scrap Recycler
Starting at the same door in the Backrooms area, retrace the route toward Pumpkin 8 but choose the left branch. Continue forward, make a right at the end, and go up the ramp. After passing the Scrap Recycler, inspect the floor in the small room to your right.
Pumpkin 10 — left pipe in the pipe hallway
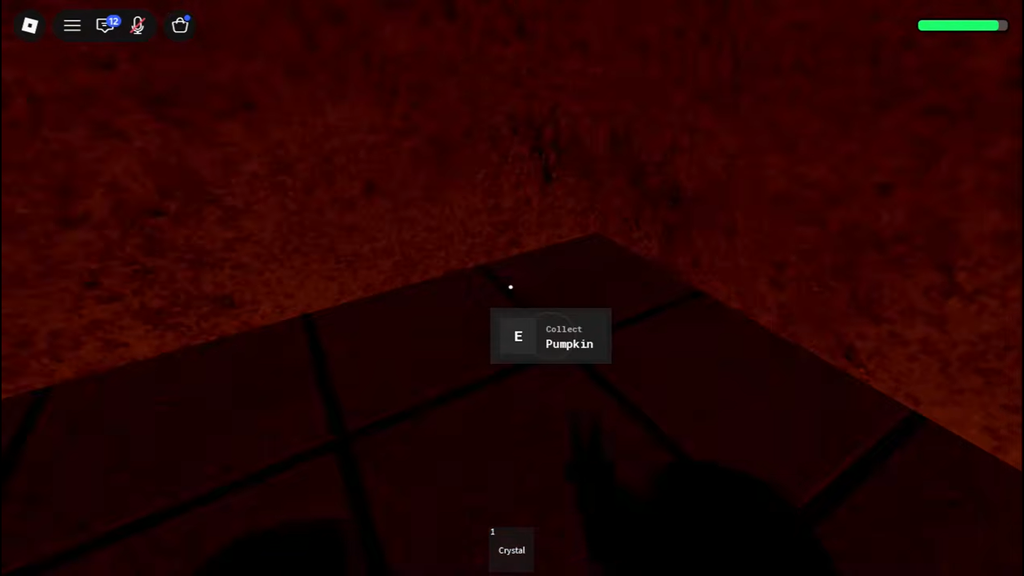
From Pumpkin 9, continue straight into a hallway lined with pipes on both sides. The pumpkin sits on the pipe on the left.
Pumpkin 11 — right of the yellow vending machine
At Pumpkin 10, pass through the door and turn left to enter the chamber containing three large pillars. Look beside the right-hand side of the yellow vending machine.
Pumpkin 12 — left shelf at the end of the hall
Return to the small room where Pumpkin 9 was found. Go forward, turn left at the path’s end, then follow the hallway all the way down. Enter the room to your right and inspect the shelf on the left.
Pumpkin 13 — giant pumpkin by the cameras
After collecting Pumpkin 12, turn left and continue ahead. Make the first left, pass the room with shelves, and continue to the end; then go through the traffic-cone-marked doorway into the camera room. The pumpkin rests on the sand mound left of the giant pumpkin, opposite the cameras.
Pumpkin 14 — small opening past the cafeteria
From Pumpkin 13, head back toward the cones, then choose the route facing away from them. Ascend the ramp into the cafeteria and go straight out; take the first left. Near the far end, find the pumpkin in a small opening on the right.
Pumpkins 15 and 16: Yellow-light and green-button rooms
Pumpkin 15 — second shelf in the yellow-light room
Depart from Pumpkin 14 and head left in the direction of the yellow-light room. Go through the doorway by the two white cartons, move over to the pair of shelves on your right, and inspect shelf number two.
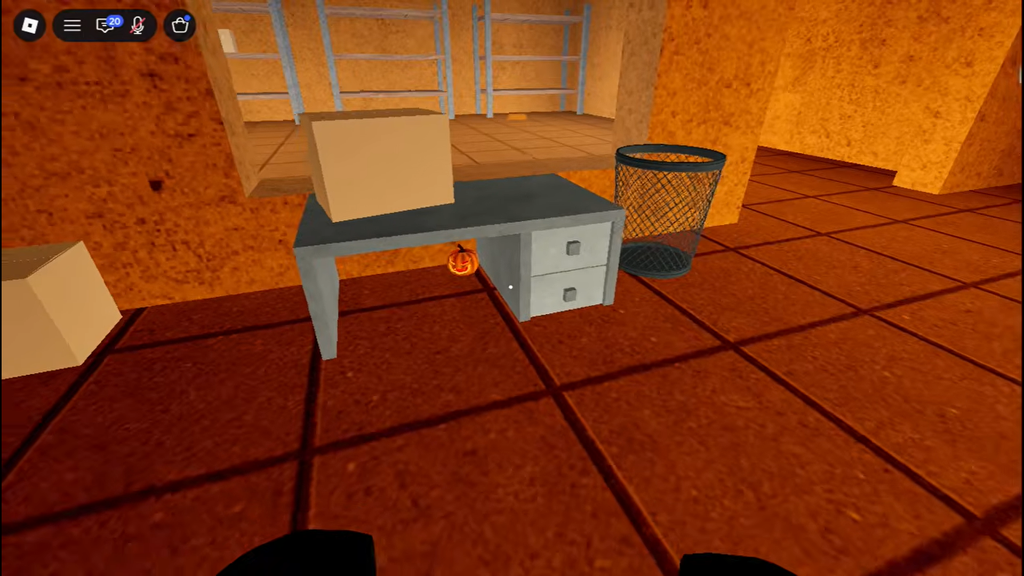
Pumpkin 16 — under the desk in the green-button room
From Pumpkin 15, return to the yellow-light room and take the left path at its end. Follow it to a ladder and climb up. Take the first path left, turn right at the two-entrance room, and use the right entrance. Go straight, take the first left into the glass room with a green wall button, and look below the desk.
Pumpkins 17 to 20: Entrance and Parking Garage
Pumpkin 17 — left corner beside the shelf
Leave Pumpkin 16 and cross the rooms and hall to the last room. Turn left at its end and climb the ramp. At the fork, go right to the vending-machine room, pass the machine, enter the first room on the right, and check the left corner next to the shelf.
Pumpkin 18 — white reception desk
Leaving Pumpkin 17, head right and continue until you reach the doors labeled Entrance and Parking Garage. Use the Entrance door, climb the ladder, and follow the route to the white reception desk, where the pumpkin sits.
Pumpkin 19 — wall side of the green car
Go back to the doors for Entrance and Parking Garage, then enter Parking Garage. In the room containing two vending machines, a blue car, and a green car, inspect the side of the green car nearest the wall.
Pumpkin 20 — floor by the black ramp
Starting at Pumpkin 19, enter the parking area and bear left from its central section. Make another left in the direction of the black ramp, then inspect the ground for the final pumpkin.
Confirming your reward
Once the twentieth pickup registers, the game awards the “Collected all 20 Pumpkins” badge and the Pumpkin Hat cosmetic. The badge appears on your Roblox profile, and the hat becomes available to wear in game. Since progress carries across runs, you can collect pumpkins over several sessions and still unlock both rewards before the event closes on November 1, 2026.