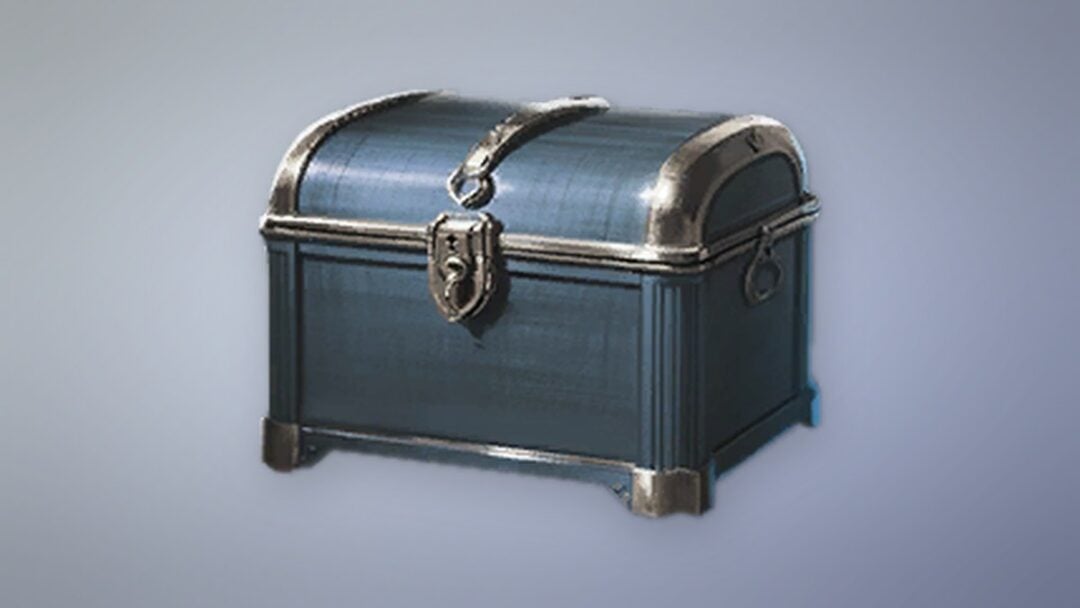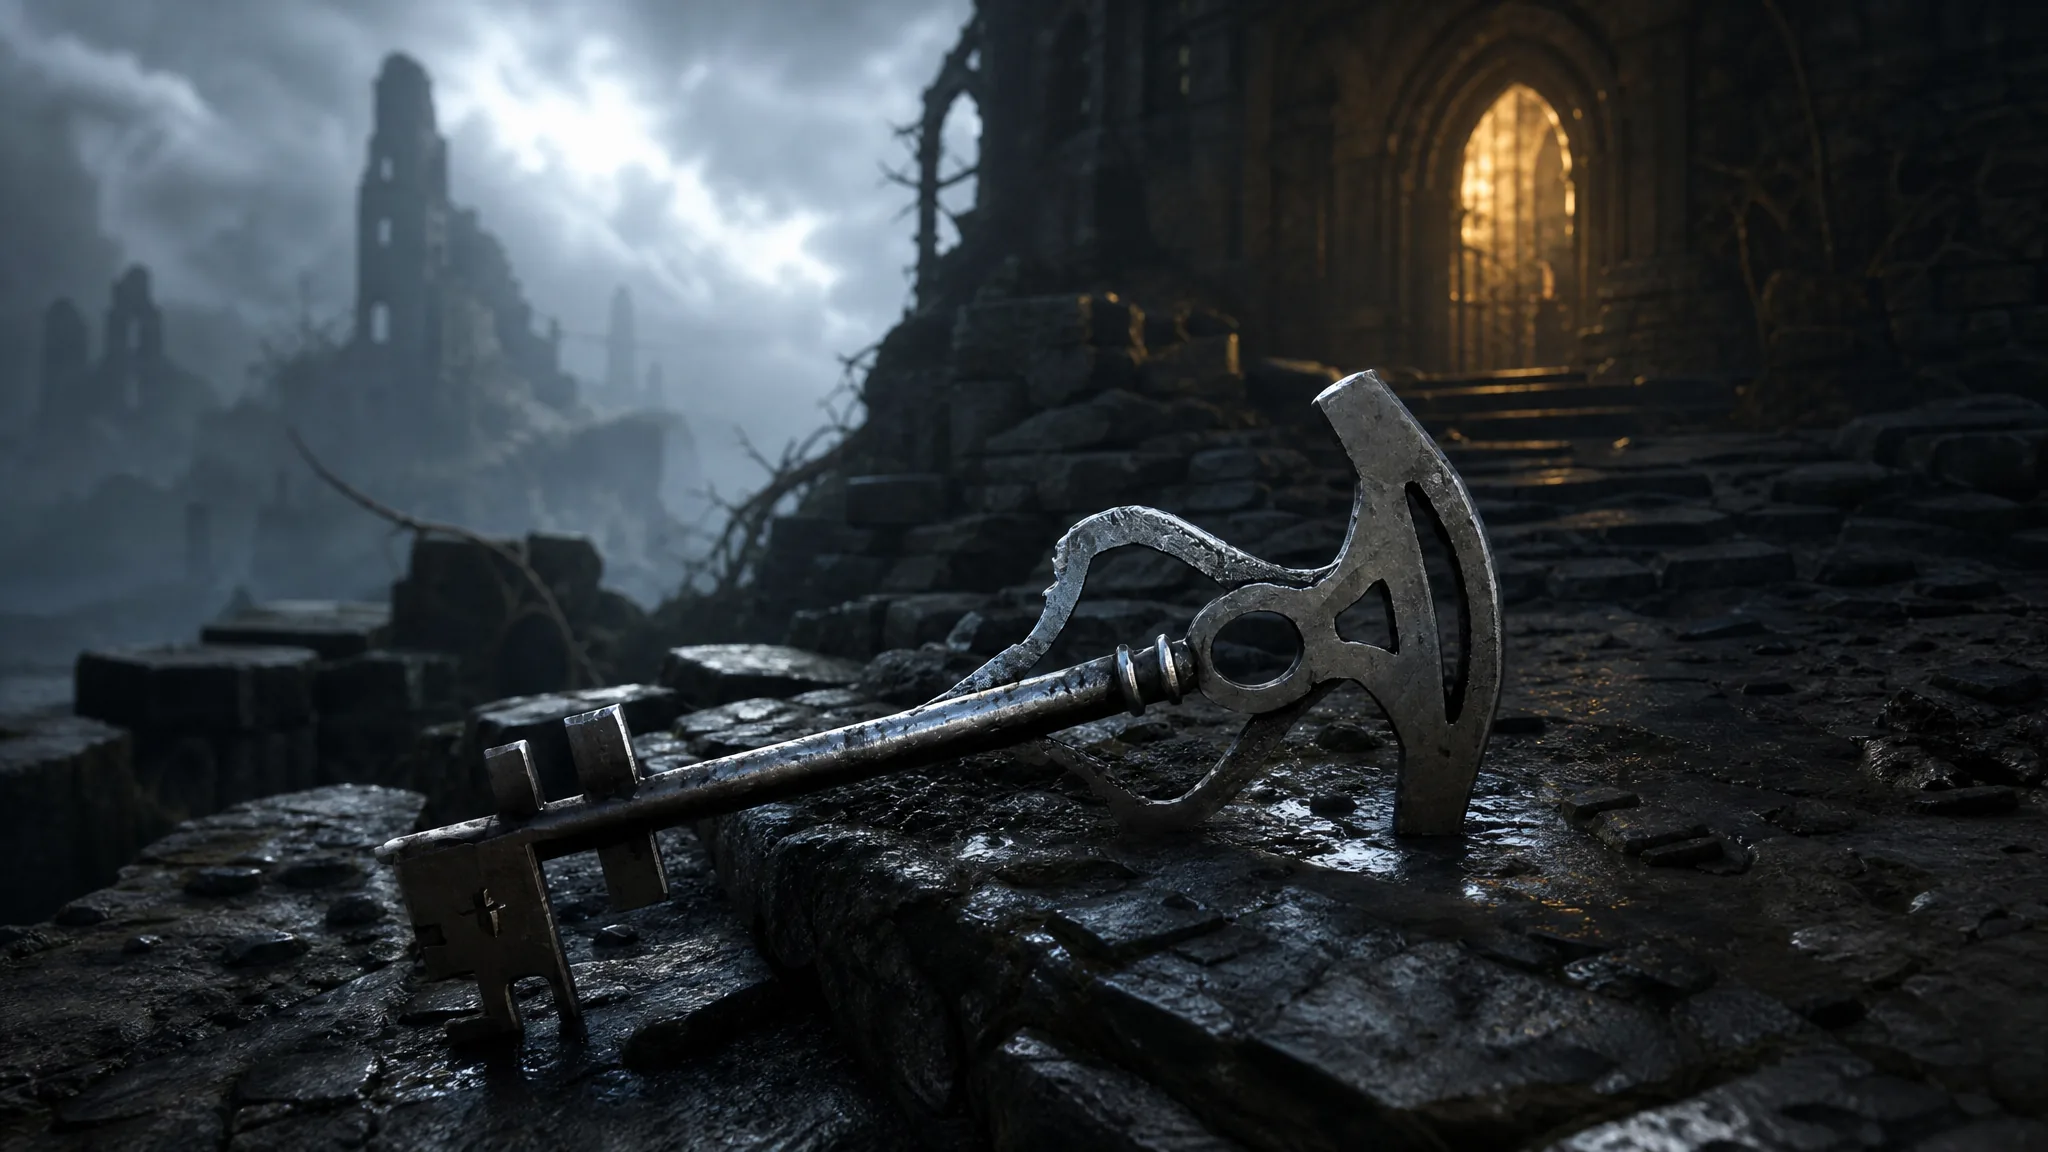
The Chapel Key is an early key item in Mortal Shell 2 that opens the locked door in the Grisha Hunter camp near Mushroom Village. You will almost certainly spot that locked door before you find the key, because the key itself is tucked behind an illusion most players walk straight past.
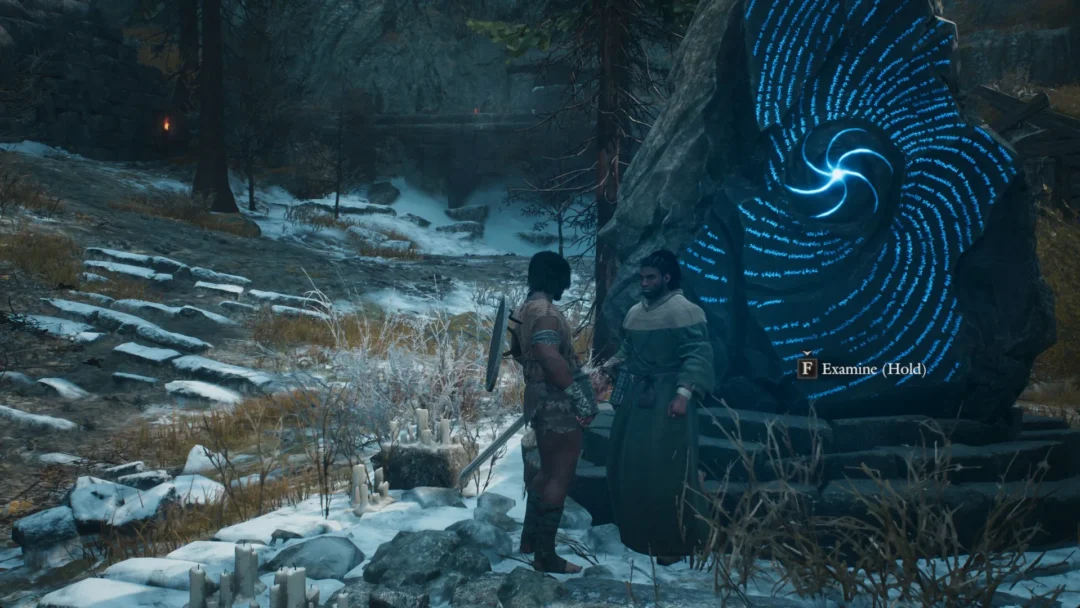
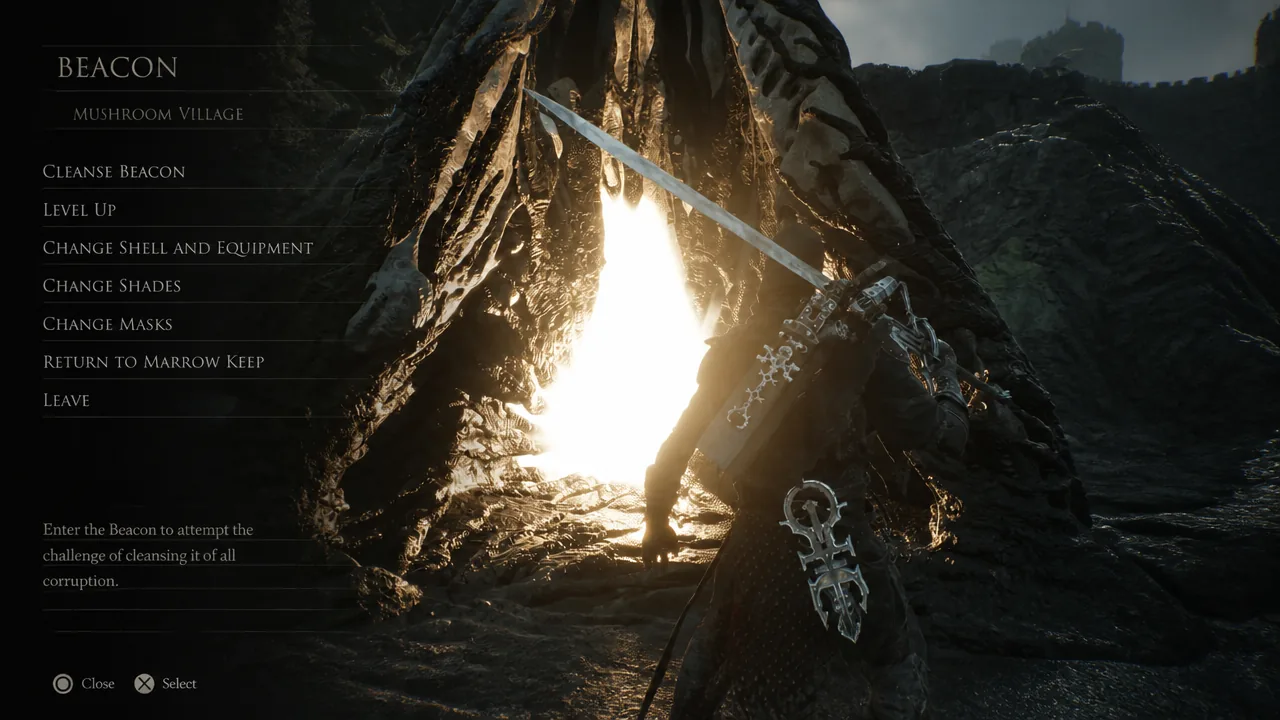
Quick answer: From the Mushroom Village Beacon, head right, cross the bridge to the pyre, then walk around the freestanding archway and step through it to reveal a hidden statue. Take the Chapel Key from the rope on that statue, then carry it left from the Beacon to the Grisha Hunter camp and use it on the locked door to enter the Shrine of Trials.
Before you go for the Chapel Key
The whole errand runs out of the Mushroom Village Beacon, so make that your base. Rest there to level up with Gloom and reset the area whenever you need a fresh run at the enemies.
It helps to grab your first Shell first, since it sits very close to this part of Mushroom Village and makes the crowds of enemies far easier to handle. One thing to keep in mind about the archway trick that reveals the key: the hidden statue only appears while the world is set to Nighttime, so switch to Night before you make the trip if the statue does not show up during the day.
Where to find the Chapel Key
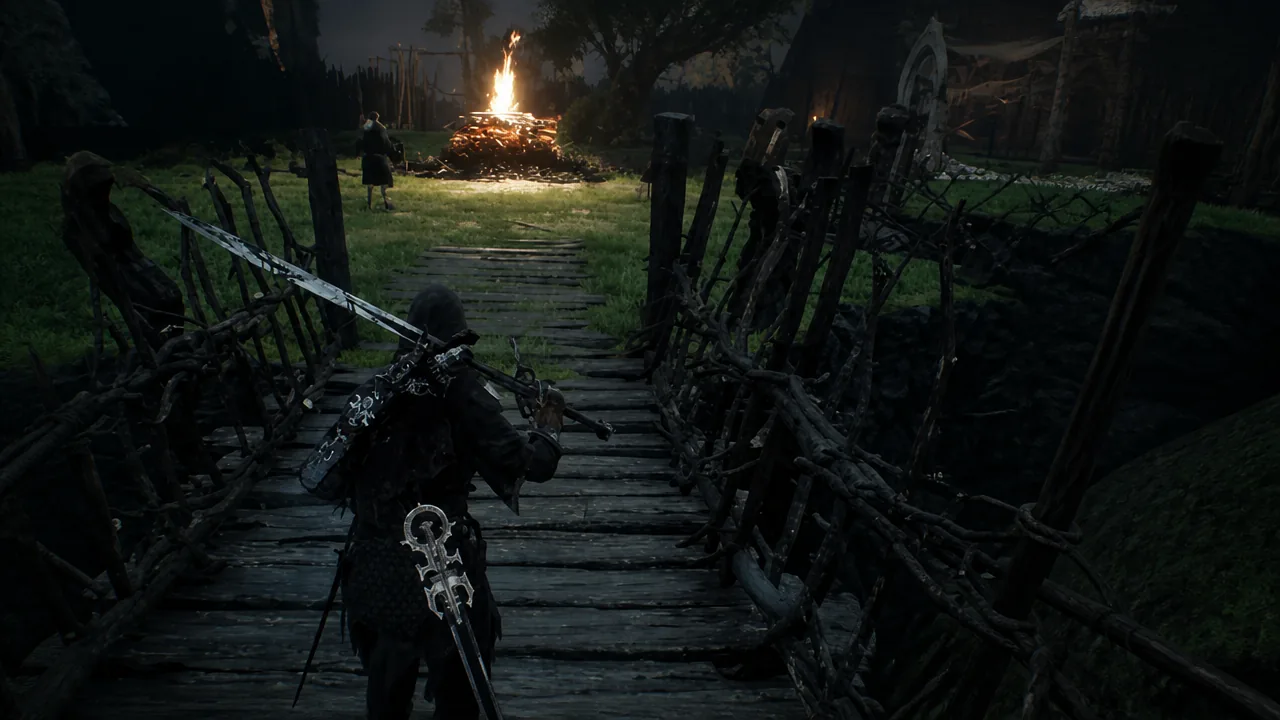
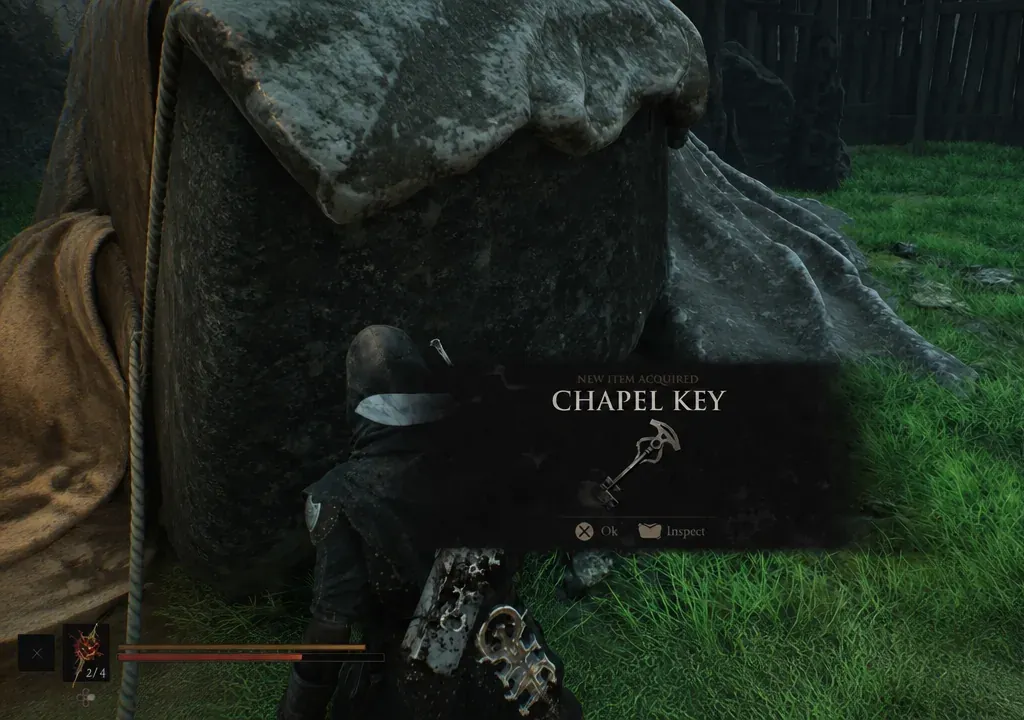
Tip: Whenever you spot an archway in Mortal Shell 2, walk around it and peer through. The game uses these frames to hide statues, paths, and items that only exist from one side.
Where to use the Chapel Key
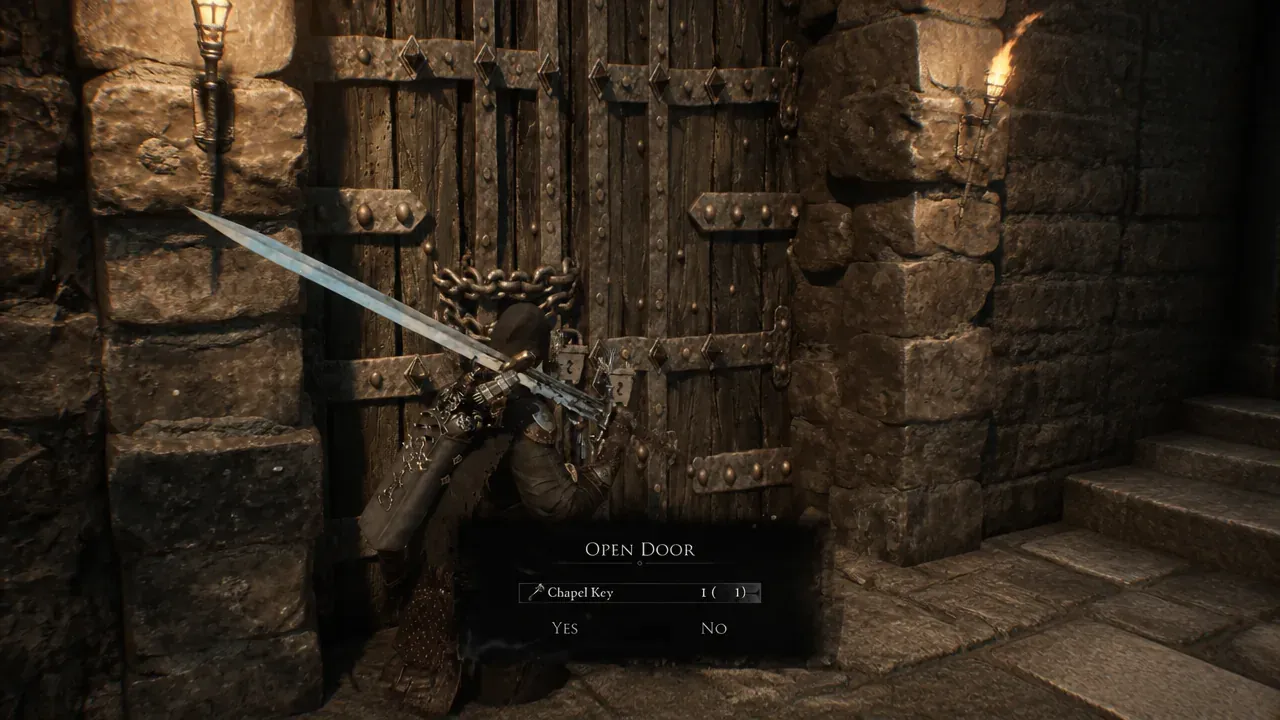
You know it worked when the door opens and drops you into the Shrine of Trials dungeon. The Cage Key sold by a hunter in this camp is a separate item that frees the pup, so do not confuse the two.
What the Shrine of Trials holds
The Shrine of Trials is a short puzzle dungeon rather than a straight fight. Cultists guard the entry room, and the central statue carries a clue: “Gaze upon your king so true, back and back you shall pass through.” Face that statue and walk backwards to move straight through the wall behind you.
The rooms that follow are pressure-plate puzzles. Hitting the statues shoves them across the floor, and your job is to land them on the plates to open each door. The reward at the end, guarded by an armored Brigand Knight, is the Axe and Dagger.
| Room | What to do |
|---|---|
| Entry chamber | Kill the cultists, read the statue, then face it and walk backwards through the wall. |
| Single-plate room | Hit the statue to slide it onto the pressure plate and open the door. |
| Two-plate room | Move both statues onto both plates by striking them in the right directions. |
| Final room | Defeat the Brigand Knight and loot the Axe and Dagger from the statue. |
The Axe and Dagger is a fast weapon that trades raw damage for speed and quick Resolve generation, with almost no windup before its strikes. It pairs especially well with the Tiel Shell, whose Shadow Strike playstyle is built around rapid attacks, if you have already unlocked it.