

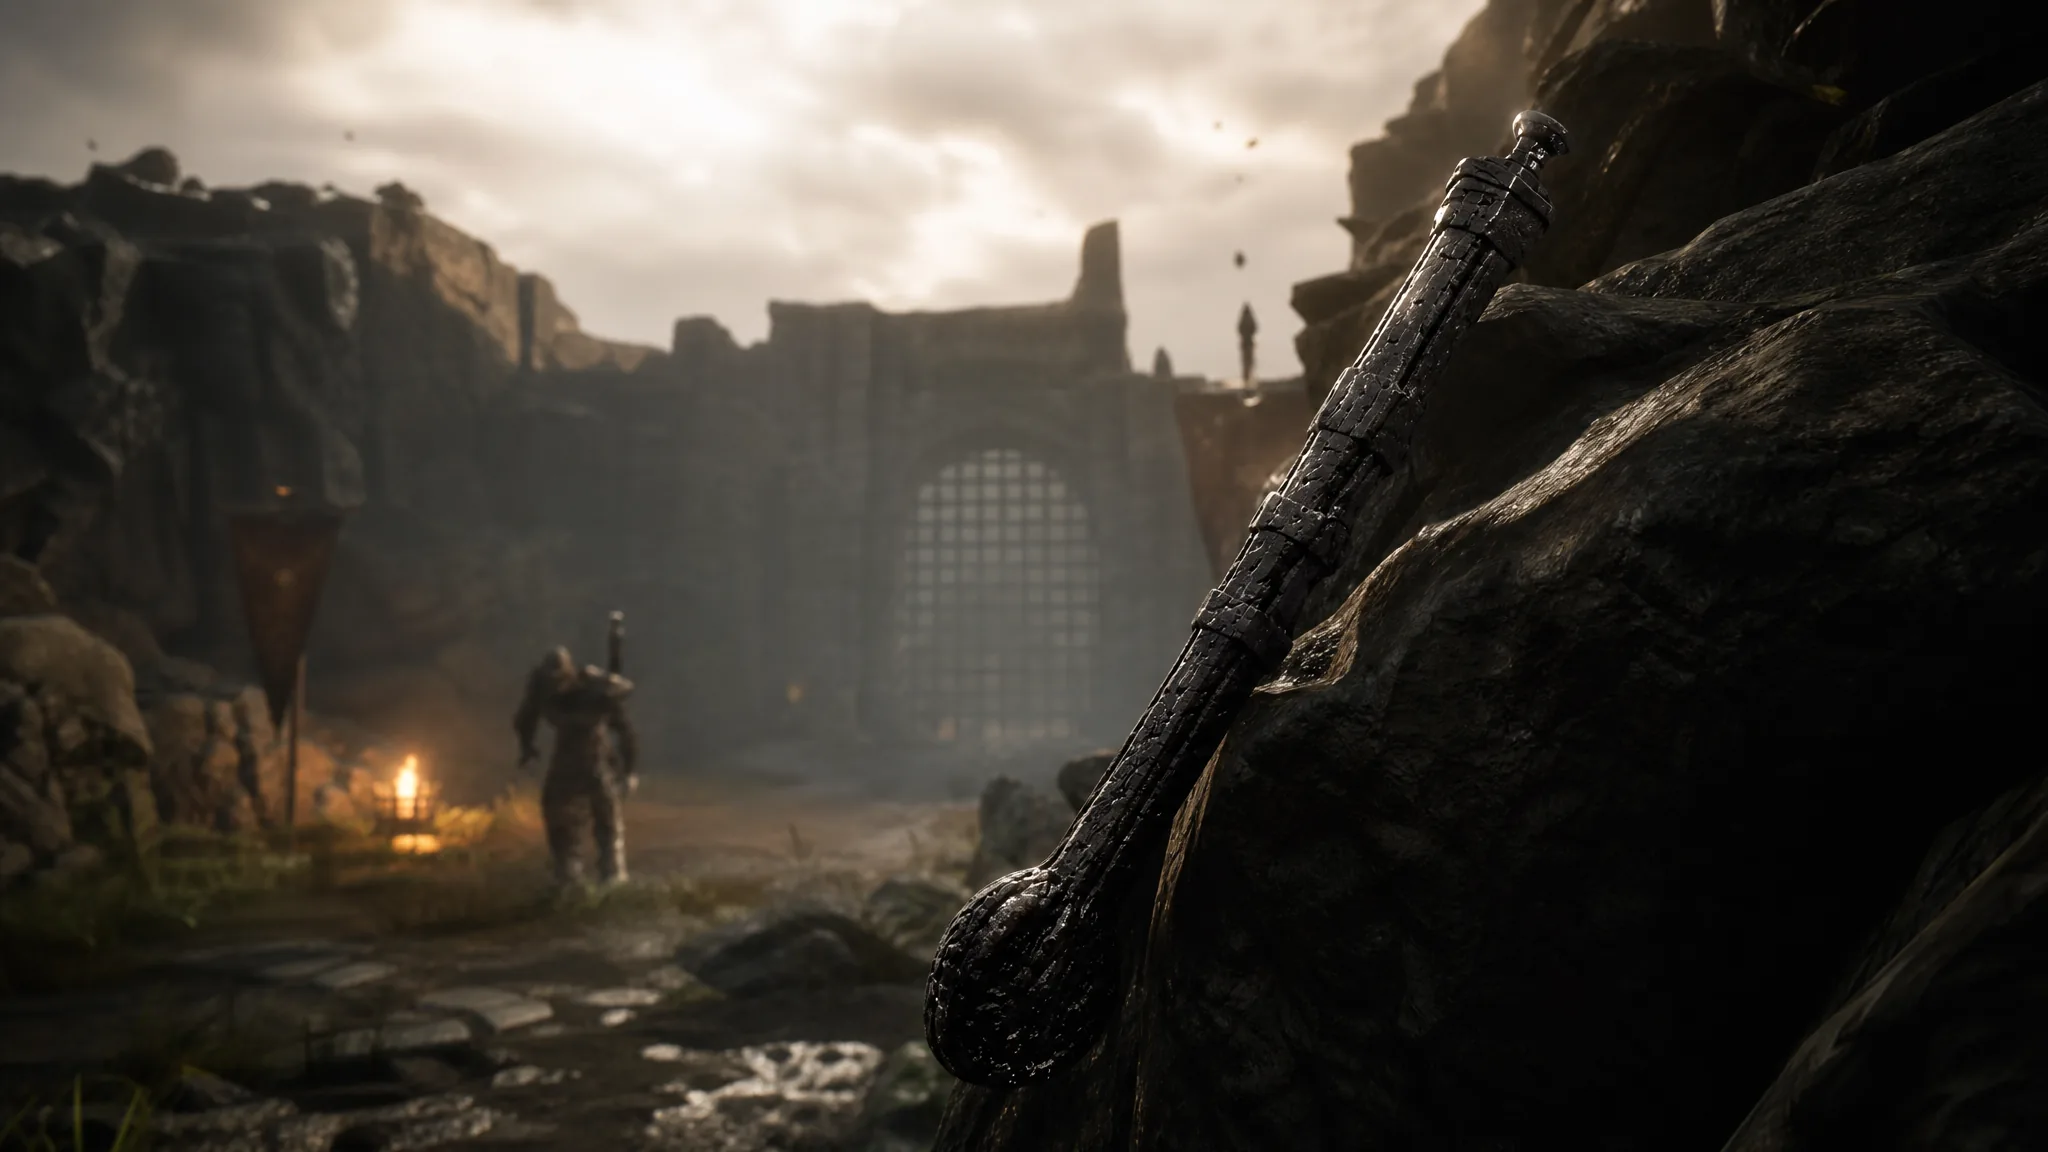
The Citadel of Penance sits behind sealed gates in the northwestern stretch of Fainweald, and walking up to it does nothing. The mechanism that raises the gate is missing its lever, and a note posted at the entrance points you toward the thief who took it. There is also a second, sneakier way in that skips the whole errand — at the cost of dropping you into a cell.
Quick answer: Kill the Bloodcursed Lithopod in the ravine southeast of the Citadel to get the Citadel Gate Lever, then slot it into the mechanism beside the main gate to open it permanently. To skip that fight, head south from the One-Legged Wolf Beacon to the ruins and touch the candle on the wall — you’ll be teleported straight into the Citadel’s prison cells.
Two ways into the Citadel of Penance
Both routes get you to the same place. The difference is whether you want a permanent front door or a fast, one-way drop into the deepest part of the fortress.
| Route | Requirement | Where you end up |
|---|---|---|
| Main gate | Citadel Gate Lever from the Bloodcursed Lithopod | Front entrance, open permanently |
| Candle teleport | None — just reach the ruins near the One-Legged Wolf Beacon | Locked prison cell in the lower levels |
Note: the teleport is quick but awkward to leave. You have to fight up through the fortress, and your only way out is a narrow gap near the ramparts. Grabbing the beacon inside solves that.
Citadel Gate Lever location: the Bloodcursed Lithopod fight
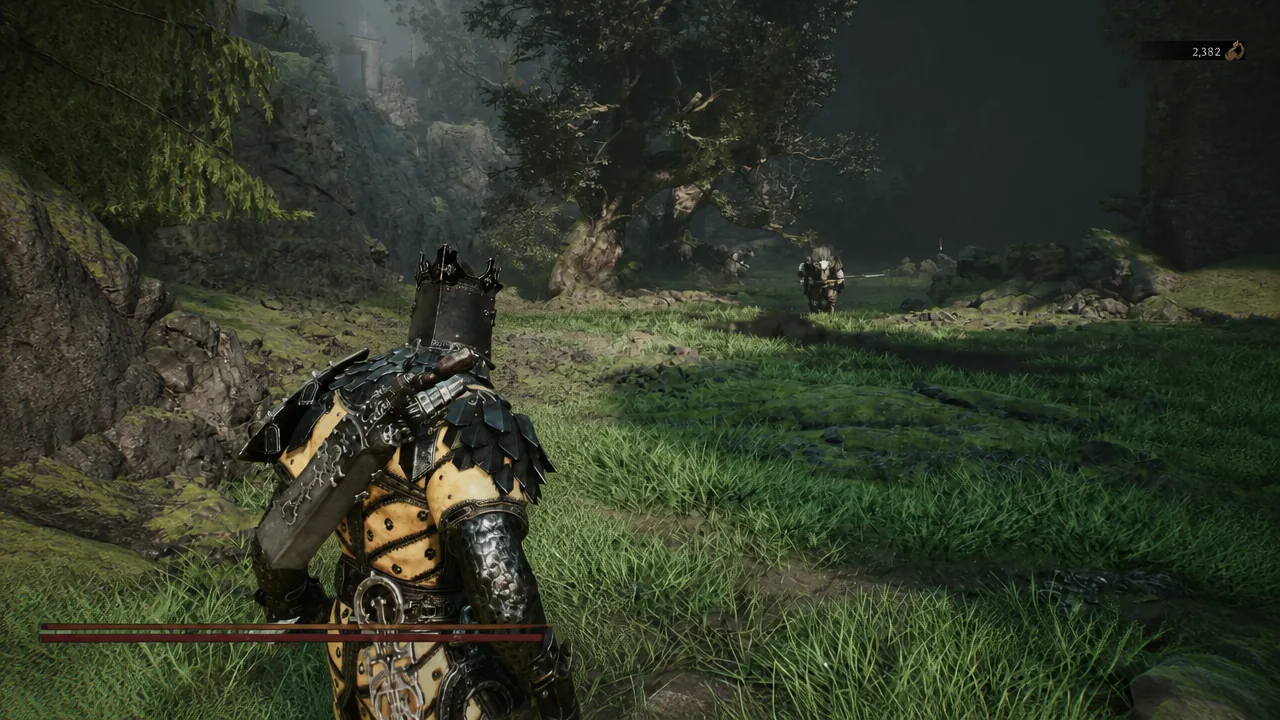
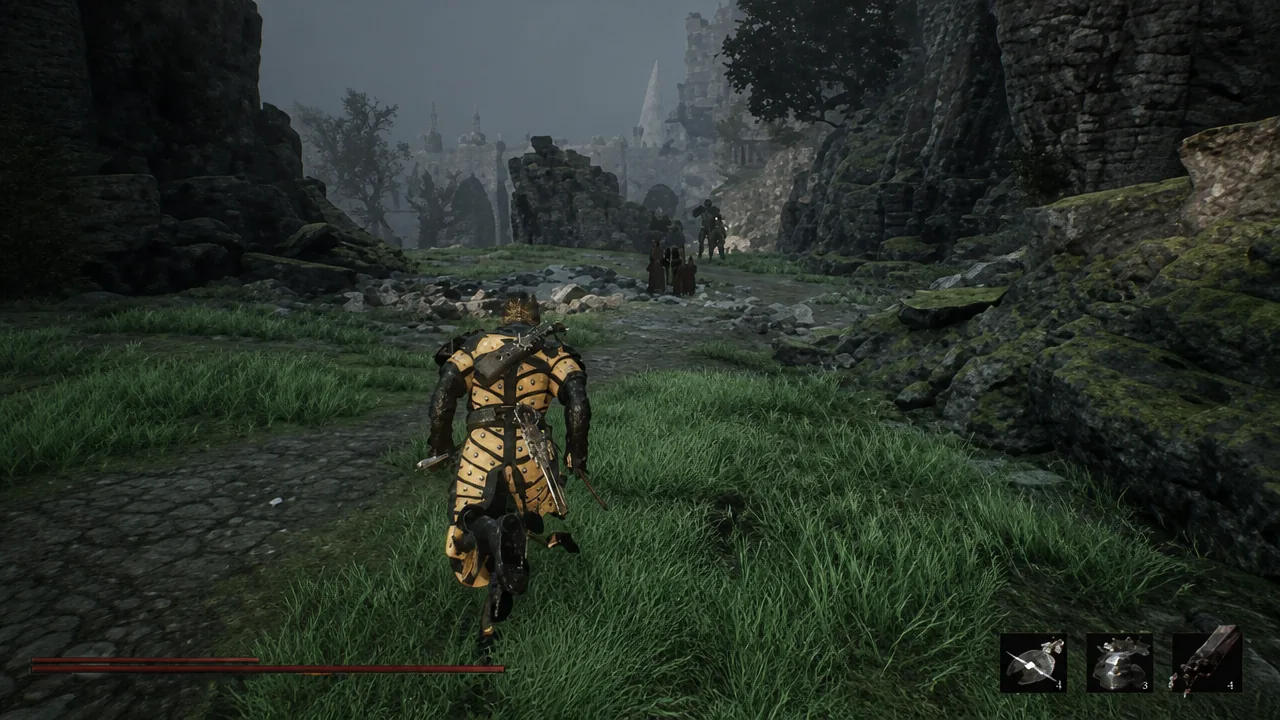
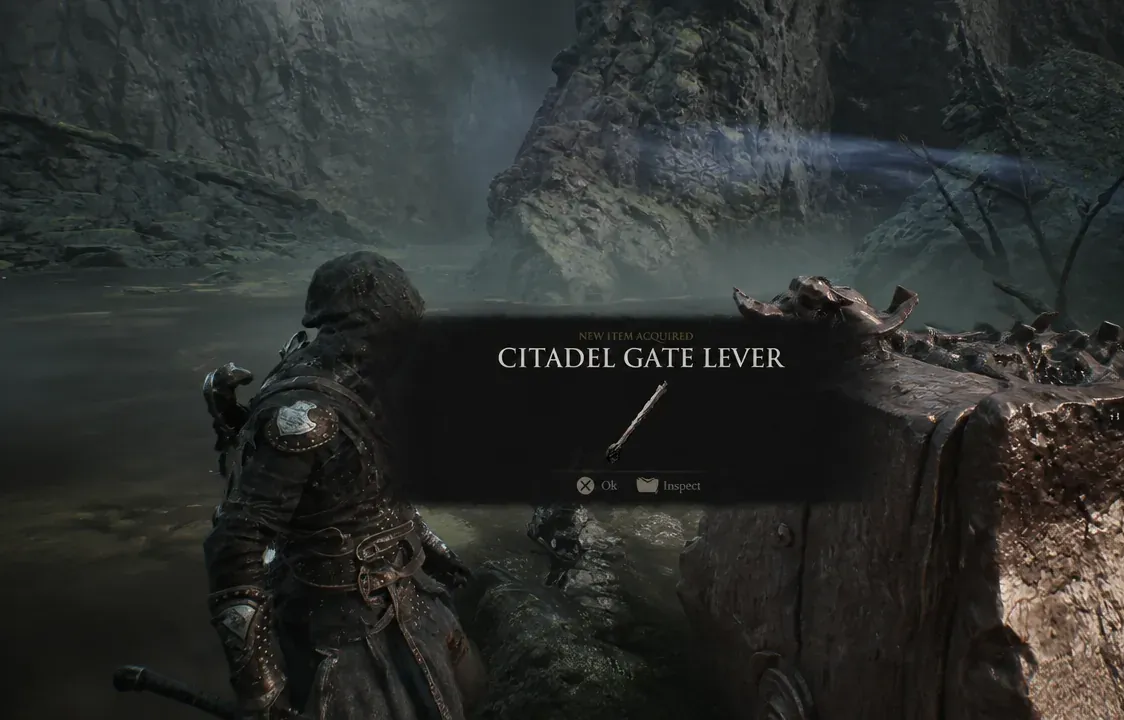
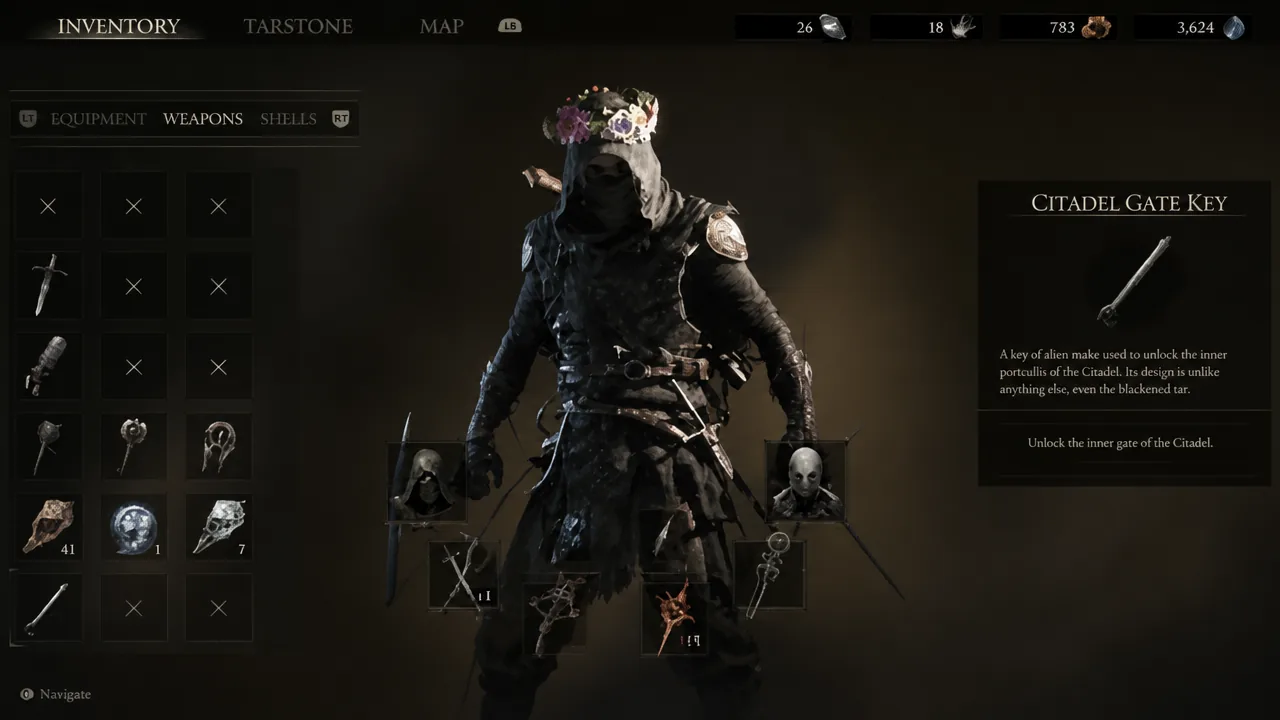
If you want to double-check before hiking back, open your inventory. The lever appears with a short description telling you to unlock the Citadel’s gate.
Where to use the Citadel Gate Lever
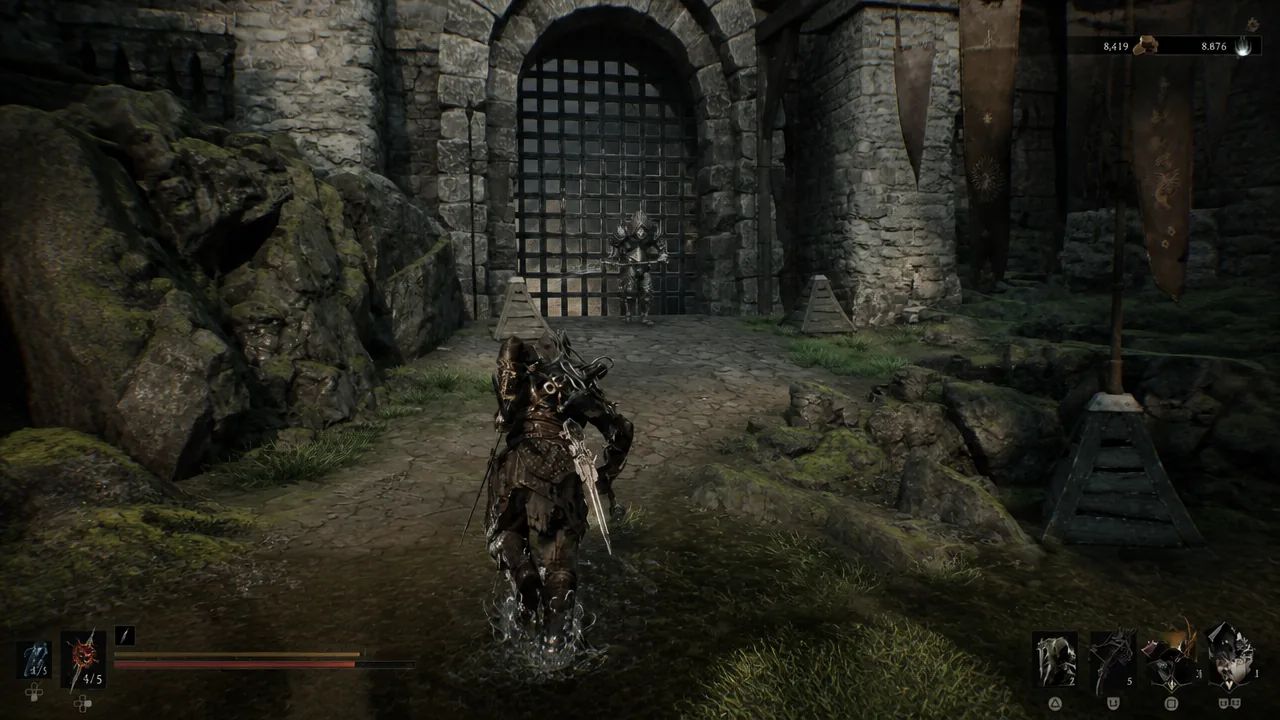
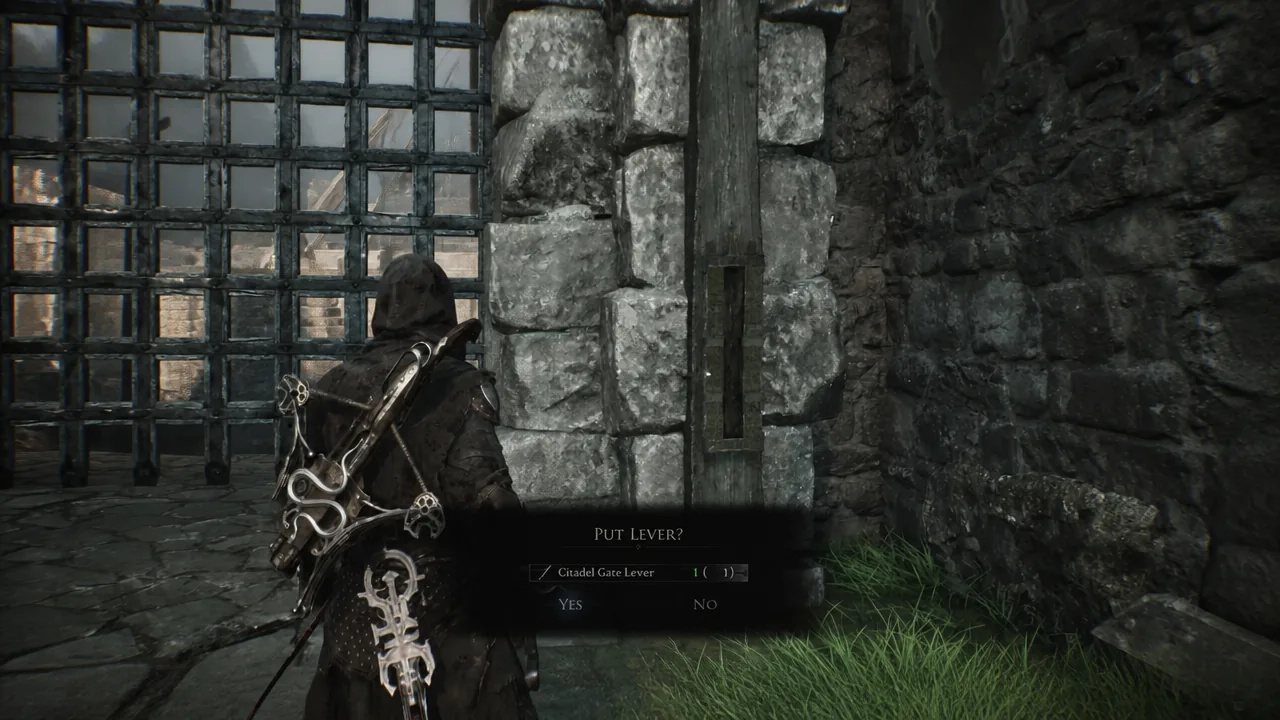
Coming in through the front means you can walk forward toward the cells and drop down from there, arriving at the same point the teleport route dumps you.
Skip the lever: the candle teleport near the One-Legged Wolf Beacon
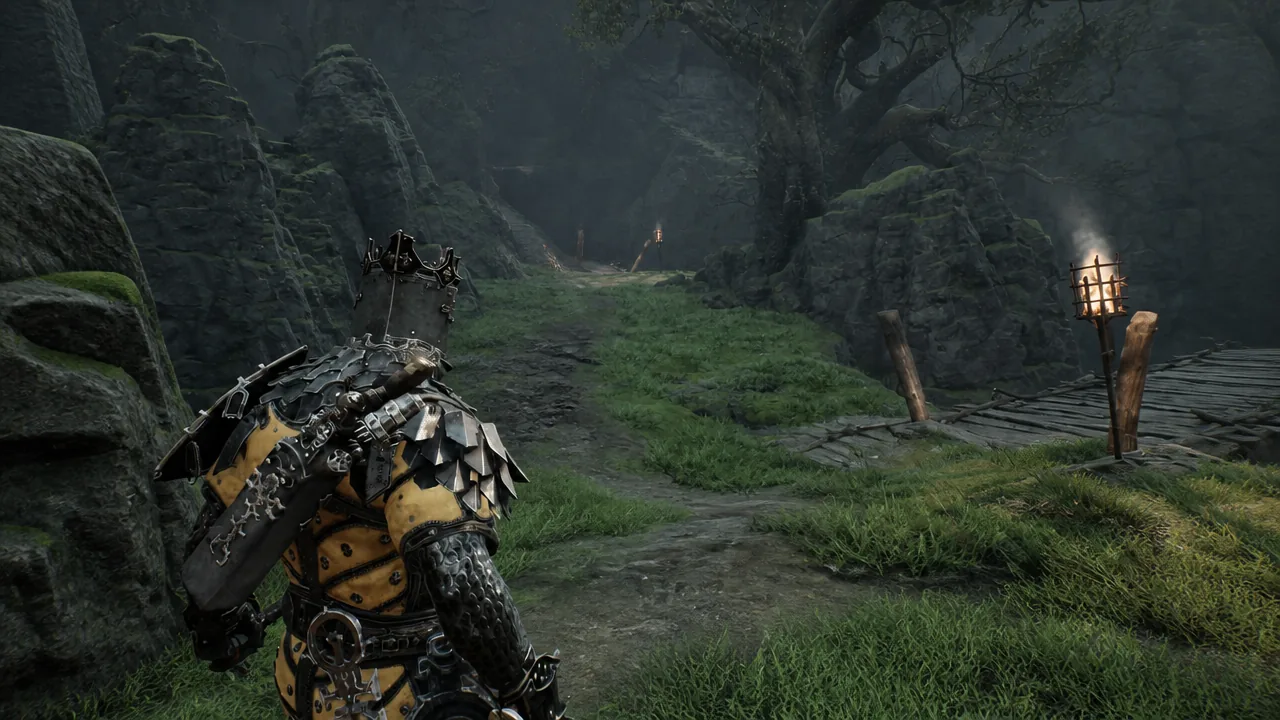
If you triggered this by accident, don’t panic. Fight your way up, activate the beacon inside, and you can fast travel back out.
What you can find inside the Citadel of Penance
Whichever door you used, the interior holds the same rewards. Take the lift up from the cells and work your way toward the center.
| Reward | Where it is |
|---|---|
| Beacon (fast travel) | Southeast corner of the interior |
| Revered Gland | Behind a breakable wall at the back of the market stalls; upgrades your Mether’s Pulse healing flask |
| Eredrim Shell | Center of the fortress, after defeating the Warden |
The Warden isn’t waiting for you — you summon it. Head to the middle of the arena and interact with the coin pouch on the ground to start the fight. Beat it and the Eredrim Shell is yours, a heavy option with two active abilities that’s worth switching to before you clear out the rest of the fortress.
If the gate mechanism refuses to accept anything, you simply don’t have the lever yet — the Lithopod has to die first, and the item goes straight into your inventory when it does. And once the gate is open, it stays open, so there’s no reason to keep using the cell teleport afterward.





