

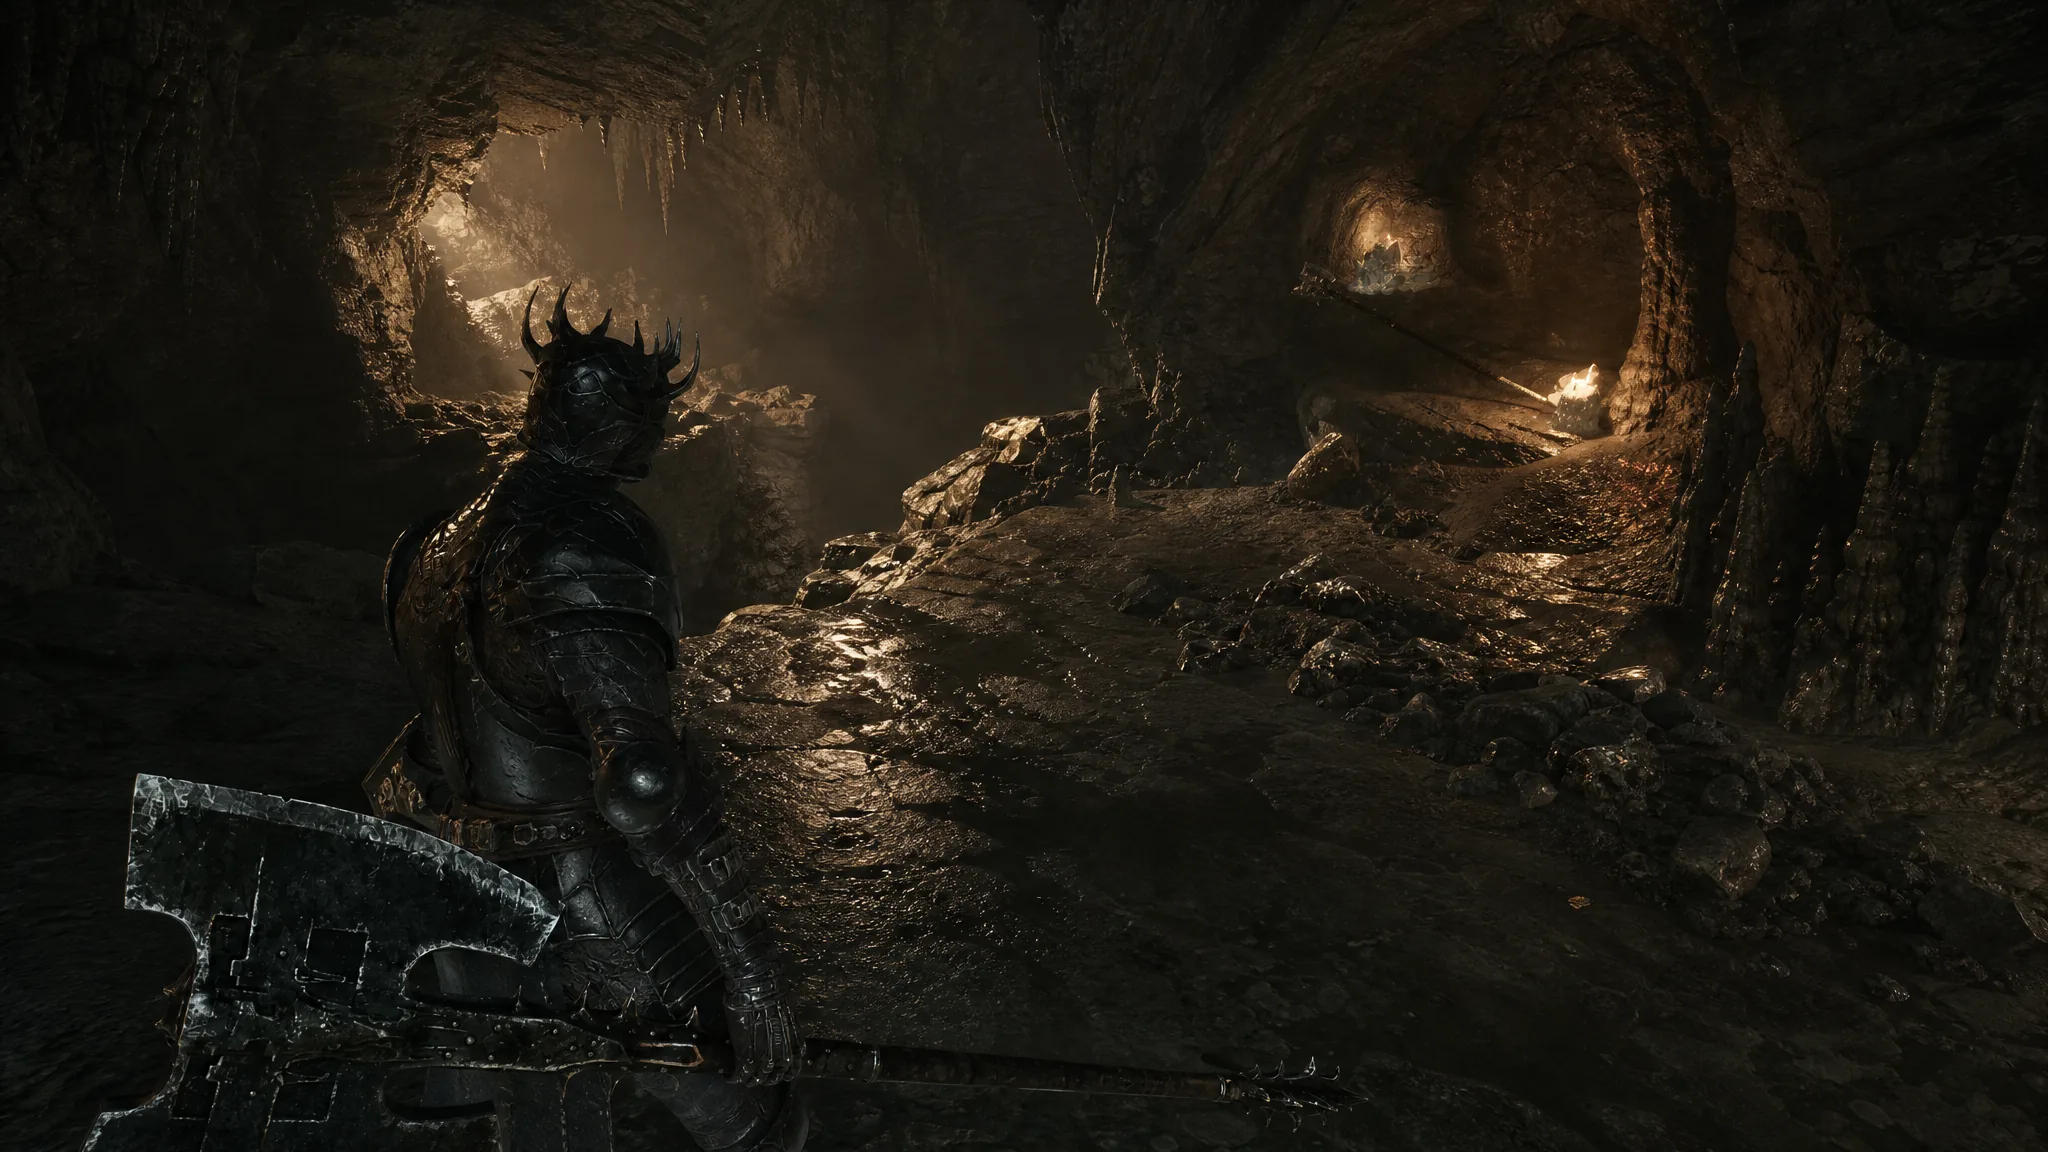
The Axatana sits behind one of the longer enemy gauntlets in Mortal Shell 2, tucked inside a sealed chamber in the Forgotten Tower at the far southeastern edge of the map. It is a transforming weapon, twin katanas on light attacks and a two-handed axe on heavy attacks, and it can be picked up long before the game expects you to fight everything standing between you and it.
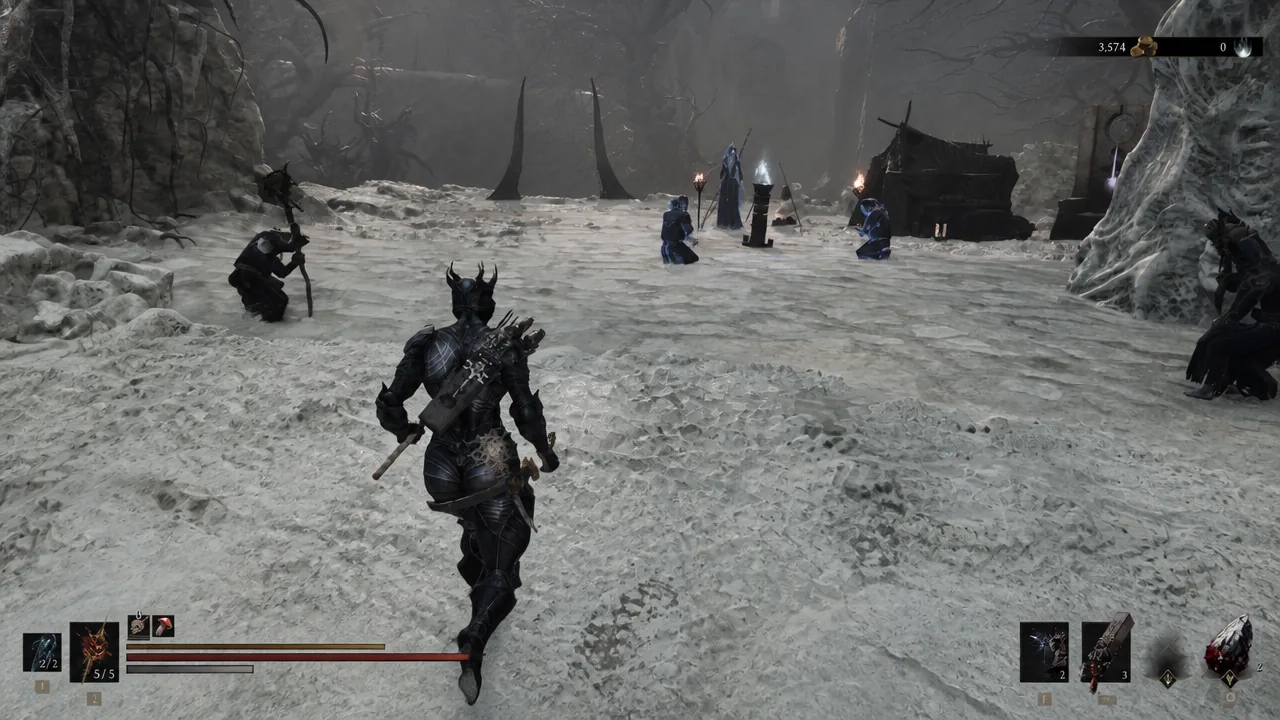
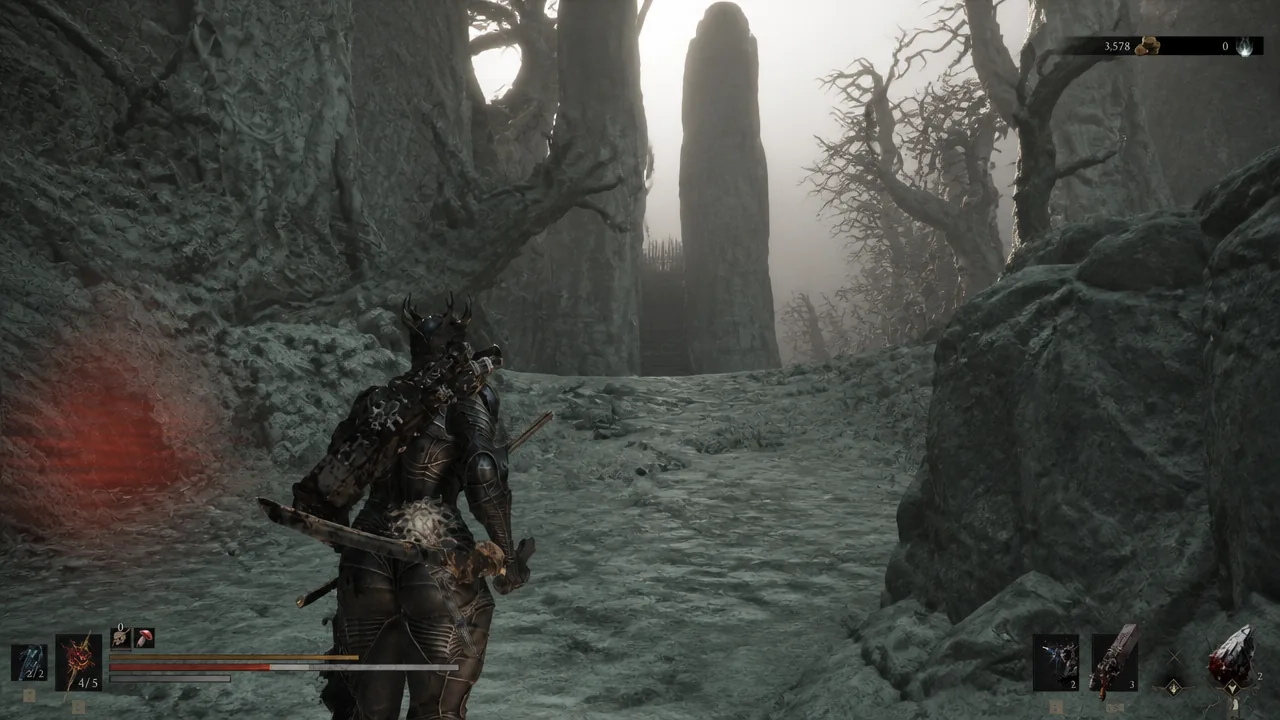
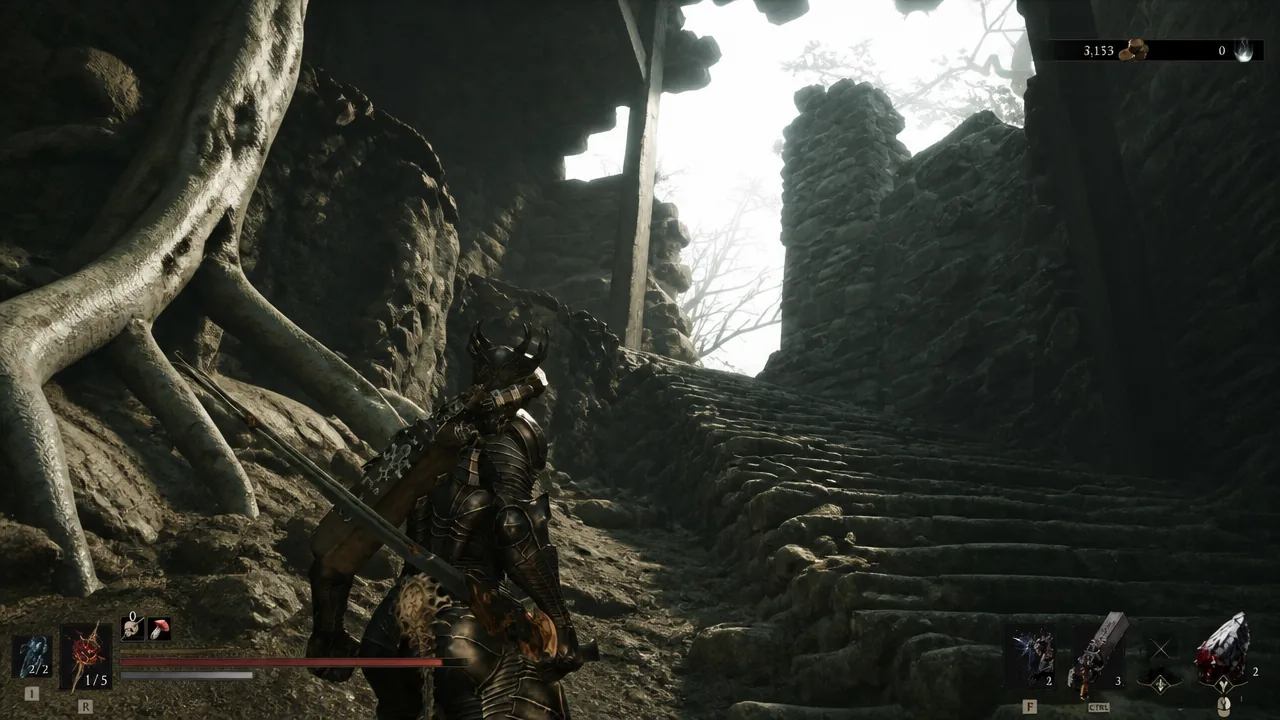
Quick answer: Purify the Corruption on the southern launch pad at Marrow Keep, ride it to the Outskirts of Mammon, cross to Castigator’s Keep, then chain the Bone Gates east until you reach the Forgotten Tower. Press the wall button to raise the metal gate, kill the elite inside, and take the Axatana from the pedestal.
What you need before the run
Only one hard requirement gates the trip. You must have unlocked the ability to cleanse Corruption, because black growth covers the southern launch pad on top of Marrow Keep and there is no way past it otherwise. Cleansing costs Ova, so bank enough before you climb the keep.
Everything else is optional. If you would rather not memorize the route, Merrick at Marrow Keep sells a map that marks the Axatana on the overworld for 1,100 Coins. The path itself is survivable at low levels because almost every fight along the way can be skipped by running.
| Requirement | Detail |
|---|---|
| Corruption purification | Needed to clear the growth on Marrow Keep’s southern launch pad |
| Ova | Spent to perform the purification |
| Optional map | Sold by Merrick at Marrow Keep for 1,100 Coins |
| Combat requirement | One elite enemy guards the chamber; the rest can be run past |
Route to the Forgotten Tower
Opening the chamber and claiming the weapon
Walk past the dead shrub and look at the wall on your left. There is a button set into it that lifts the metal gate sealing the chamber. Press it and the room opens.
Inside is a single elite enemy, a Gloom Seeker, sometimes described as a dual-blade assassin. It hits hard but it is alone, and there is no boss health bar or arena lock here. Kill it, then interact with the pedestal in the middle of the room, near the candles, to take the Axatana.
Note: some players have grabbed the weapon without finishing the fight. That is worth attempting if you are underleveled, but expect the enemy to interrupt the pickup animation.
You will know it worked when the Axatana appears under the Weapons tab in your inventory. Equip it there, and the entry shows “Weapon Already Equipped” once it is in hand.
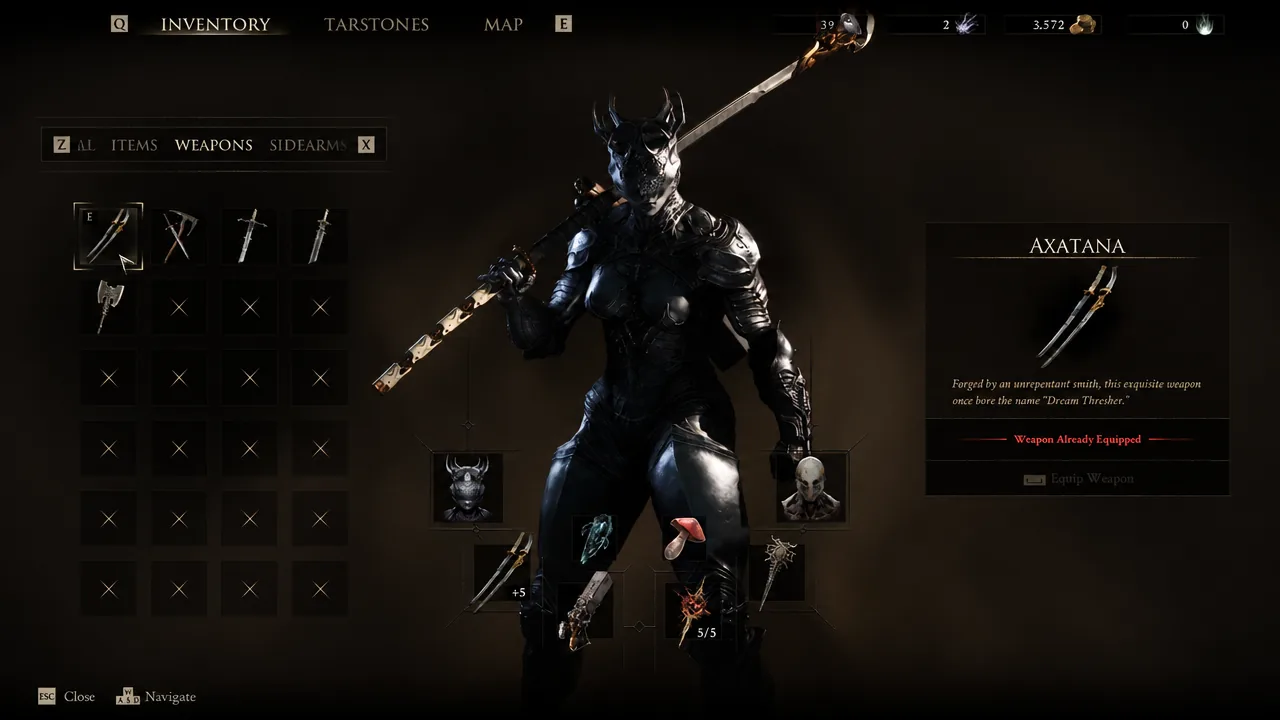
How the Axatana behaves in combat
The weapon is a pair of twin blades built to fold into an axe, and the form is tied directly to the attack button rather than a manual stance toggle. Light attacks use the katana form. Heavy attacks use the axe form. You cannot lock it into one shape.
Katana form is the fastest moveset available and sweeps in an arc in front of you, which makes it strong against clustered enemies. The running light attack in particular spins you through a group. Axe form trades that speed for heavy vertical swings that land more damage per hit and stagger enemies more reliably.
| Form | Triggered by | Behavior |
|---|---|---|
| Twin katanas | Light attacks | Fast arcing swings, good against groups |
| Axe | Heavy attacks | Slow vertical strikes, higher damage and stagger |
Its weapon ability is Morph Attack. If you already like the Axe and Dagger’s in-and-out rhythm, the Axatana covers similar ground with a heavier finisher attached.
Axatana upgrade materials
Upgrades run on Ventrium through the early levels, then switch to Laterite at +7. The costs climb sharply past +3, so plan around Ventrium supply if you intend to make this your main weapon.
| Level | Material | Quantity |
|---|---|---|
| +1 | Ventrium | 2 |
| +2 | Ventrium | 2 |
| +3 | Ventrium | 4 |
| +4 | Ventrium | 9 |
| +5 | Ventrium | 13 |
| +6 | Ventrium | 18 |
| +7 | Laterite | 2 |
| +8 | Laterite | 4 |
| +9 | Laterite | 9 |
Because the trip only demands one purification unlock and one elite kill, the Axatana is one of the earlier high-value weapons you can realistically add to a run. Light the Castigator’s Keep Beacon on the way through and the whole detour becomes a short fast-travel hop the next time you want to come back for the Tarstones scattered around the same stretch of Mammon.





