Magdalena, the Lady of the Woods is the boss waiting at the end of the Glutted Mire, and for most players she is the first major fight in Mortal Shell 2. She has a short attack list and telegraphs almost everything, but nearly none of it can be parried, and a single scooter charge into a fire spin can end a run. The fight rewards patience over aggression.
Quick answer: Dodge her charge and fire spin instead of parrying, close in for one or two hits during her recovery, then back off. Repeat that until her Break meter fills and Riposte her — those Riposte hits carry most of your damage.
Where to find Magdalena in the Glutted Mire
Her arena sits inside the Corrupted Gate behind the Mushroom Village Gate beacon. Push through the dungeon until you reach the Sunken Village in the Glutted Mire, then keep going past it. The route ends at a ledge looking down over a flooded stretch of swamp dotted with trees, and dropping off that ledge starts the encounter.
You will pass the Wandering Shepherd miniboss and the chest holding the Etching Needles, which unlock Tarstone upgrades, before you get there. From the closest Beacon it is a short run with no real enemy presence, aside from sheep that drop Gloom and Gold if you feel like clearing them.
Unlock Smert before you drop in
At the ledge you can spend 1x Glimpse to permanently unlock Smert as a friendly phantom. He does not hit hard and he does not last long, but he pulls Magdalena’s attention, which buys you time to heal or reposition. If she locks onto you instead, drag her away from Smert so he survives longer.
Loadout: weapons, shell, and burn mitigation
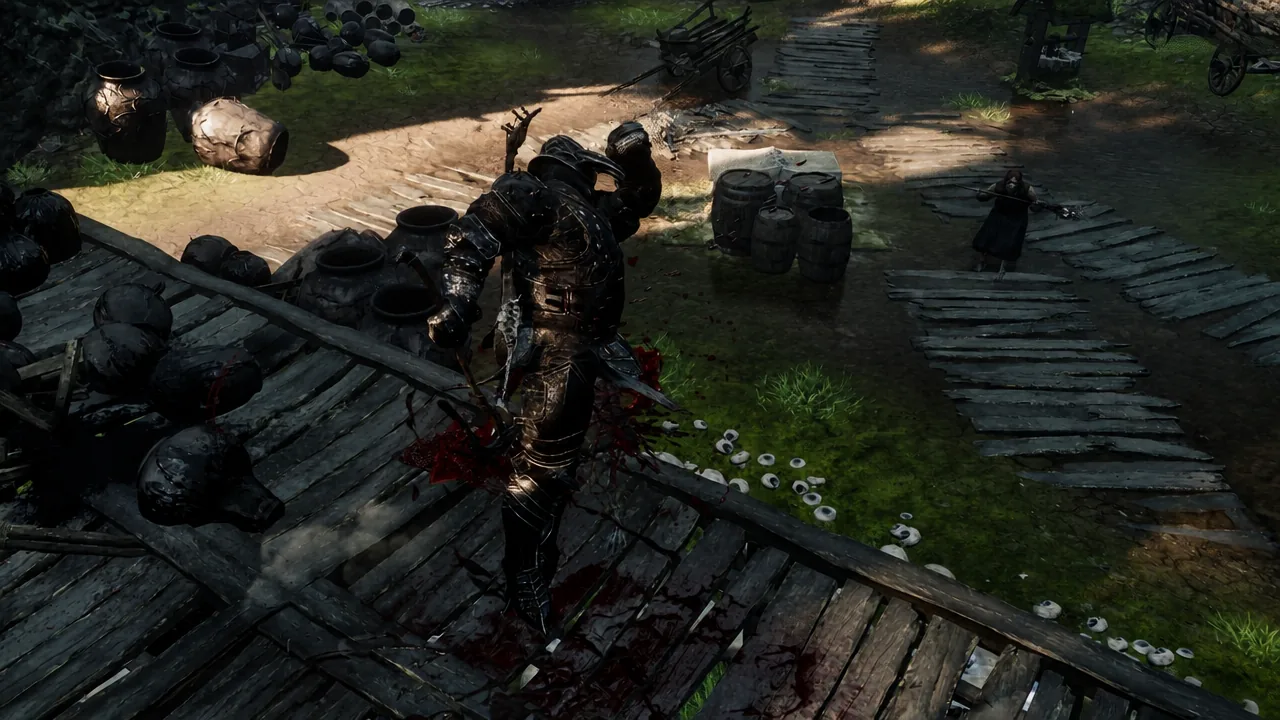
Magdalena never stops moving in her wheeled chair, so slow two-handed swings usually whiff. A fast weapon like the Axe & Dagger fits the rhythm best, and it refills ranged charges quickly so you can chip at her from outside her danger zone. Reach also works well here — the Iconoclast and the Veteran’s Battle Axe both cover a wide arc, which matters once adds show up.
Tiel is a strong shell pick because a perfect dodge turns him into a shadow, leaving him briefly invisible and setting up a hidden strike that staggers her straight into a Riposte. For gear, slot the Burnt Effigy as a Passive for +15% Burn mitigation across the whole fight. Her leftover flames burn you even after the attack ends, so that reduction stays useful the entire time.
Magdalena’s attacks and punish windows
Treat almost everything she does as unblockable. Trying to parry her charge simply does not work, and standing next to her invites the fastest move in her kit.
| Attack | What happens | Response |
|---|---|---|
| Cart Ram | She revs the chair and barrels straight at your position, very fast at close range | Dodge sideways at the last moment, then step in for one or two light hits |
| Fire Spin | She spins and throws a ring of flame around herself, leaving fire on the ground | Back off, dodge over the flames, and hit her as the spin winds down |
| Tar Babies | Small demons swarm you and explode when they get close | Keep moving and clear them with wide sweeps, or ignore them if they are not crowding you |
| Fly swarm | She belches insects that hang in the air around her | Leave the cloud immediately and bait her to a clean patch of swamp |
Distance is the whole fight. If you camp next to her, you will get one or two light attacks in before she counters, and the ram punishes anyone who lingers. Hitting the chair itself works fine, and ranged sidearm shots let you keep applying damage from a spot where none of her moves reach you.
Note: hugging the outer edge of the swamp is not a safe answer. Insects near the boundary can stagger you out of your own attack animations.
Filling the Break meter and landing Riposte damage
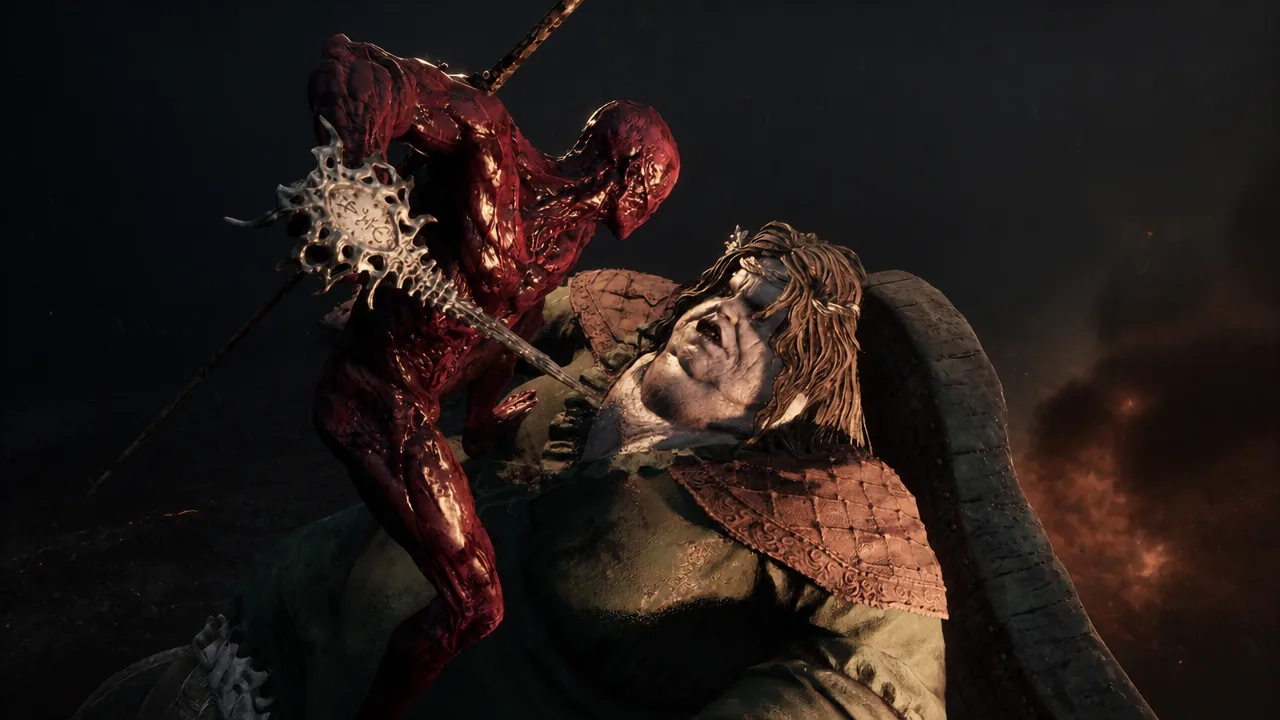
Riposte is where the health bar actually moves. Enough connected hits fill her Break meter outright, so you do not need to slowly build it through other means — you just need consistent pressure across every recovery window.
Phase changes at 50% and 30% health
Around half health, she starts summoning swamp demon babies. There are a lot of them and they die fast, but they detonate near you, so keep moving instead of standing still to swing at them. Wide attacks handle the crowd while you stay locked onto Magdalena — horizontal sweeps from the Iconoclast or Veteran’s Battle Axe, or the sprinting spin and charged heavy from the Axe & Dagger. She is wide open during this stretch, so it is your best damage window in the whole fight.
At roughly 30% health she begins belching flies that blanket the ground right around her. Standing in that cloud too long locks you into an animation, and she uses that gap to land a heavy blast. The fix is simple: do not fight her inside the swarm. Pull her to a clean part of the arena and continue the same dodge-and-punish loop.
Rewards for beating Magdalena
The kill is confirmed by a beacon spawning in the arena, stocked with Ova needed for campaign progress. Carry that Ova back to Marrow Keep to convert it into a large Gloom payout. The fight itself also pays out Gloom on the spot and pops the “Ultimate Karen” achievement.
| Reward | Details |
|---|---|
| Magdalena’s Memento | Tarstone for the Axe & Dagger only; costs 100 Resolve to rise into the air and unleash a flurry of strikes |
| Gloom | 11,344 from the fight, plus a further batch once you siphon the Ova at Marrow Keep |
| Beacon Ova | Spawns in the arena after the kill and is required to keep the campaign moving |
| Achievement | Ultimate Karen |
If the fight keeps ending badly, the cause is almost always the same one: staying inside her radius too long. Cut your combos down to one or two hits, let the sidearm carry the gap, and the Glutted Mire’s Corrupted Gate stops being a wall.