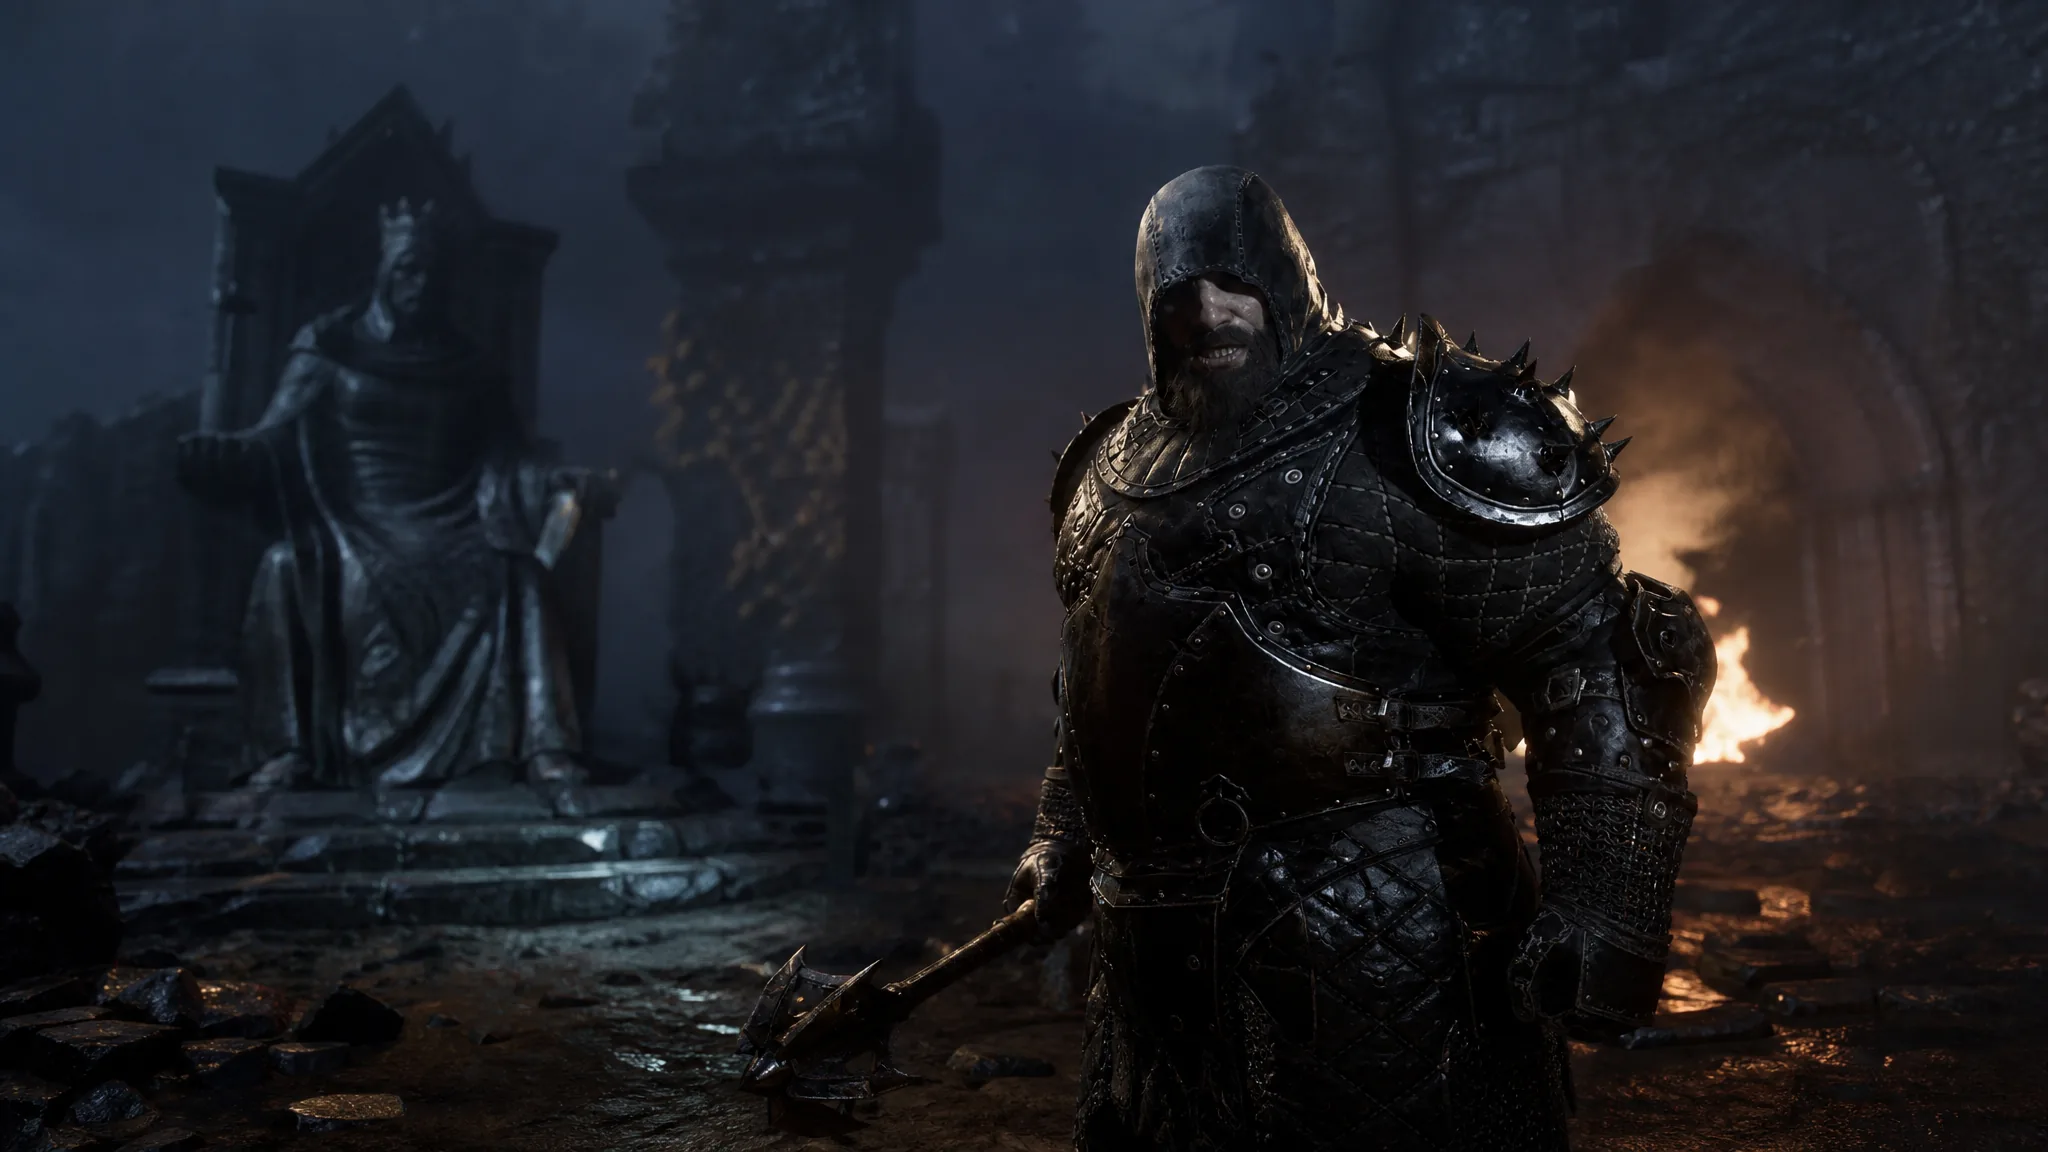
Gragu, the Insatiable, is the closest thing Mortal Shell 2 has to a pure damage dealer. He does not dodge better than Tiel or duplicate himself like Genessa. What he does is land one enormous hit and then heal himself back up so he can do it again. Everything you equip on him should serve that loop.
Quick answer: Run Axe and Dagger with Duality Stone, Arbiter’s Prize, and Acolyte’s Stone, back it with the Triarch Repeater or Forgotten Crossbow, slot Auspicious Stone, Berserker’s Stone, Headman’s Stone, and Marksman’s Stone for support, equip Vatra’s Seal, and spend your Shell Bond points on Attunement, Anger, Maniac, Bloodthirst, Bloodlust, and Hunger.
How Gragu’s damage loop works
Gragu has two base abilities and they feed each other. Staggering Blow is a charged punch that heavily staggers whatever it hits, and the longer you hold the charge, the more damage it deals. Revered Heart restores a chunk of health, and its charges refill as you kill enemies.
So the pattern is simple. You take a hit or two while charging, land Staggering Blow to break the enemy’s stance, follow up with melee swings while they are reeling, then burn a Revered Heart charge to top yourself off. The build below exists to make that one punch and the follow-up swings hit as hard as possible, and to make sure the healing keeps pace.
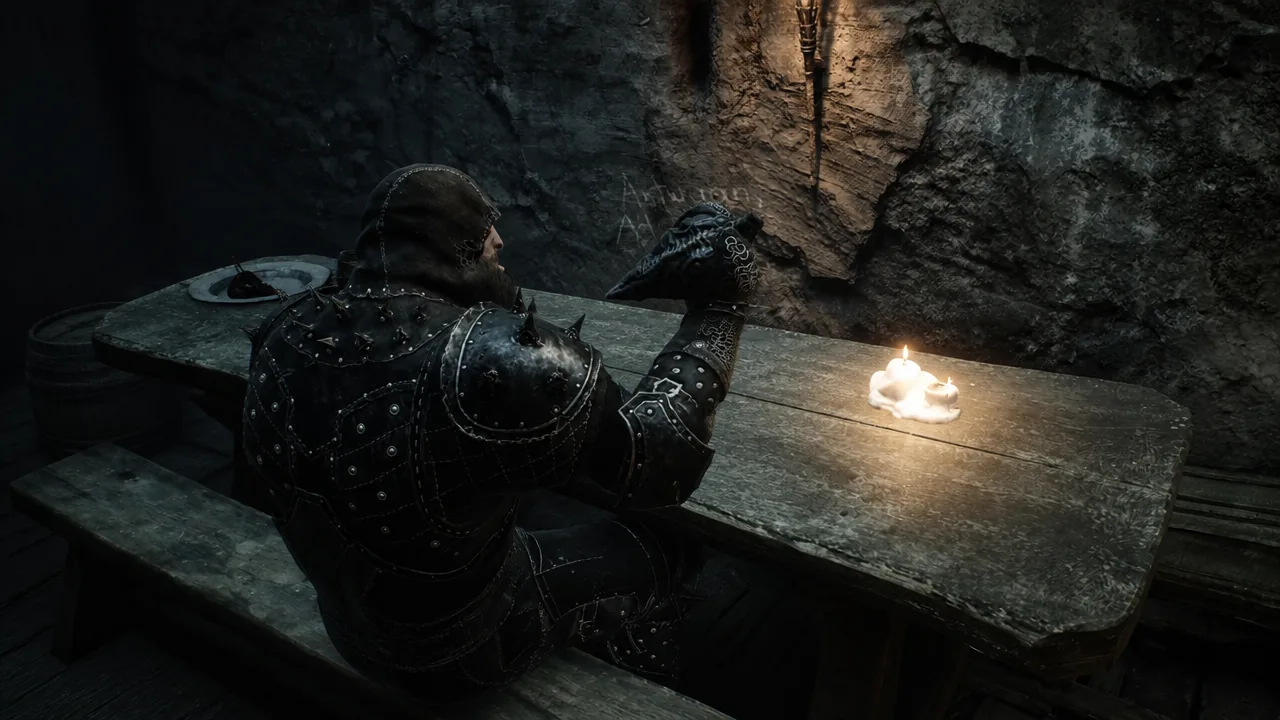
Unlock Gragu with the Heart of Vatra
Note: Shell upgrade currency is finite in a single run, and most players can only max out about three Shells before New Game+. Decide early whether Gragu is one of them, because half-invested he is noticeably weaker than the numbers below suggest.
Shell ability priority for Gragu
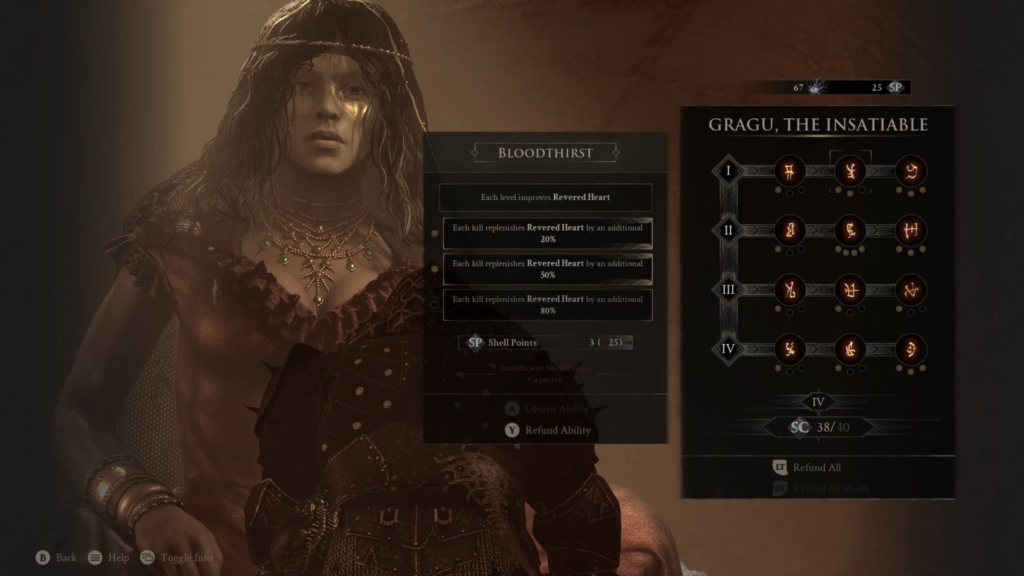
Gragu’s Shell Bond upgrades are split across four tiers. The ones worth your points either scale Staggering Blow, raise your baseline melee damage, or keep Revered Heart topped up so you can stay in a fight long enough to finish the loop.
| Ability (Tier) | What it gives you |
|---|---|
| Attunement (II) | Cuts the Resolve cost of Staggering Blow by 20%, 30%, then 50%. Max this first — it decides how often you get to use the punch at all. |
| Anger (III) | Level 1 adds 5 Weak stacks, level 2 adds 5 Fragile stacks, level 3 adds 40 Break Damage to Staggering Blow. The Break Damage is what turns it into a stance-breaker. |
| Maniac (II) | Raises all melee damage to 120%, 130%, then 140%. This is your flat multiplier for the follow-up swings. |
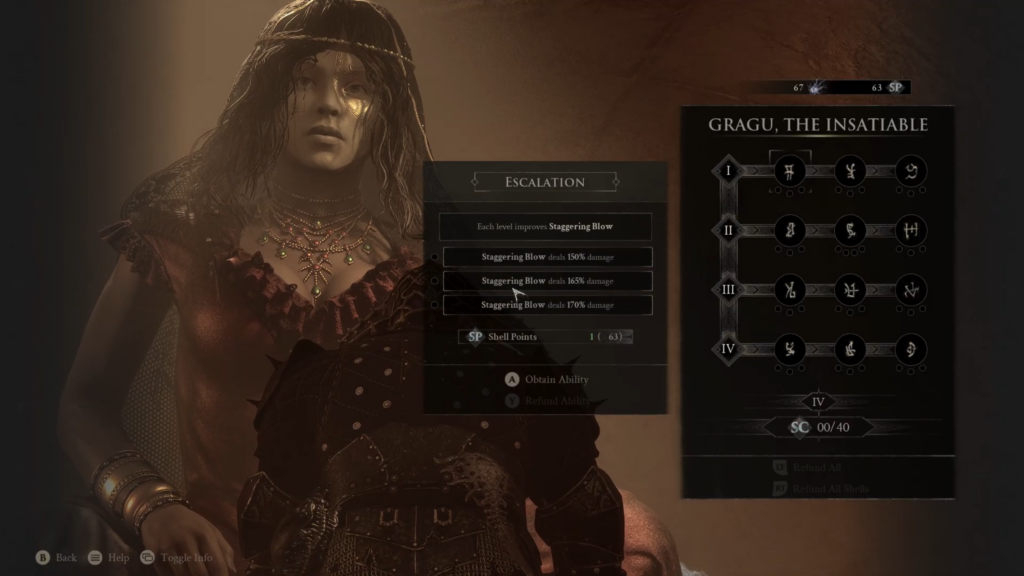
| Escalation (I) | Staggering Blow deals 150%, 165%, then 170% damage. Big jump at level 1, diminishing after. |
| Bloodthirst (I) | Each kill refills Revered Heart by an extra 20%, 50%, then 80%. Keeps your healing sustainable in longer fights. |
| Bloodlust (III) | Level 1 makes your next melee attack after using Revered Heart deal 200% damage. One point here is enough to matter. |
| Hunger (IV) | While Revered Heart is empty, critical hit chance rises by 30%, 40%, then 60%. Pairs directly with the crit Tarstones below. |
| Fortify (IV) | Resting at a Beacon restores up to 1, 2, then 3 Revered Heart charges. Quality of life for boss attempts. |
| Harvest (II) | Adds health per Revered Heart use and raises the charge cap to 4, then 8. Take it if you keep dying mid-loop rather than mid-charge. |
Heartwork, Devourer, and Heartless are fine picks, but none of them push single-target damage the way the list above does. Skip them until the core is maxed.
Tarstones: stack melee damage and crits
Tarstones slot into your weapon, sidearm, and support slots. Gragu wants every one of them pointed at raw melee output. Duality Stone is the single biggest gain here, and Arbiter’s Prize keeps enemies bleeding between your heavy hits.
| Tarstone | Slot | Effect |
|---|---|---|
| Duality Stone | Weapon | Doubles the damage of your melee attacks |
| Arbiter’s Prize | Weapon (infusion) | Infuses weapon attacks with Bloodcurse |
| Acolyte’s Stone | Weapon | Rounds out the melee slots alongside Duality Stone |
| Auspicious Stone | Support | Raises the chance of landing a critical melee hit |
| Berserker’s Stone | Support | Increases melee damage while your health is low |
| Headman’s Stone | Support | Third support slot in the damage setup |
| Marksman’s Stone | Support | Covers your sidearm output |
If you would rather not rely on crit chance, Grudge Stone is the safer alternative to Auspicious Stone — it guarantees a critical hit after a set number of strikes, which lines up neatly with the fast Axe and Dagger swing pattern. For the sidearm slots, Rupturing Stone and Voltaic Amber are the standard pairing on the Triarch Repeater.
Weapon and sidearm choices
The Axe and Dagger is the main melee weapon. Its attack speed lets Duality Stone and your crit Tarstones proc often, and it recovers quickly enough that you are not locked out of a Staggering Blow charge when an opening appears.
For the sidearm, the Triarch Repeater is the stronger pick when you have the Tarstones for it, since it keeps chip damage going while you rebuild Resolve. The Forgotten Crossbow is the simpler option if you just need something to poke with while backing away from an enemy you cannot safely charge against.
Vatra’s Seal and hardening
Equip Vatra’s Seal. Gragu has to eat damage while charging, and the Seal gives him the durability to survive it. More importantly, if you time your harden well enough to trigger a Perfect Harden, Gragu’s next attack deals Break Damage — which stacks with the Break Damage from Anger at level 3 and can break an enemy’s stance outright.
That interaction is the practical reason to learn Perfect Harden timing on this Shell specifically. Harden through an incoming swing, then release your charged punch into the opening you just made.
Where this build falls apart
Gragu is at his most comfortable clearing regular enemies, where kills feed Revered Heart charges and nothing punishes a long charge. Against bosses the picture is less forgiving. The full-charge Staggering Blow only pays off if the boss gives you a window long enough to hold it, so the build lives or dies on how well you read attack patterns.
Two things most often go wrong. Charging Staggering Blow without a Perfect Harden or a guaranteed opening gets you interrupted and wastes the Resolve, and running Hunger’s crit bonus without Berserker’s Stone or a healing plan means you spend the fight at low health with nothing to show for it. Fix the Resolve economy with Attunement first, then start layering in damage.