Stalker 2 Cost of Hope: In the Heart of the Iron Forest Walkthrough
Every objective, key location, and mutant fight in the Testing Workshop mission, plus its completion rewards.
Every objective, key location, and mutant fight in the Testing Workshop mission, plus its completion rewards.
by AllThingsHow Staff · Edited by Pallav Pathak
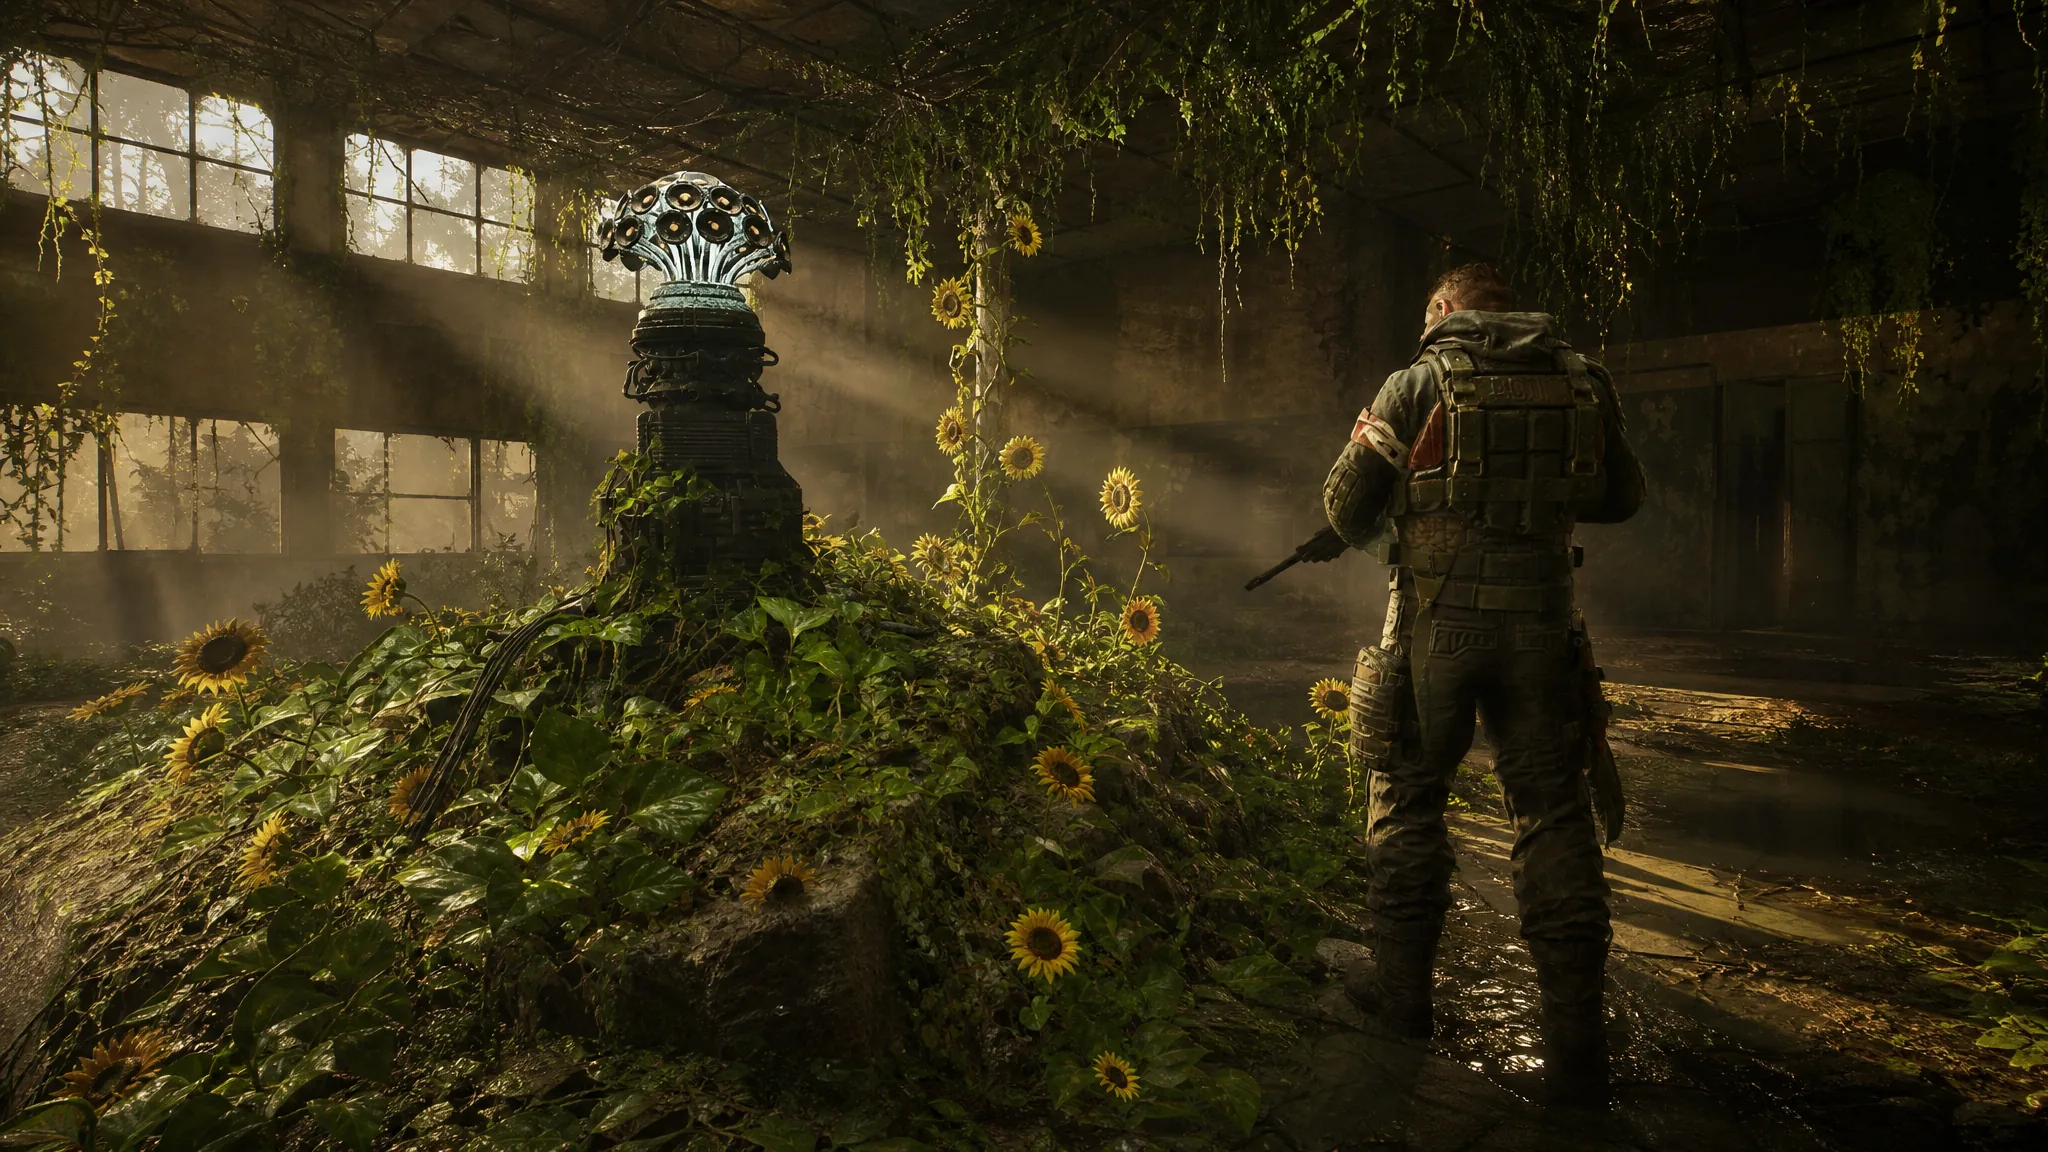
In the Heart of the Iron Forest picks up right after Unexpected Alliance in the Cost of Hope expansion, and it finally explains the blasts that keep tearing through the Iron Forest. The mission is built around three things: restoring power twice, surviving mutant ambushes in tight underground spaces, and pushing through the Testing Workshop alongside Zulu and Mavka.
Quick answer: Start the generator at the Power Substation, meet Zulu and Mavka at the Testing Workshop to get a key card, restore power in the control room and kill the Poltergeist, clear the anomaly-blocked route to open the locked door, then hold off the mutant waves at the final panel and speak to Zulu.
Image credit: GSC Game World
Mission requirements and rewards
The quest only becomes available once you have helped Mavka and returned to Zulu at Kurin during the previous mission. You will want a shotgun or something with fast handling for close-range mutant fights, plus grenades for the final wave defense.
Detail
Value
Starts after
Unexpected Alliance
Main objective
Explore the Testing Workshop with Zulu and Mavka
Key locations
Power Substation, Generator Room, Testing Workshop underground
Enemies
Rat mutants, Poltergeist, mutant waves
Rewards
Hercules x3, Medkit x3, Coupons x7,500
Next mission
Distant Mirage
Power Substation: Get inside and start the generator
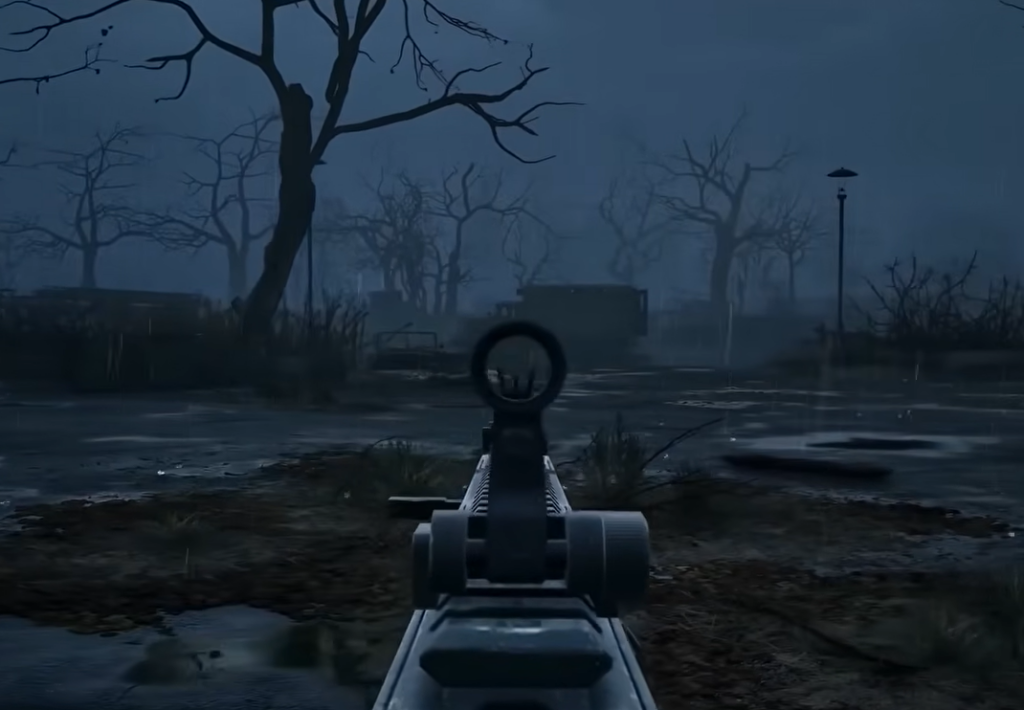
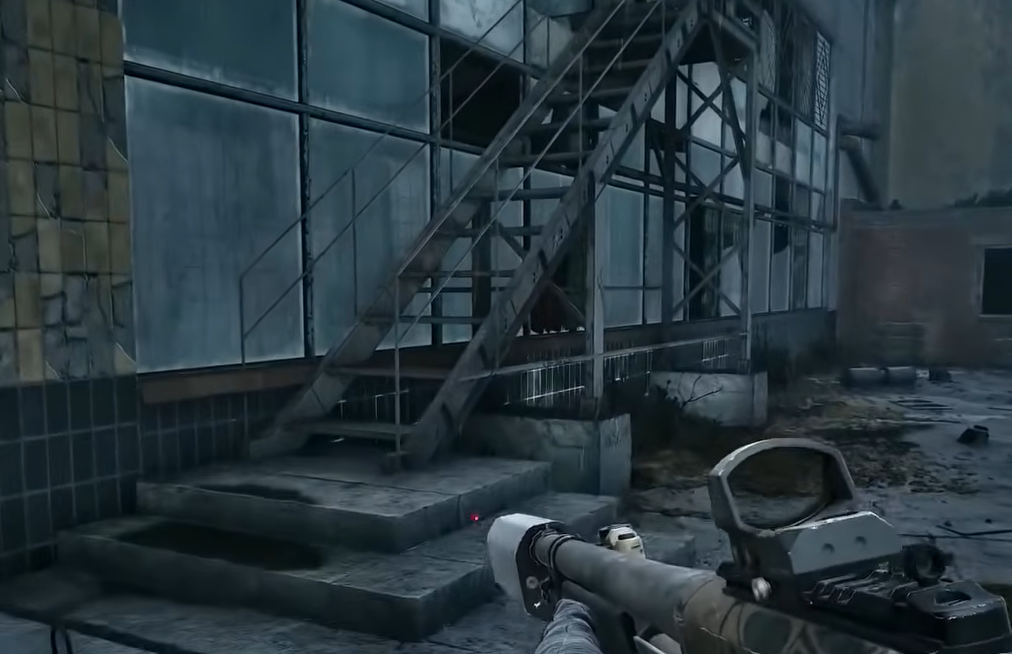
Travel to the Power Substation in the Iron Forest and follow the objective marker. There is no ground-level entrance, so use the ladder on the outside of the building to climb onto the rooftop.
Head through the second-floor doorway and move forward, hopping over the debris and structures scattered across the floor. The path eventually dead-ends.
A large pack of rat mutants swarms you the moment you land. Clear them out, cross to the opposite side of the room, and flip the red switch to bring the generator online.
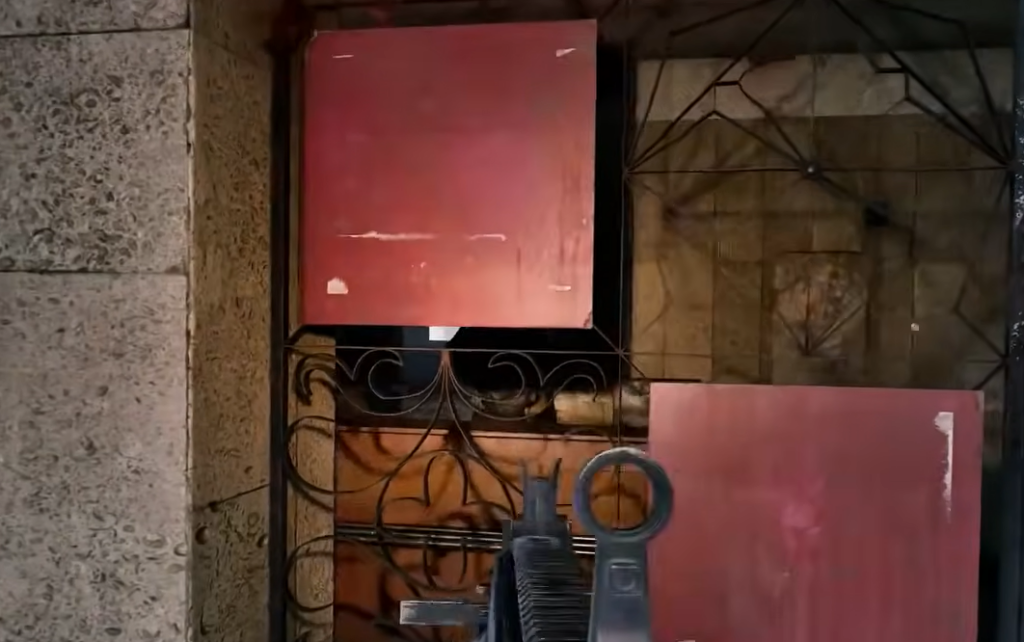
Navigate to the Testing Workshop, marked in yellow on your map, and enter through the door. Turn right inside and take the stairs down to find Zulu and Mavka waiting.
During the conversation, pick “What’s the plan?” and then “Ready.” Zulu hands over a key card that opens most of the doors in the Testing Workshop, so do not skip these lines.
Use the key card on the reader beside the door and follow the pair inside. Keep pace with them until Zulu stops and asks you to restore power to the facility.
Image credit: GSC Game World
Restore power in the control room and kill the Poltergeist
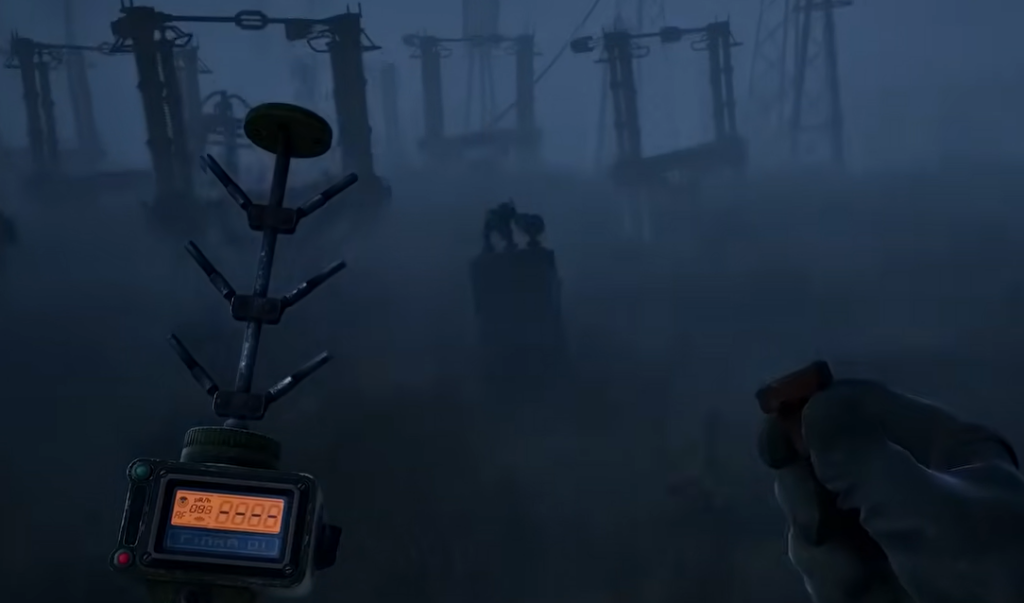
Continue forward and take the stairs down. Along the way you will spot a blue sparkling sphere hanging on the right — shoot it to destroy it before moving past.
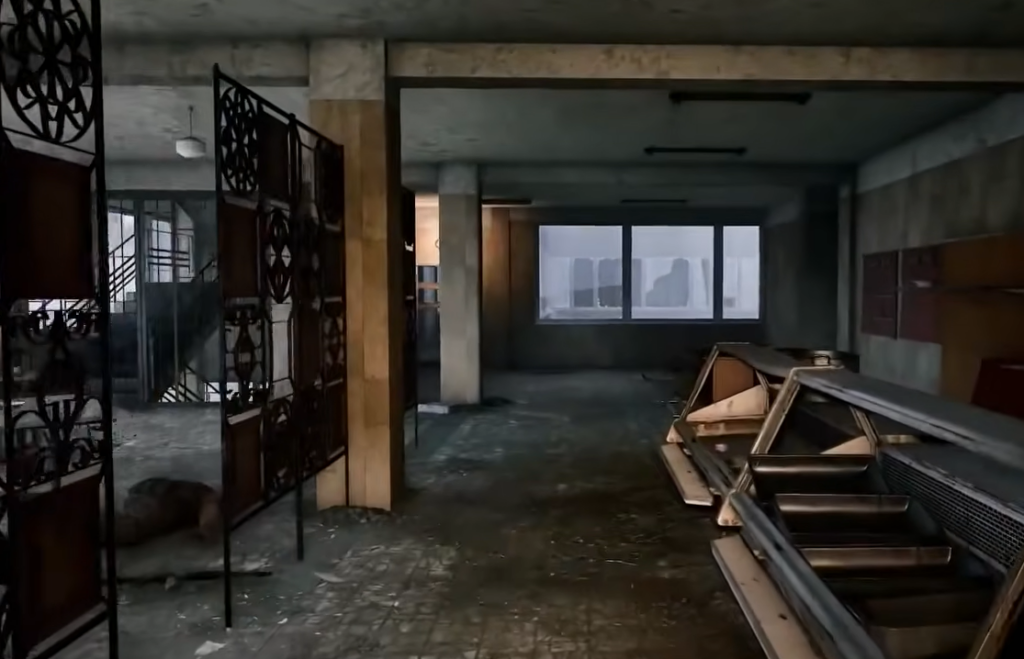
A Poltergeist spawns as soon as the lights come back. Track the fast-moving ball of electricity and shoot it down, using the shelving in the room as cover between passes. A shotgun at close range ends the fight quickly.
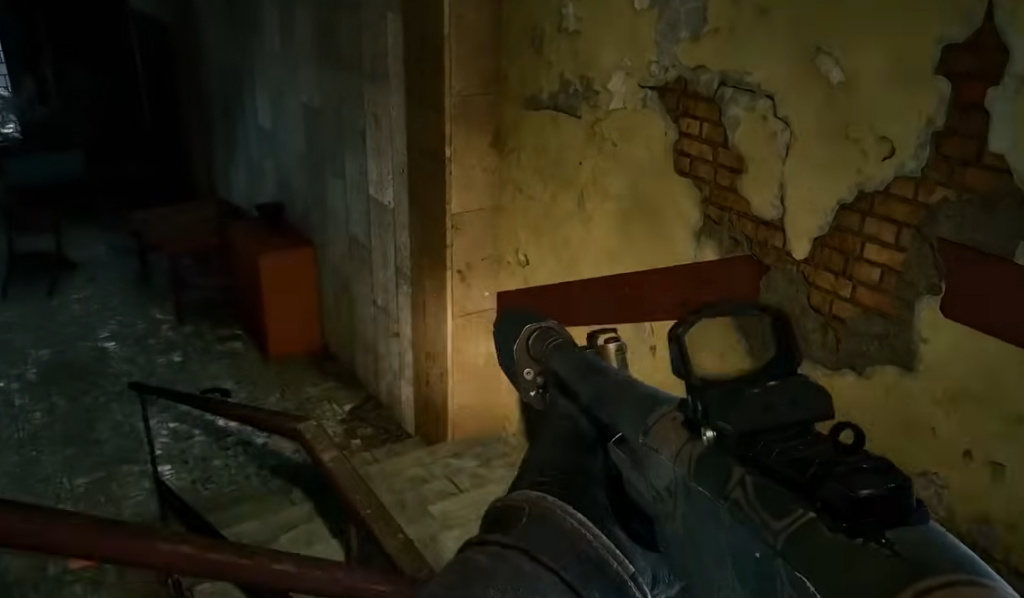
Once the mutant is dead, take the door next to the power switch to rejoin Mavka. Use your key card on the panel beside the white door, then follow Zulu and Mavka until they stop at another locked door.
Image credit: GSC Game World
Open the locked door: Anomaly route and electric spheres
This is the platforming section of the mission. The floor below is unsafe, so everything here is about staying on raised surfaces and shooting out the spheres that keep the door sealed.
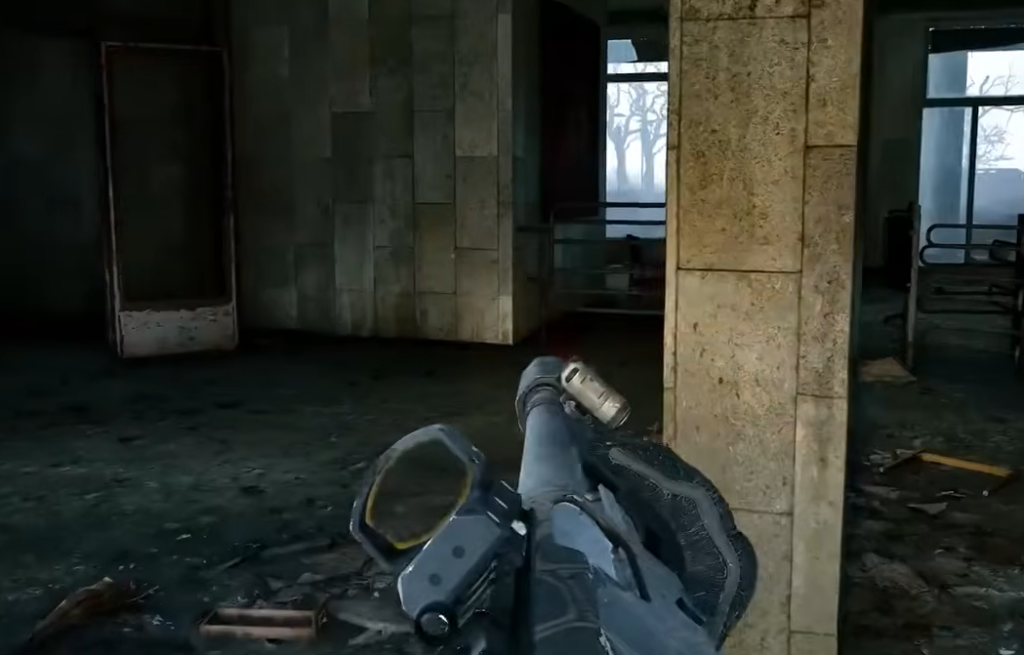
Drop down, turn right, and destroy the spheres on both sides. That unlocks the door for Zulu. Follow him through to the next area, where Mavka is waiting.
Several waves of mutants pour in while the door works through its cycle. Grenades handle grouped enemies fastest, so keep a few in reserve before you pull the switch.
Talk to Zulu afterward and choose “What do we do next?” to close out the quest.
You know it worked when the mission completes and Hercules x3, Medkit x3, and 7,500 Coupons land in your inventory. Distant Mirage begins immediately afterward, so there is no need to travel anywhere or wait for a new signal.
Image credit: GSC Game World
Most people who stall out here get stuck in one of two spots: missing the Generator Room key on the table after the window climb, or trying to cross the ground floor during the anomaly section instead of staying on the barrels and platforms. Note: the key card Zulu gives you is needed more than once, so if a panel refuses to respond, make sure you selected both dialogue options during that first conversation.