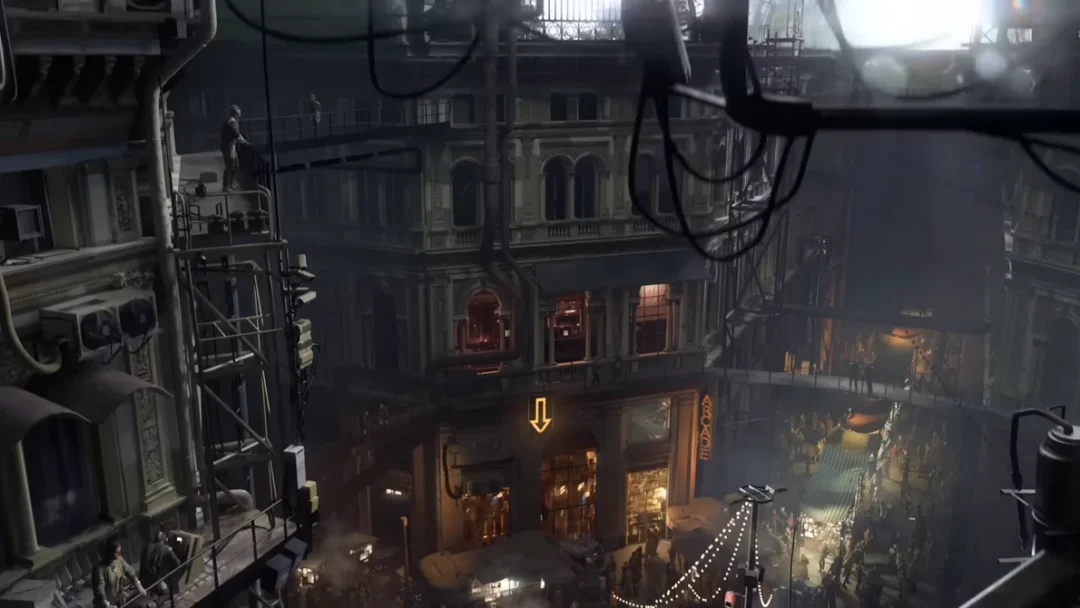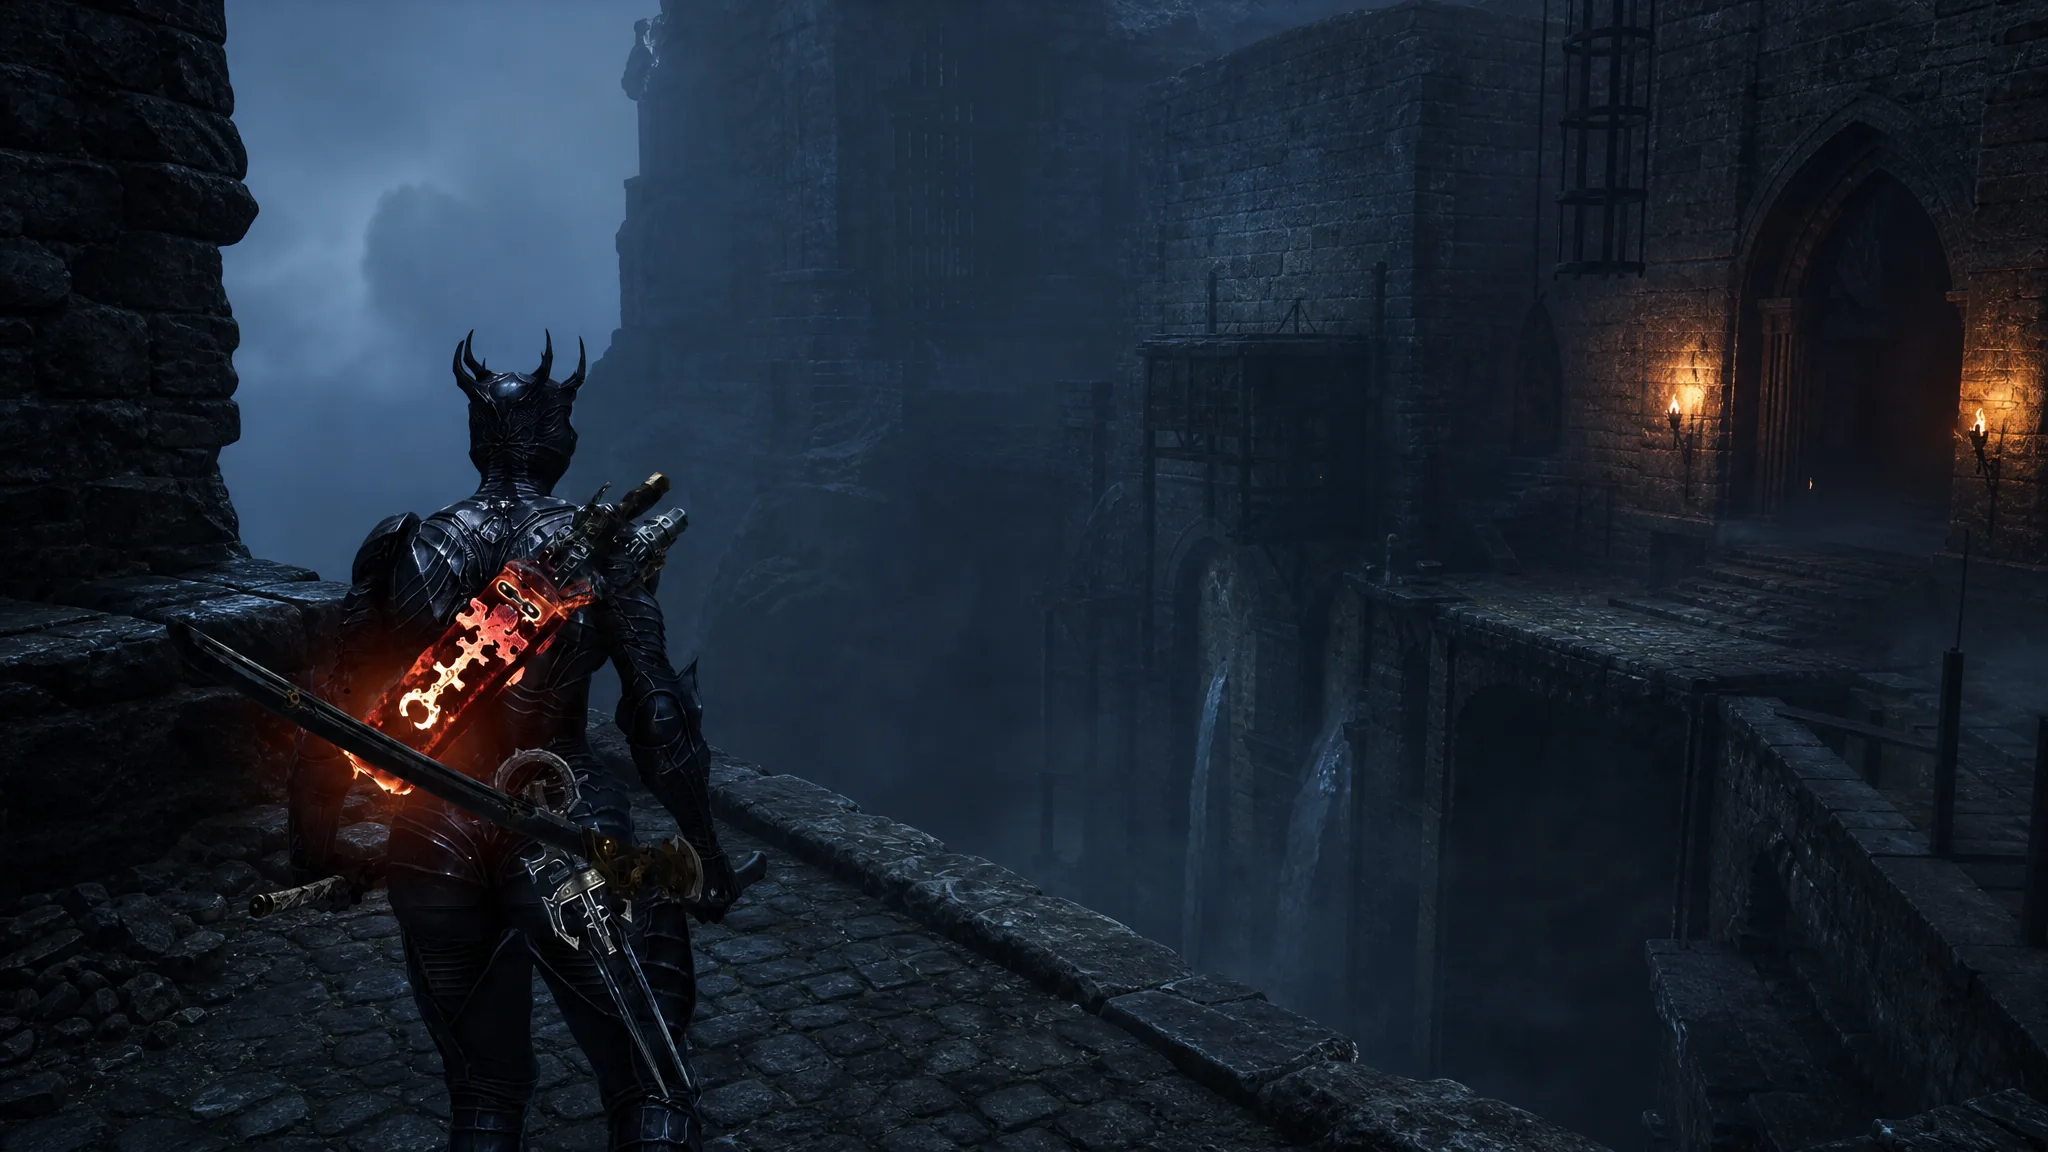
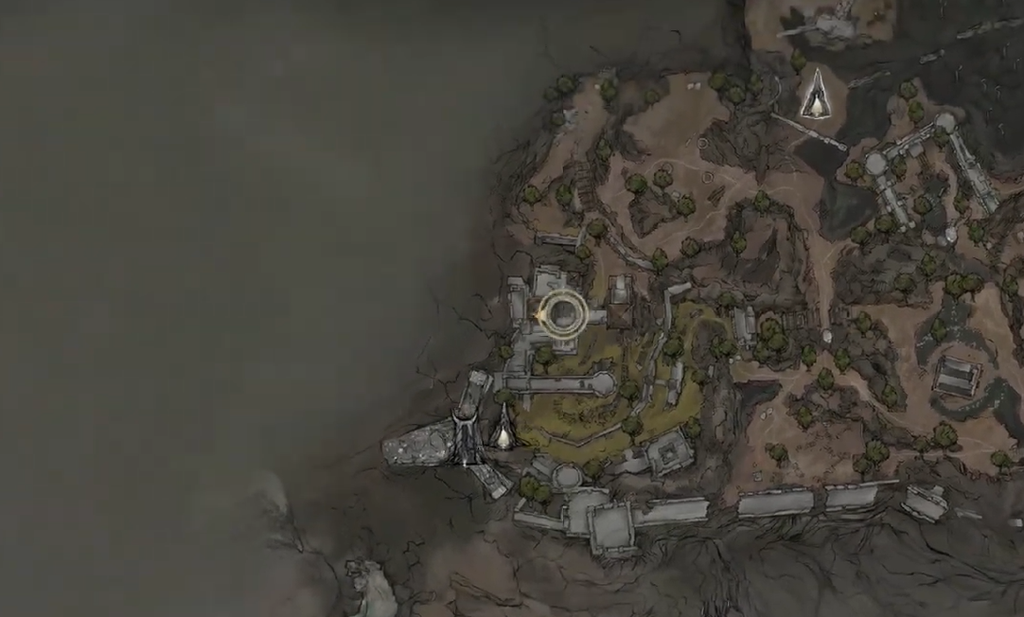
Thieves Retreat sits just north of the Nochtean Gate Beacon in Mortal Shell 2, and it turns a wrecked bridge into a balancing act over an open pit. The path across is held together by invisible floors, the air is full of lightning-slinging ghosts, and the flooded ground below crawls with monsters. Clearing it means reading the outline of the bridge and picking up the Revered Gland at the far side.
Quick answer: Enter north of the Nochtean Gate Beacon, then follow the whispy floor outline and the floating corpses across the broken bridge while avoiding the ghosts’ unblockable lightning. Reach the two lit torches on the opposite side and pick up the Revered Gland by the statues to open a portal back to the entrance.
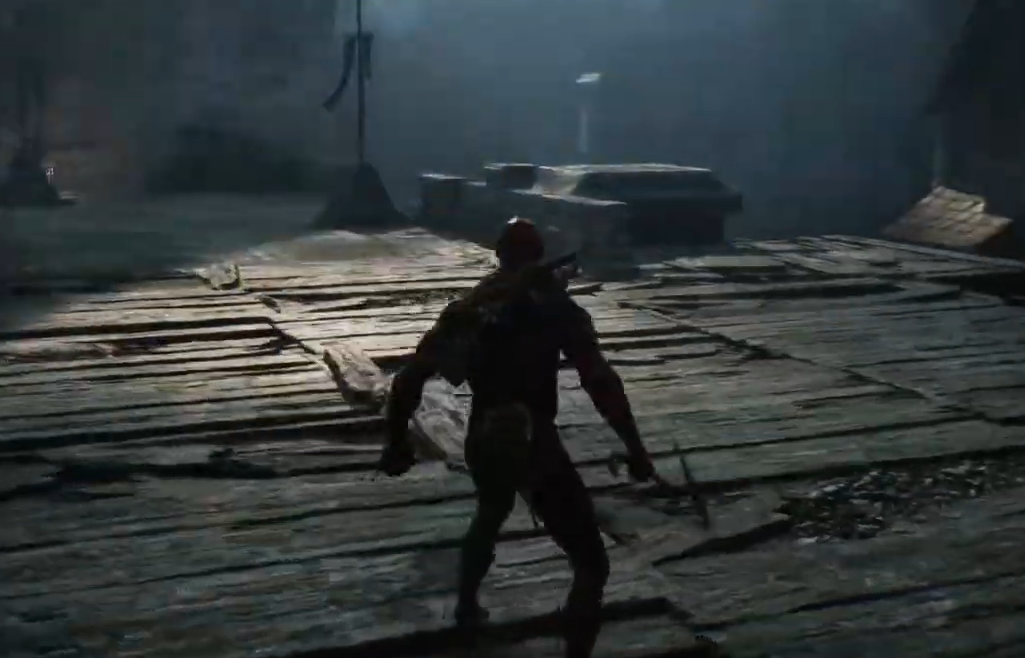
Thieves Retreat location and entrance
The dungeon is in Fainweald, reached from the Nochtean Gate Beacon. Head north from the beacon, pass through the arched doorways, and drop to the floor below where a hostile Stoner waits. The entrance sits just past the arched passageway opposite that enemy. Dropping one level down also lets you hit a switch that opens a metal gate to the dungeon door.
Once you gather enough Ova, you can use fast travel to return to the Nochtean Gate Beacon and reach this spot quickly instead of walking back each time.
What to bring before you go in
Every ghost in Thieves Retreat attacks with lightning spells, and none of them can be blocked. Loading up on lightning resistance is the single biggest thing you can do to make the crossing survivable.
| Setup | What it does |
|---|---|
| Proxima with at least two levels in Ampereon | Reduces incoming Lightning damage and makes you immune to the Lightning status effect |
| Galvanic Shard in your passive item slot | Adds further Lightning damage mitigation |
Proxima’s Biosampler is also worth using here. The combat space on the bridge is narrow, so grappling ghosts toward you lets you go on the offensive and stop them from spamming lightning at range.
Crossing the invisible bridge
The main room opens onto a ruined bridge with ghosts scattered across it and a flooded pit underneath. Your target is the exit on the far side, marked by two lit torches beside a doorway.
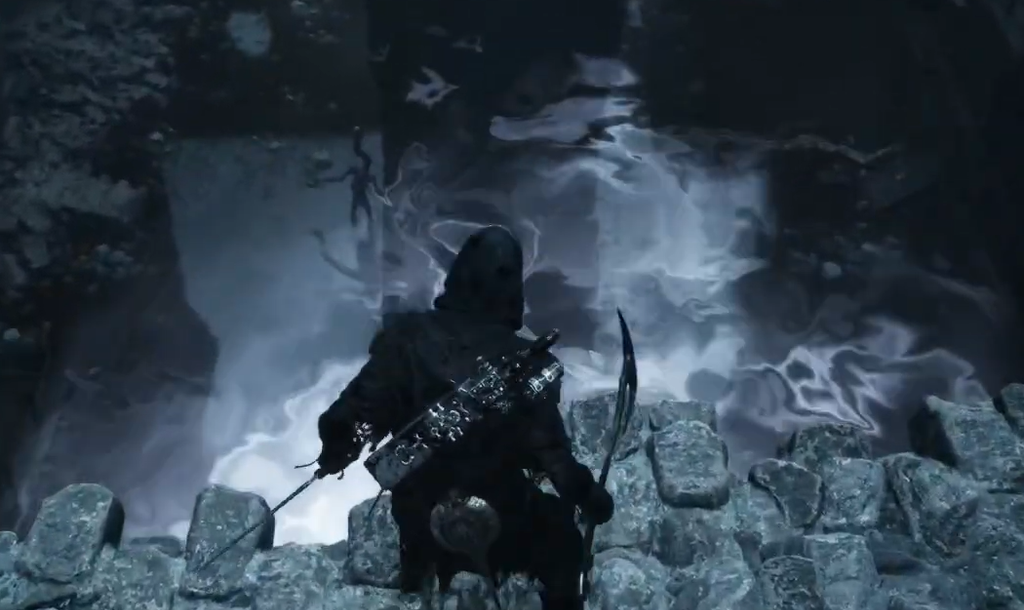
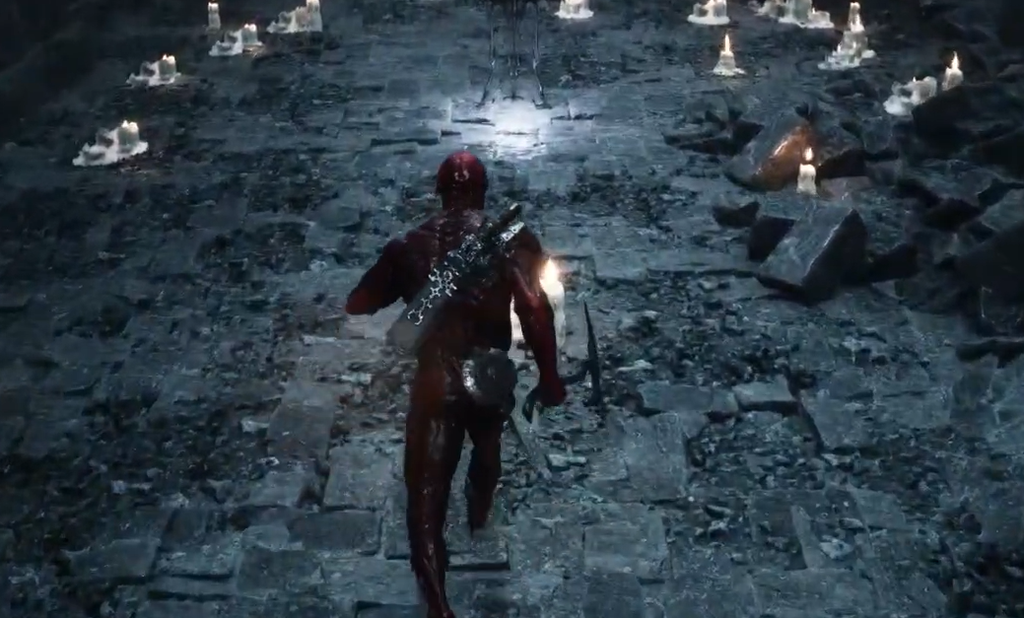
If you drop into the pit, a swarm of monsters is waiting. An elevator leads back up to the bridge, controlled by a lever. Either clear the monsters or lure them away from that lever so you can ride the lift back up.
Loot, the Ventrium totem, and the hidden hallway
Beyond the Revered Gland, there is one Ventrium totem for upgrading gear near one of the rundown shacks down in the pit. A second invisible floor near the entrance, on the left side, leads to a hallway packed with traps and enemies.
| Reward | Where to find it |
|---|---|
| Revered Gland | End of the broken bridge, among the statues |
| Ventrium totem | By a rundown shack in the flooded pit |
There are Resolve roots in both the hidden hallway and the pit, which suggests something in those spots may respond to Shell abilities or ranged attacks. No confirmed secret has been found beyond that, so treat those roots as the main lead if you want to keep digging.
With lightning resistance stacked, the invisible floor read, and the Revered Gland collected, Thieves Retreat is done. The portal drops you back at the entrance, and you can fast travel out once you have the Ova to spare.