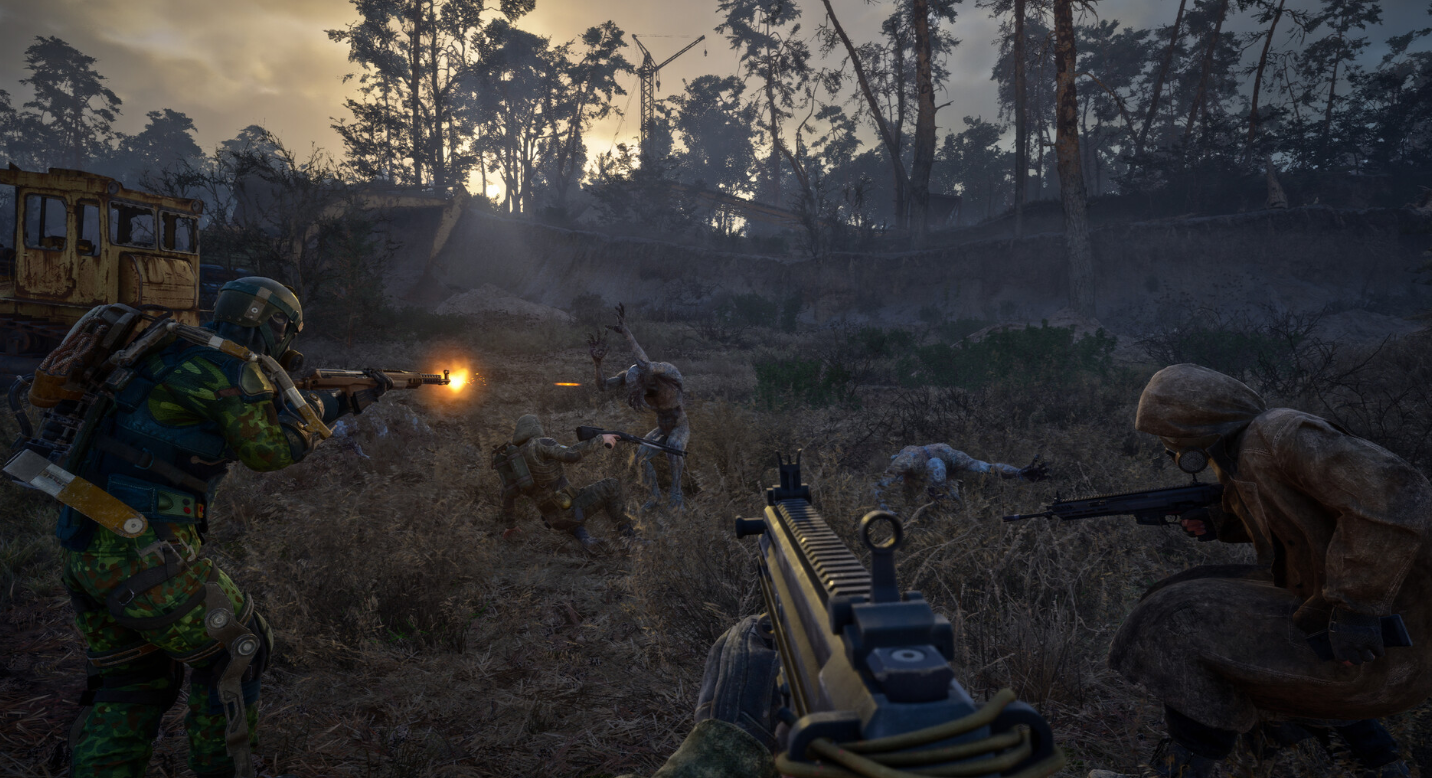
The Destructive Power of the Mind is the main mission where the faction leaders finally move to stop Nord from using the technology inside Laboratory X16. It runs across several locations before funneling you into one long assault, and it contains the single choice that decides which ending the Cost of Hope DLC gives you.
Quick answer: Finish Shadows of the Past and To the Origins of Freedom, wait for Mavka’s radio call, and meet the allies at the secret camp. Pick Mavka’s stealth plan or Zulu’s assault, gather the key card or the C4, break into X16, and reach the central rooms. When Mavka and Zulu argue over the mutant, choose “Zulu, you’re wrong” for the Freedom ending or “Mavka, back off” for the Duty ending. Then kill Nord, shoot the spinning yellow fuses and cables to stop the Brain, talk to your leader, and repel the ambush to finish.
Prerequisites and where the mission starts
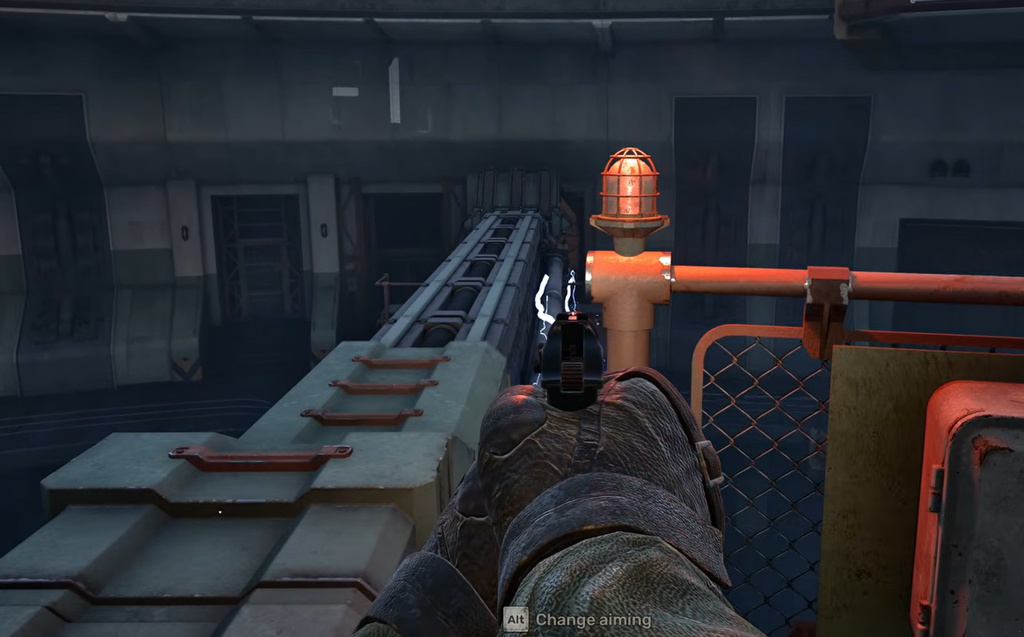
The mission unlocks only after you complete both Shadows of the Past and To the Origins of Freedom. Once those are done, wait for Mavka’s radio call. She will direct you to a rendezvous point marked on your map.
The secret camp sits southwest of Rostok Base, roughly 1.8 km from where the previous mission ends and north of the Chemical Plant point of interest. The camp is ringed by a brick wall, but there is a broken section you can walk through. From there, head east toward a lower garage and enter the metal door framed by orange bricks, then continue into the basement to find Zulu and Suslov. Mavka arrives shortly after.
Choose your approach: Mavka’s stealth or Zulu’s assault
At the camp, the two leaders lay out separate plans for hitting X16. This first choice decides how you get inside and which unique weapon you receive early. It does not lock your ending, so pick whichever style you prefer.
| Approach | Dialogue | Prep task | Early reward |
|---|---|---|---|
| Mavka (stealth) | “I’ll roll with Mavka” | Steal a mercenary key card | Clapper (unique M860) |
| Zulu (loud) | “I’ll roll with Zulu” | Secure C4 explosives | Warszawa (unique ARev) |
Mavka route: take the key card

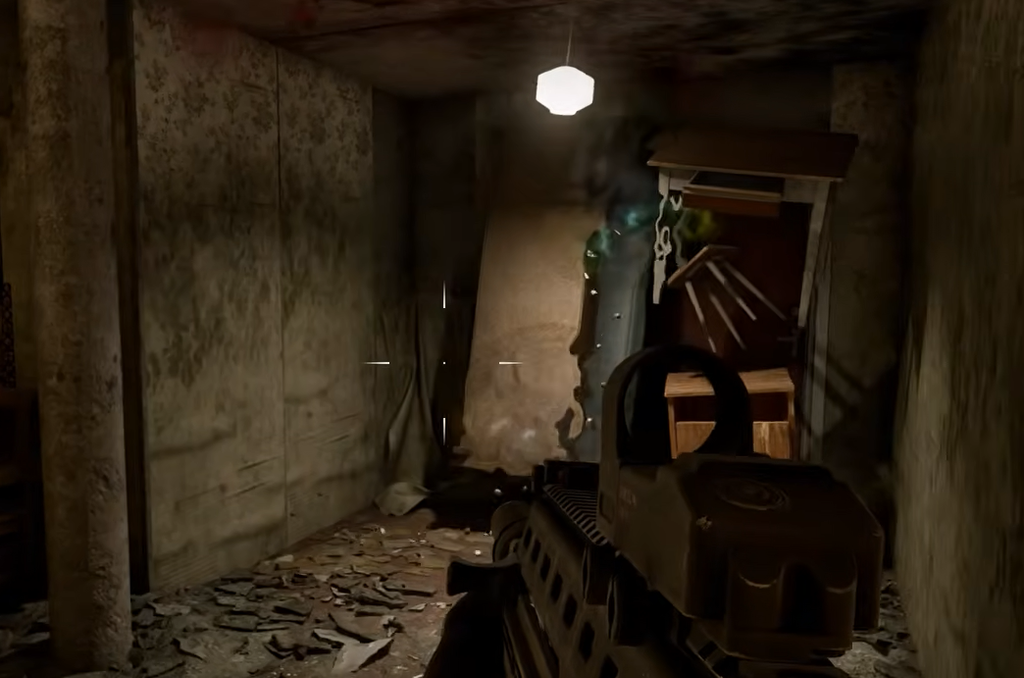
Zulu route: buy the explosives
Breaking into Laboratory X16
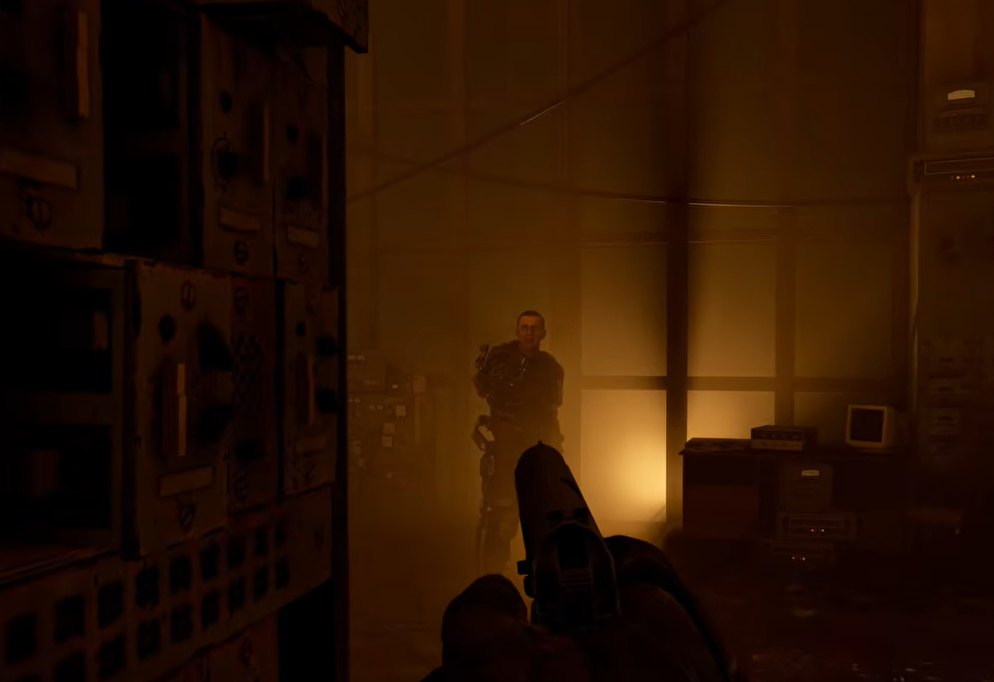
The way in changes with your approach. On Mavka’s plan you slip through the back and use the key card. On Zulu’s plan you fight through the front and blow open walls.
Stealth entry (Mavka)
1408. Continue past the cafeteria, kitchen, morgue, and projection room, then up to level 04 to meet Mavka and Zulu and trigger the cutscene.
Loud assault (Zulu)
Reaching the central rooms and the optional safe
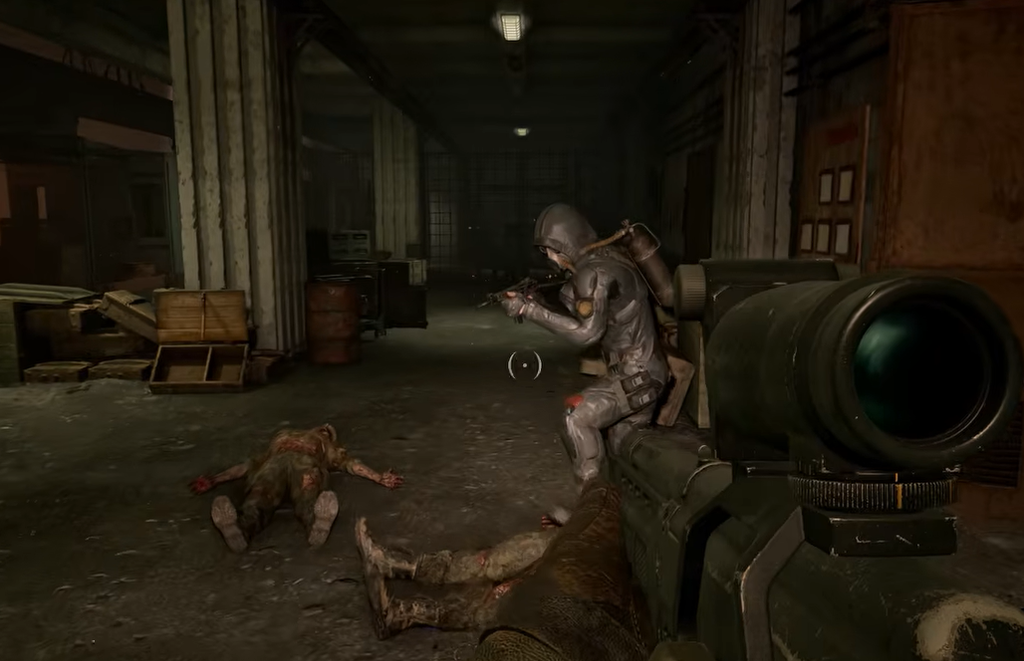
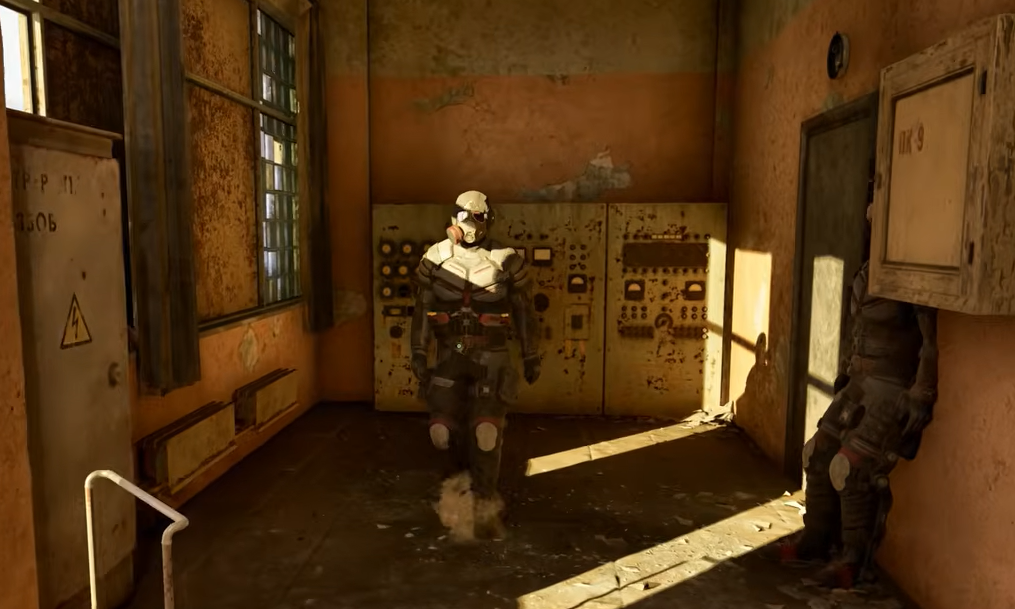
The route into the central rooms is largely linear. Head to the lobby with the staircase and climb toward the third level and the metal gate. Mercenaries pour from the side rooms in an ambush, so use the rooms as cover. Once they are dead, Zen opens the gate for you.
Continue to the operating room, climb the stairs, and press the red switch in the control room to open the cage holding a skeleton. Before you blow the final wall behind the cage, you can grab a strong optional reward from a nearby safe.
In the room on the south side of the surgery area, a safe is wired to a keypad on the left. Enter the code 171008 to open it and take the Brummbar Exoskeleton. There is also an exposed wall in an earlier barracks that hides an RPG-7U and a PG-7V round if you want to detour for it.
When you are done looting, blow the wall behind the cage, work up to the top floor, and shoot the green padlock on the sealed door. Enter to find Mavka and Zulu and start the confrontation cutscene.
The choice that locks your ending
At the technology, Mavka and Zulu disagree over the mutant. Mavka wants to keep and use it; Zulu wants it destroyed. This is a point of no return, so make a manual save first if you plan to see both outcomes. The Cost of Hope DLC has exactly two endings, and this single decision selects which one you get.
| Ending | Side with | Dialogue option |
|---|---|---|
| Freedom (Contra Spem Spero) | Mavka | “Zulu, you’re wrong” |
| Duty (Battle On and Win Your Battle) | Zulu | “Mavka, back off” |
Choosing one locks you out of the other for that playthrough, and the leader you side with tags along in the missions that follow. The Freedom route runs through Status Quo, Dangerous Way, Uninvited Guests, and on to the final mission. The Duty route runs through In Memory of the Fallen, Gunpowder, Sweat, and Blood, and its own path to the same finale.
Escape, find Suslov, and stop the Brain
Repel the ambush to finish the mission
Talk to your chosen leader after the Brain shuts down. Speak to Zulu if you sided with him, or Mavka if you sided with her, then leave the facility.
As you exit, the opposing faction ambushes the site. Siding with Zulu means killing Mavka’s men; siding with Mavka means killing Duty officers. The D4 treaty was already dissolved during Distant Mirage, so the losing faction turns hostile from here on. Wipe out the attackers to complete The Destructive Power of the Mind.
You will know the mission is done when the ambush clears and the quest updates to the next objective on your chosen route. From that point the DLC follows the Freedom or Duty missions until you reach the final mission and its ending cutscene.