

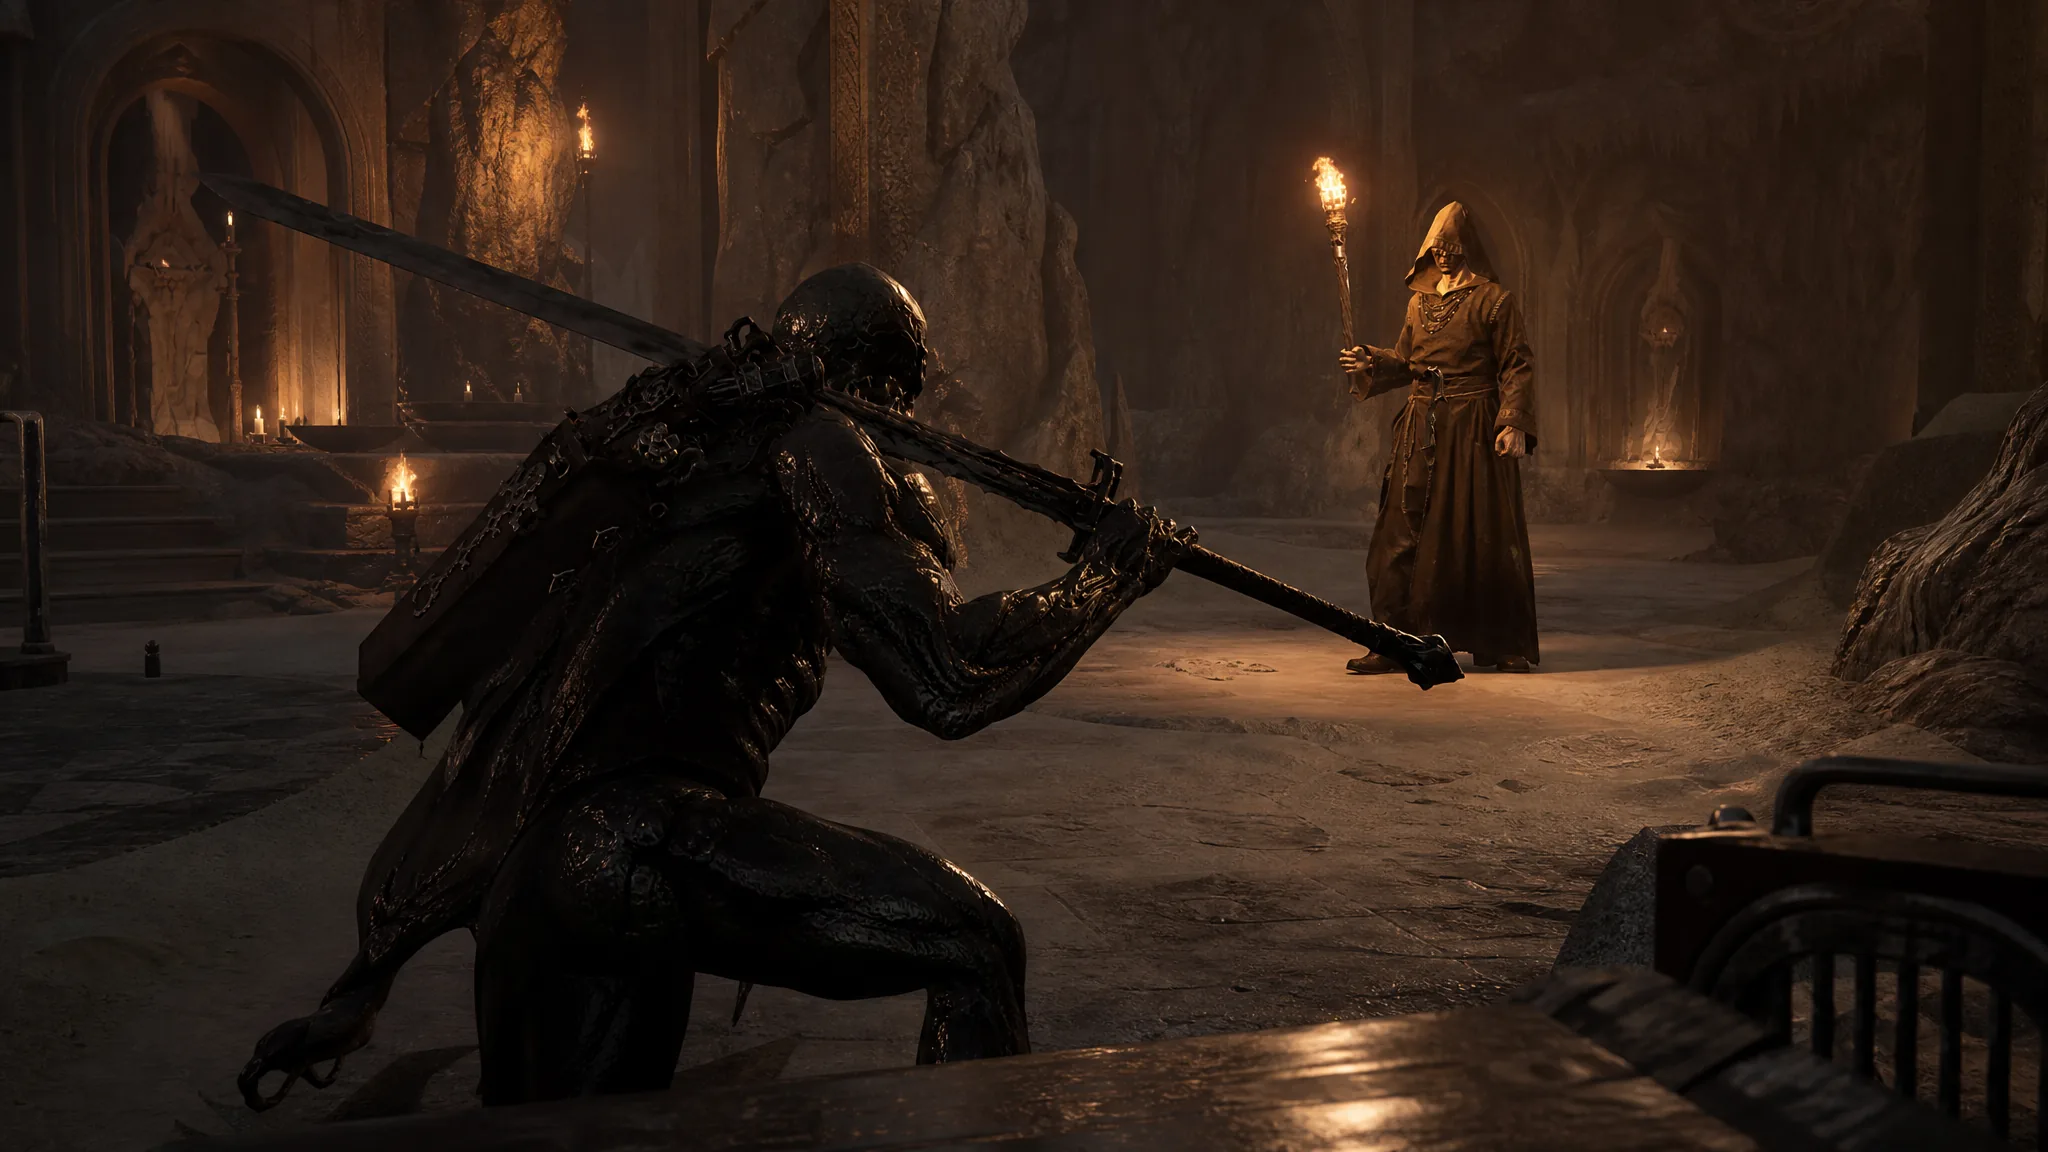
Mortal Shell 2 opens into a wide, hostile map and barely points at the next objective. The campaign still has a fixed spine. Six Corrupted Gates feed Ovum into Marrow Keep, and the last door stays closed until that count reaches 168.
Quick answer: Finish Disciple’s Pass, use Marrow Keep as your hub, clear Fainweald’s three Corrupted Gates in this order (Mushroom Village, Stonebled, Nochtean), then take Mammon’s three gates starting with Gate of Mammon. Return to the Gloom Siphon room to open the Unfound Path.
168 Ovum requirement
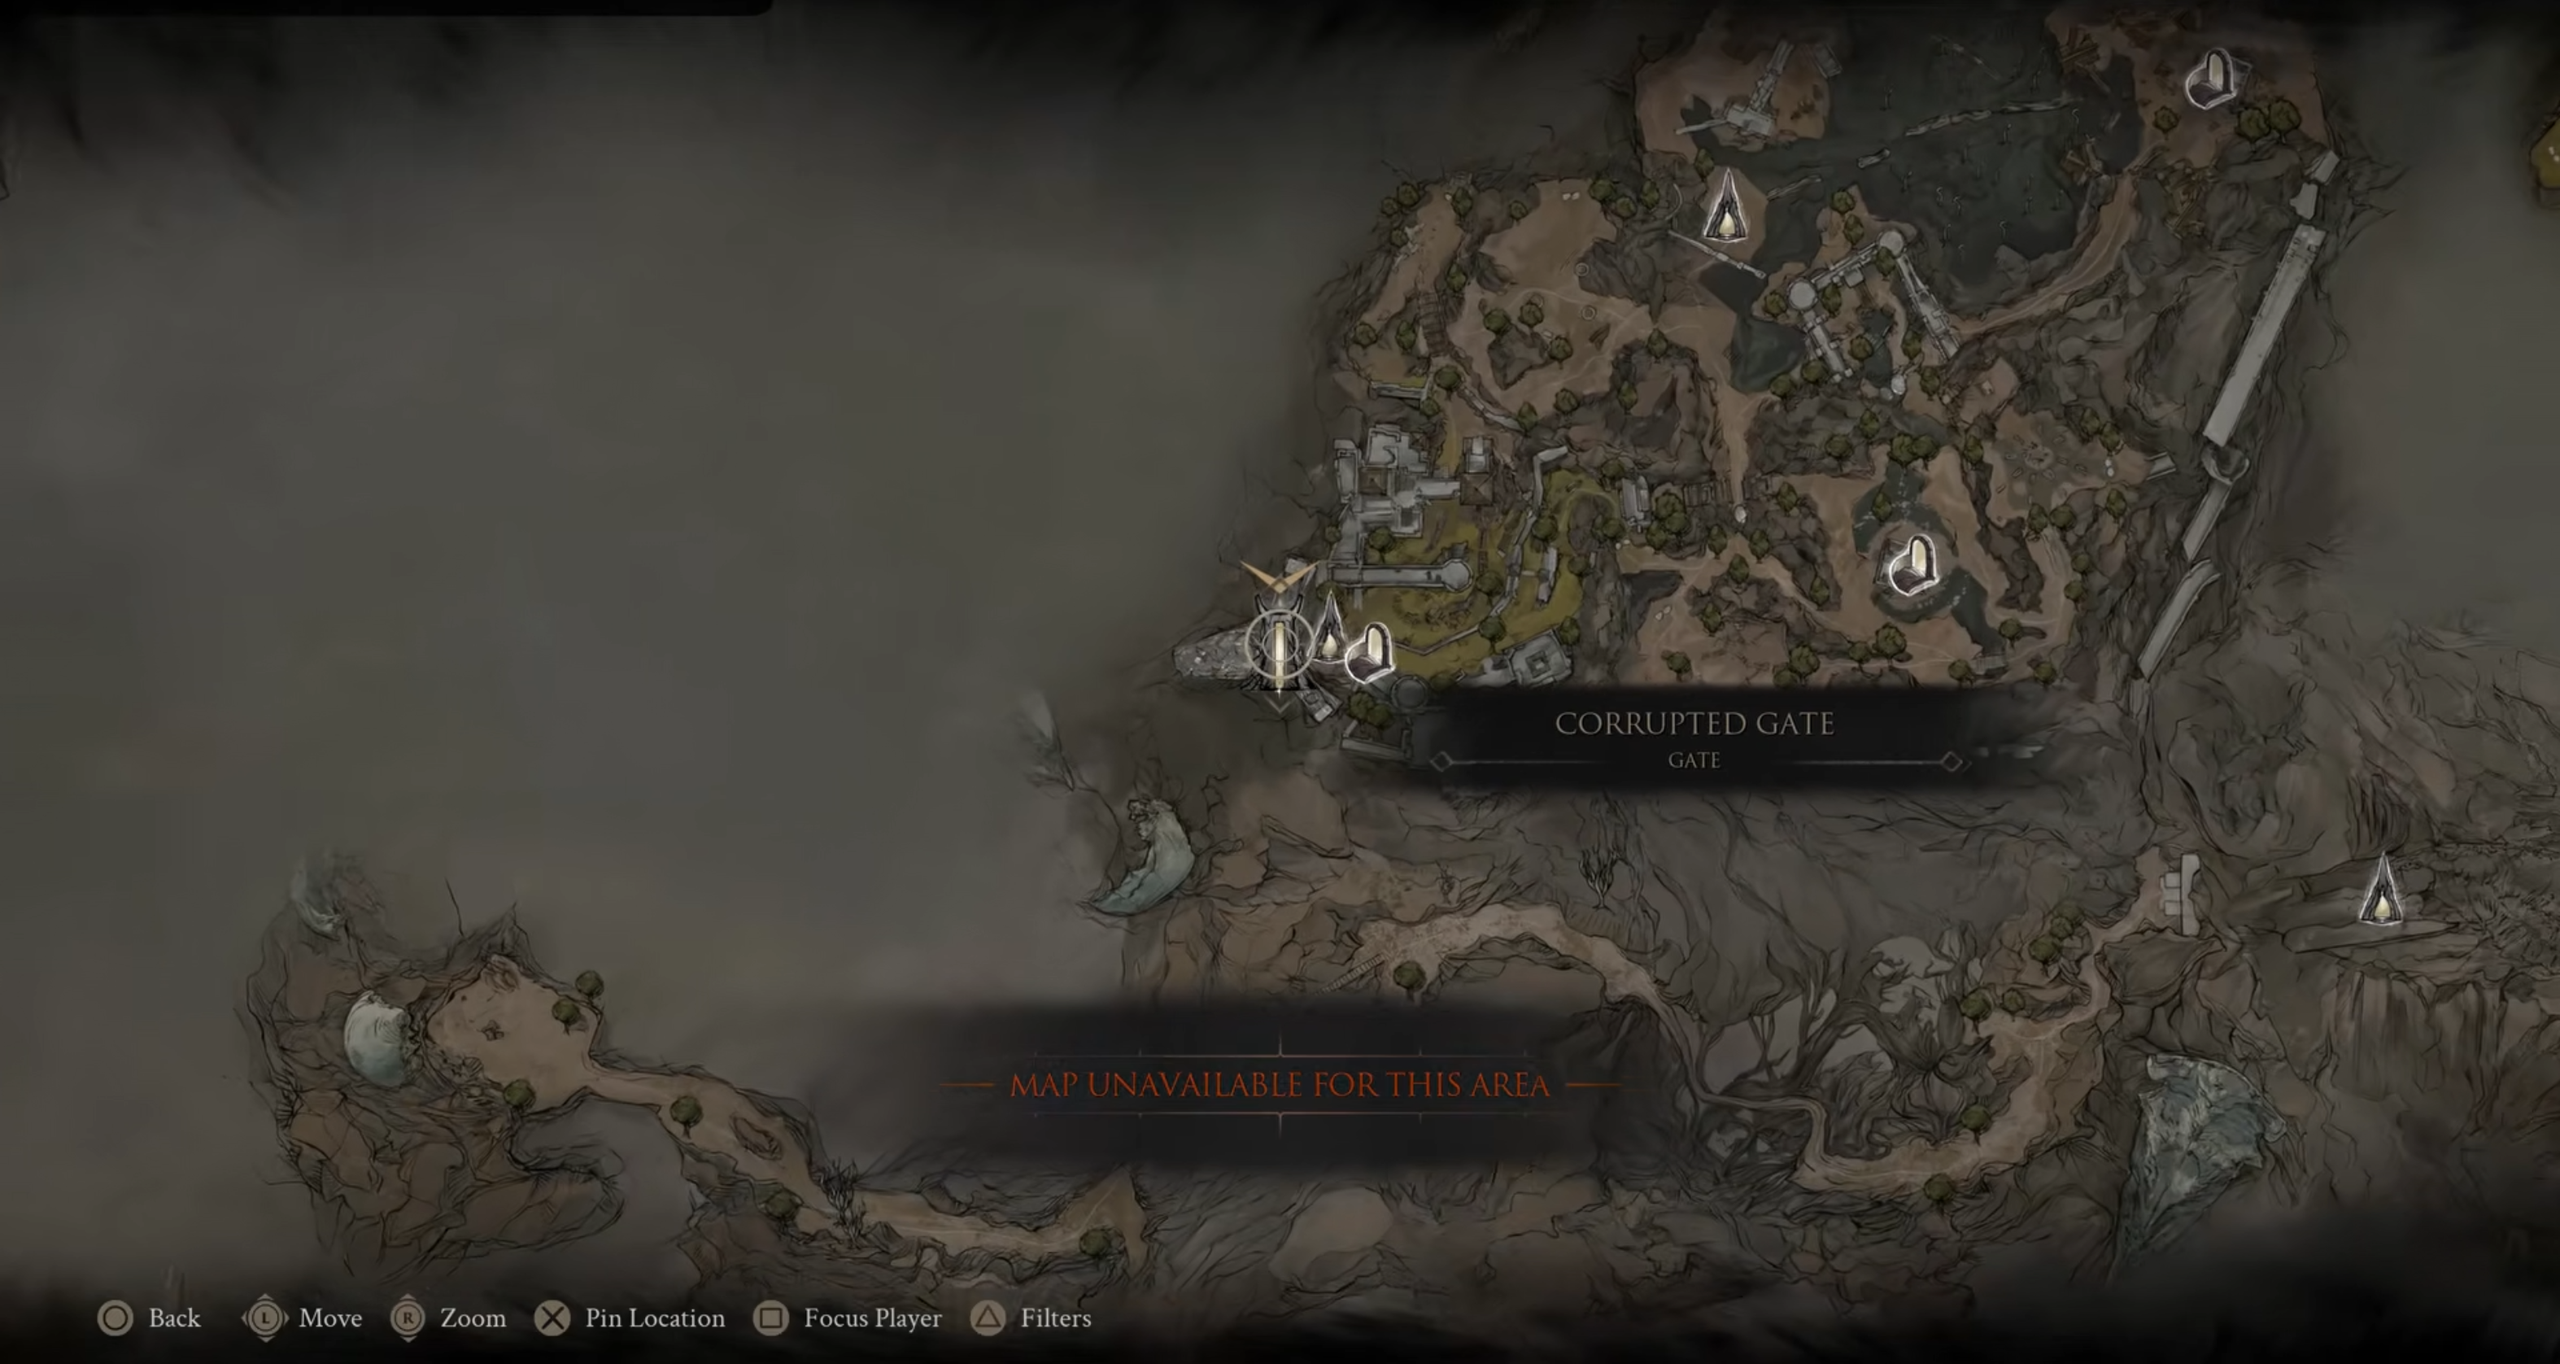
Each Corrupted Gate is a self-contained dungeon. You cleanse the beacon in front of the sealed gate to enter, finish the interior, then cleanse the beacon that appears after the fight. That last cleanse pays out Ovum and drops you back in Marrow Keep.
Treat those forced returns as part of the route. Upgrade Shells, weapons, and equipment before you leave again. Optional dungeons and extra Ovum can push you to 168 before the sixth gate. If that happens, the ending path can open early. You do not have to walk it the moment it appears.
Siphoning Ovum in Marrow Keep also unlocks Mether’s Breath once you have banked enough eggs. That power cuts corrupted growths in the overworld and turns tagged Beacons into fast-travel points. You need it to open the Mammon platform on the keep roof.
First loop after Disciple’s Pass
The prologue teaches combat, Beacons, Gloom, and upgrade materials. Stay on that path until the elevator delivers you to Marrow Keep. The keep is the only place you should treat as home for the rest of the run.

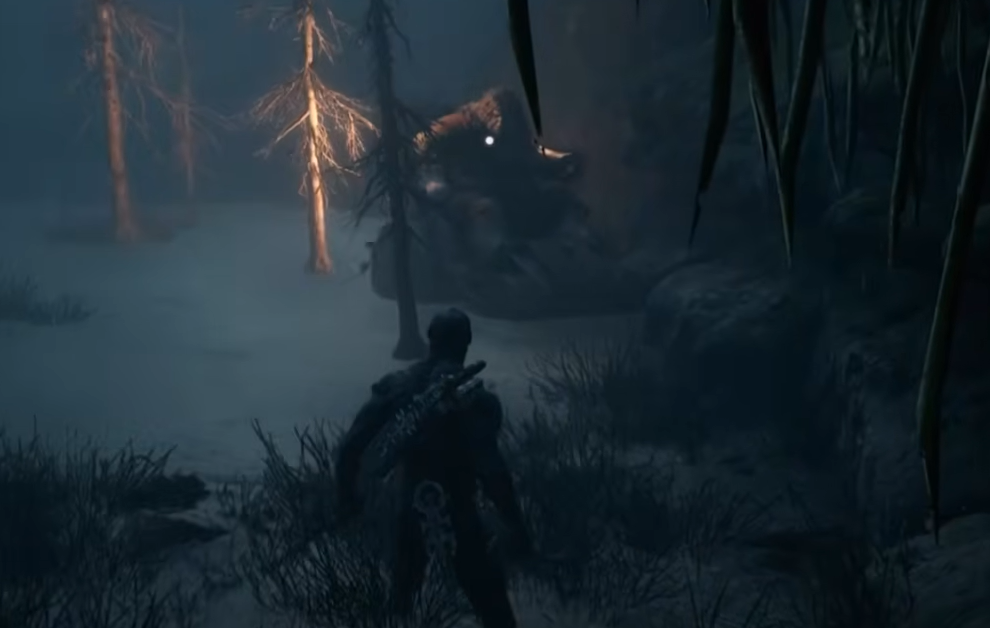
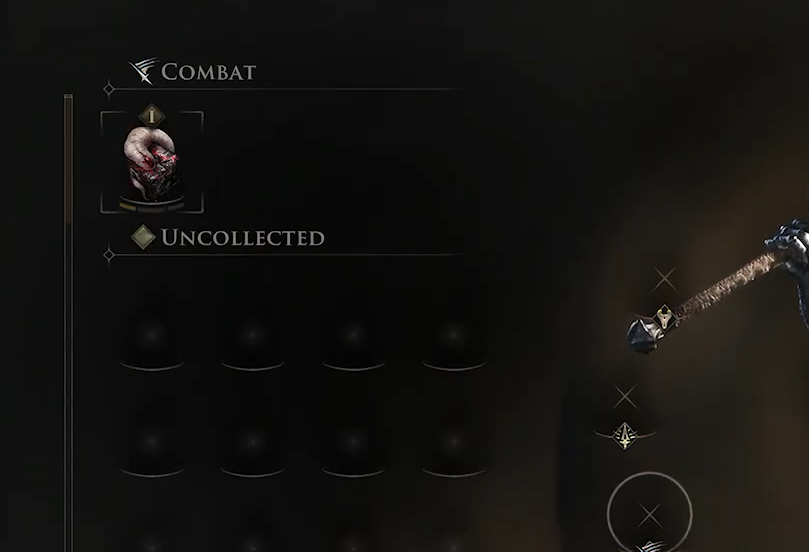
You will know this loop worked when you are standing back in Marrow Keep with the first major Ovum payout and Tiel in your roster. Fast travel stays locked until Mether’s Breath is unlocked, so keep tagging Beacons even before you can hop between them.
Best Corrupted Gate order
Fainweald has three gates. Mammon has three more. Clear the first region completely before you spend a long stretch in the second. Inside Mammon the three gates can be done in any order, but the western approach is the gentlest start.
| Order | Gate | How to reach it |
|---|---|---|
| 1 | Mushroom Village Gate | East from Widow’s Overlook through Mushroom Village, then into the Glutted Mire. |
| 2 | Stonebled Gate | North from Widow’s Overlook to the Blackridge Pass Beacon, then through Sanguine Caverns. |
| 3 | Nochtean Gate | Bone Gate south of Widow’s Overlook, then across the Ruins of Nochte and the Citadel of Penance. |
| 4 | Gate of Mammon | Roof platform to the Outskirts of Mammon Beacon, then west over roads and bridges to a Bone Gate. |
| 5 | Gate of Infinity | Road to Absolution through Castigator’s Keep, then the Vestige of Infinity and Faded Citadel. |
| 6 | Sester’s Gate | Revenant Graves, then the Conquered Temple. |
Light the Blackridge Pass Beacon before you commit to Sanguine Caverns. That north run is long, and a nearby respawn keeps the Stonebled trip from turning into a slog. Finish the caverns by beating the Lost Child at the far end, then cleanse the inner beacon.
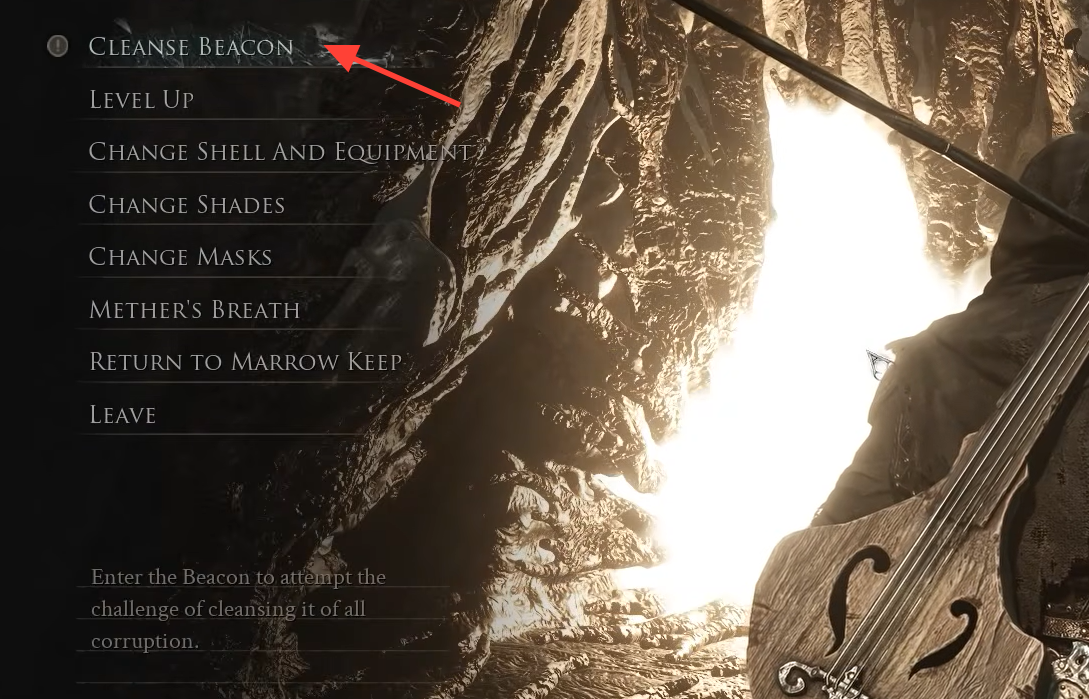
The south Bone Gate is the clean handoff into Fainweald’s last gate. Work across the Ruins of Nochte, pass through the Citadel of Penance, and clear the Prisoner’s Domain. When that beacon is cleansed, Fainweald is done.
Back on the Marrow Keep roof, cut the corruption opposite the Fainweald platform and ride to Mammon. Tag the Outskirts of Mammon Beacon first. If the nearby enemies flatten you, leave. Spend more Gloom and upgrade materials in Fainweald, then return.
Gate of Mammon sits on the west side and lets you skip the Road to Absolution until you are ready. That western path runs through the Abandoned Slums and Lonesome Spire, then into the Withered Shoals for the Hexapod. After that, the Road to Absolution and Sester’s Gate are the remaining two locks.
Shells and weapons on this route
The campaign does not require every Shell. These three sit on the path above and keep the difficulty from jumping too fast. Grab them when you pass their rooms instead of making a later detour.
| Pickup | Location | When to take it |
|---|---|---|
| Tiel’s Shell | Open grave on the south side of Mushroom Village | Before the Mushroom Village Gate |
| Fainweald map fragment | Crow marker in Mushroom Village | Same visit as Tiel |
| Proxima’s Shell | North of Widow’s Overlook on the Blackridge / Sanguine Caverns path | Before the Stonebled Gate |
| Veteran’s Battle Axe | Sanguine Caverns, on the same north push | Before or while clearing Stonebled |
| Eredrim’s Shell | Citadel of Penance in the Ruins of Nochte | Before you leave Fainweald |
| Sester’s Censer | Revenant Graves | On the approach to Sester’s Gate |
Tiel is a strong first pickup if you like a stealthier kit. If that style does not fit, you can still finish the run on later Shells. Proxima and Eredrim come online before Mammon, which is the point where missing a Shell starts to hurt.
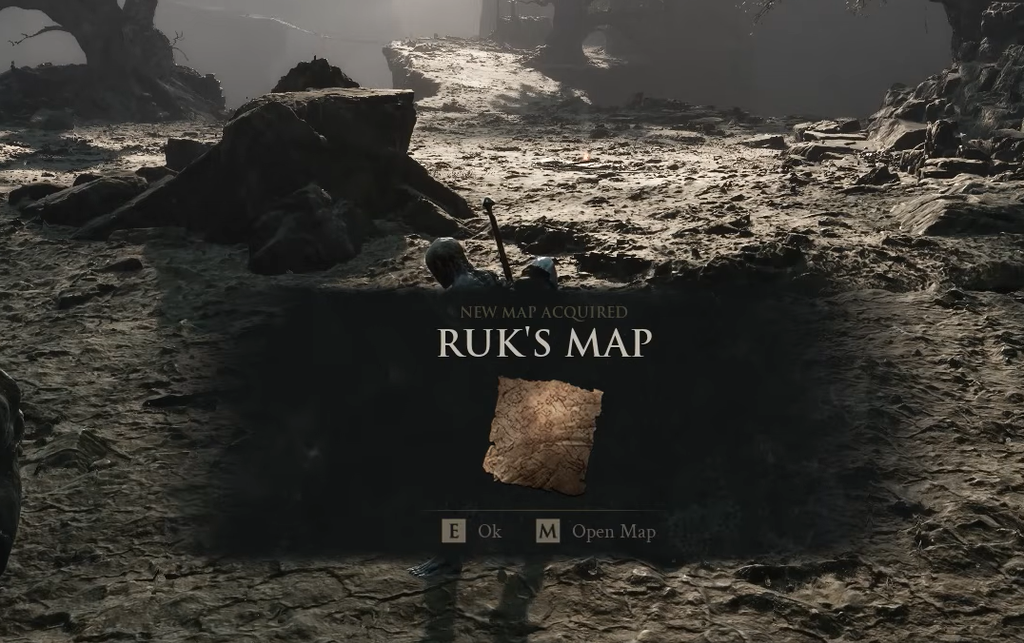
Map fragments are marked as crows. Collect them while you walk the gate path so the fogged regions fill in. You do not need a perfect map to open the ending, but a blank Fainweald or Mammon screen makes the next gate much easier to miss.
Unfound Path unlock
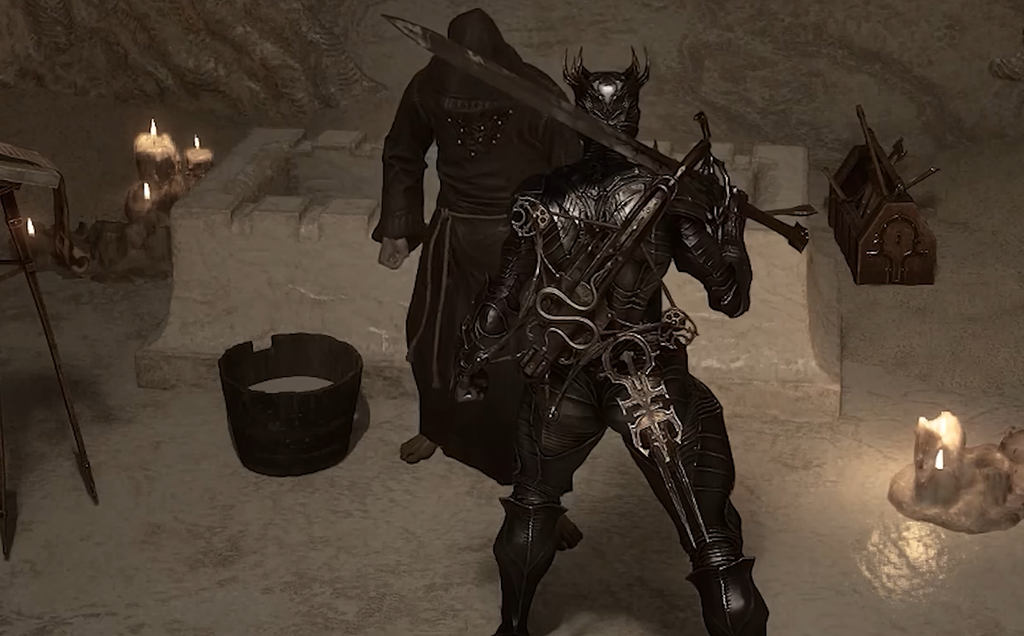
Once you have 168 Ovum, go back to Marrow Keep and approach the NPC in the room with the Gloom Siphon. That conversation opens a new path to the Unfound Path. If the prompt never appears, you are still short of 168 or you are talking to the wrong person in that chamber.
The Unfound Path holds four bosses. Beating the last one finishes the campaign fight, but it does not force the credits. The same save can keep exploring, and you choose when to watch the ending and start NG+.
You will know the route is complete when the Gloom Siphon NPC has opened the new path and the Unfound Path is reachable from Marrow Keep. Everything after that is optional cleanup on the same file.





