

Pirate Cove punishes anyone who AFK farms in the open. Melee zombies close the gap, and a late boss ends the run. The farm that actually holds is not a better aim routine. You leave the walkable deck, keep a homing gun firing, and let pathing fail while shots still land through the hull.
Quick answer: Equip Bastion and a homing gun such as the Blood Pistol or Blood SMG, start Pirate Cove on Normal, jump through the wall behind the below-deck cannons, and keep firing so ground zombies never get a melee path.
AFK farm loadout for Pirate Cove bosses
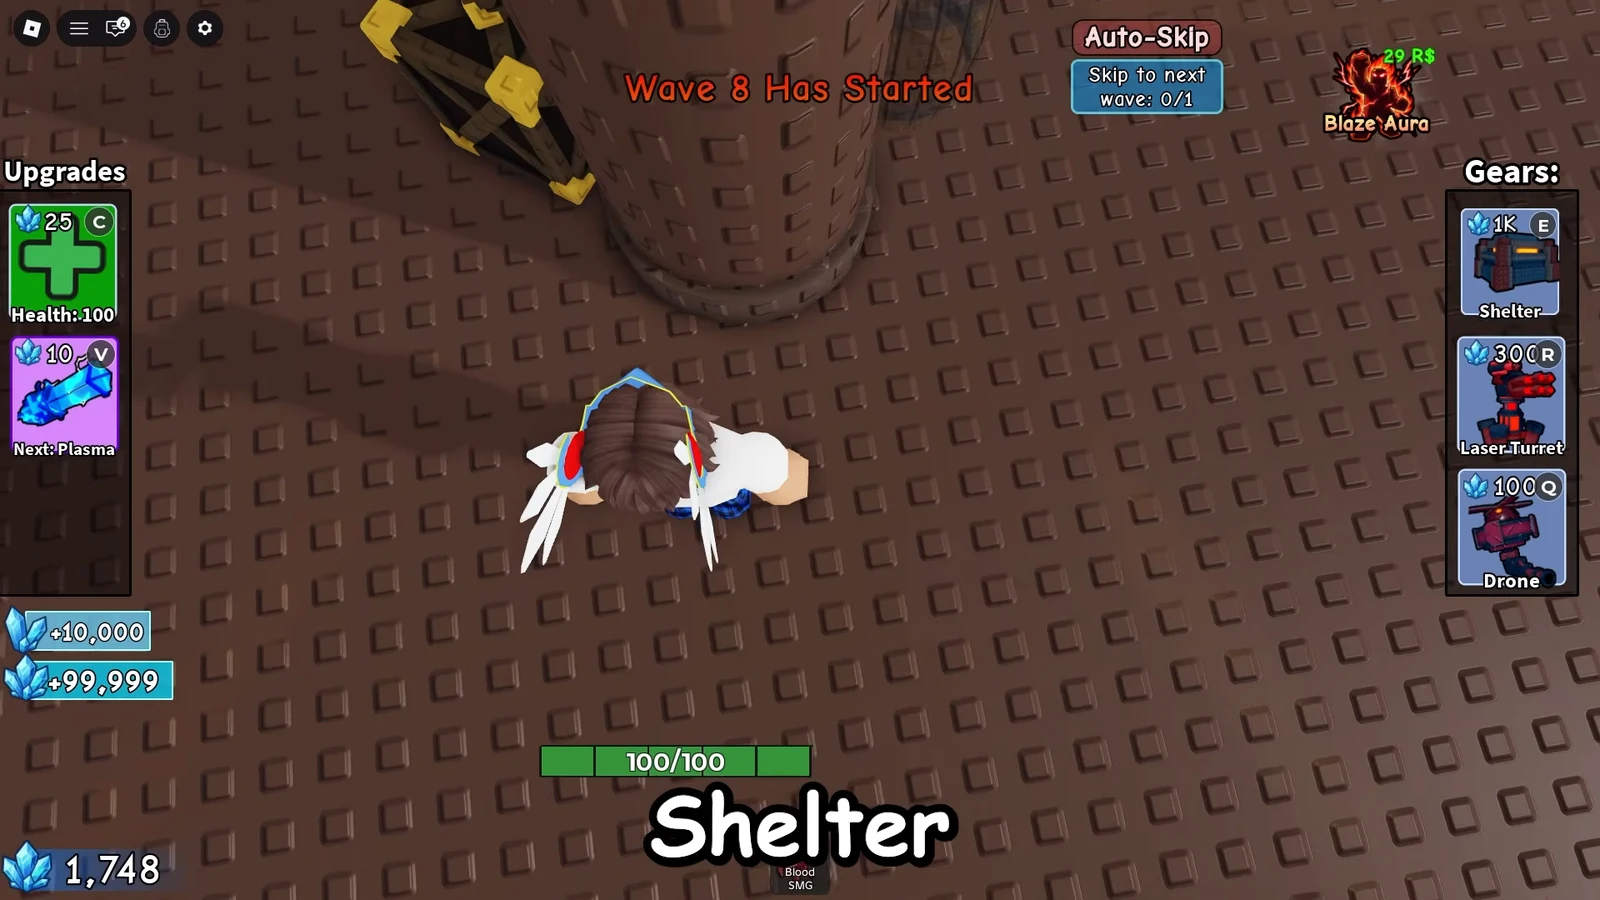
Bastion is the class that makes a still farm possible. It costs 20,000 Credits. Shelter gives you a placeable bunker, and Drone plus Laser Turret keep damage going when you stop walking. Other classes can shoot. They do not give you that parked kit.
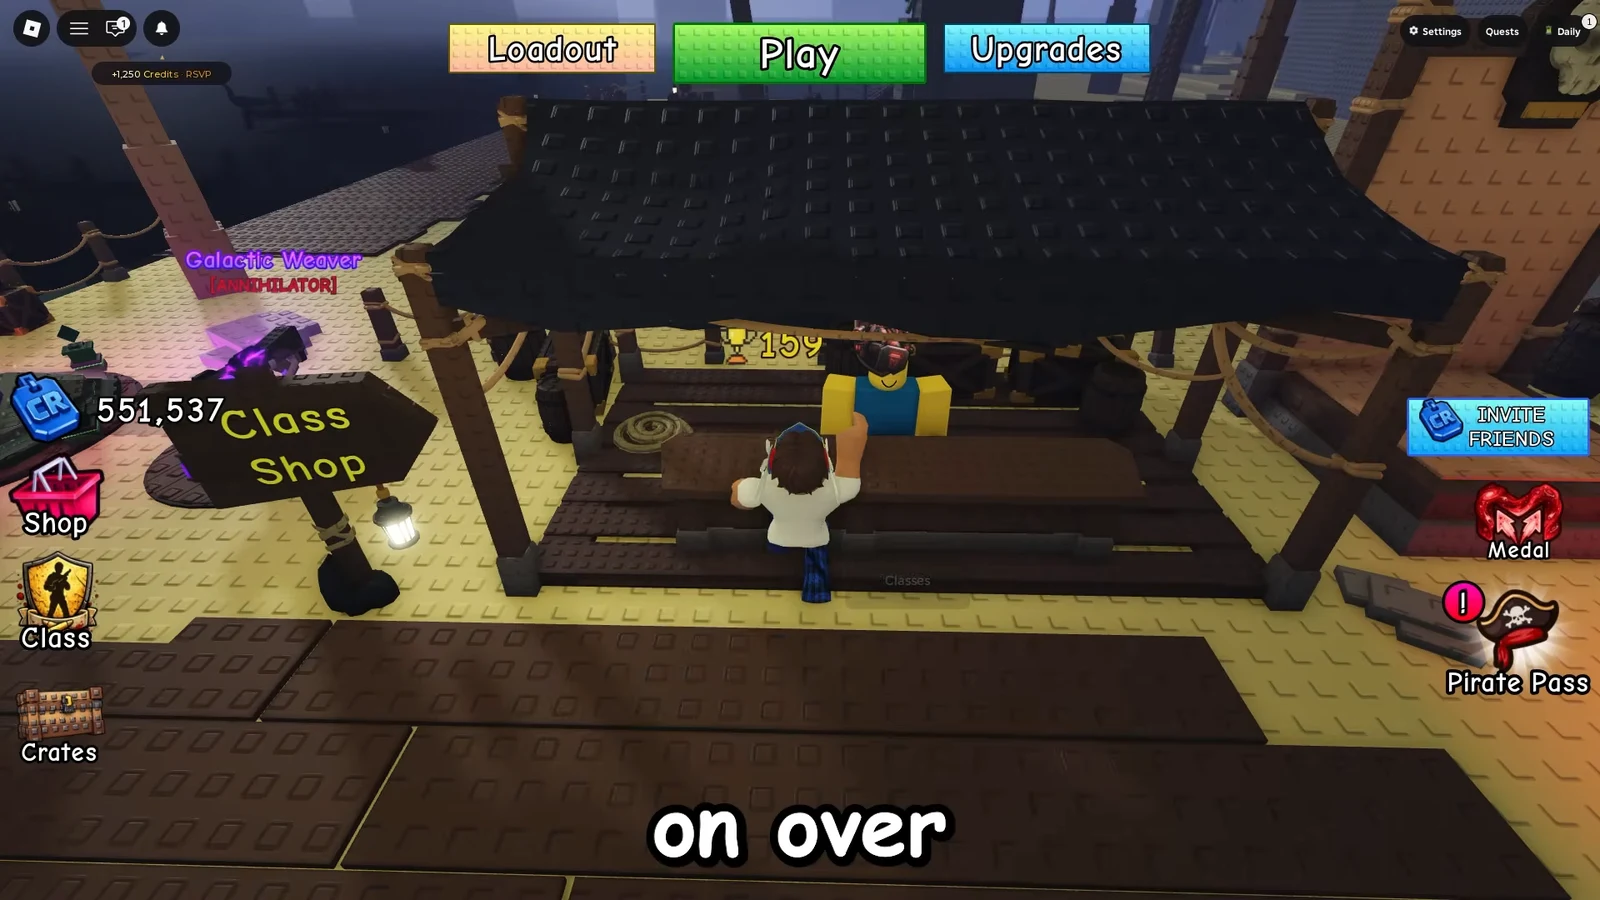
Walk up to the Class Shop vendor at the central counter and equip Bastion before you queue. If Bastion is still locked, buy it there first. The farm below assumes Shelter and Drone are already on your bar.
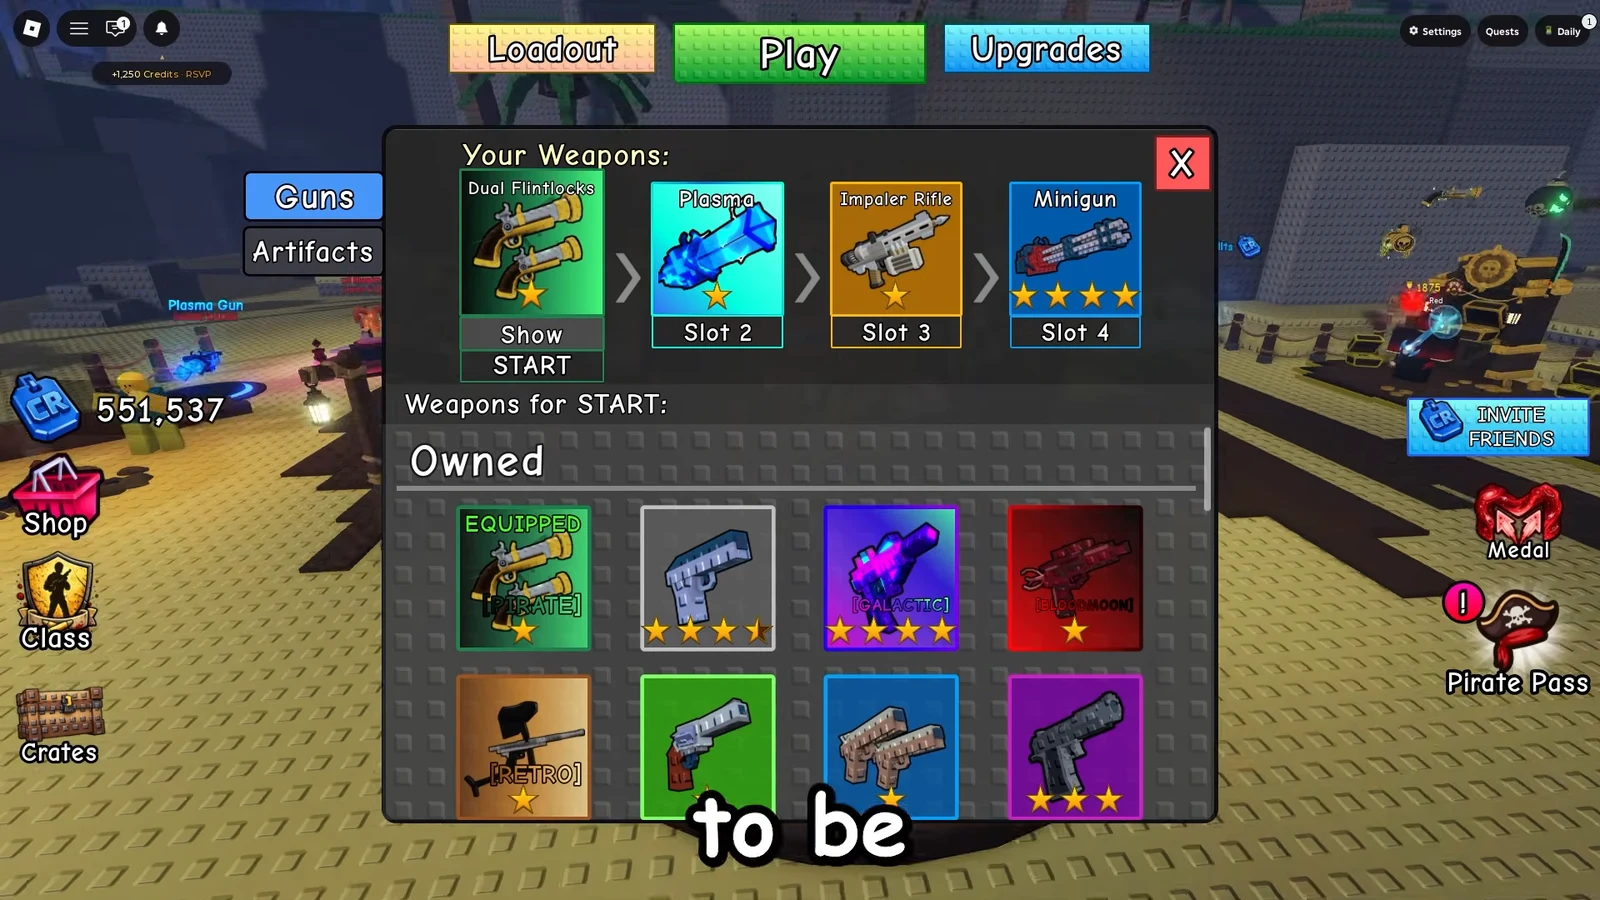
Open the Loadout Guns menu next. Homing weapons are the ones that still connect after you leave the playable ship. Blood Pistol and Blood SMG are the usual picks. Plasma also belongs in that group. A gun that needs a clean sightline will stop paying off the moment a wall sits between you and the wave.
Queue Pirate Cove, party size 1, Normal. The spots below were run on that difficulty. Harder settings change spawn pressure and are not the setup these positions were shown on.
Homing weapons and Pirate Cove collision
Two rules make the AFK boss farm work, and both have to be true at the same time. Zombies must lose a legal walk path to your body. Your bullets must still be allowed to lock a target on the other side of the wood.
Homing blood weapons satisfy the second rule. Out-of-bounds collision on the ship satisfies the first. If you only hide on a rail, some hits still leak through. If you only go out of bounds with a non-homing gun, the wave lives and the farm stalls.
Flying zombies ignore some of that protection. Health upgrades matter once those units show up, even when ground packs cannot reach you. If chip damage starts landing in a rhythm, the spot has already failed. Reset instead of forcing the same angle.
| Pirate Cove spot | Protection | What you place |
|---|---|---|
| Cannon-room wall | Full out-of-bounds, ground melee drops off | Homing gun fire only |
| Mast pillar platform | Height plus broken pathing | Shelter to launch, then Drones |
| Bow railing | Partial, incoming damage drops but does not vanish | Optional Laser Turret and Drone |
Bastion Shelter mast platform
The mast farm stays on the ship and still breaks zombie pathing. You launch with Shelter instead of clipping through a wall. That is useful if you want Drones parked above the deck while the wave bunches below.
Cannon room out-of-bounds wall
The strongest Pirate Cove stand is under the deck, behind the cannons. Repeated jumps on that back wall slip you outside the hull. Ground zombies then fail to finish a path, while Blood Pistol or Blood SMG rounds still seek targets on the ship.
Some players hand that click to a third-party auto-clicker. Tools in that category, including OP Auto Clicker 4.1, sit outside normal Roblox input. Macros, executors, and out-of-bounds stands can put the account at risk, and collision tricks also disappear when a patch closes the wall.
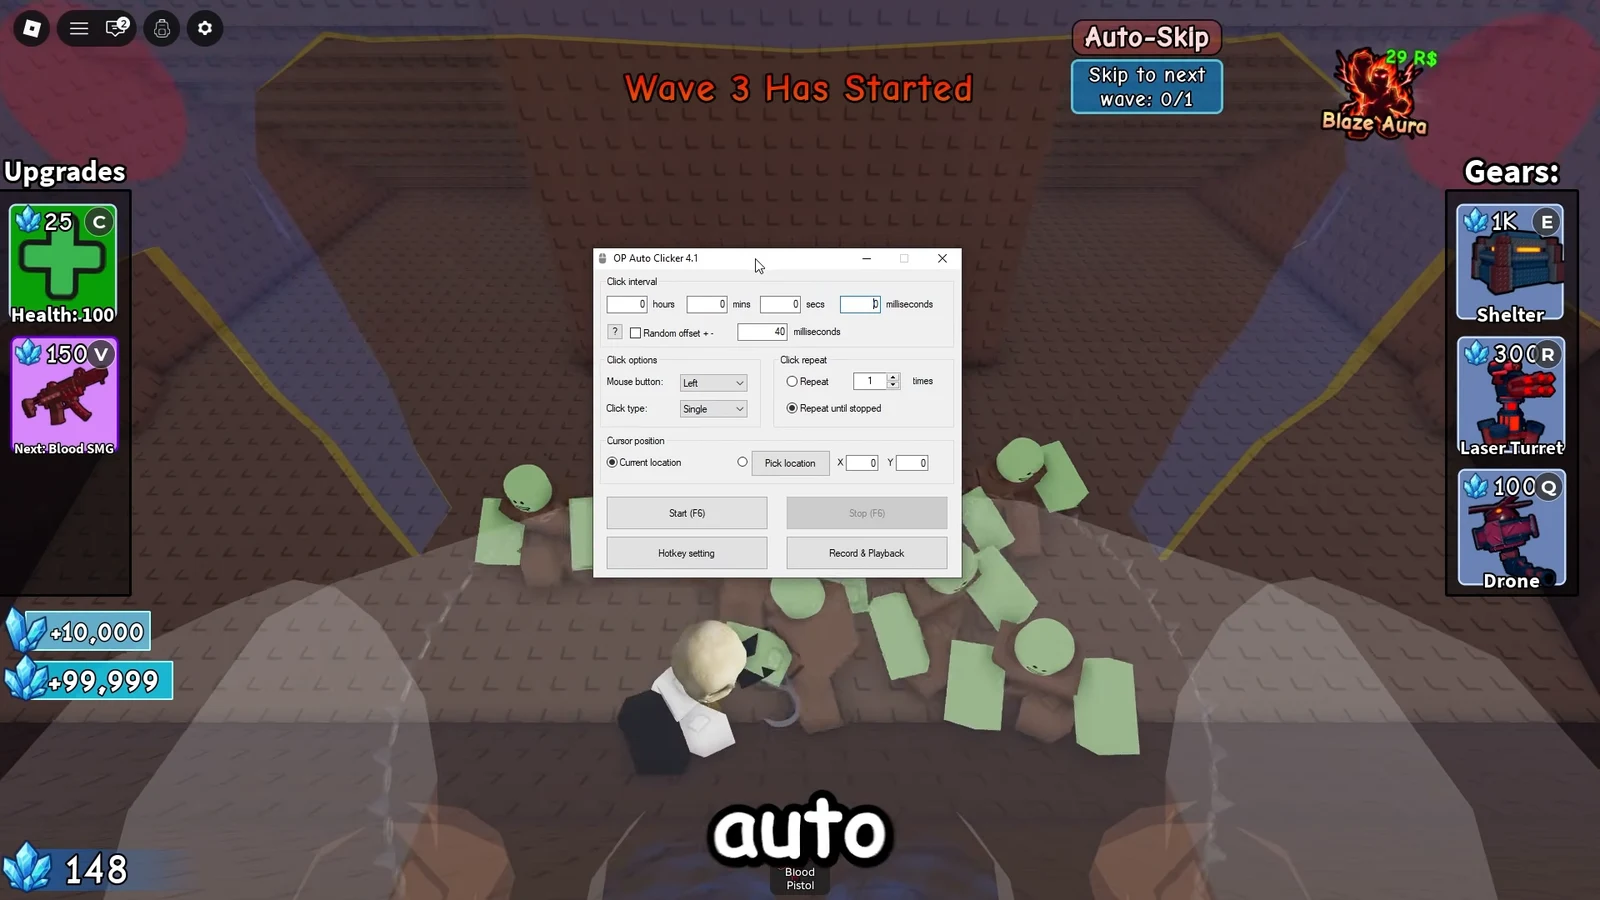
To leave the clip on purpose, slide back through the same wall. You should pop into the cannon room again. Use that exit if flyers start chewing you, or if you need to replace Shelter and Drones on the deck.
Pirate Cove bow railing stand
The bow rail is the weakest of the three Pirate Cove stands. You are still on the ship. Pathing gets confused along that railing and incoming damage drops, but it does not go to zero. Treat it as a short hold, not the all-boss farm.
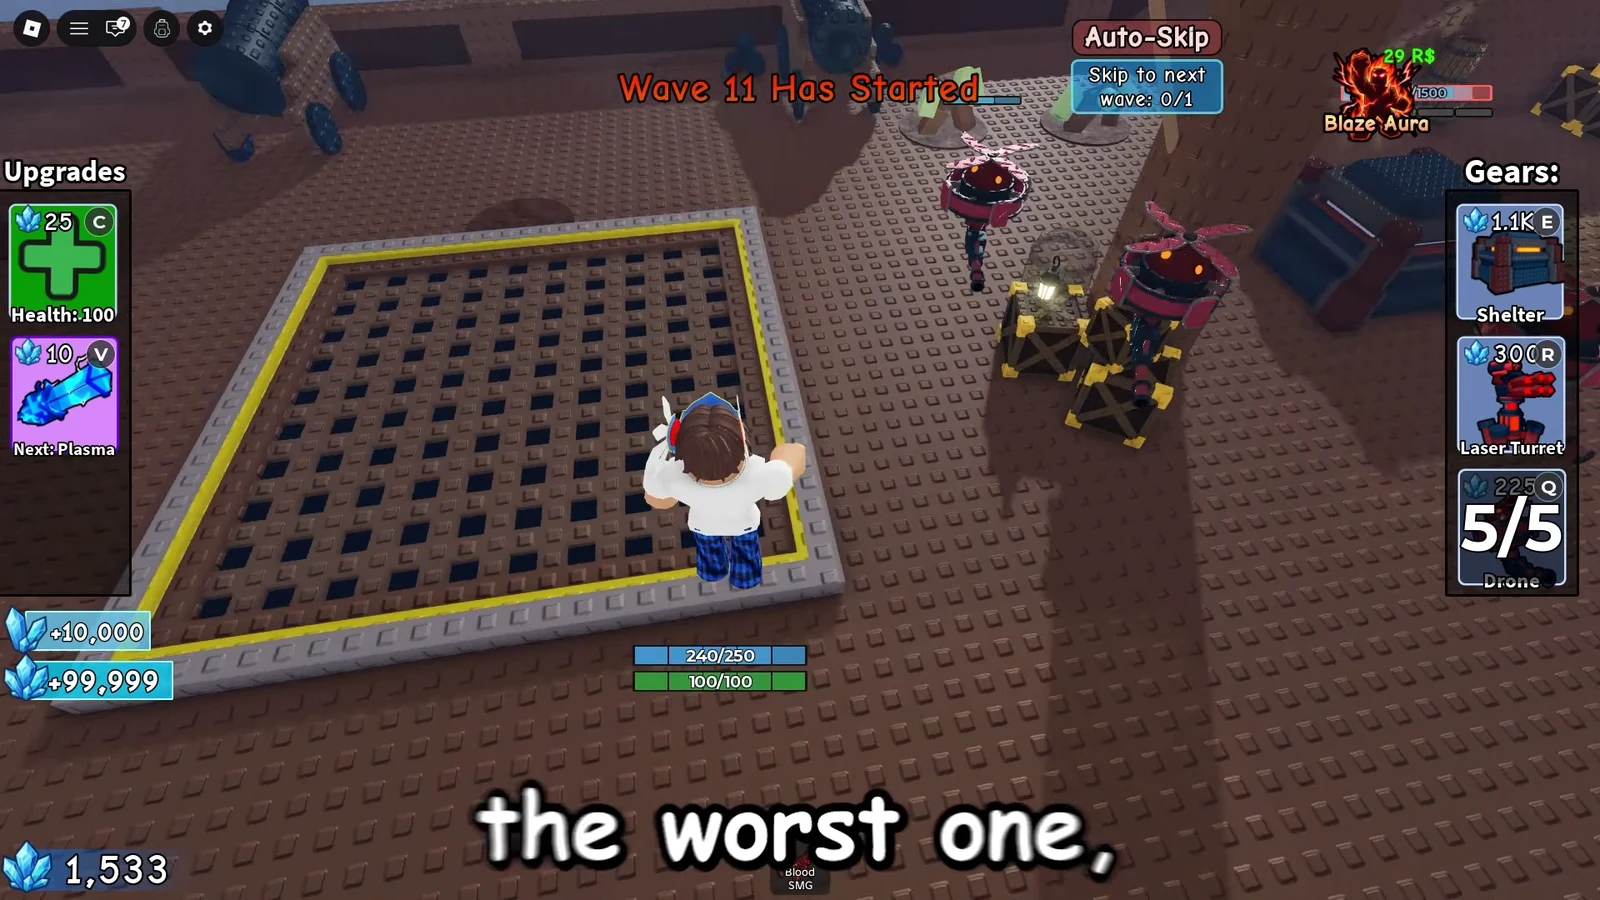
Wave 25 Boxer and farm checks
The cannon-room clip is working when you are outside the hull and ground zombies stop completing melee swings. Credits should keep climbing as waves roll. Homing tracers still have to reach the deck. If they do not, the gun is wrong or you drifted into a dead angle.
Boxer is the named boss check for this farm. It spawns at Wave 25. If you are still out of bounds with a homing weapon up, that fight is the same loop as the trash waves, not a new mechanic. Dying there usually means a flyer found you, health was left too low, or the wall slid you back onto the ship.
End the run when two things stack. A boss is up, and something is already hitting you from inside the clip. A controlled reset beats a wipe that dumps a long wave streak.
Abandoned Farm Yard backup farm
If Pirate Cove is crowded or the cannon wall no longer opens, the same Bastion plus homing kit moves to Abandoned Farm Yard. Two stands show up there. Neither one is a Pirate Cove clone, so do not expect the hull clip to exist on the farm.
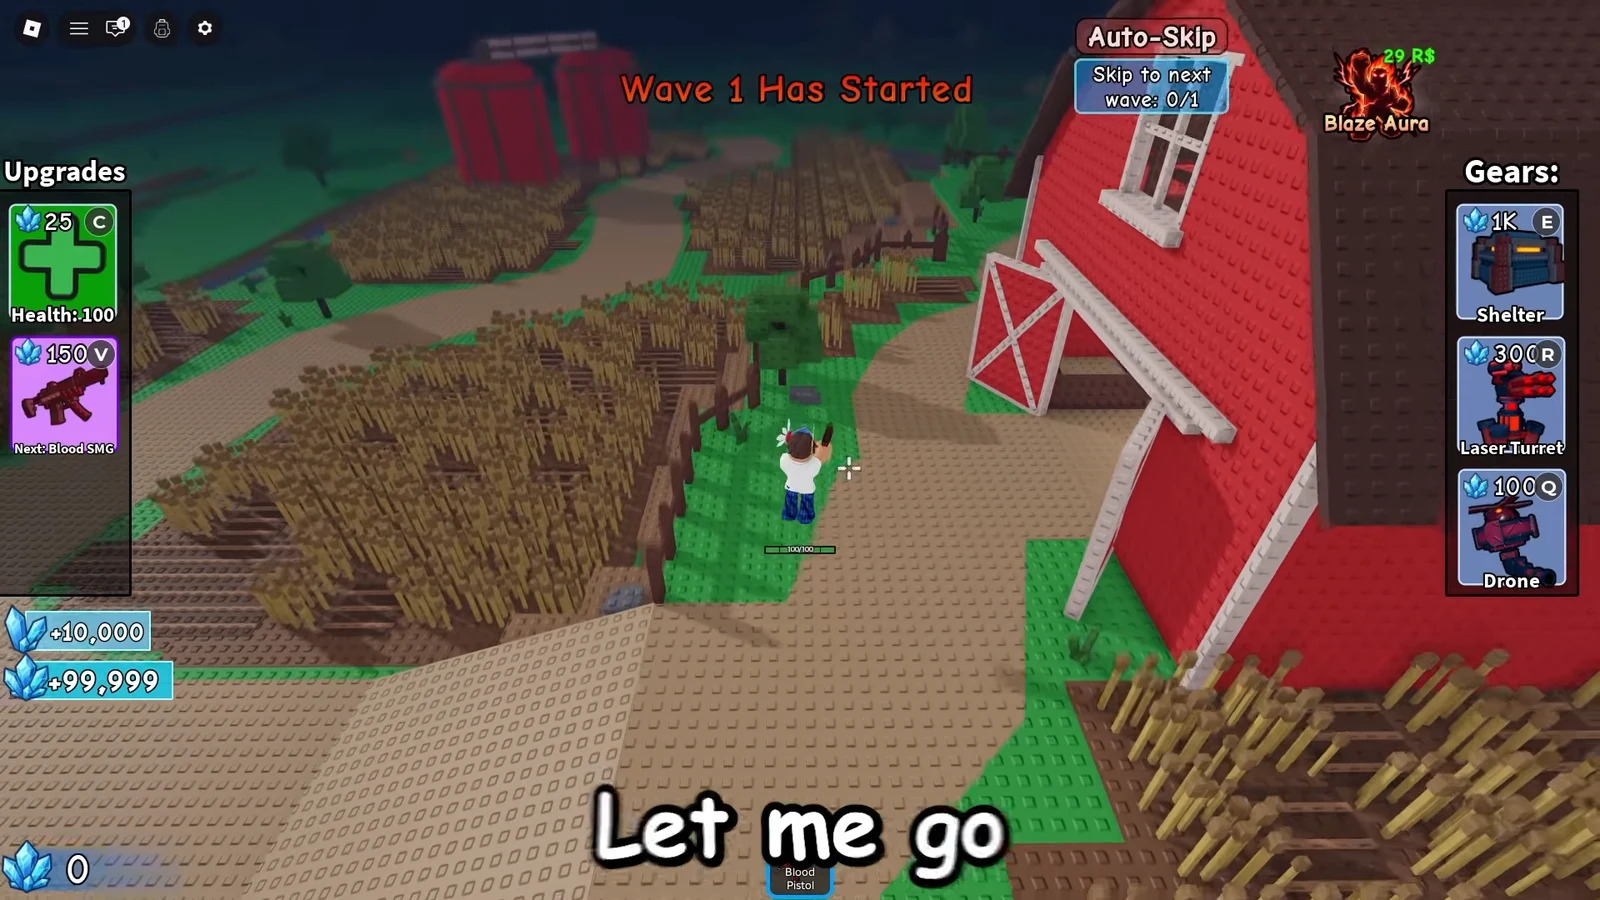
Boxer still arrives at Wave 25 on a farm run that lasts that long. Leave the silo or the under-map clip the moment ground packs start connecting again. A closed collision hole is a closed farm, and standing in the old corner will not reopen it.





