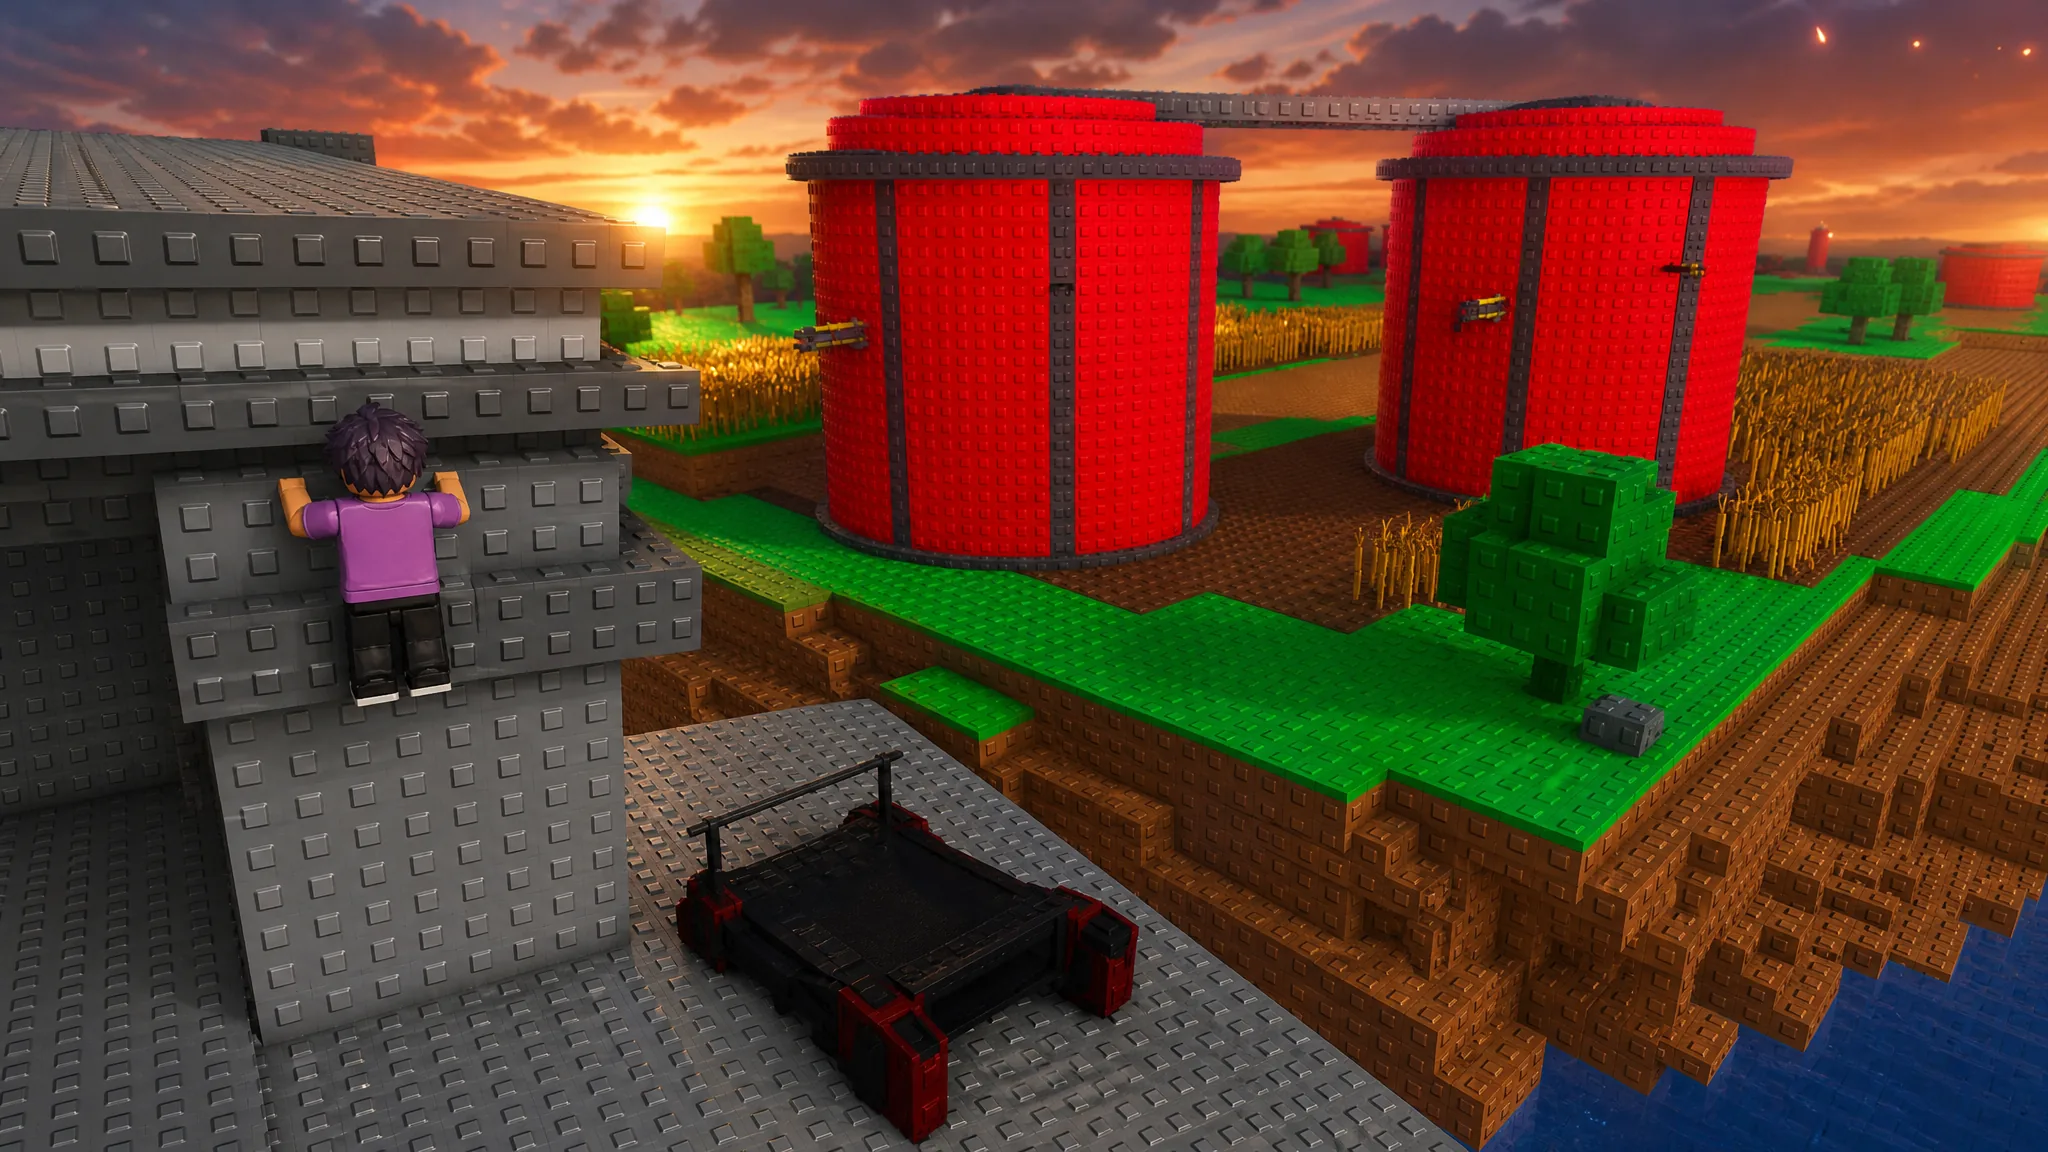
Farming credits and Void Shards in Survive Zombie Arena gets far faster once you stop fighting waves head-on and start standing where zombies simply cannot reach you. The reliable exploits fall into three buckets: safe-spot positions that break zombie pathfinding, high-jump launches onto rooftops using the Bastion class Shelter, and clips that drop you under the map for near-instant wave clears.
Quick answer: Equip the Bastion class, buy a Shelter for 1,000 crystals in-round, place it flush against a wall or pillar, enable shift-lock, and repeatedly jump in and out to launch onto a roof — or wedge into a narrow ledge or barricade where zombies crowd below but land zero hits.
What you need before farming
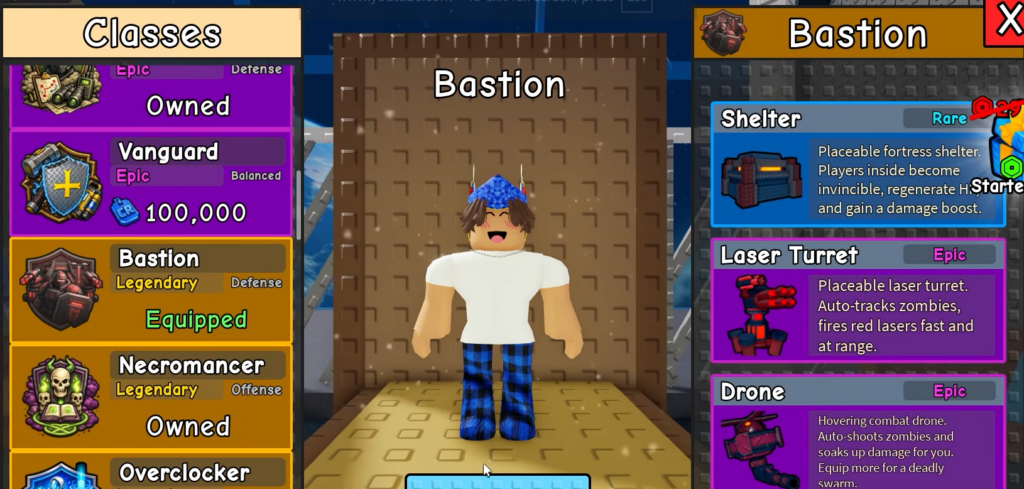
The Bastion class is the backbone of most of these exploits because of its placeable Shelter gear. Bastion’s kit also includes a Laser Turret and a Drone, both of which keep dealing damage while you sit still. Necromancer is the strong second pick, since its Soul Harvester and Raise Undead abilities summon minions that fight for you on maps like Rooftop Siege.
| Requirement | Detail |
|---|---|
| Class | Bastion (Shelter high-jump) or Necromancer (summon defense) |
| In-round gear | Shelter costs 1,000 crystals; place it before attempting the jump |
| Controls | Shift-lock must be enabled for high-jumps and under-map clips |
| Avatar scale | Keep it small — oversized avatars fail the tight clip glitches |
Shelter high-jump glitch
This is the core trick for reaching rooftops and other high surfaces zombies can never climb. It works on Rooftop Siege against the concrete pillar and on Abandoned Farm against a tree.
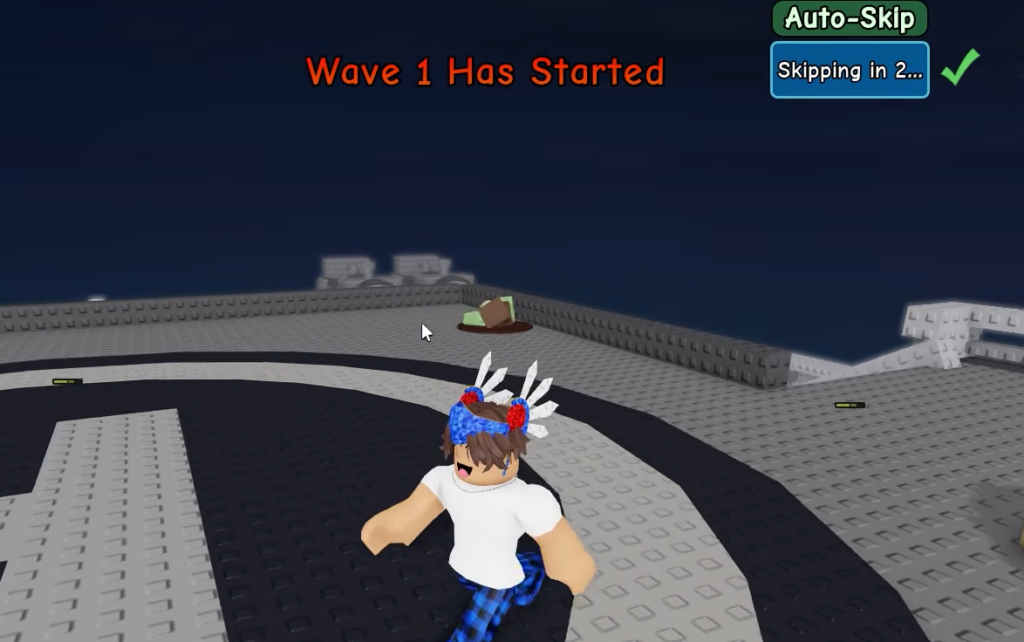
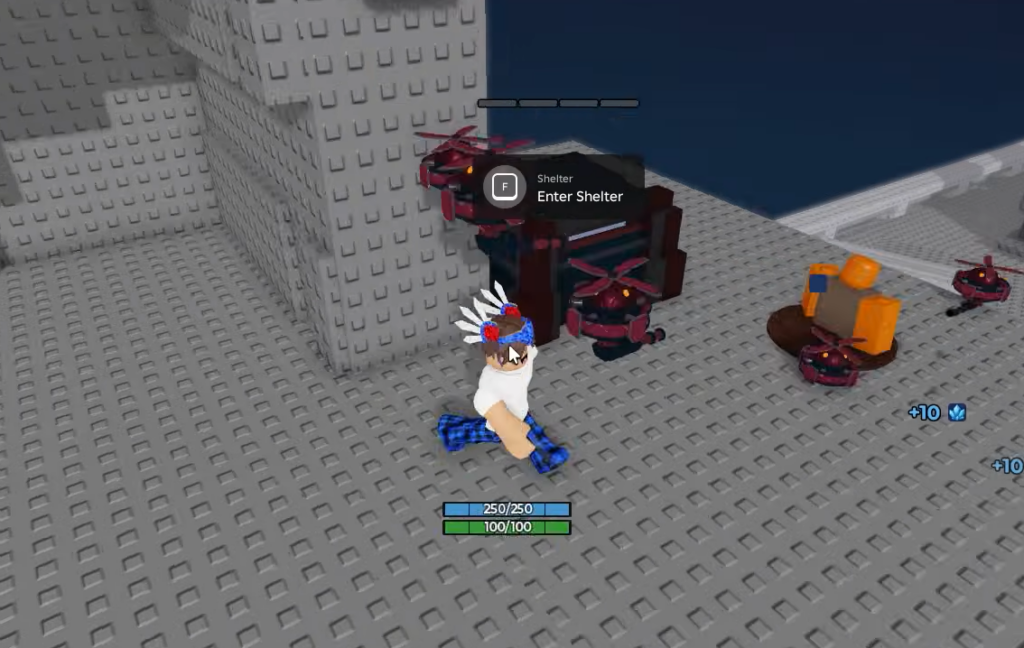
Once you land on top, zombies have no path up. You can shoot down freely or let your Bastion turret and drone clear the crowd while you AFK.
Safe-spot positions that break zombie pathfinding
Several map locations sit on narrow collision boundaries where zombies path toward you but can’t finish the route. They pile up nearby, walk away, or gather on the wrong side of the room, leaving you unharmed. These need no gear beyond a decent weapon.
| Map | Spot | How to hold it |
|---|---|---|
| Rooftop Siege | Staircase railing | Stand on the thin outer railing of the main staircase; zombies crowd below but can’t climb it. |
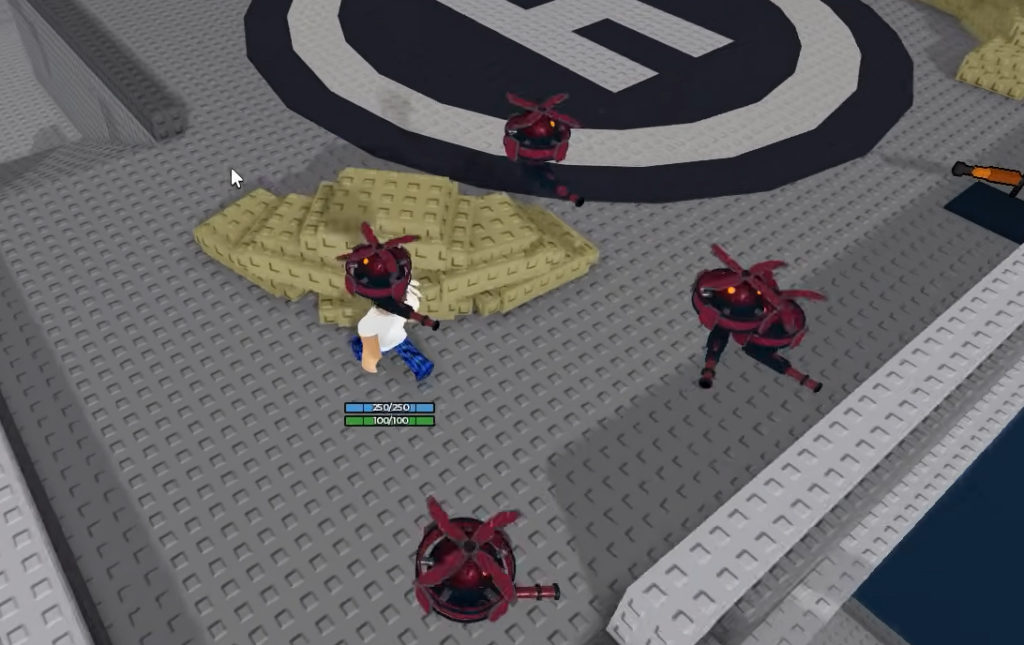
| Rooftop Siege | Helipad sandbags | Wedge into the sandbag pile on the helipad to block most pathfinding. |
| Atlantis | Light fixture ledge | Jump off the upper platform onto the wall-mounted light; zombies get stuck on the adjacent stairs. |
| Atlantis | Pillar beam corner | Shift-lock, hug the vertical pillar, and jump onto the outer edge of the horizontal beam. |
| Abandoned Farm | Silo back wall | Stand on the grass line flush against the back of the red silos to fail zombie pathing. |
On the Atlantis beam, only the outer corner is safe. The first section of the beam still lets a zombie walk up and hit you, so position tight into the corner before you go idle.
Under-map and out-of-bounds clips
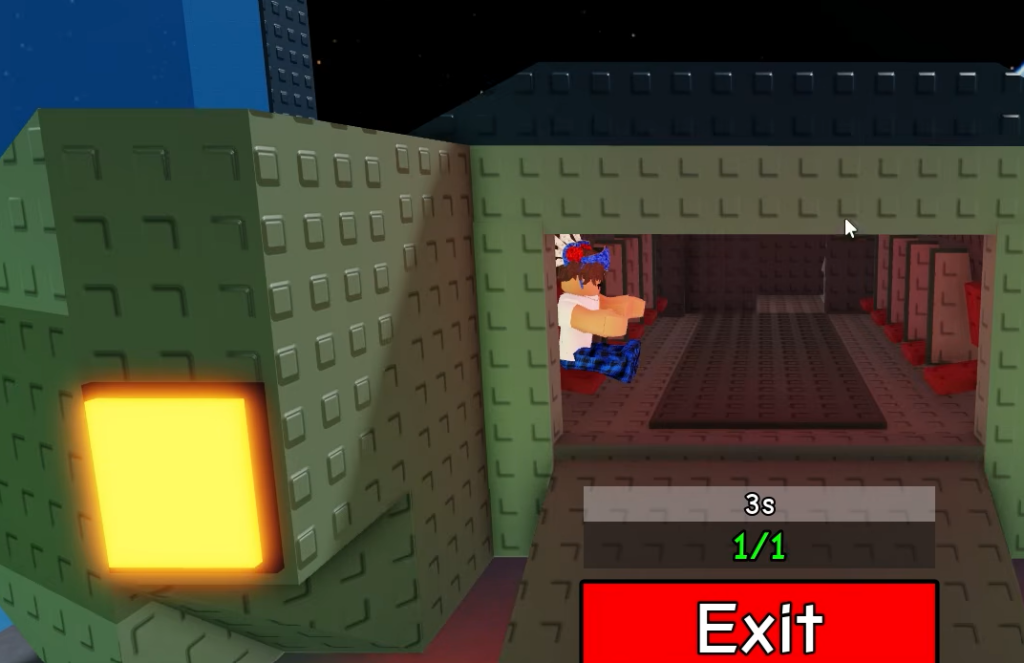
The strongest farming comes from leaving the playable area entirely. Below the map, the game’s spawn system misbehaves and enemies die on spawn, which is the fastest way to clear waves while completely idle.
Abandoned Farm under-map slip
Rooftop Siege wall clip and infinite farm
On Prison Yard, there is also a simpler exit: walk into the corner fence near the trash can and clip through the collision boundary to reach the outside of the map.
How to confirm the glitch worked
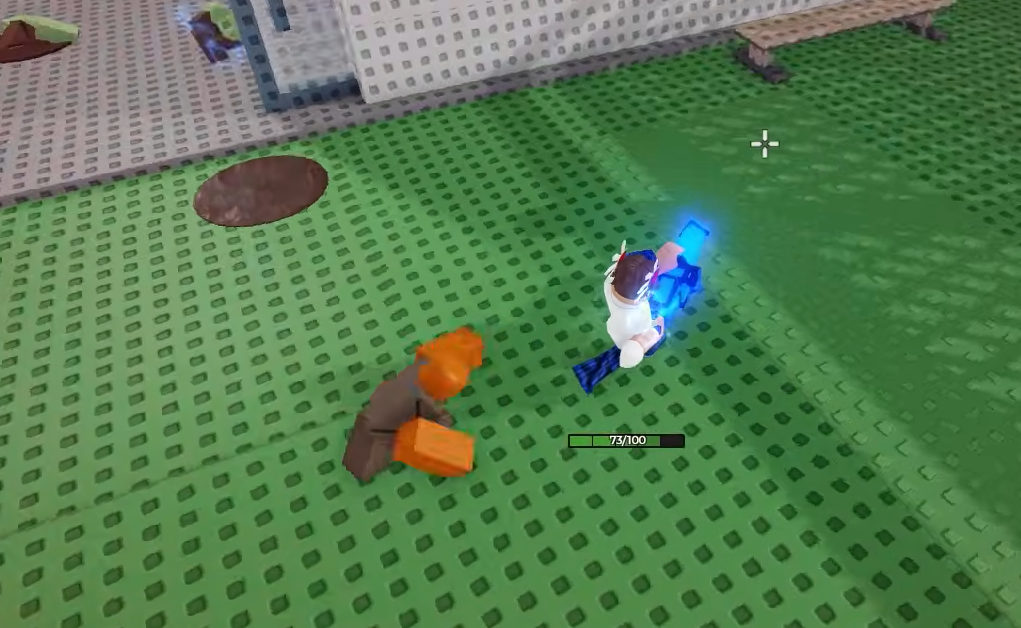
You know a safe spot is holding when zombies stack up around your position but your health bar never drops. On the high-jump, you should physically land on top of the roof or tree with enemies pathing uselessly below. For the under-map and out-of-bounds clips, you’ll see your avatar pass through the floor or wall, and out of bounds you’ll watch enemies die the moment they spawn as waves advance without your input.
Why a glitch fails and how to fix it
| Problem | Fix |
|---|---|
| Clip glitches won’t trigger (e.g. Prison Yard fence) | Your avatar scale is too large; use a smaller character body. |
| Shelter high-jump doesn’t launch | Place the Shelter flush against the wall and keep shift-lock on; re-place if there’s a gap. |
| Zombies still hit you on Atlantis beam | Move fully into the outer corner — the inner beam section is not safe. |
| Bastion shelter spot in a staircase | Expect a few placement attempts before it locks into the god-mode position. |
For a shard-focused session, run Nightmare difficulty, since galactic zombies spawn more often there and drop the Void Shards you’re after. Longer runs pay out more than repeated short ones, so build a spot that survives dozens of waves and let the turrets, drones, or summons do the rest while you step away.