Take the Triarch Repeater Map near Proxima and get out before the cave seals.
Take the Triarch Repeater Map near Proxima and get out before the cave seals.
by AllThingsHow Staff
The Crumbling Tunnel in Mortal Shell 2 is a short cave with a hard stop at the end. You drop in for a map. The moment you take it, the ceiling starts to fall.
Quick answer: Enter the mist portal by the Proxima Shell in the Shattered Beacon area, ride the elevator down, grab Ventrium and Laterite, shoot the explosive jars for the Triarch Repeater Map, then sprint back to the lift before rock seals the cave.
Crumbling Tunnel location in Mortal Shell 2
Look for a white mist portal in the Shattered Beacon area, next to where you found the Proxima Shell. That opening is the right entrance. Follow the path inside until you reach a wooden lift.
A second place uses the same name in Widow’s Overlook, southwest of Fainweald. That room only holds a Glimpse and a nearby journal. It has no elevator and no cave-in. If you need the map, stay with the Proxima portal.
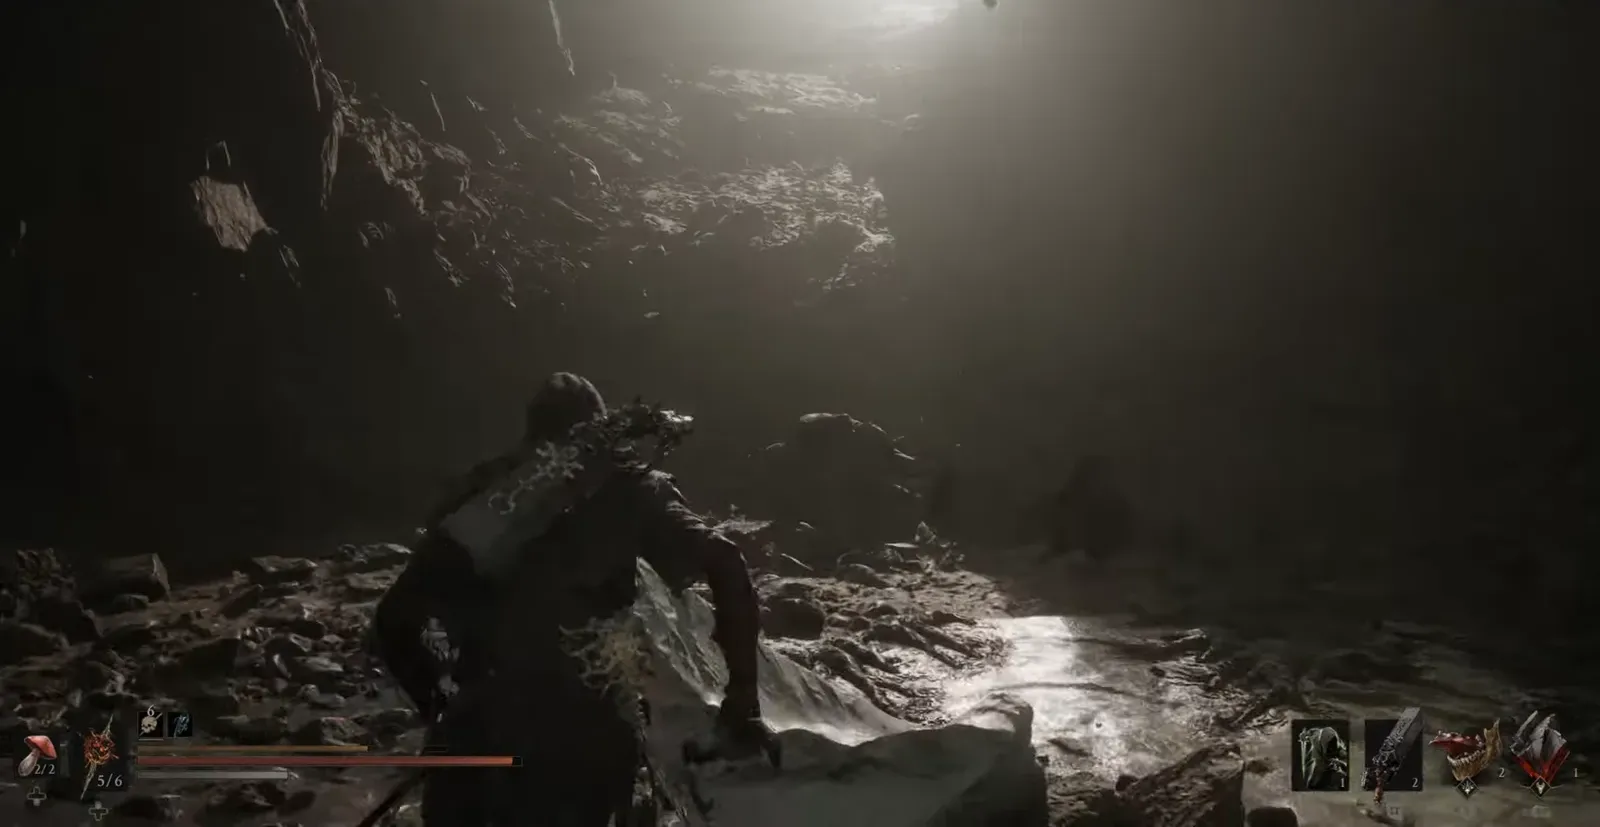
Step through the mist and move into the narrow rock corridor. Keep walking until the wooden elevator platform is in front of you.
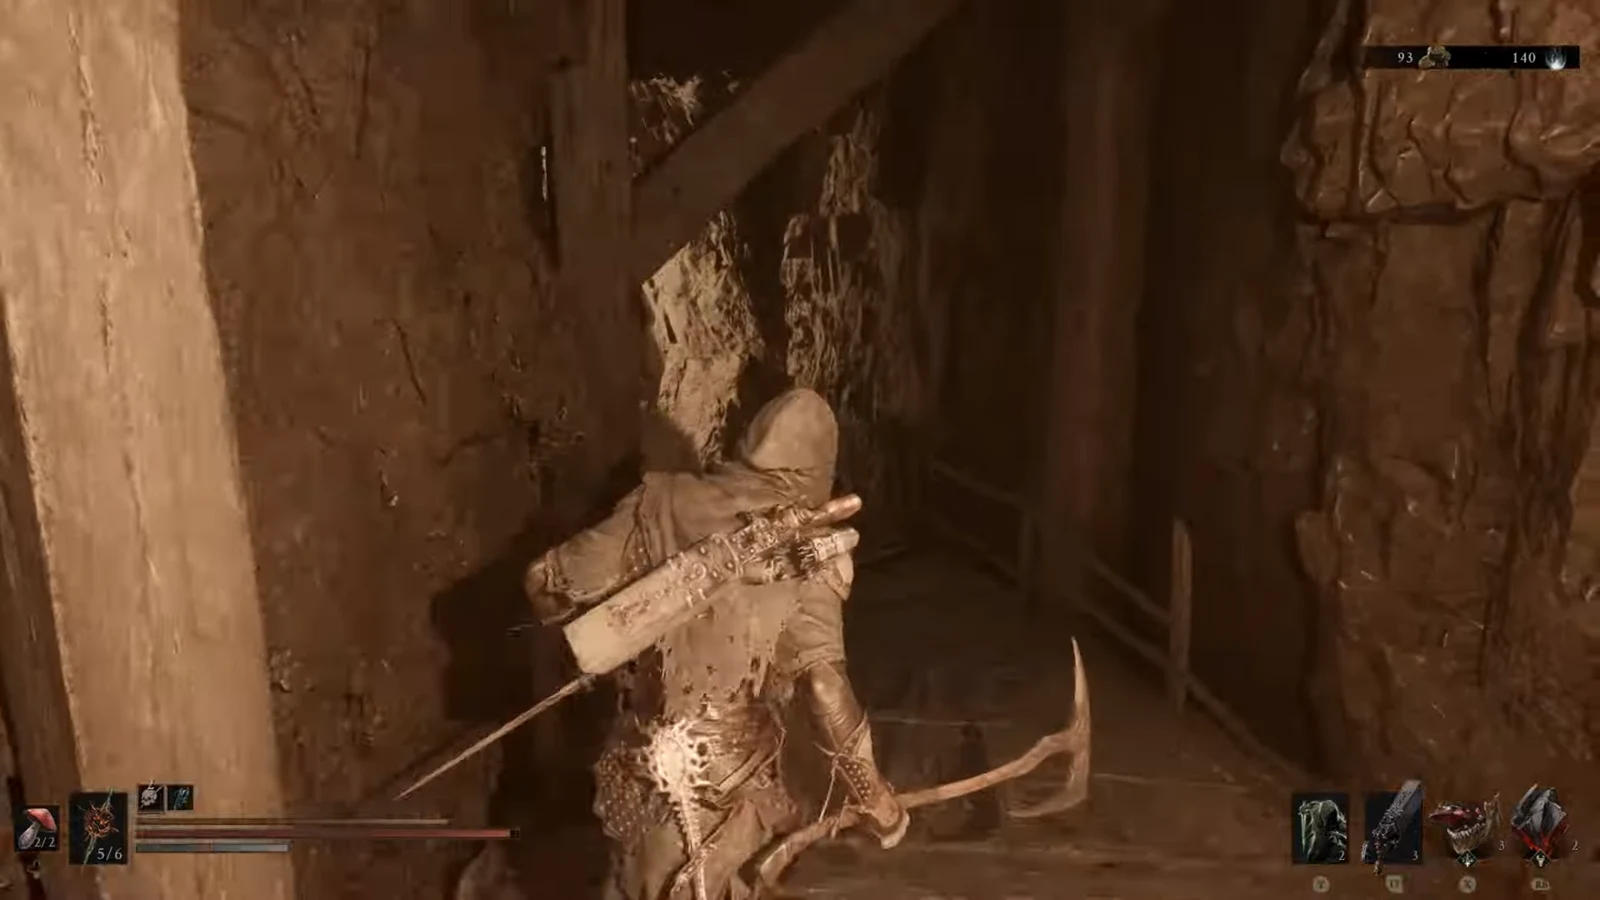
00:03A hooded character moves through the narrow cave corridor past the mist entrance. Image credit: Cold Symmetry / via @SanterSensei. Shown at 00:03 in Santer Sensei’s video.
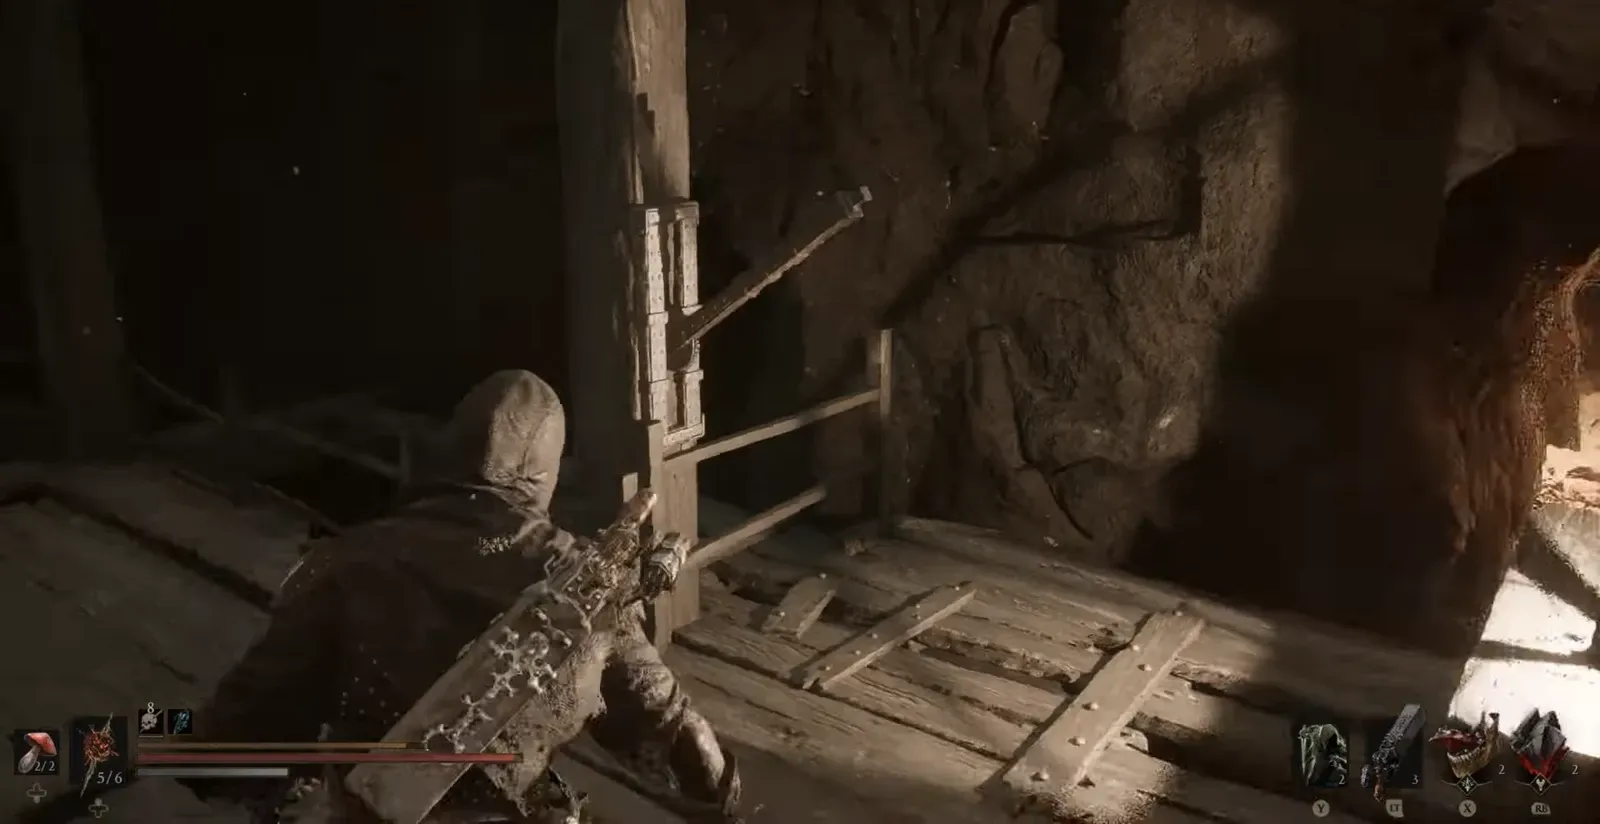
Crouch through the low gap ahead. A shield-wielding Brigand and two Wretches wait in the next stretch. Clear them before you search the room.
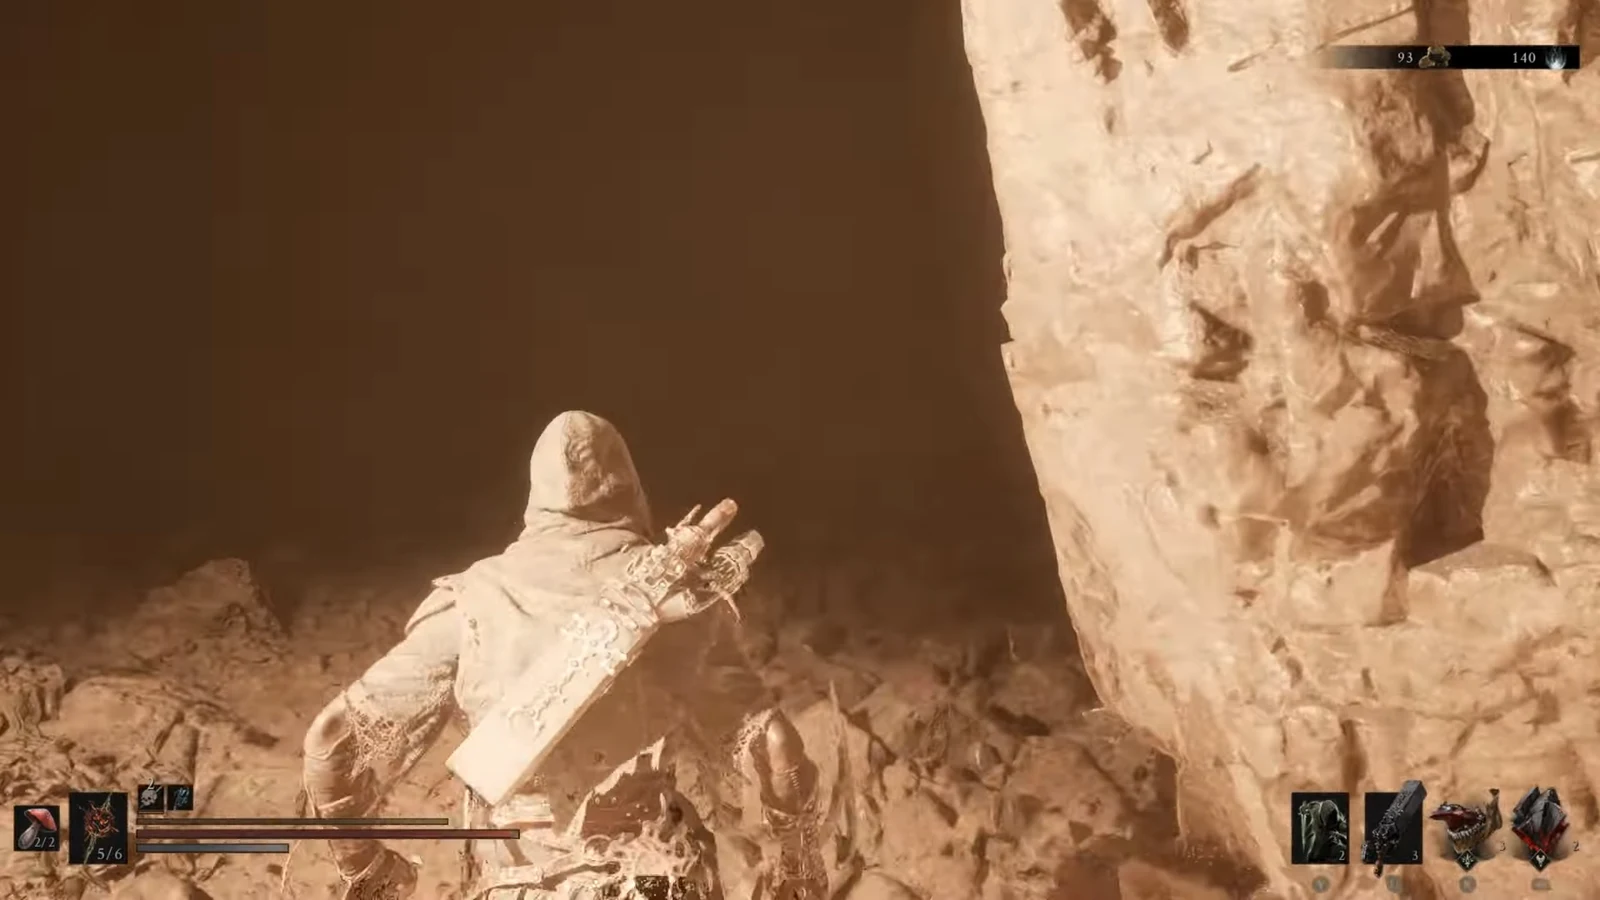
00:17The character leaves the lift and heads through the rocky cavern toward a dark opening. Image credit: Cold Symmetry / via @SanterSensei. Shown at 00:17 in Santer Sensei’s video.
Push farther down the tunnel and watch the ceiling. Rocks start to drop here. A Wretch stands in that fall zone. Hit it from range and let the debris finish the job.
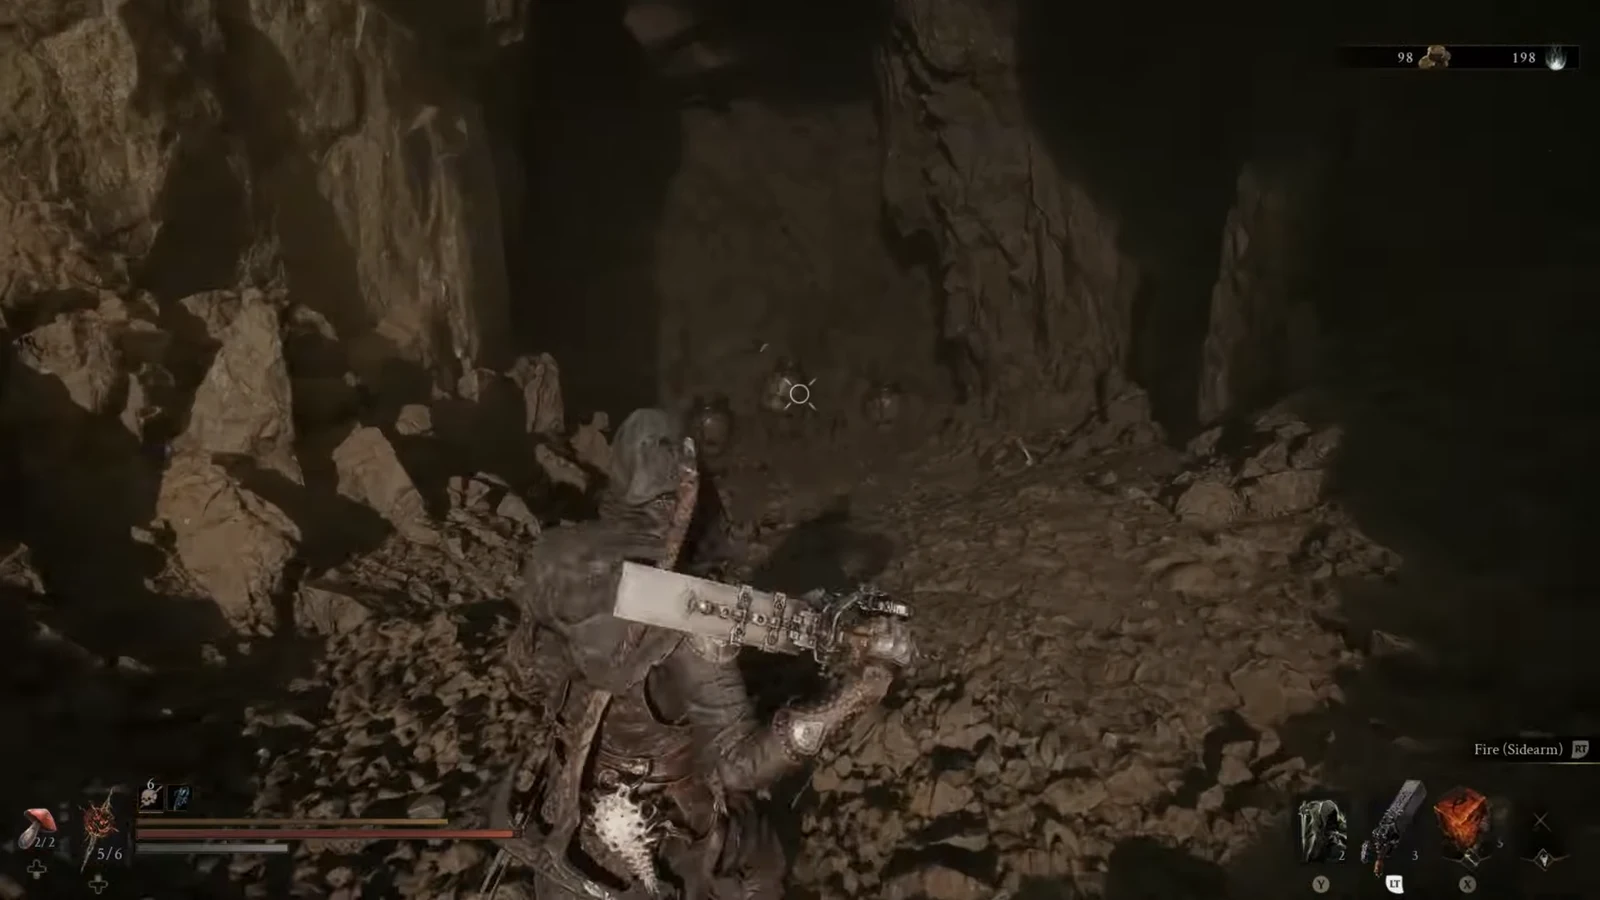
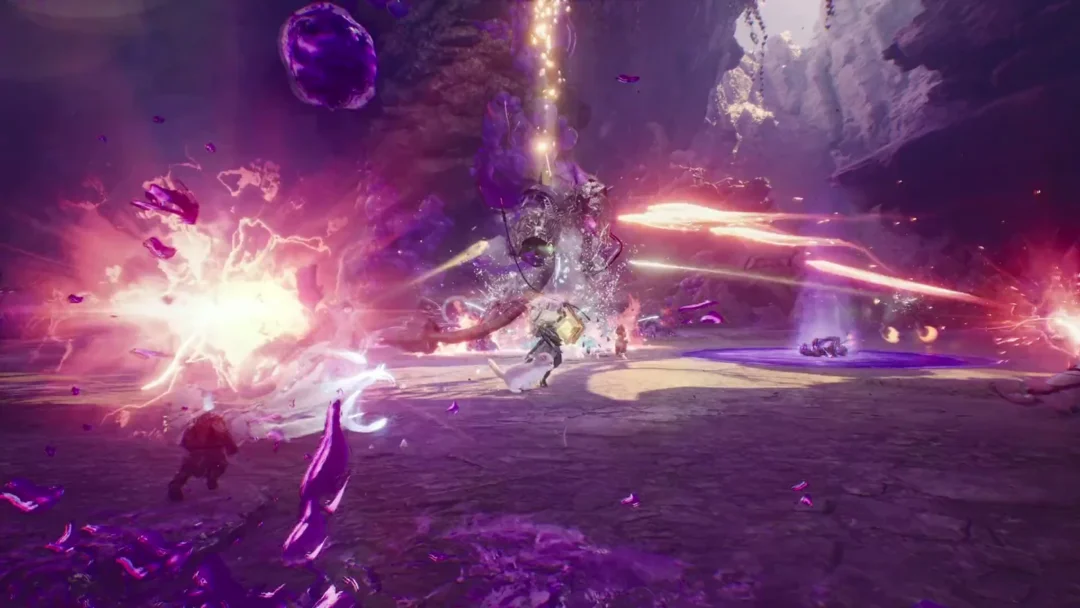
Shoot the explosive jars in front of you. The blast clears the pile and leaves a pale object on the floor.
00:32The player aims a sidearm at the centered target to break the explosive jars. Image credit: Cold Symmetry / via @SanterSensei. Shown at 00:32 in Santer Sensei’s video.
Pick up the Triarch Repeater Map. That sheet marks where Proxima’s sidearm can be found later. The cave begins to fail as soon as the map leaves the ground.
Turn around and run toward the lit stretch and the elevator. Dust and small stones falling from the ceiling mark the next boulder. Move off that line before the rock lands.
00:46The character sprints back through the dark cavern after taking the map. Image credit: Cold Symmetry / via @SanterSensei. Shown at 00:46 in Santer Sensei’s video.
Reach the wooden elevator platform and ride it up. Leave through the same mist you used to enter.
01:01The character runs across the wooden elevator platform toward the cave exit. Image credit: Cold Symmetry / via @SanterSensei. Shown at 01:01 in Santer Sensei’s video.
You are done when the Triarch Repeater Map is in your inventory and the tunnel behind the lift is fully blocked. There is no way back in for missed materials. If you died in the collapse, the pickup did not finish. Run the cave again and leave as soon as the map is taken.