Sidearms give each Shell a second way to hit an enemy, adding ranged pressure and extra damage on top of your main weapon. There are eight to collect across Mortal Shell 2, and most are tucked inside dungeons or gated behind minibosses. Merrick can mark their spots on your map for Gold, but if you would rather keep your coins, the directions below point you straight to each one.
Quick answer: One sidearm (the Naylshotte) is handed to you in the Prologue. The other seven are found in Fainweald and the Ruins of Mammon, with three requiring you to defeat a specific enemy first. You know you have one when it appears in your inventory and can be equipped as a sidearm slot.
All 8 sidearms and where to find them
| Sidearm | What it does | Where to get it |
|---|---|---|
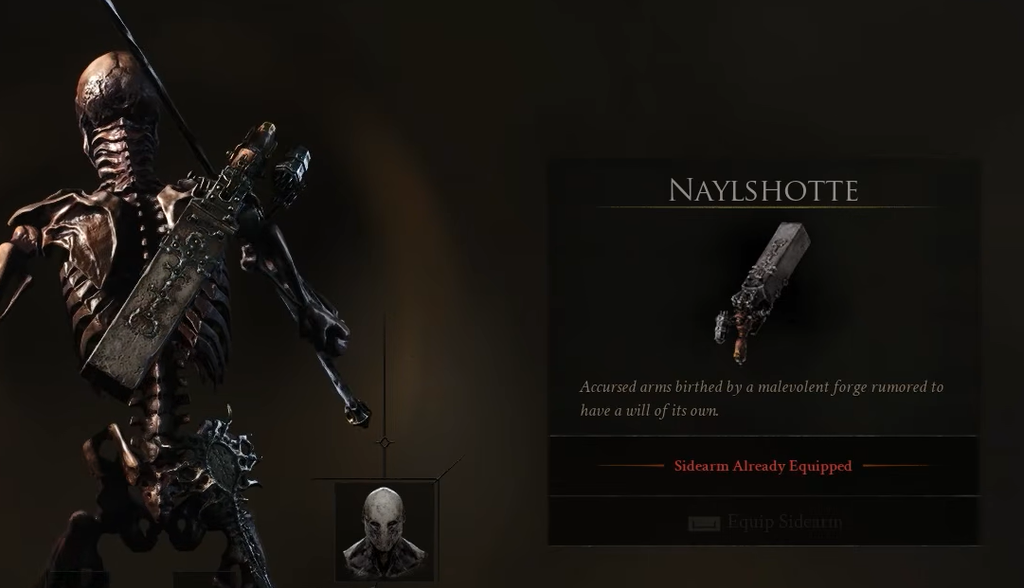
| Naylshotte | Fires a spread of projectiles at range | Given automatically during the Prologue |
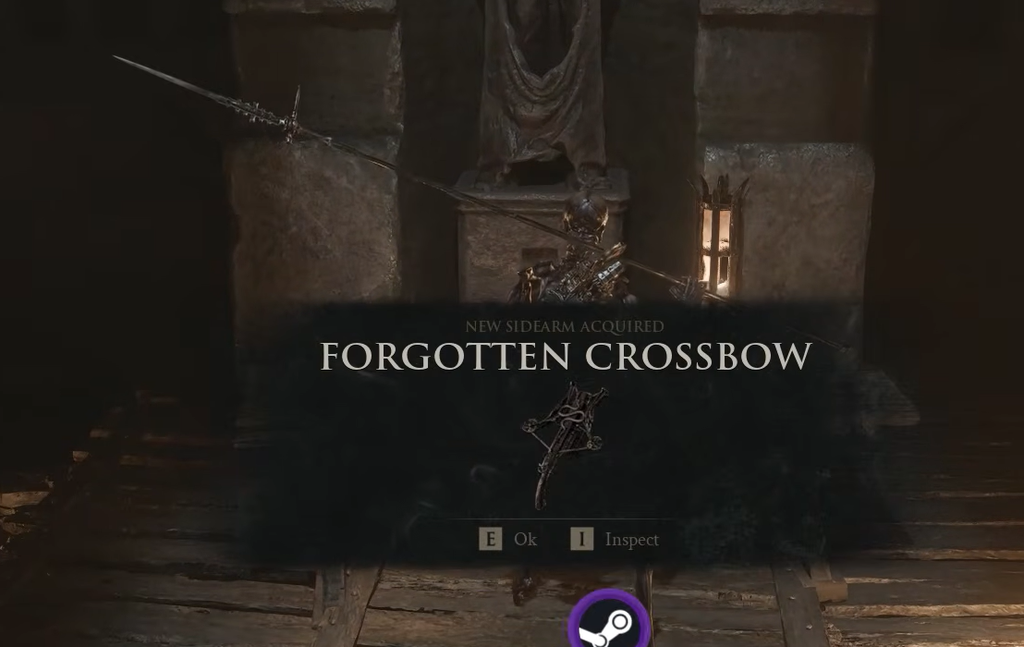
| Forgotten Crossbow | Fires bolts at distant enemies | Flooded Village dungeon (needs the Damp Key) |
| Troubadour’s Lute | Inflicts Confusion, making foes fight each other | Stage inside the One Legged Wolf Tavern |
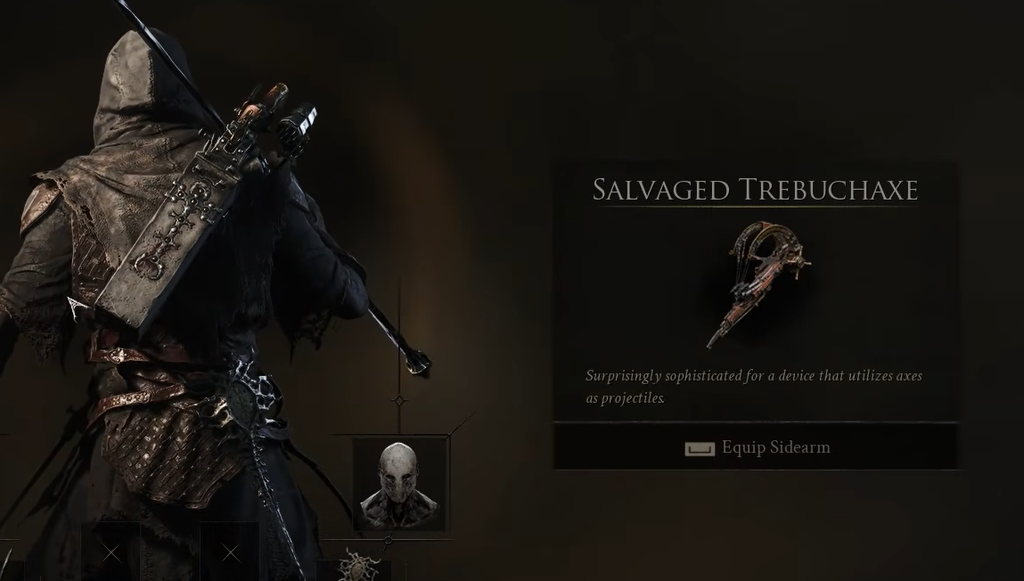
| Salvaged Trebuchaxe | Launches axes at enemies | End of the Ravaged Hideout dungeon |
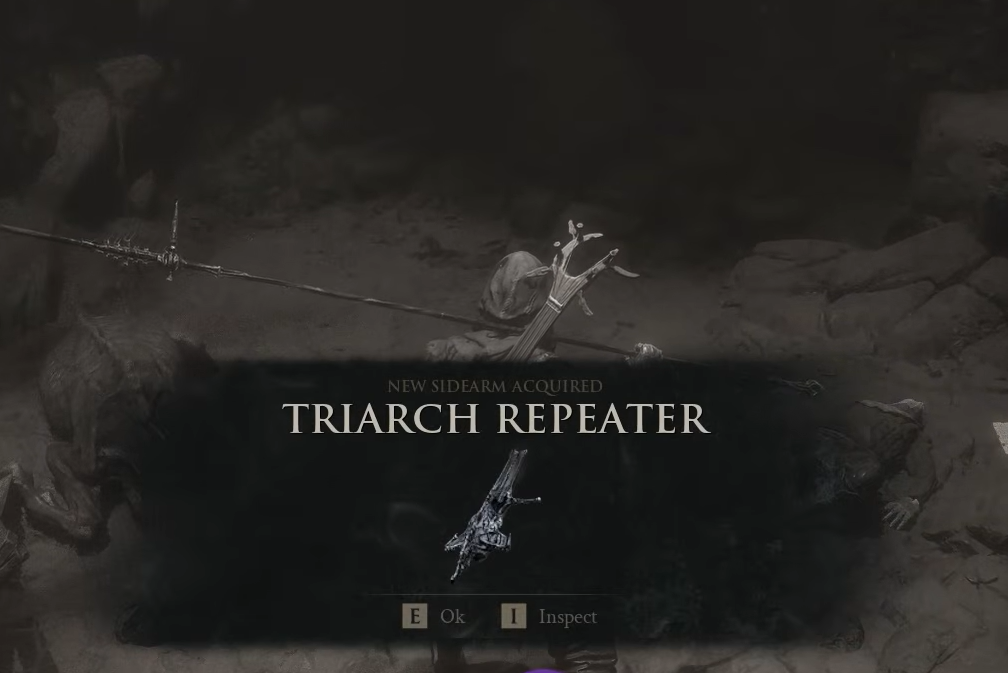
| Triarch Repeater | Fires multiple projectiles in quick bursts | Inside the dark Blackwell Cavern dungeon |
| Ballistazooka | Fires heavy, powerful projectiles | Reward for beating the Subjugated Guardian |
| Cursed Child | A cursed effigy used to attack enemies | Top of the Revered Beacon dungeon |
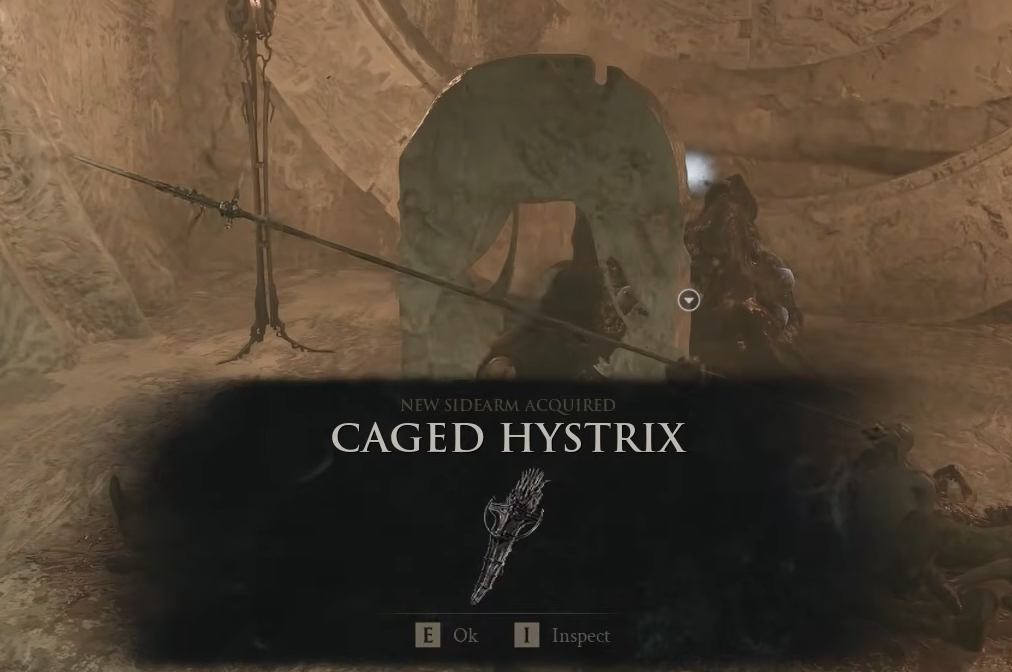
| Caged Hystrix | A caged creature used to attack enemies | Chamber of Becoming, after Sariel |
The sidearm you get automatically
Naylshotte
The Naylshotte is your starting sidearm, so it cannot be missed. Play through the Prologue normally and you receive it alongside your first weapon and your first Seal when you unlock the Harros Shell. It works like a shotgun, firing a burst of projectiles in a spread. If you played the Open Beta and skipped the Prologue, the Naylshotte is already equipped when the main game begins.
Sidearms found by exploring dungeons
Forgotten Crossbow
Troubadour’s Lute
The lute sits on the stage inside the One Legged Wolf Tavern, but you first need the Mother’s Breath ability to cleanse the corruption blocking the route. You unlock it after collecting and siphoning eight Ova. Once you have it, travel to the One Legged Wolf Beacon, head southeast into the tavern, and pick up the lute to the left of the character already playing one.
The Troubadour’s Lute is the only sidearm that cannot be upgraded at the Tarforge. In exchange, it inflicts Confusion, turning nearby enemies against each other for a few seconds.
Triarch Repeater
From the Castigator’s Keep Beacon, drop to the lower level and head north toward the cliff, where you will find the entrance to the Blackwell Cavern. The dungeon is nearly pitch black, so visibility is limited to a few feet ahead. Push through until you reach the first lit area and the Triarch Repeater is waiting on the ground.
Cursed Child
Sidearms locked behind bosses
Salvaged Trebuchaxe
Travel south from the Gloomshade Grove Beacon toward the water below the Citadel. Here you fight the Bloodcursed Lithopod, which must fall before you can reach the Ravaged Hideout dungeon nearby. Enter the hideout, work your way to the final room, and take the Salvaged Trebuchaxe from the body there.
Ballistazooka
Caged Hystrix
Once you have all eight, every sidearm except the Troubadour’s Lute can be upgraded at the Tarforge in Marrow Keep, provided you have enough coins and smithing materials. Start with the Naylshotte early, then round out your kit with the dungeon and boss pickups as you push through Fainweald and the Ruins of Mammon.