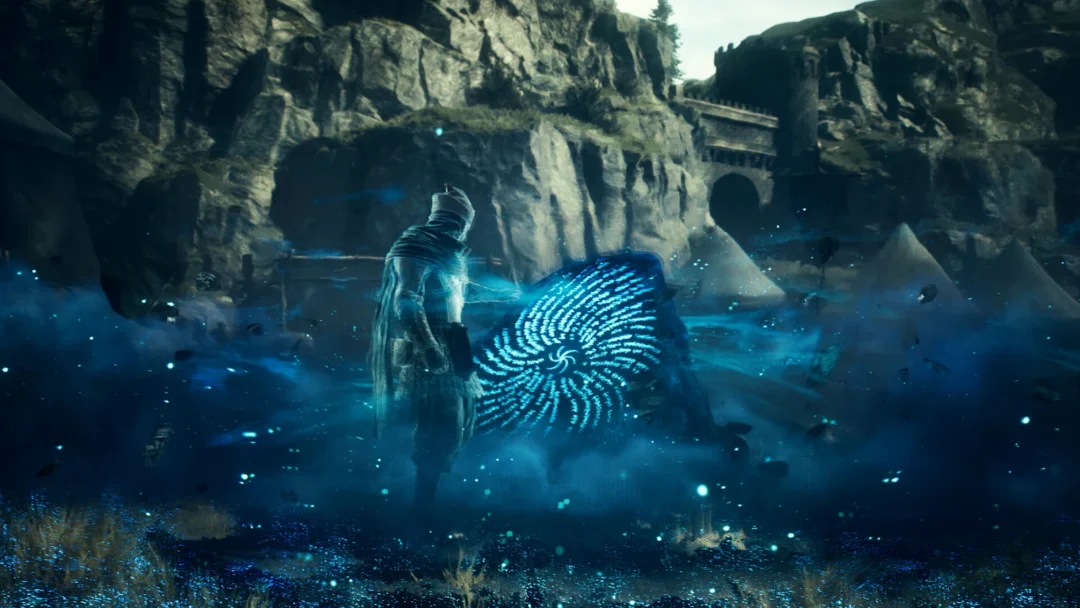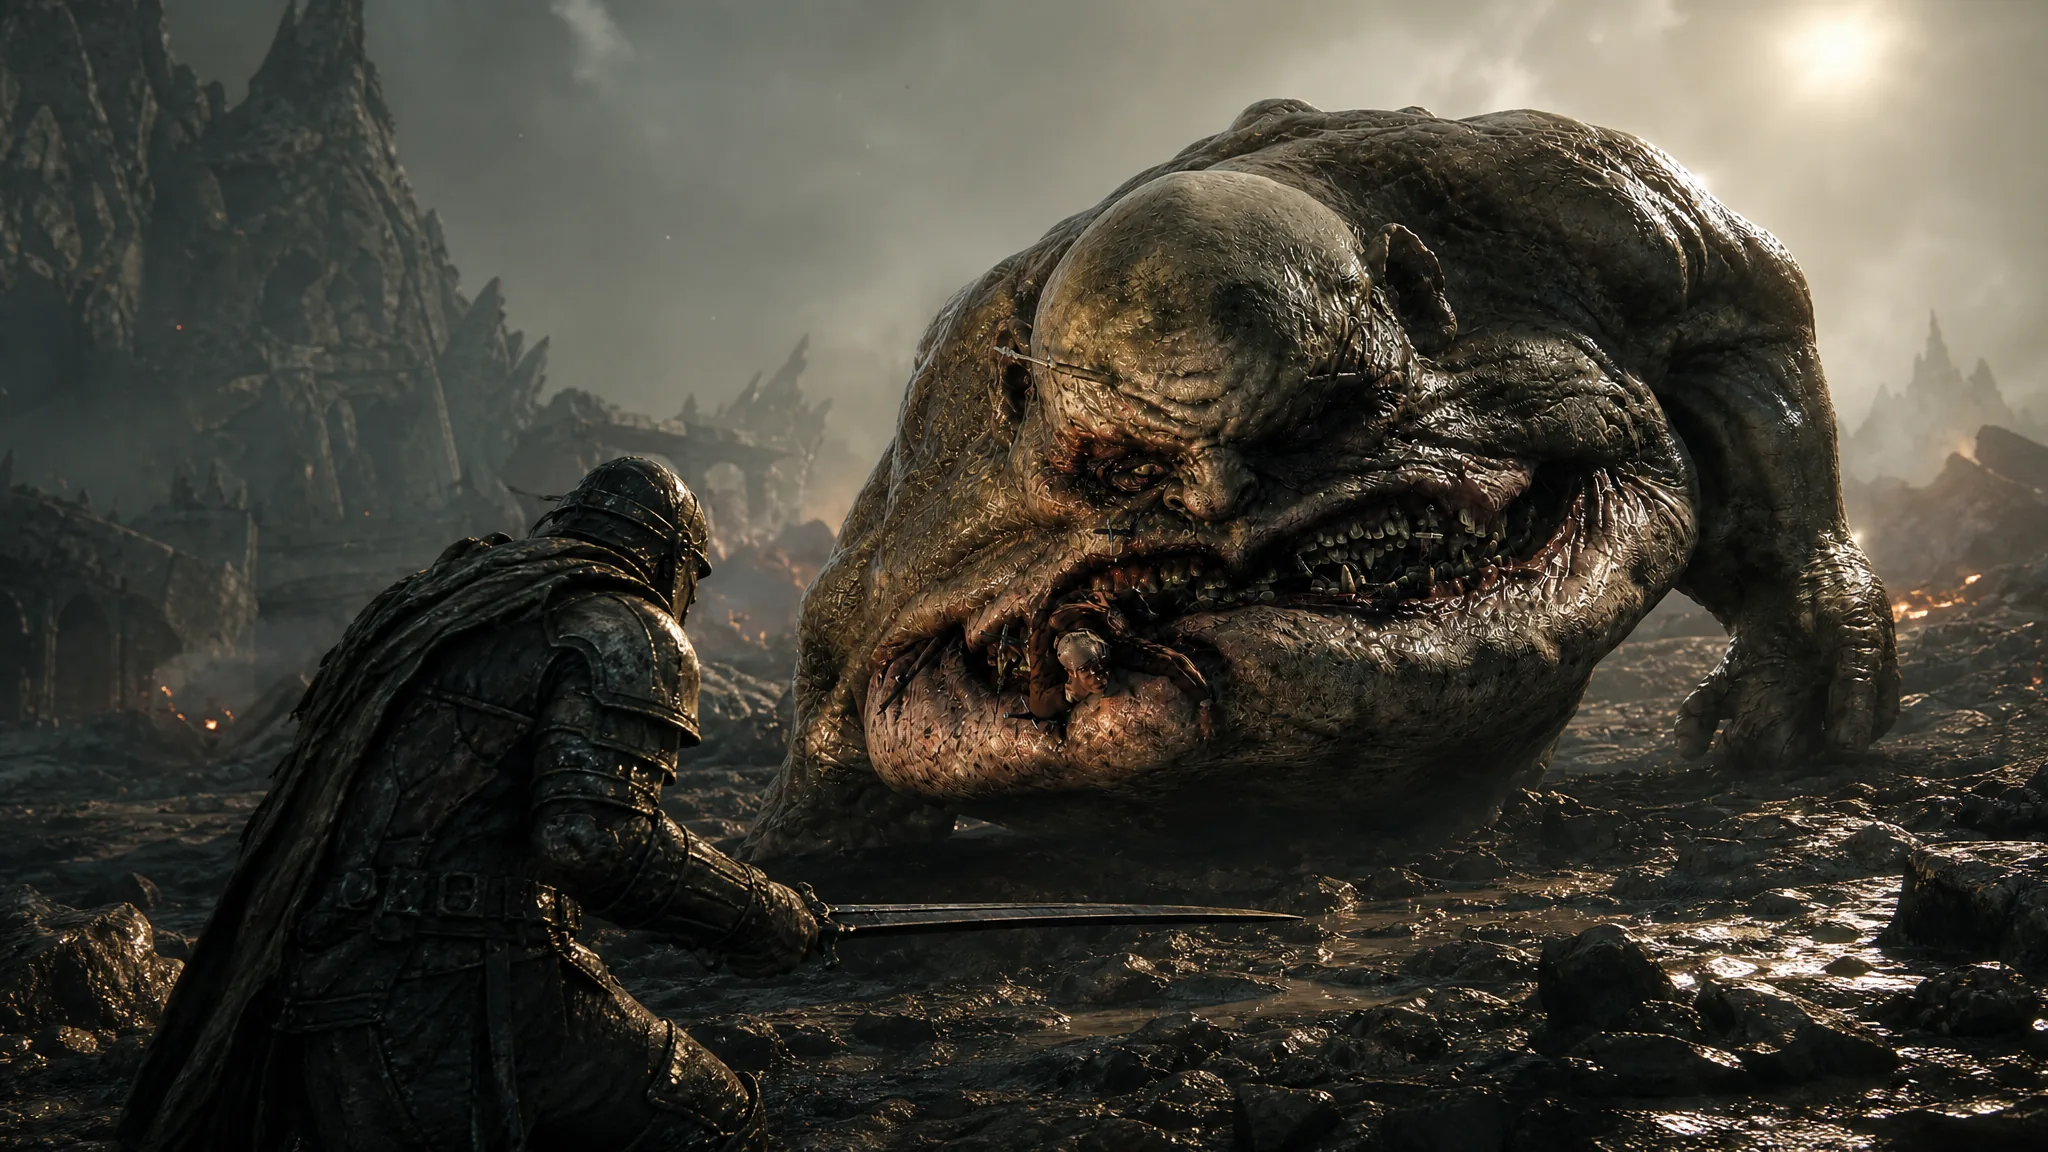
The Lost Child is the boss guarding the Sanguine Caverns gate in Fainweald, a huge legless mass of flesh that drags itself around with one arm and bites with a gaping, tooth-lined mouth. It hits hard, and its grab can erase most of your health in one go, so the fight rewards patience and correct positioning over raw aggression. Defeating it drops the Lost Clotstone tarstone and a large pile of Gloom.
Quick answer: Stay glued to the boss’s flank, in the gap between its arm and tail, land two or three hits per opening, and dodge to the side or backward the instant its head winds up with a red glint. Repeat until the health bar empties and the “Meat’s Back on the Menu, Boys!” trophy pops.
Where to find The Lost Child
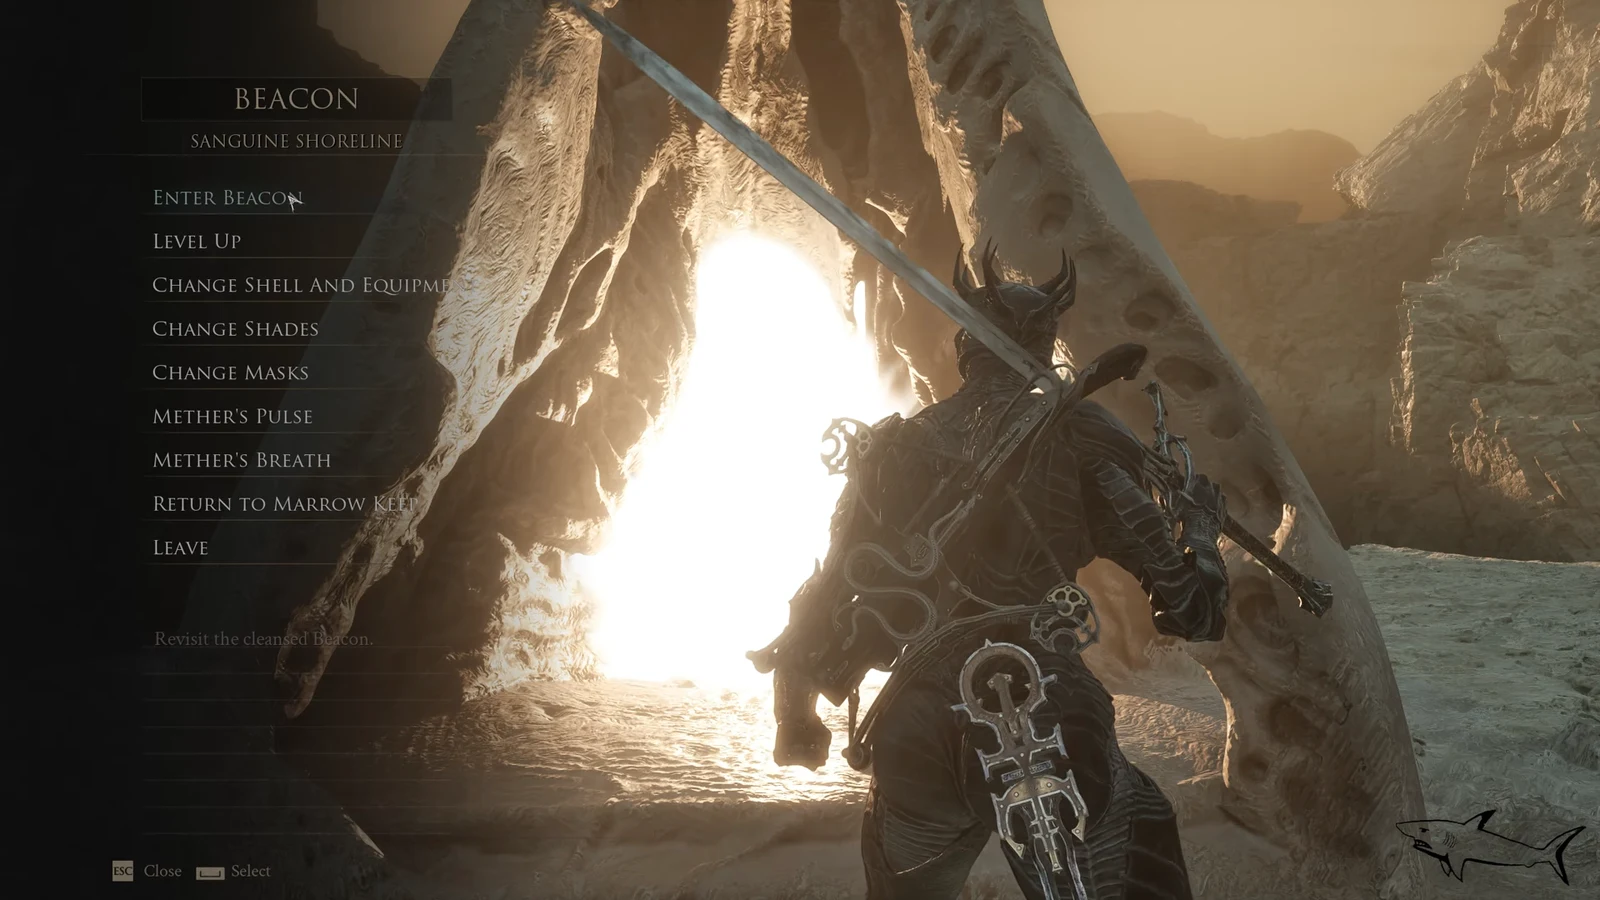
The encounter sits at the end of the Sanguine Caverns gate, reached from the Sanguine Shoreline beacon. Reinvigorate the beacon, then follow the path down into the caverns and keep moving along the route until the arena opens up and triggers the boss cutscene.
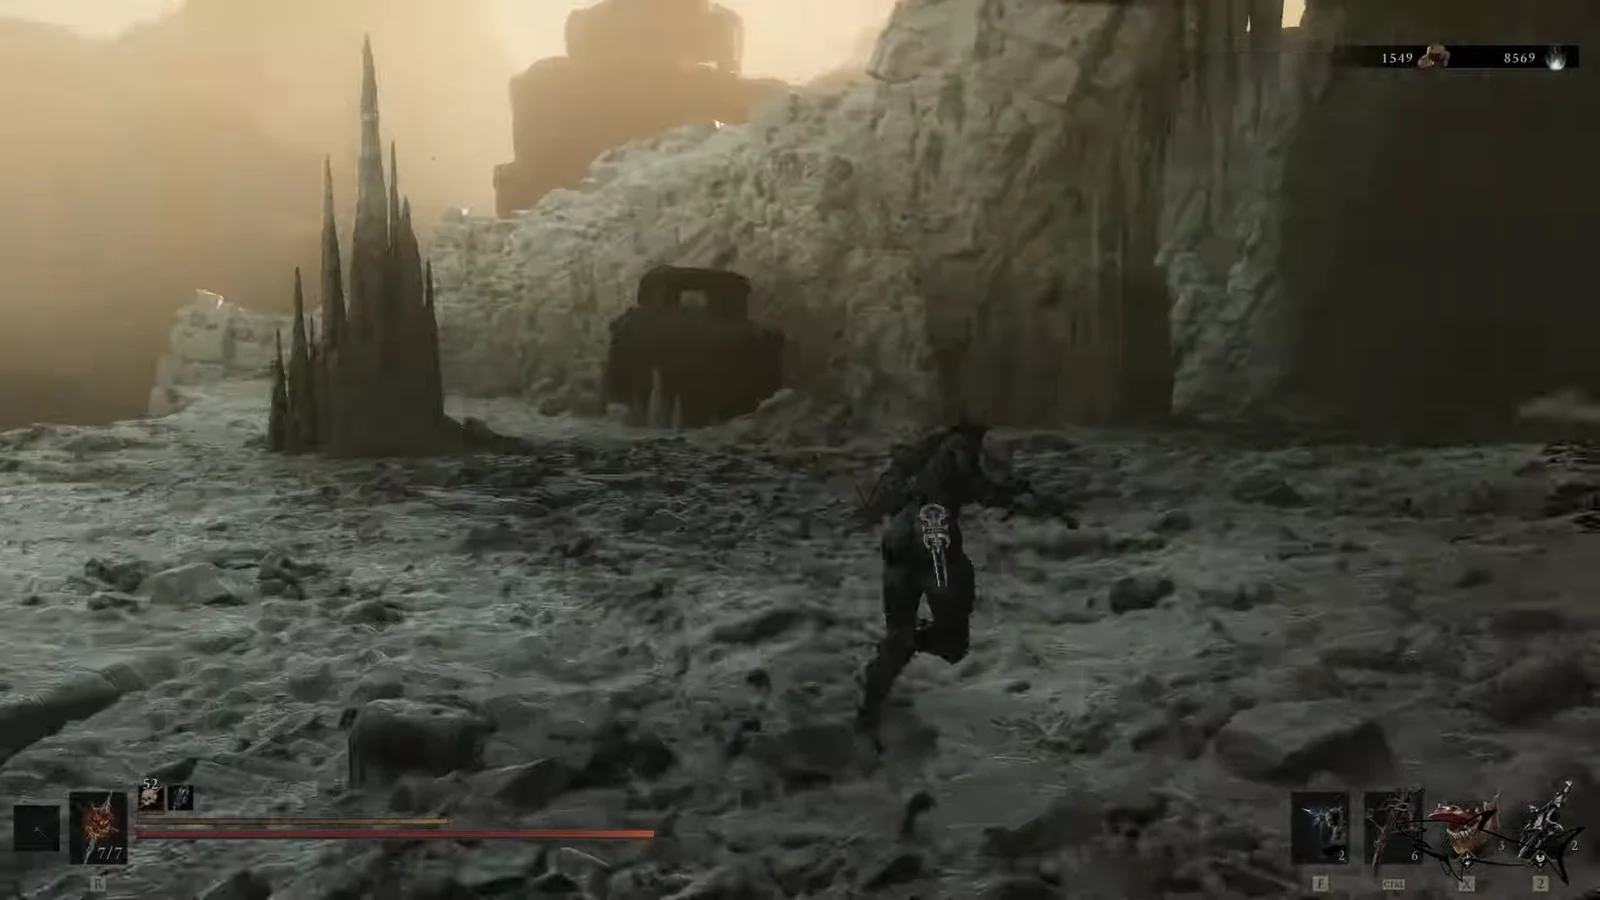
The Lost Child is meant to be tackled after Magdalena, the Lady of the Woods. If it is the first major boss you stumble into, expect it to feel badly overtuned. Wandering in under-leveled is a common reason players get one-shot here, so it is fine to back out and clear content nearer Mushroom Village first.
Recommended level and setup
A character level between 12 and 21 gives you the survivability to trade blows without being deleted by a single grab. Any Shell and weapon can win the fight, but a fast, mobile loadout makes the side-hugging tactic far easier than a slow weapon.
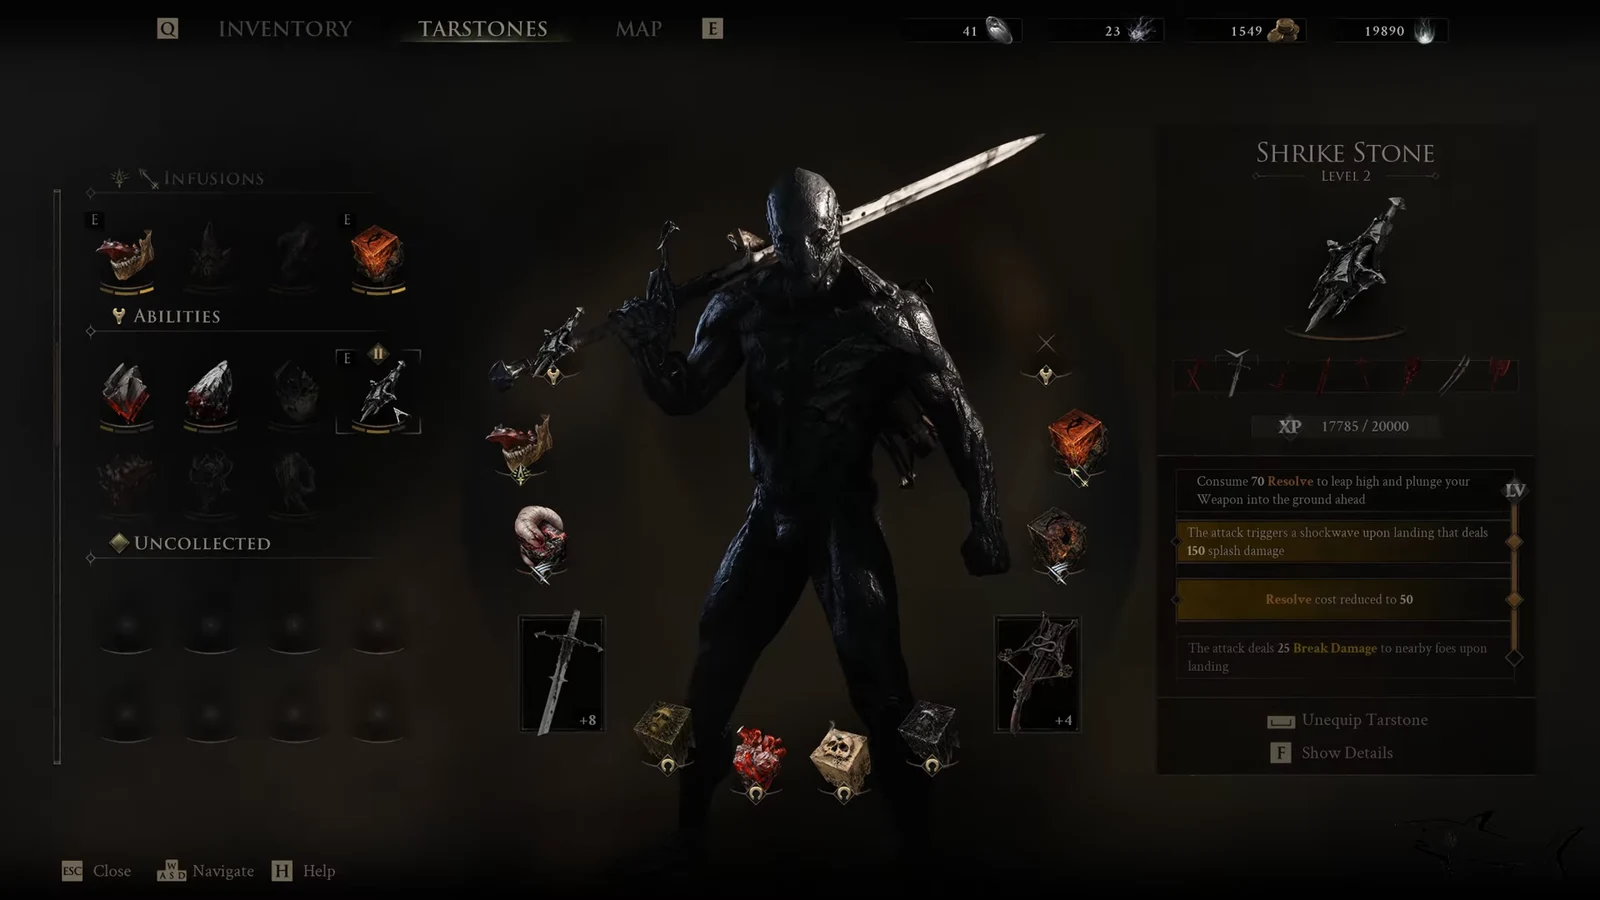
One tested build pairs the Obsidian Proxima shell with The Iconoclast weapon and leans on the Shrike Stone tarstone at Level 2 or higher. The Shrike Stone grants a special jump attack that deals heavy burst damage when your resolve is full, which turns the boss’s long recovery windows into big chunks of health.
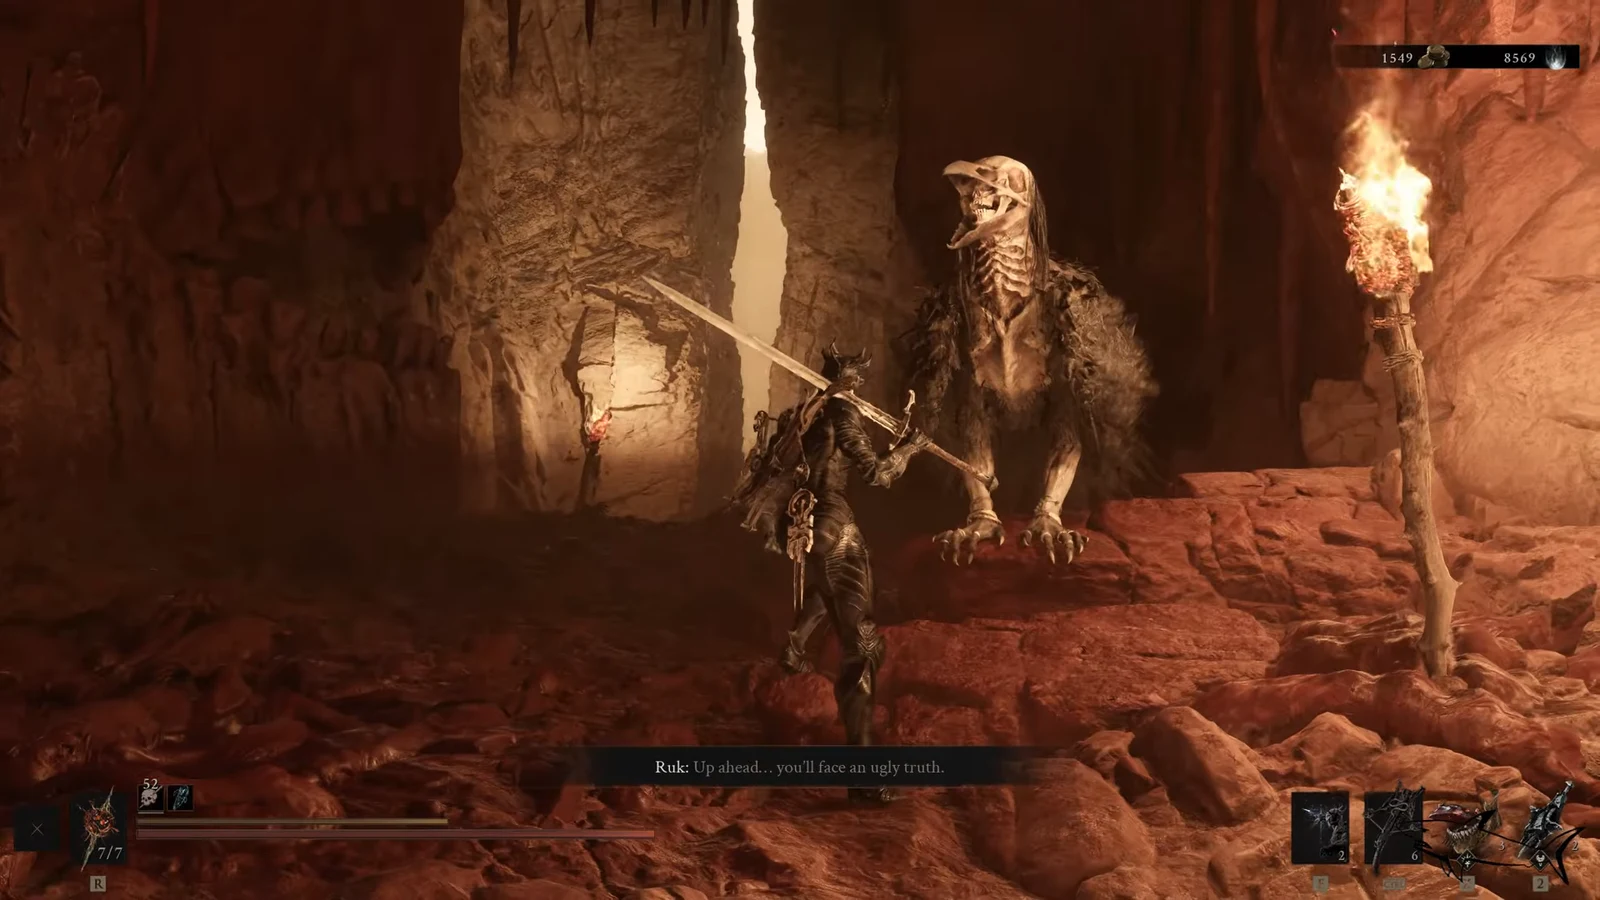
If you prefer help drawing aggro, you can spend one Glimpse to summon the shell Tiel just past the updraft leading into the arena. Collect enough Glimpse beforehand, since the summon has to be paid for each attempt.
The Lost Child’s attacks and safe angles
Every one of its threats lines up with a specific position on its body. The frontal mouth handles bites and the suction attack, the rear end handles the ranged projectile, and its single arm swipes at close range. The safest place to stand is the flank, in the gap between the arm and the tail, where most attacks either miss or leave the boss animation-locked.
| Attack | What it does | How to avoid it |
|---|---|---|
| Body slam | Jumps or rears its maw up, then slams down | Dodge to the side; punish during recovery |
| Arm swipe | Swings its one good arm when you are close | Keep spacing or dodge to the side; parry builds can farm blocks here |
| Rear projectile | Turns around and fires a long-range shot from its back end | Dodge sideways and avoid standing directly behind it |
| Vacuum breath | Opens its jaws and sucks air in, then spits everything back out | Stay out of the inhale range, then dodge to the side as it spits |
| Digest and excrete grab | Fast red-glint grab that eats you and fires you out behind it | Dodge backward the moment its head winds up; can one-shot low levels |
| Three-bite combo | Three consecutive bites followed by a delayed swing | Recognize the pattern; the delayed swing can be parried |
The grab is the attack that ends runs. It becomes far more common once the boss’s health drops to around half, and its damage carries over to your original shell, so a single catch can cost more than one full health bar. Treat the red glint on its head as your cue to dodge, not to attack.
Step-by-step fight strategy
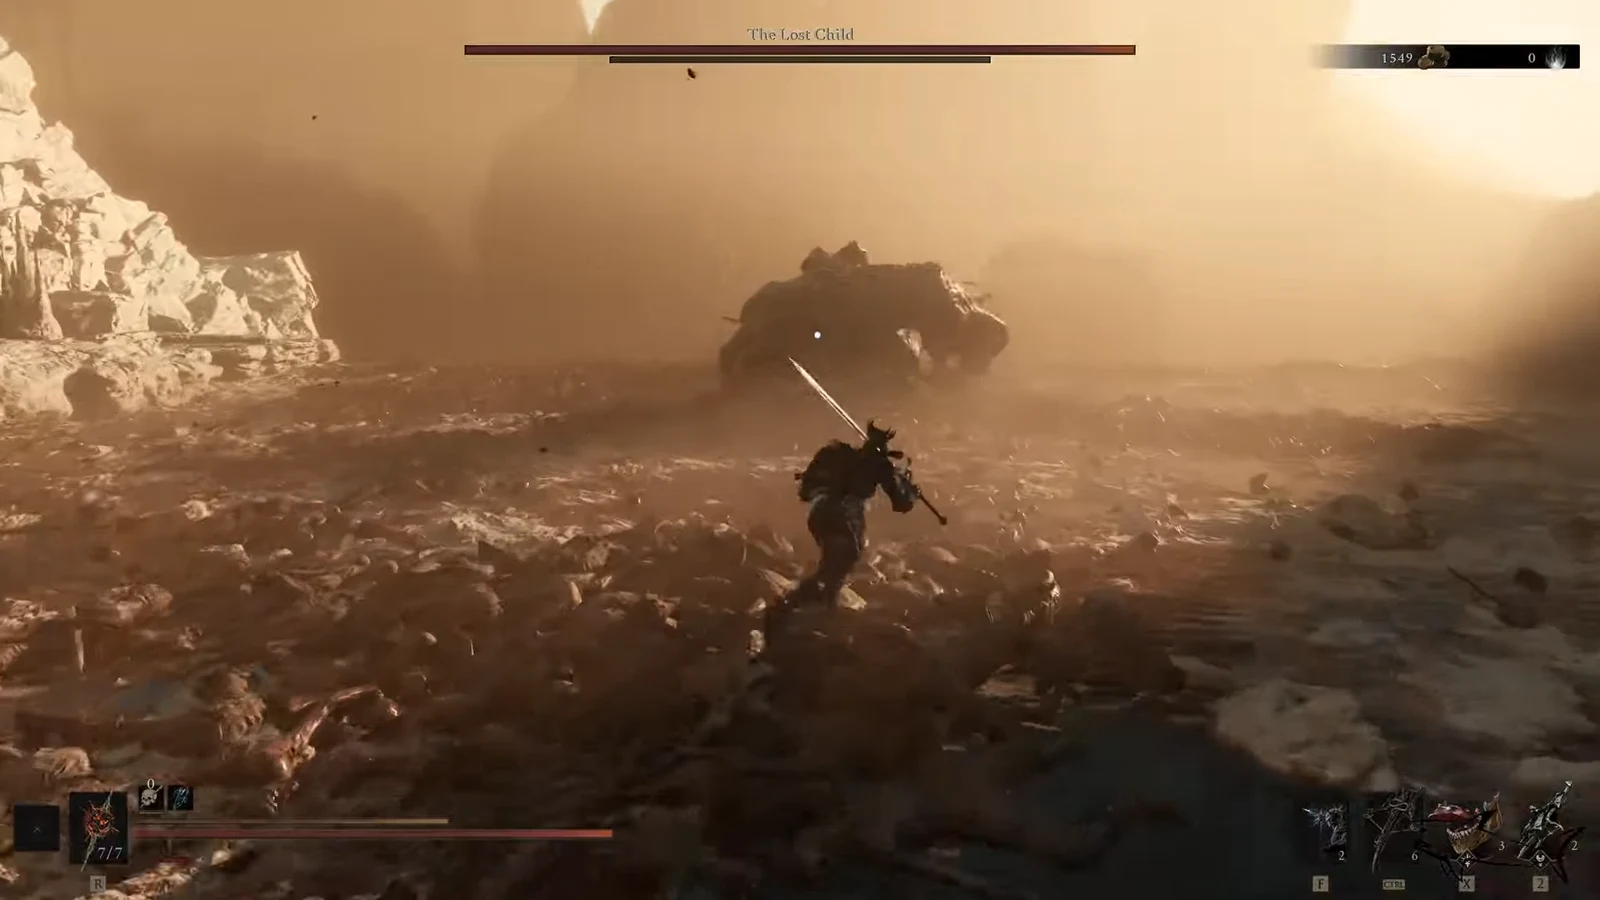
Note: In its later phase the boss can chain new fast attacks with very short tells, and several players have hit bugs such as being launched out of the arena or the boss’s health resetting. If a swing feels unreactable, favor keeping distance and picking safer openings over greedy damage.
Reward and how to confirm the win
When the health bar empties, the boss collapses and a notification confirms a new tarstone, the Lost Clotstone, along with the “Meat’s Back on the Menu, Boys!” trophy. You also receive a large Gloom payout, listed as 13,019 in one clear.
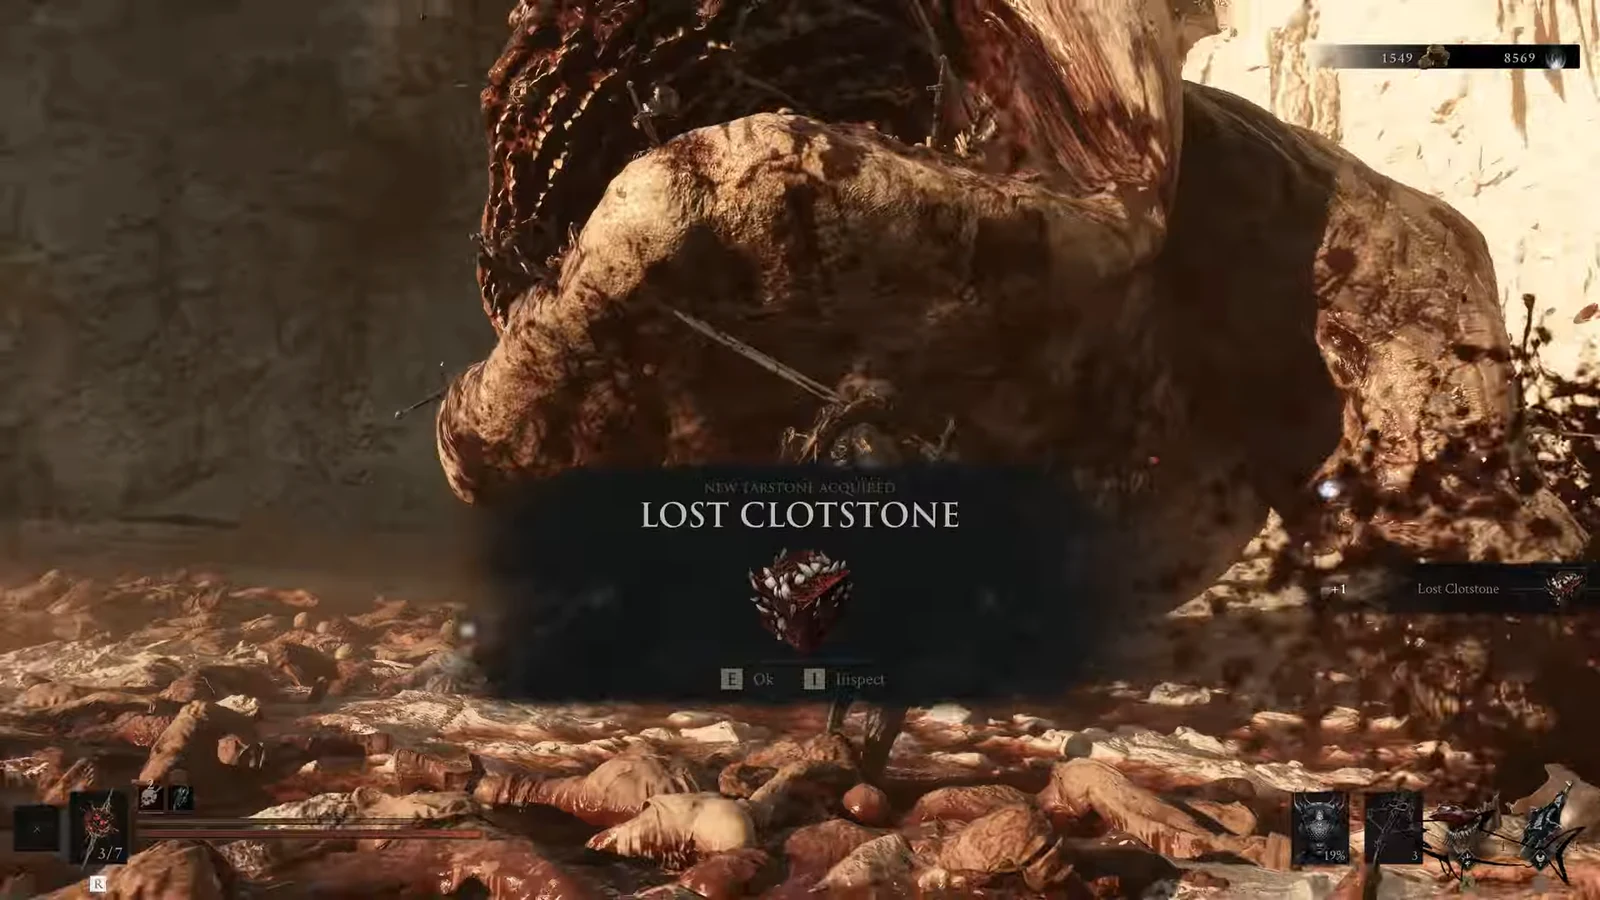
The Lost Clotstone lets you consume 60 resolve to spin in place and release your weapon with brutal force, and it scales onto weapons such as the Obsidian Hammer and Veteran’s Battle Axe. After the fight, cleanse the final beacon in the dungeon and check the innermost chamber for a Blackmarrow Key, which opens the sarcophagi in Marrow Keep to unlock new shell color schemes.