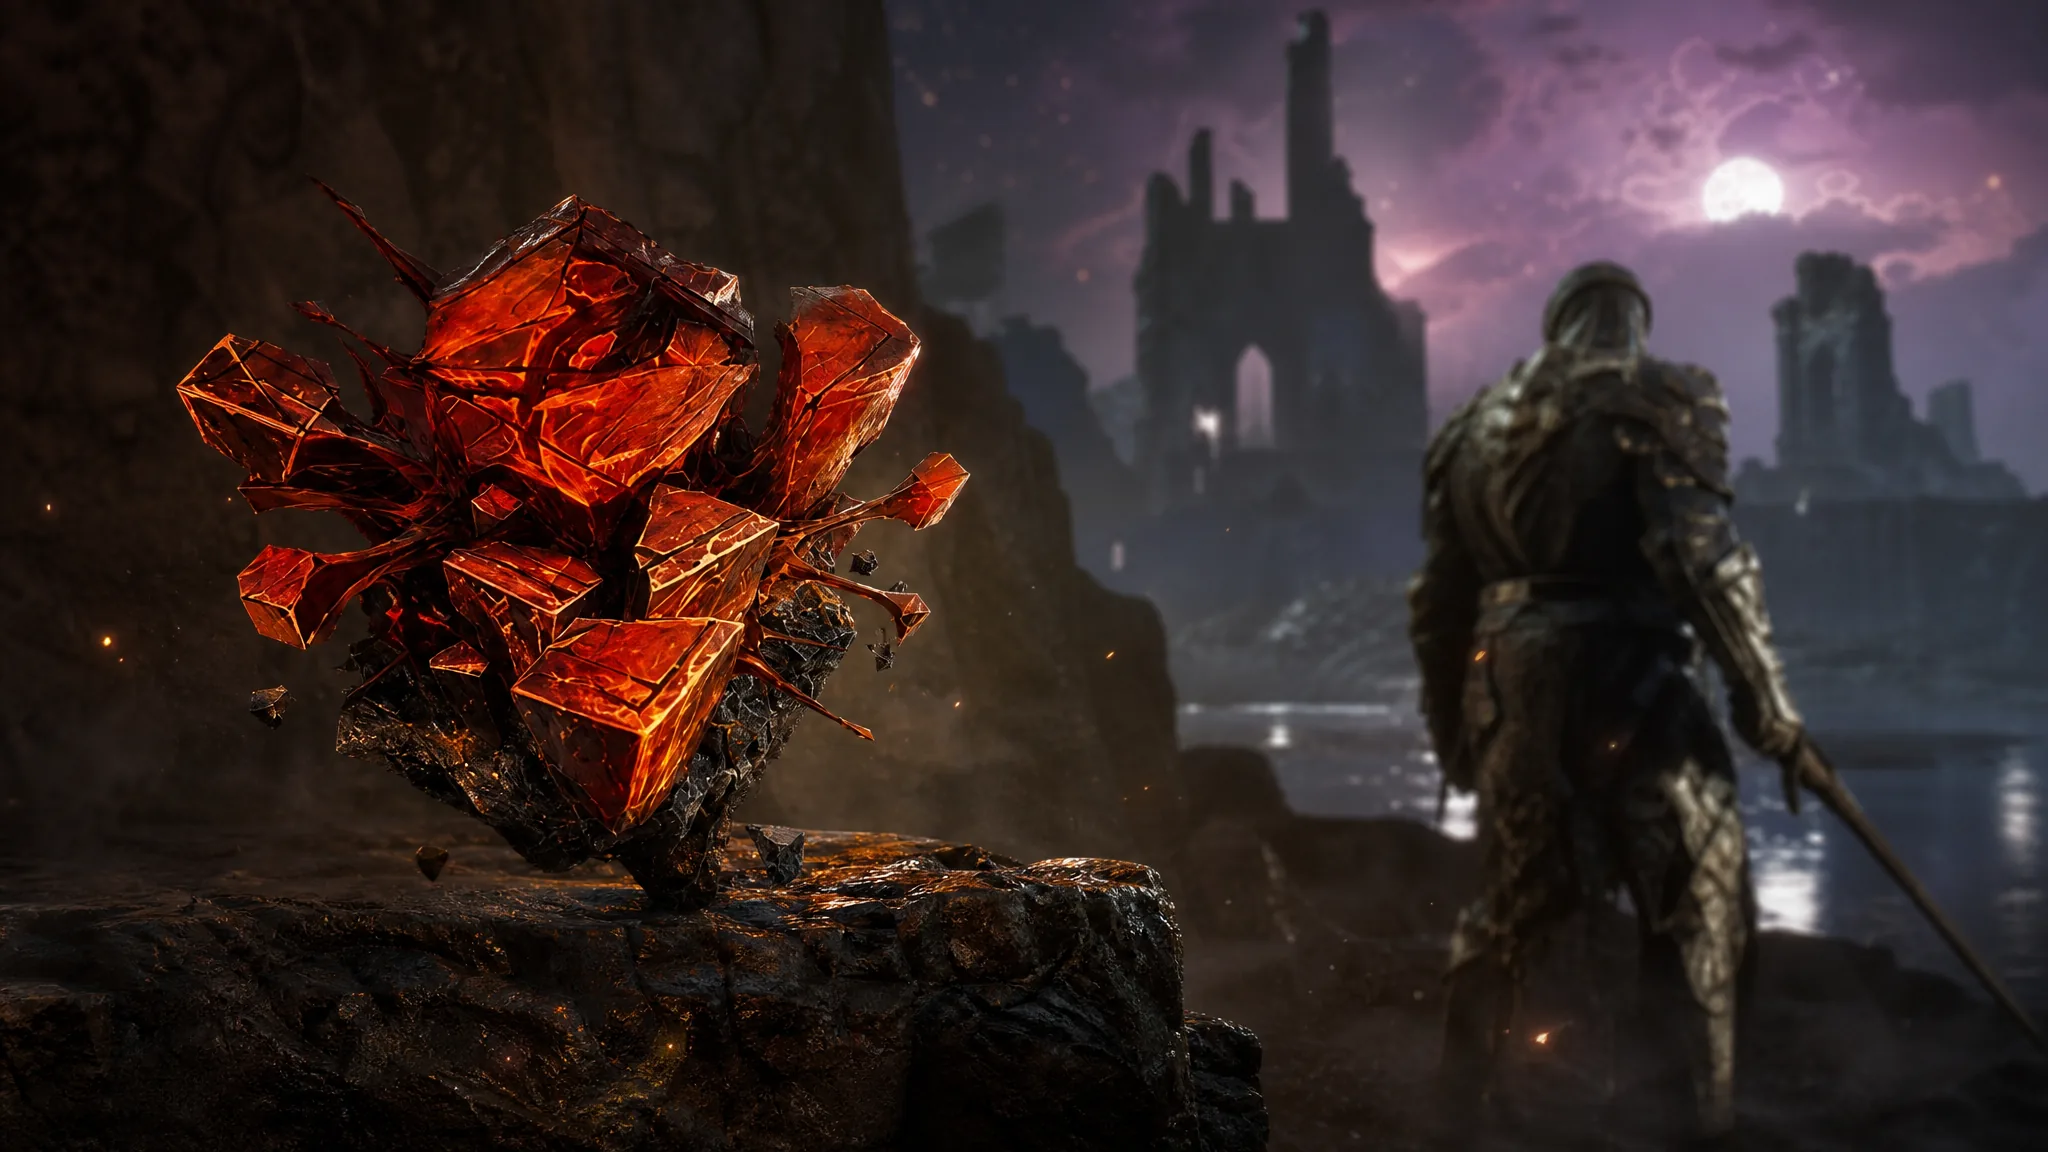
The Blackblood Stone is a Combat Tarstone in Mortal Shell 2 that turns your sidearm into an explosive weapon. Every projectile detonates on impact and deals splash damage to anything nearby, which makes it strong against clustered enemies. It sits in a chest deep inside the Pulsing Caves, reached from the Widow’s Overlook beacon.
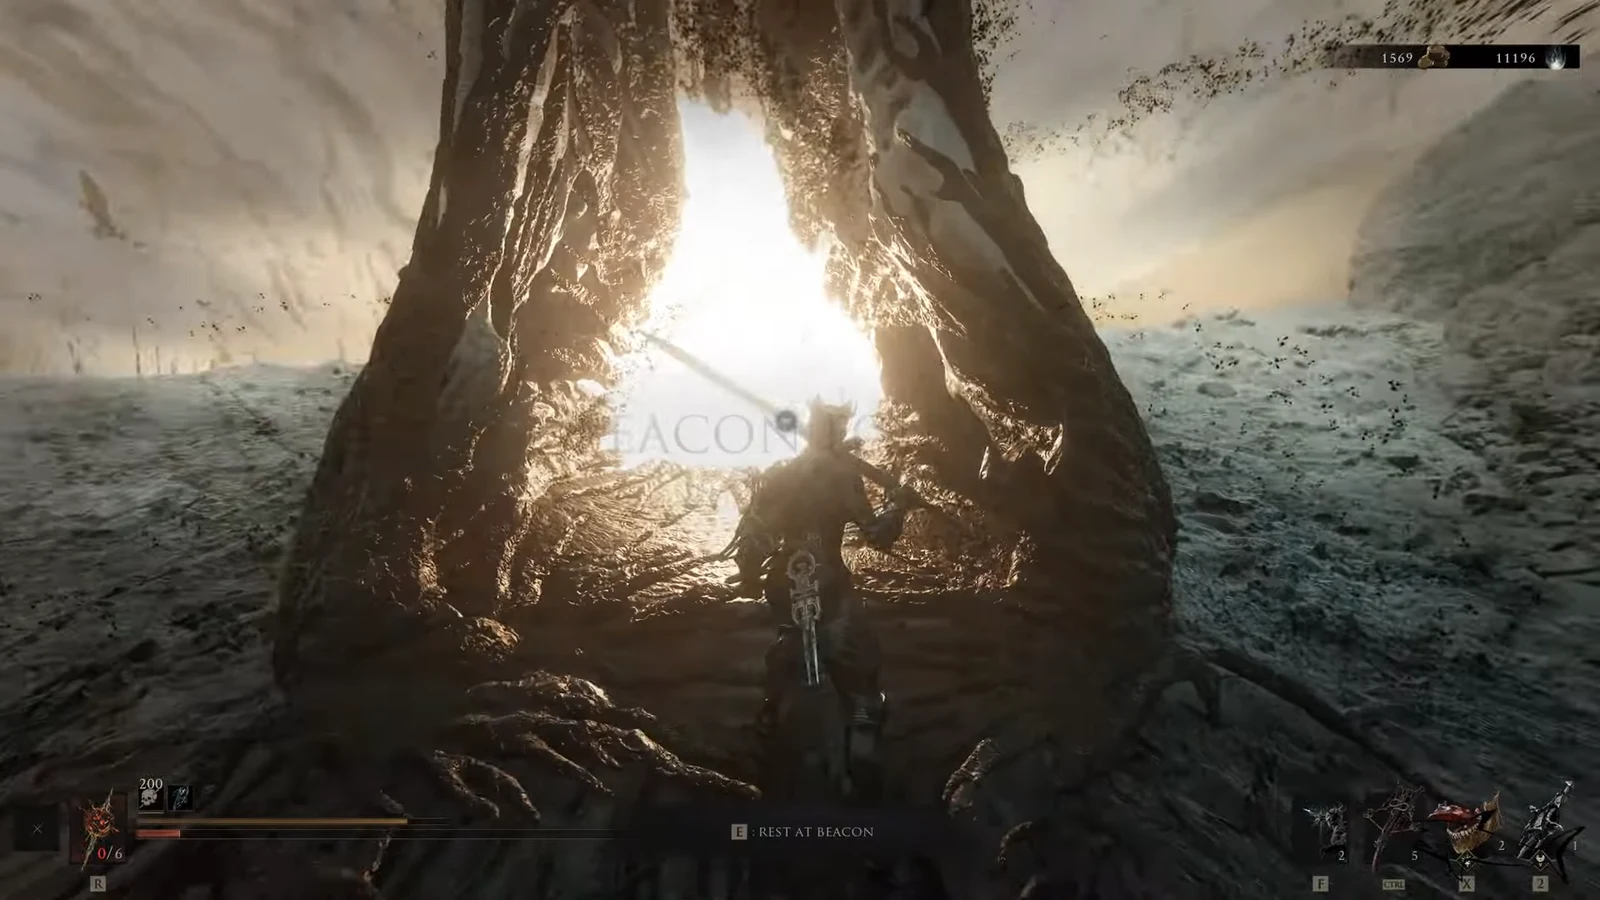
Quick answer: From the Widow’s Overlook beacon, cross Blackridge Cliffs into the Sanguini Caverns, cleanse the Stonebled Gate beacon to open the Corrupted Gate, then continue to the Pulsing Caves beacon and enter its trial area, Mawbreak Cavern. The Blackblood Stone is in the chest at the end.
What the Blackblood Stone does
This Tarstone attaches to your Sidearm and changes how projectiles behave. Instead of a single point of impact, each shot explodes on hit and spreads splash damage around the target. The base effect is unlocked at Level 1, and upgrading the stone raises the splash damage output.
| Level | Effect |
|---|---|
| Level 1 | Projectiles explode on hit and deal 2 splash damage |
| Upgraded | Exploding projectiles deal 3 splash damage |
| Max | Exploding projectiles deal 4 splash damage |
The splash effect works with pistol-type sidearms, so the damage scales as you upgrade the stone rather than requiring a specific weapon.
Route from Widow’s Overlook to Mawbreak Cavern
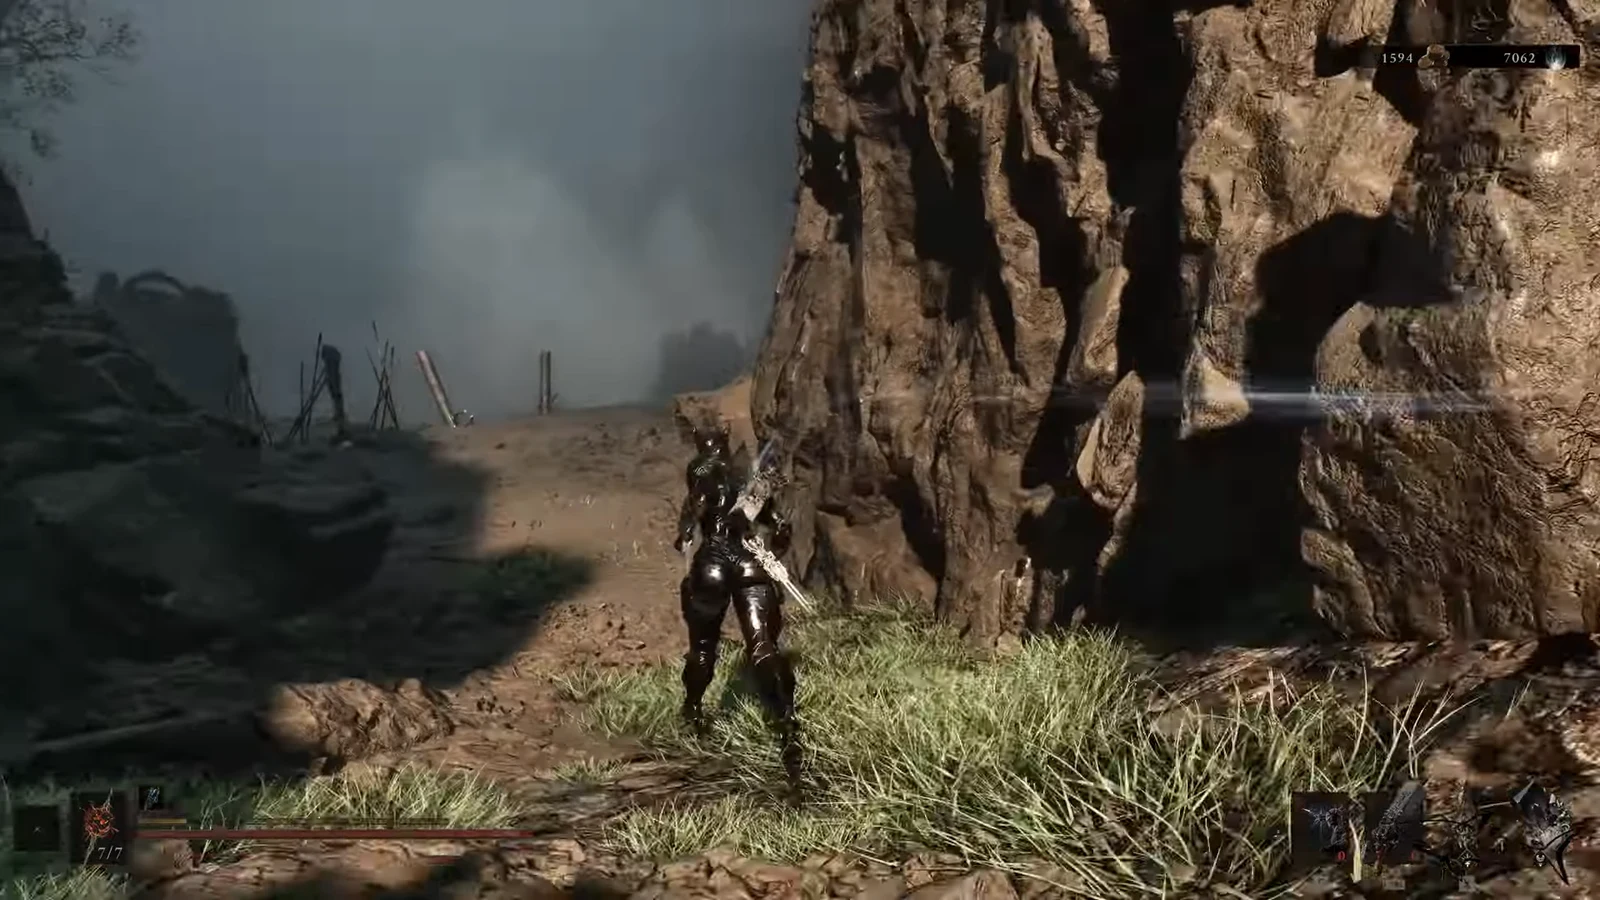
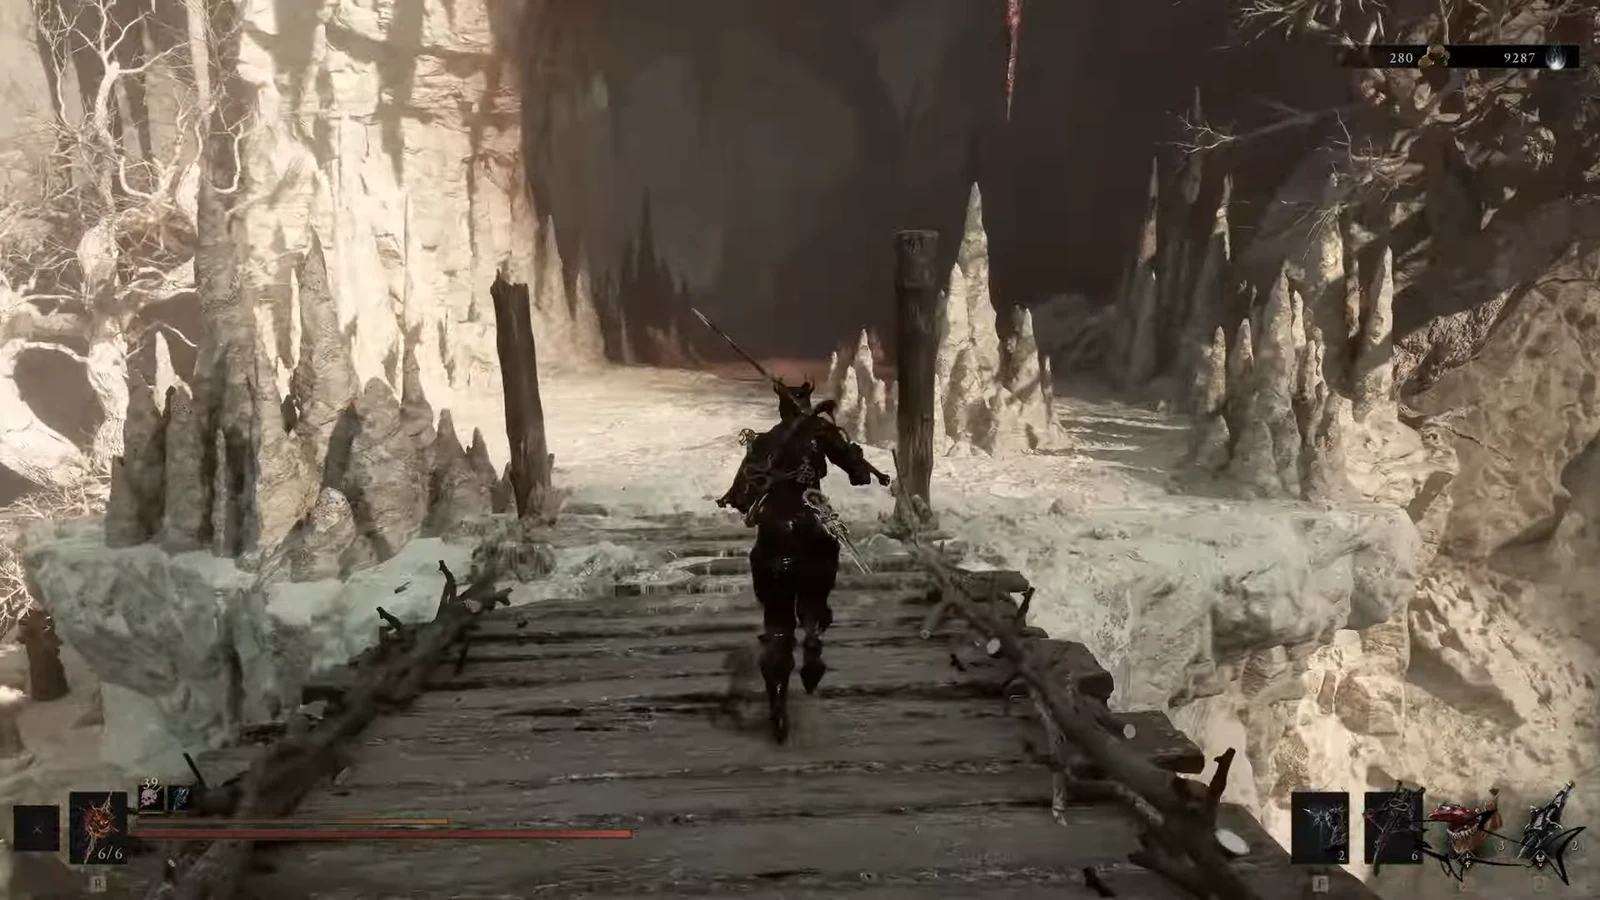
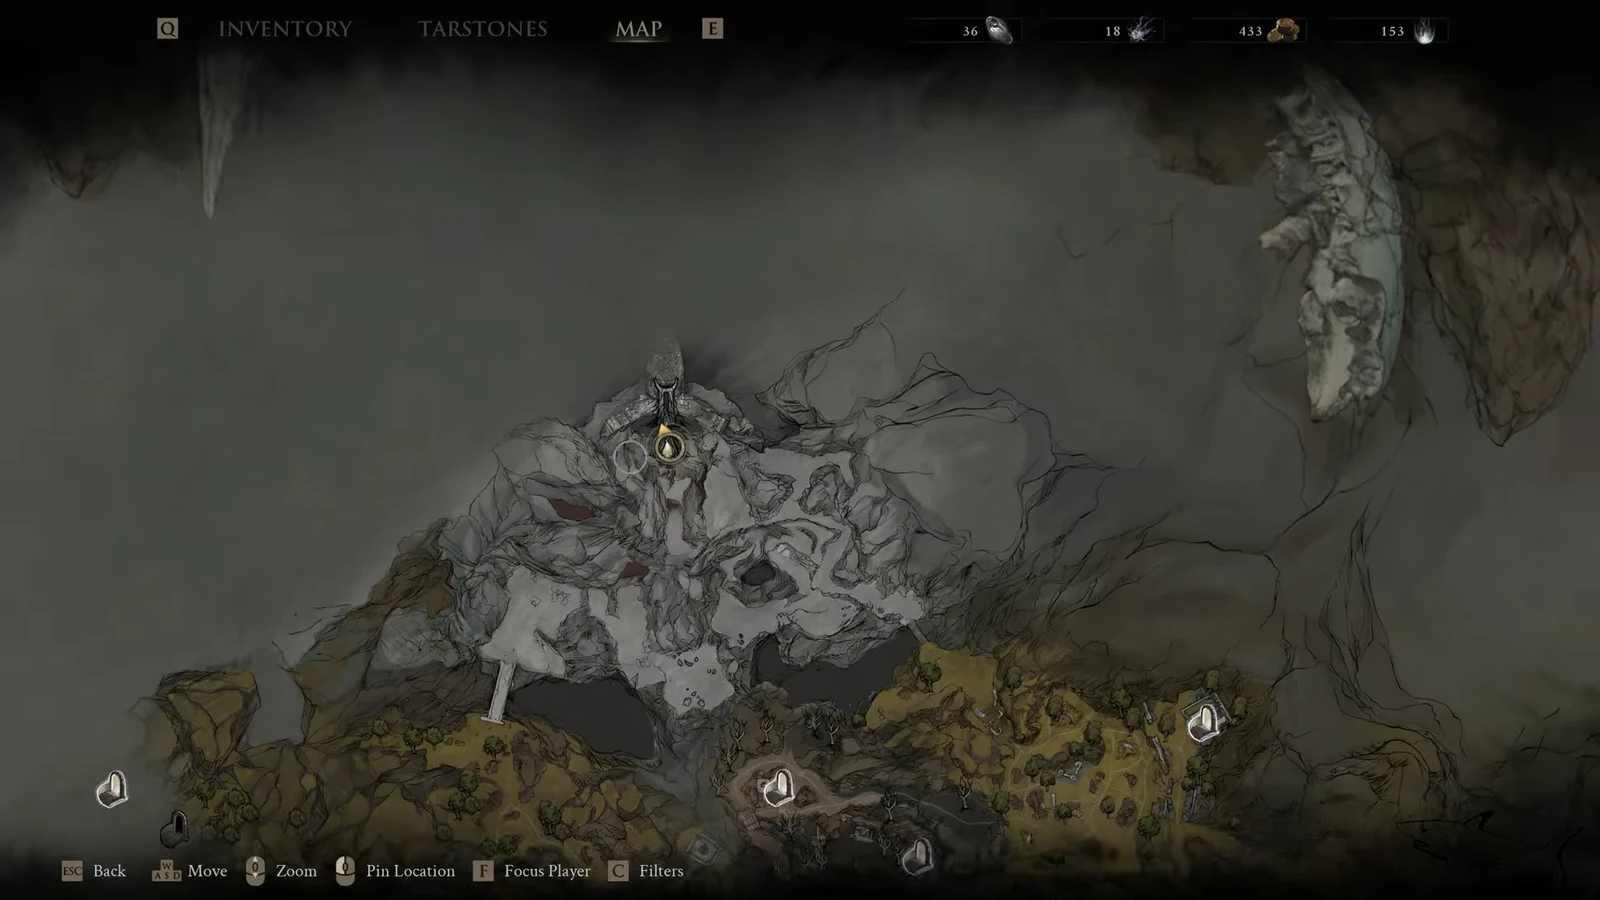
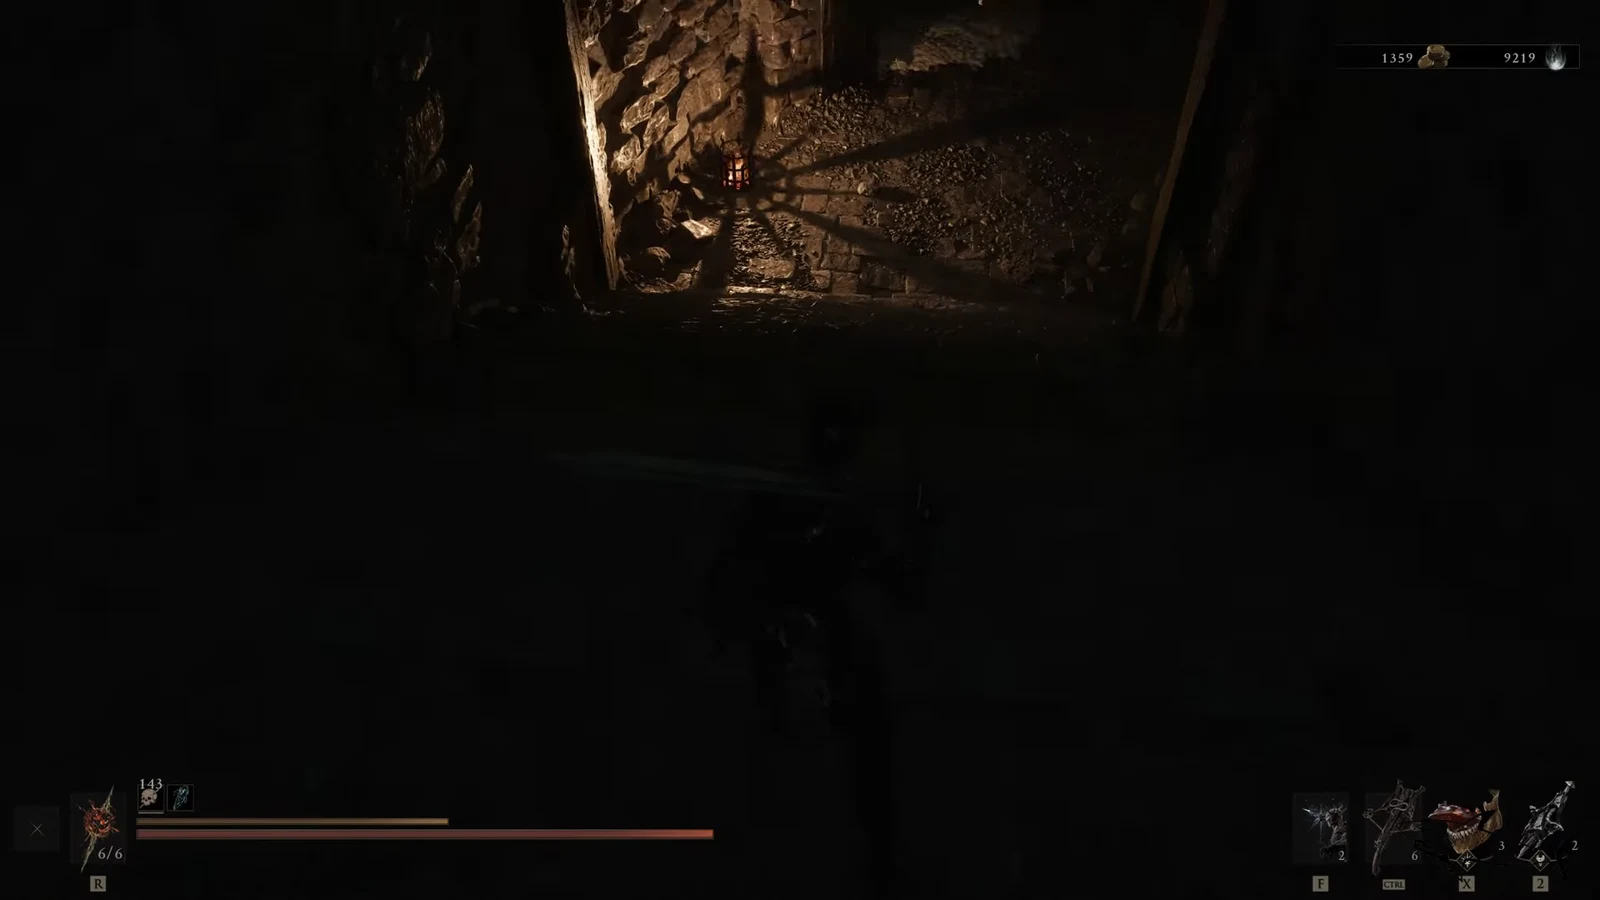
Grab the Deadeye Stone on the way
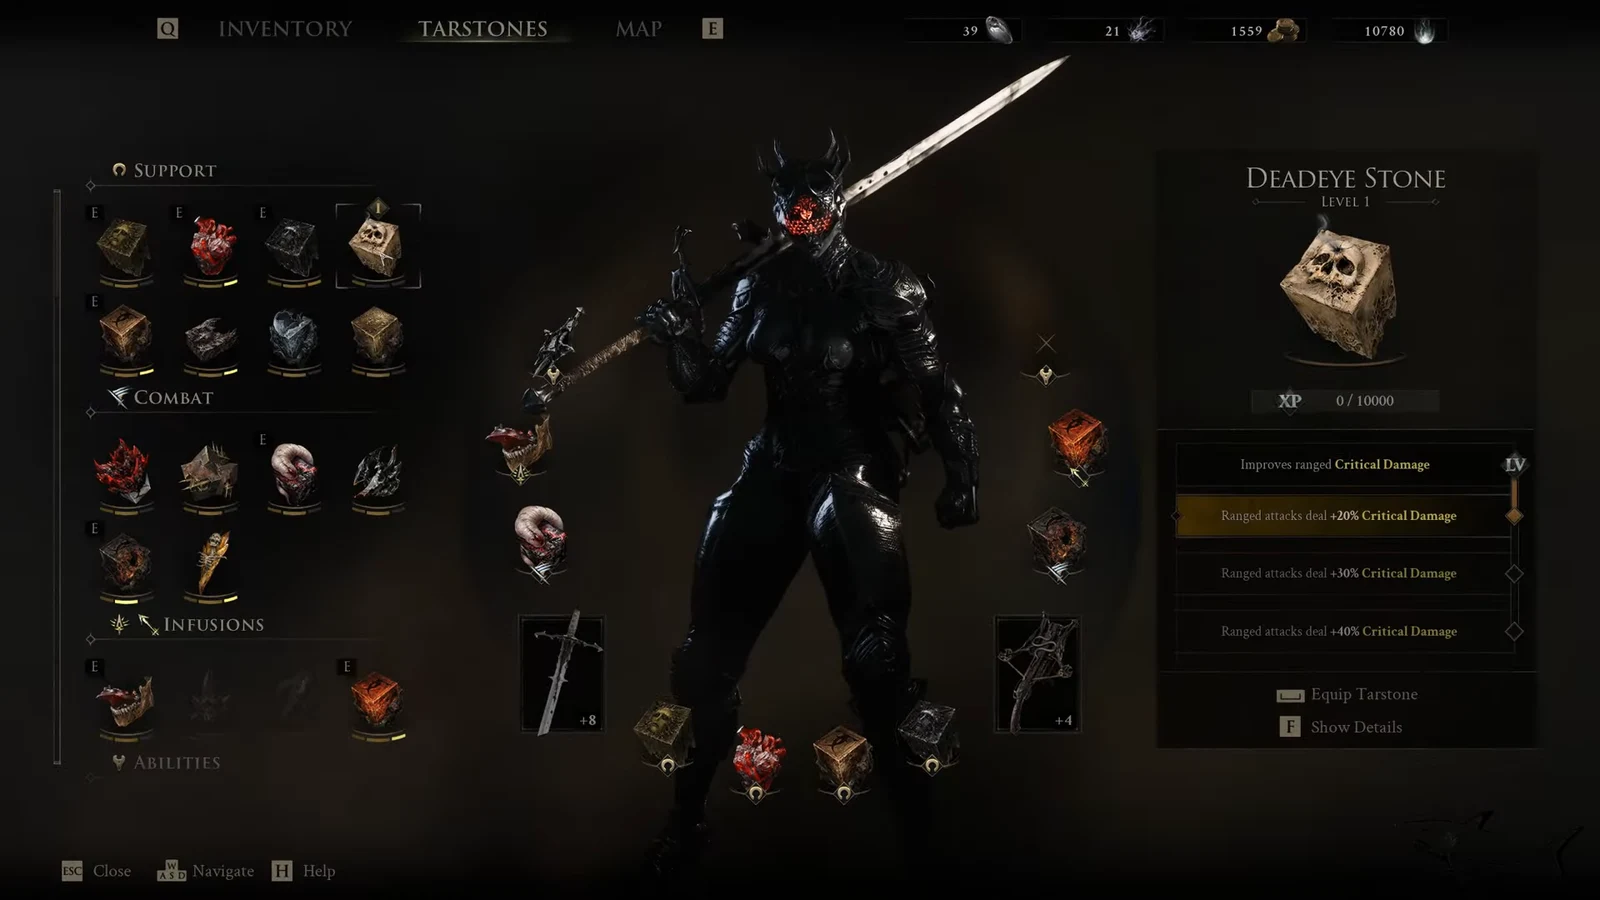
There is a second Tarstone along the same route worth collecting. After you clear the Corrupted Gate, drop down to the first camp area on the left inside the Sanguine Caverns and open the chest there to pick up the Deadeye Stone.
The Deadeye Stone also fits the Sidearm slot and boosts ranged Critical Damage. Its effect climbs from +20% at Level 1 to +30% and then +40% as you upgrade it, so it pairs well with an explosive projectile build.
Confirm you got it and equip it
Opening the Mawbreak Cavern chest triggers a pickup notification and adds the Blackblood Stone to your Tarstones inventory. Open the Tarstones menu to check it is listed, then infuse it into your equipped Sidearm. Once slotted, your projectiles will visibly explode on hit and deal splash damage, which is how you know the effect is active.
If the explosion does not appear when you fire, the stone is likely not equipped to a compatible slot. The Blackblood Stone only works on a Sidearm, so it will not apply if you try to attach it to a primary weapon or another equipment type.
Upgrading the splash damage
Tarstones gain experience while equipped as you defeat enemies, and they can be upgraded once that experience threshold is met. Upgrades are handled by Franz at the Tarforge in the Marrow Keep, and each Blackblood Stone level costs coins.
To unlock Tarstone upgrades, hand Franz the Etching Needle, a quest item found in a chest before the fight against Magdalena, Lady of the Woods. When you reach Ruk past the bridge, turn right into the small side section and loot the bone chest there. After Franz receives it, you can raise the Blackblood Stone from 2 splash damage up to 4 at its highest tier.