Gaming Guide

Mortal Shell 2: Deadeye Stone Location (Ranged Crit Tarstone)

Where to find the Sidearm Tarstone that raises ranged critical damage up to 40 percent, and the exact route to reach it.

Where to find the Sidearm Tarstone that raises ranged critical damage up to 40 percent, and the exact route to reach it.

The Deadeye Stone is a Support Tarstone in Mortal Shell 2 that raises the critical damage of your ranged attacks. It slots into a Sidearm and pushes ranged crit damage from +20% at Level 1 up to +40% once fully upgraded, making it a core pickup for any build that leans on projectiles.

Quick answer: Fast travel to the Widow’s Overlook beacon, run through Blackridge Pass and Blackridge Cliffs into the Sanguine Caverns, cleanse the Stonebled Gate beacon to open the Corrupted Gate, then drop down to the first camp ledge on the left and open the stone chest.


Deadeye Stone effect and stats

The Deadeye Stone is a Support-type Tarstone that only fits a Sidearm slot. It improves ranged Critical Damage, and each upgrade level increases the bonus. Upgrading is optional for collection purposes, but the higher tiers are worth chasing on a ranged-focused Harbinger.

LevelEffect
Level 1Ranged attacks deal +20% Critical Damage
Level 2Ranged attacks deal +30% Critical Damage
Level 3Ranged attacks deal +40% Critical Damage

Tip: The Deadeye Stone stacks with the Marksman’s Stone, which adds up to +15% ranged Critical Chance at its top level. Running both on a Sidearm build gives you more frequent crits and harder-hitting ones at the same time.


Route to the Deadeye Stone from Widow’s Overlook

The chest sits deep inside the Sanguine Caverns, past a locked Corrupted Gate that you have to open first. None of the Tarstones are missable, so you can grab this one at any point once the area is reachable, including in free-roam after the final boss.
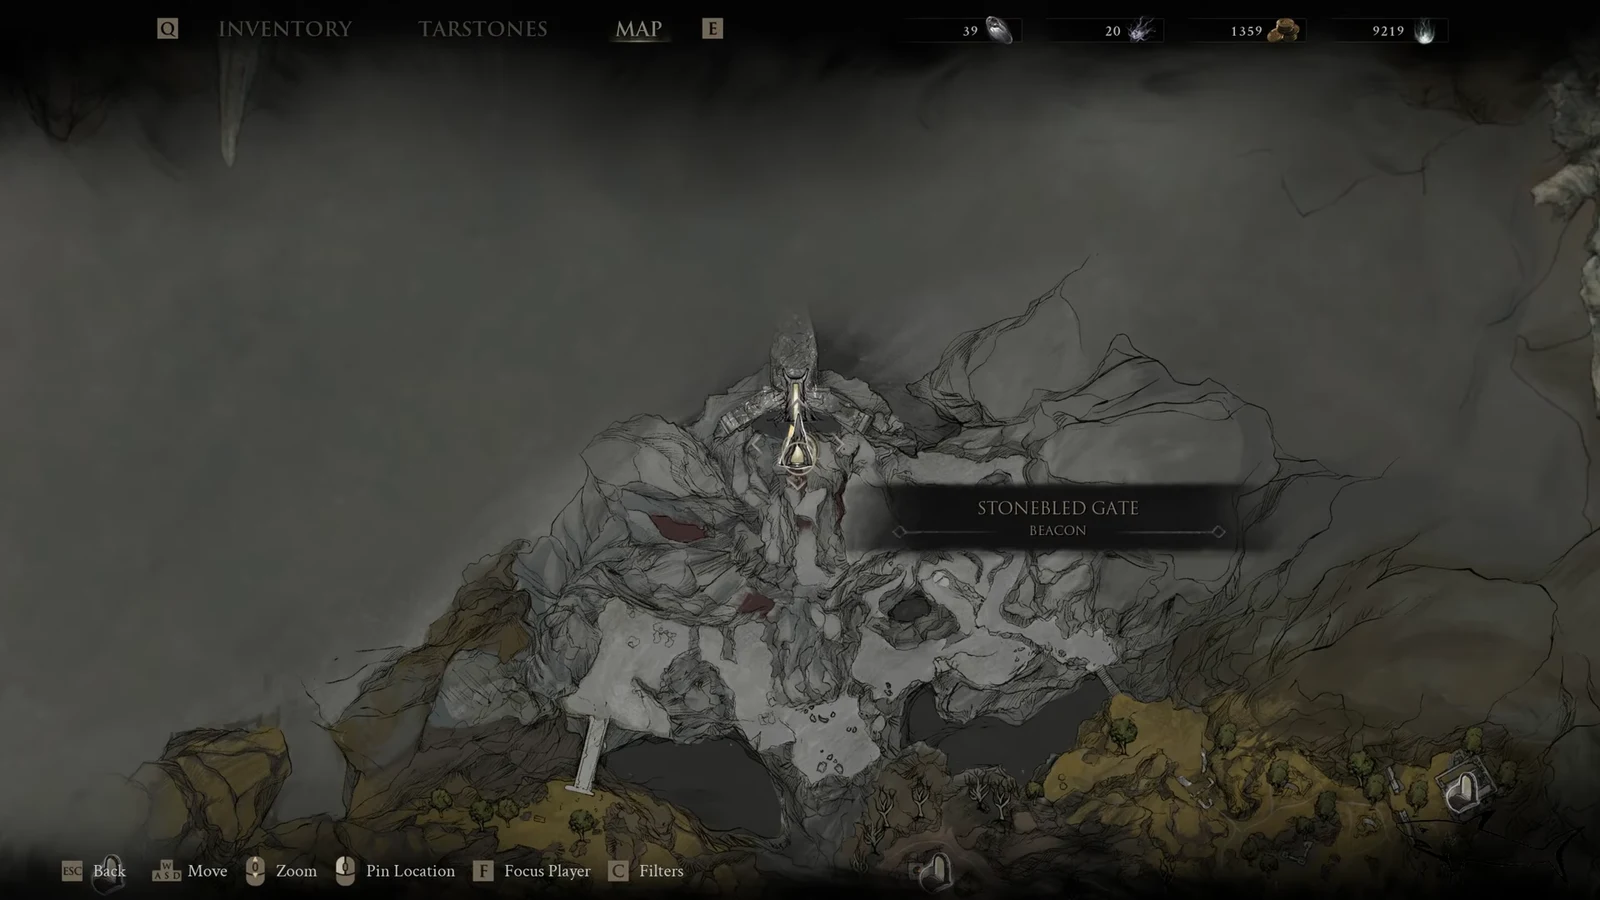
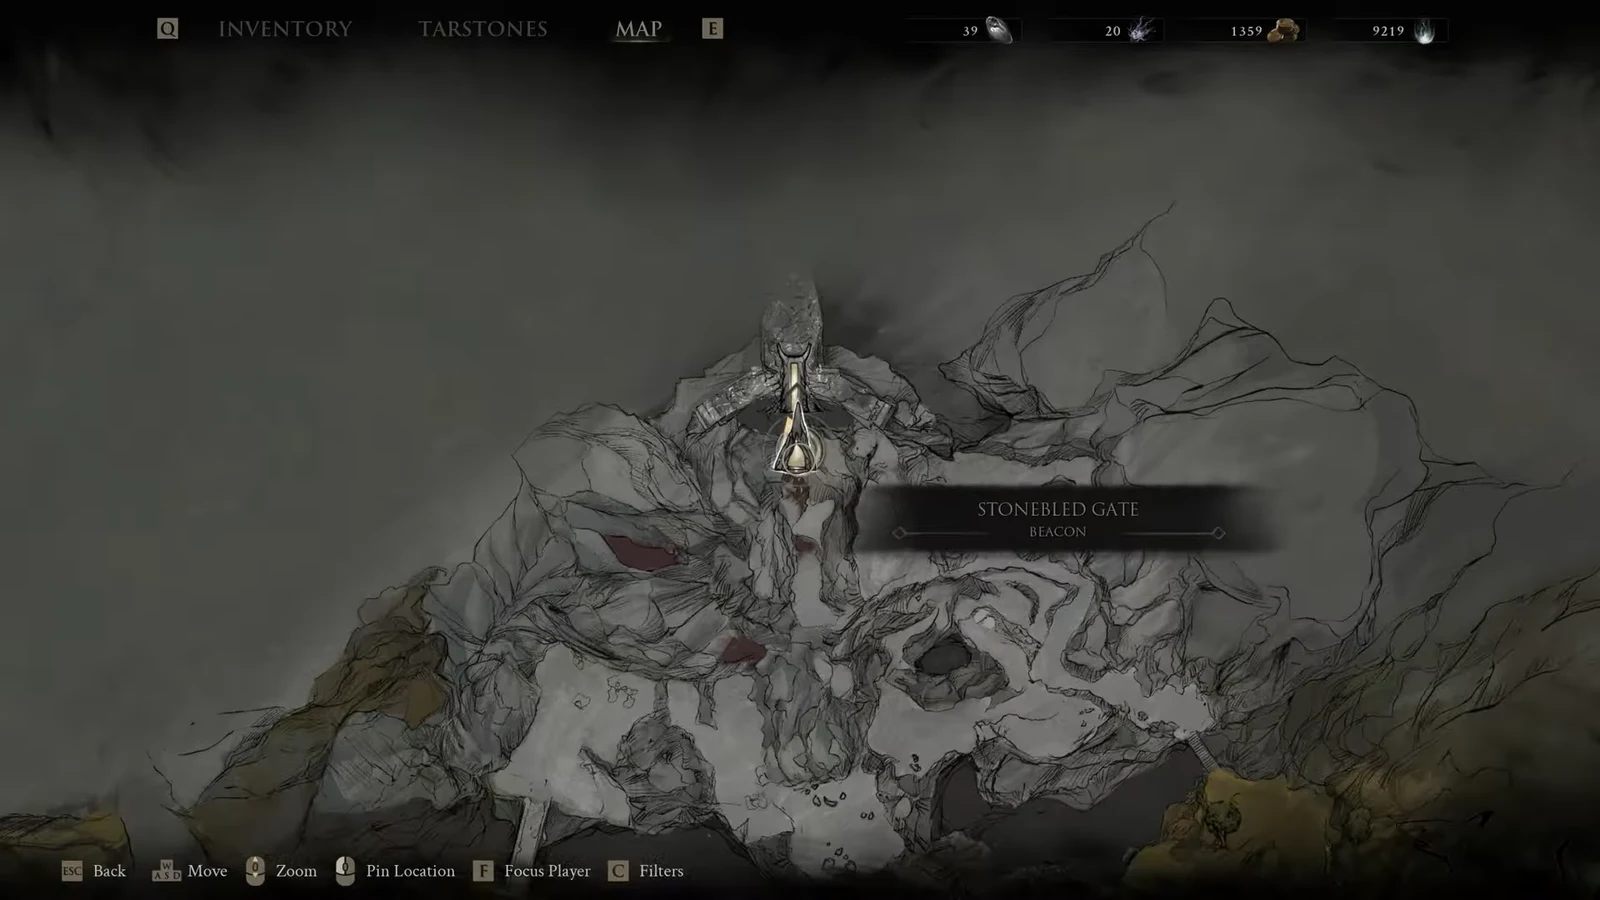
Fast travel to the Widow’s Overlook beacon and open your map. Set your heading toward Blackridge Pass to the northeast so you can trace the path into the caverns.
Map screen with the Stonebled Gate beacon highlighted while planning the route
The map view showing the Stonebled Gate beacon you are aiming for past the Sanguine Caverns. Image credit: Cold Symmetry
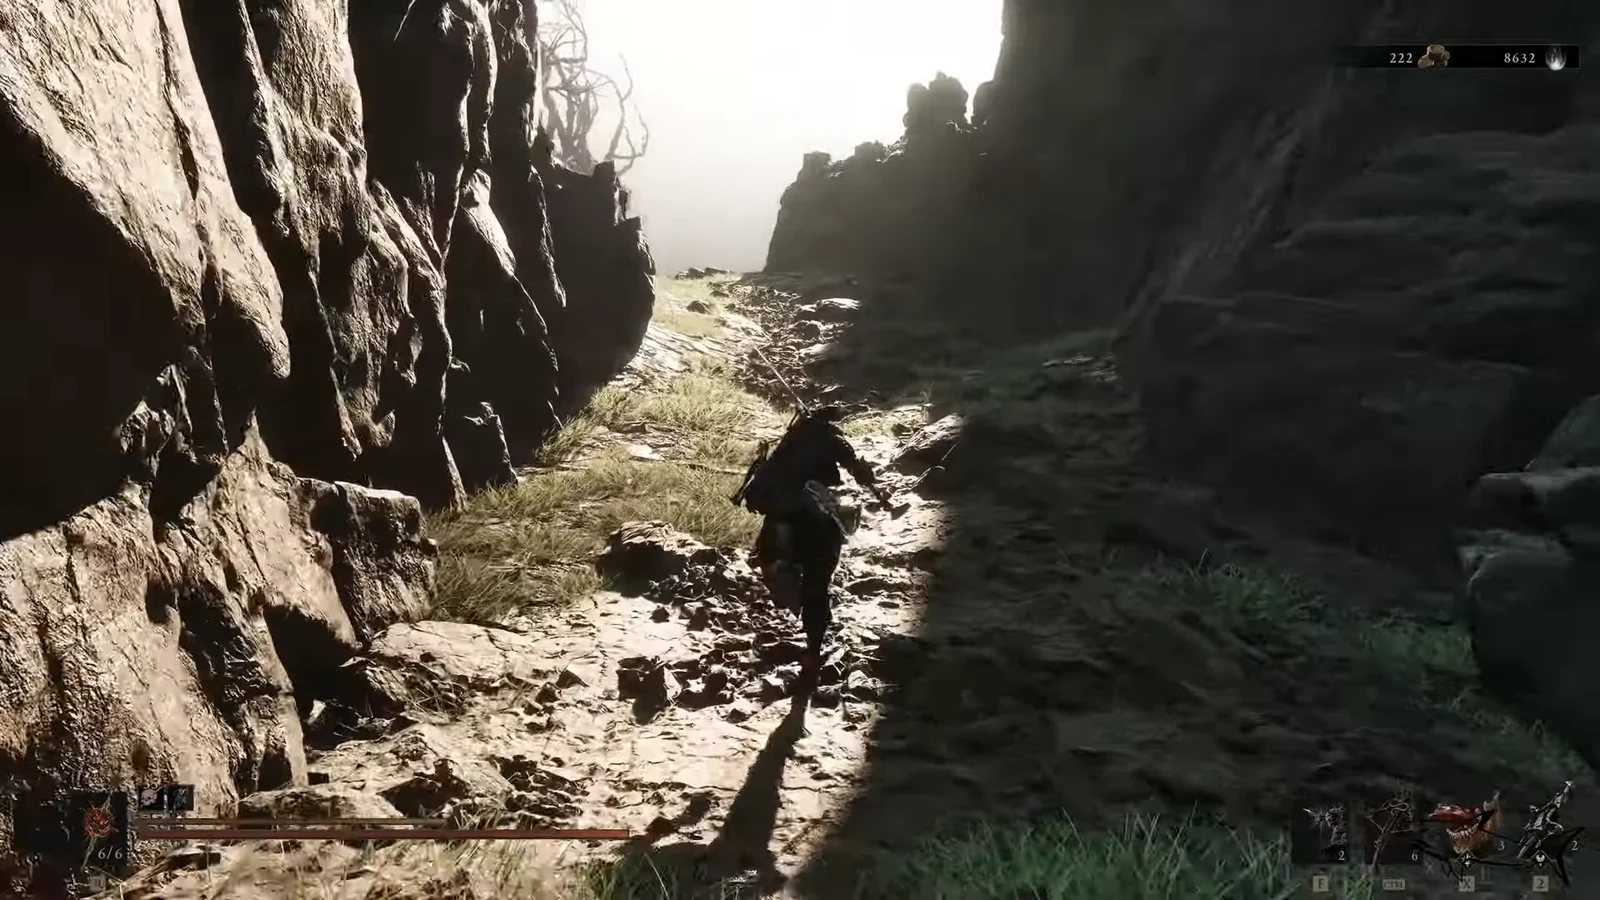
Run through Blackridge Pass and continue across Blackridge Cliffs. Clear or dodge the enemies along the trail as you push toward the cavern entrance.
Harbinger running along a rocky canyon path with the HUD visible
Following the rocky Blackridge path toward the entrance of the Sanguine Caverns. Image credit: Cold Symmetry
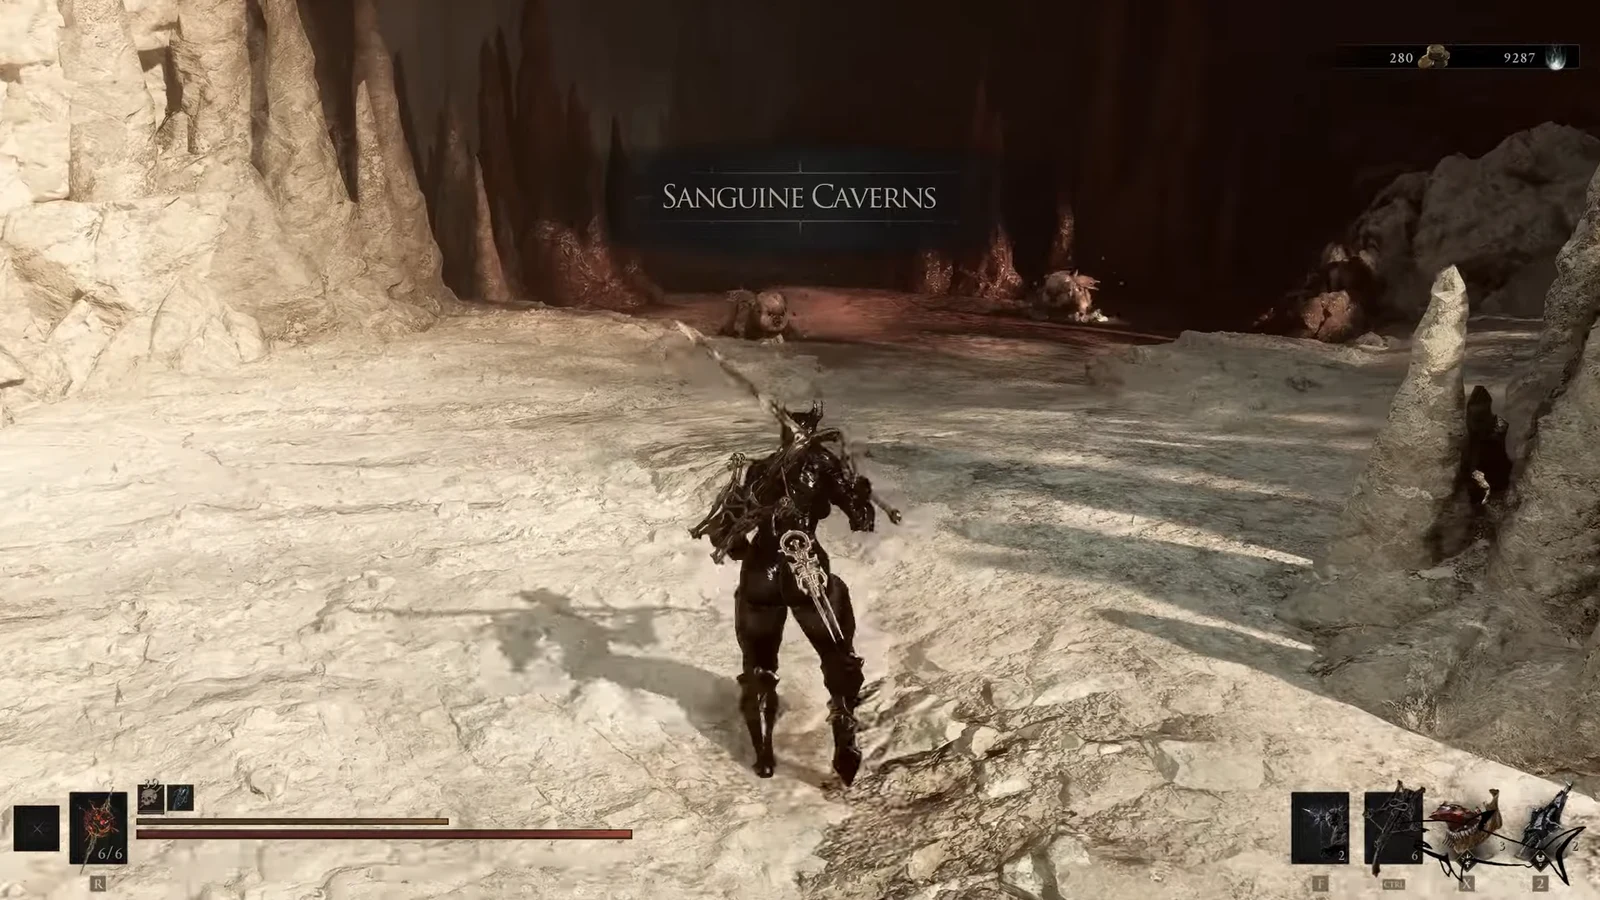
Enter the Sanguine Caverns. The area title appears on screen as you reach the cave mouth, confirming you are on the right track.
Sanguine Caverns area title displayed as the character nears the cave entrance
The Sanguine Caverns title confirming you have reached the correct area. Image credit: Cold Symmetry
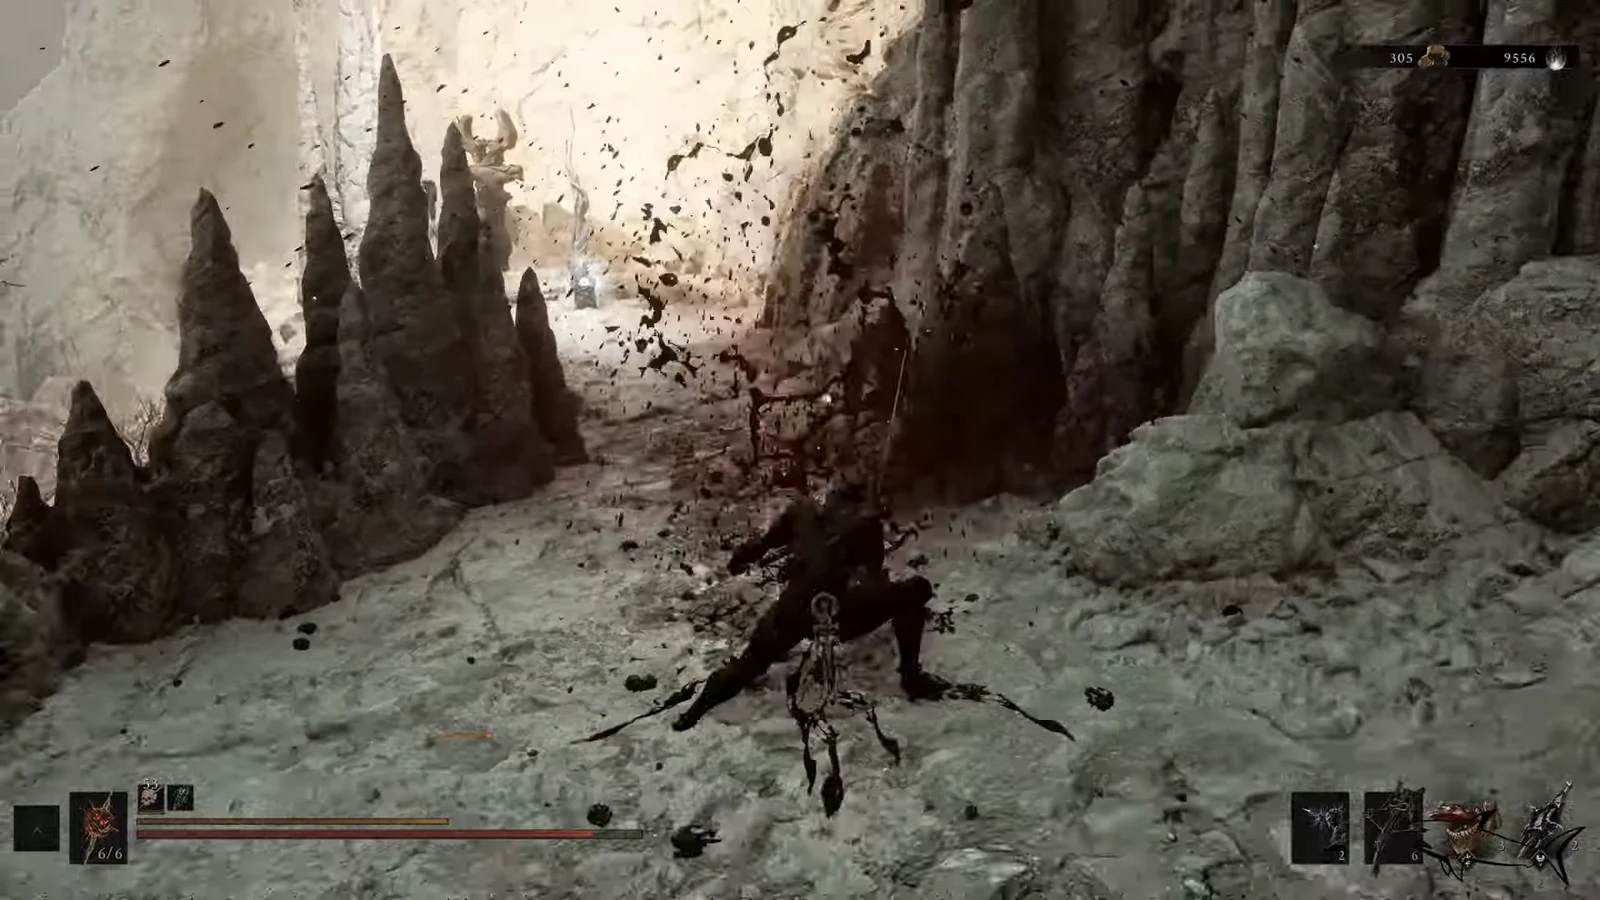
Work through the caverns toward the Stonebled Gate beacon. You can pick up a Glimpse and a Synaptic Vessel on the way while clearing the enemies inside.
Player attacking a dark humanoid enemy inside a rocky cavern
Fighting through the cavern enemies while heading to the Stonebled Gate beacon. Image credit: Cold Symmetry
Interact with the Stonebled Gate beacon to cleanse it. This unlocks the nearby Corrupted Gate, and you’ll see a “Beacon Cleansed” prompt.
Grab the Glimpse sitting behind the beacon, then pass through the newly opened gate. Beyond it is a cavern camp filled with enemies.
Map centered on the Stonebled Gate beacon after cleansing it
The Stonebled Gate beacon marked on the map once it has been cleansed. Image credit: Cold Symmetry
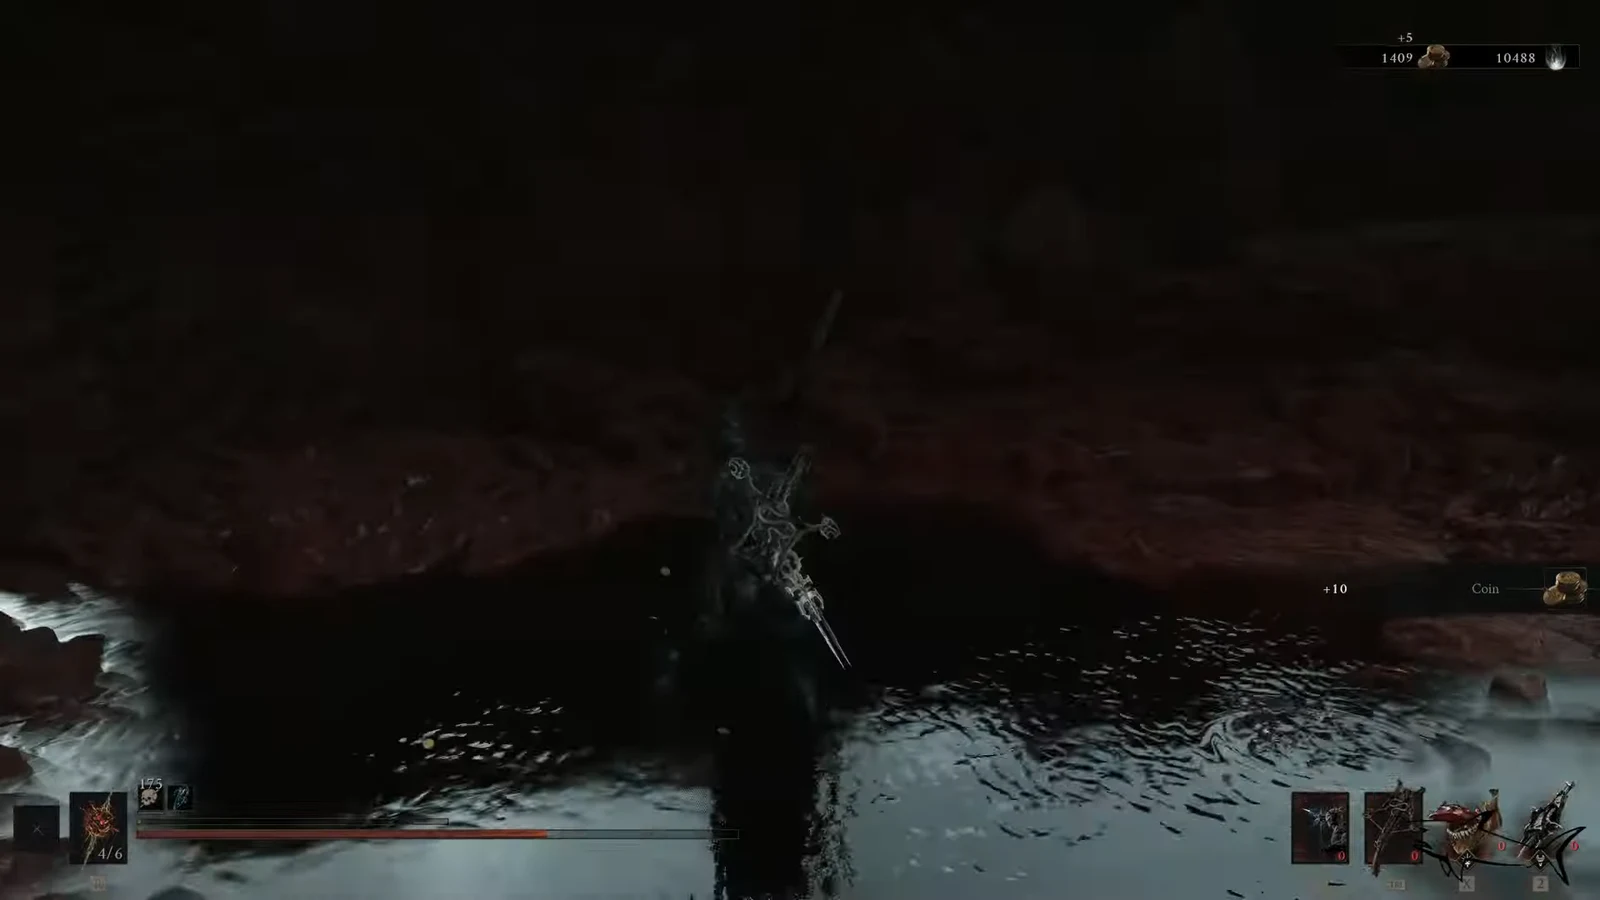
Clear the camp, cross the bridge, and drop down to the lower ledge on the left. The stone chest there holds the Deadeye Stone. Open it to claim the Tarstone.
Character collecting a coin in shallow water near the lower ledge chest
Dropping to the lower ledge where the stone chest holding the Deadeye Stone is located. Image credit: Cold Symmetry

How to confirm you picked it up

Opening the chest triggers a “New Tarstone Acquired” message, and the Deadeye Stone appears under the Support category of your Tarstones menu. From there, equip it to a Sidearm slot to start applying the ranged critical damage bonus.

If the chest is empty or missing, you likely dropped to the wrong ledge. Return across the bridge, look for the lower path on the left just past the camp, and the stone chest should be there. Because this Tarstone is not tied to a one-time event, it remains available in free-roam even if you skip it during the main run.