

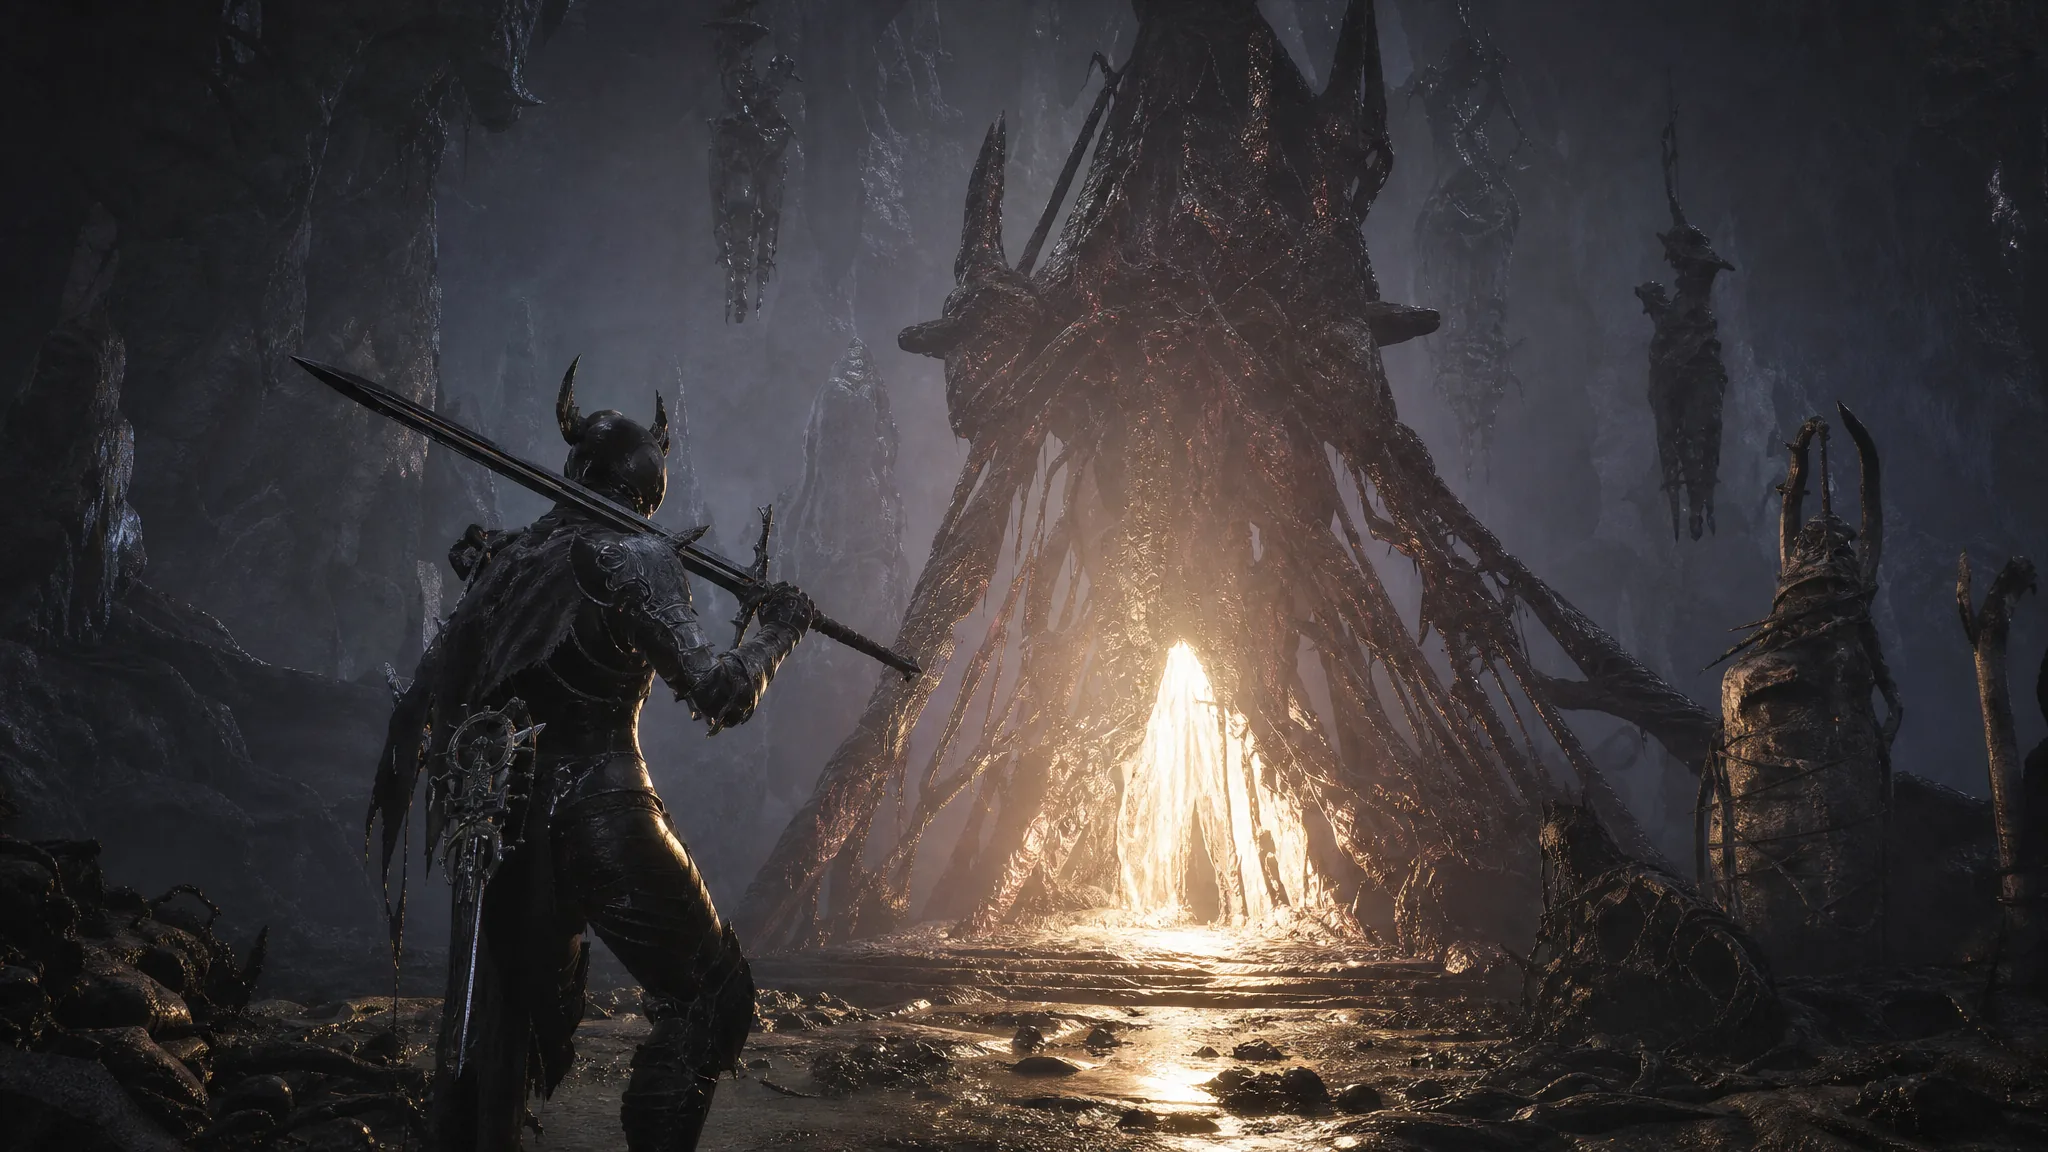
The Stonebled Gate beacon sits at the mouth of the Sanguine Caverns in Mortal Shell 2, and cleansing it is the only way to open the Corrupted Gate behind it. Inside the beacon is a self-contained dungeon called The Hidden Keep, capped by a two-phase fight against Lucian, the Thirsting Knight. Clear it and you walk away with the Serpent Stone and the Ova needed to keep pushing forward.
Quick answer: Descend into The Hidden Keep using the Stonebled Gate beacon elevator, fight through the imps and Halberd Knights, then defeat Lucian in both phases. The Serpent Stone drops when his second phase ends. Cleanse the corruption and grab the three Ova to complete the beacon and open the gate.
Where the Stonebled Gate beacon is
The Stonebled Gate is found north of Fainweald, tucked inside a cave just before the Sanguine Caverns Gate. A trail of blood leads directly to it, so it is hard to miss once you are close. Cleansing this beacon is a hard requirement to reach the main boss waiting past the gate.
If you are approaching from the overworld, head to the Stones of Remembrance graveyard and cleanse the northernmost corrupted vines. Use the bone gate to cross the large chasm, follow the caverns north, then climb the steps to arrive at the beacon.
Reaching it from Widow’s Overlook
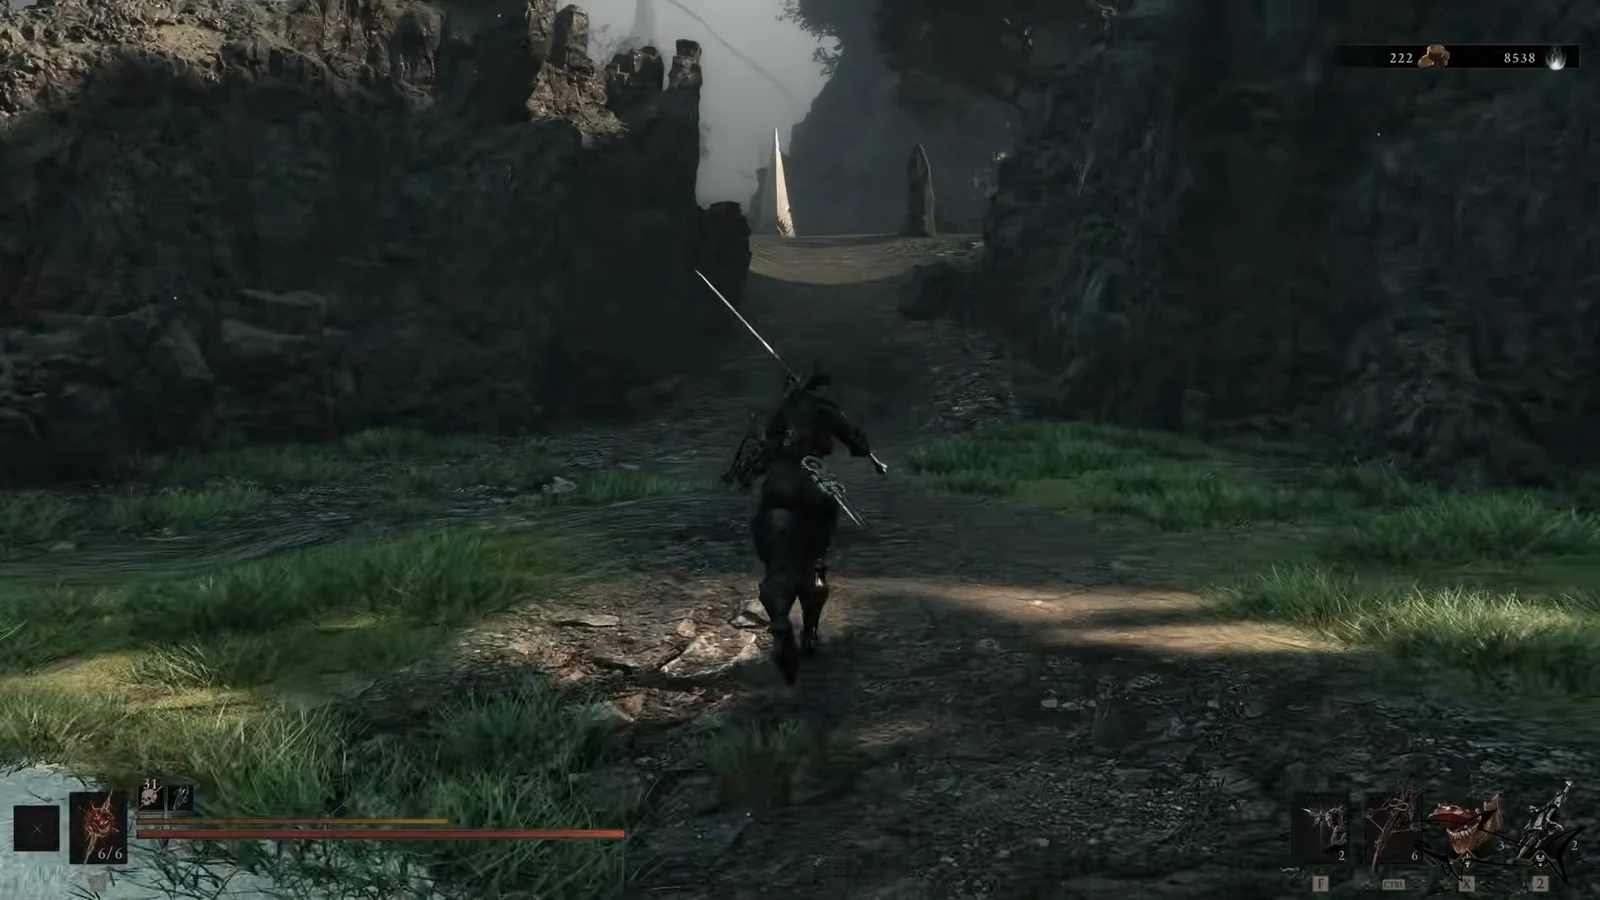
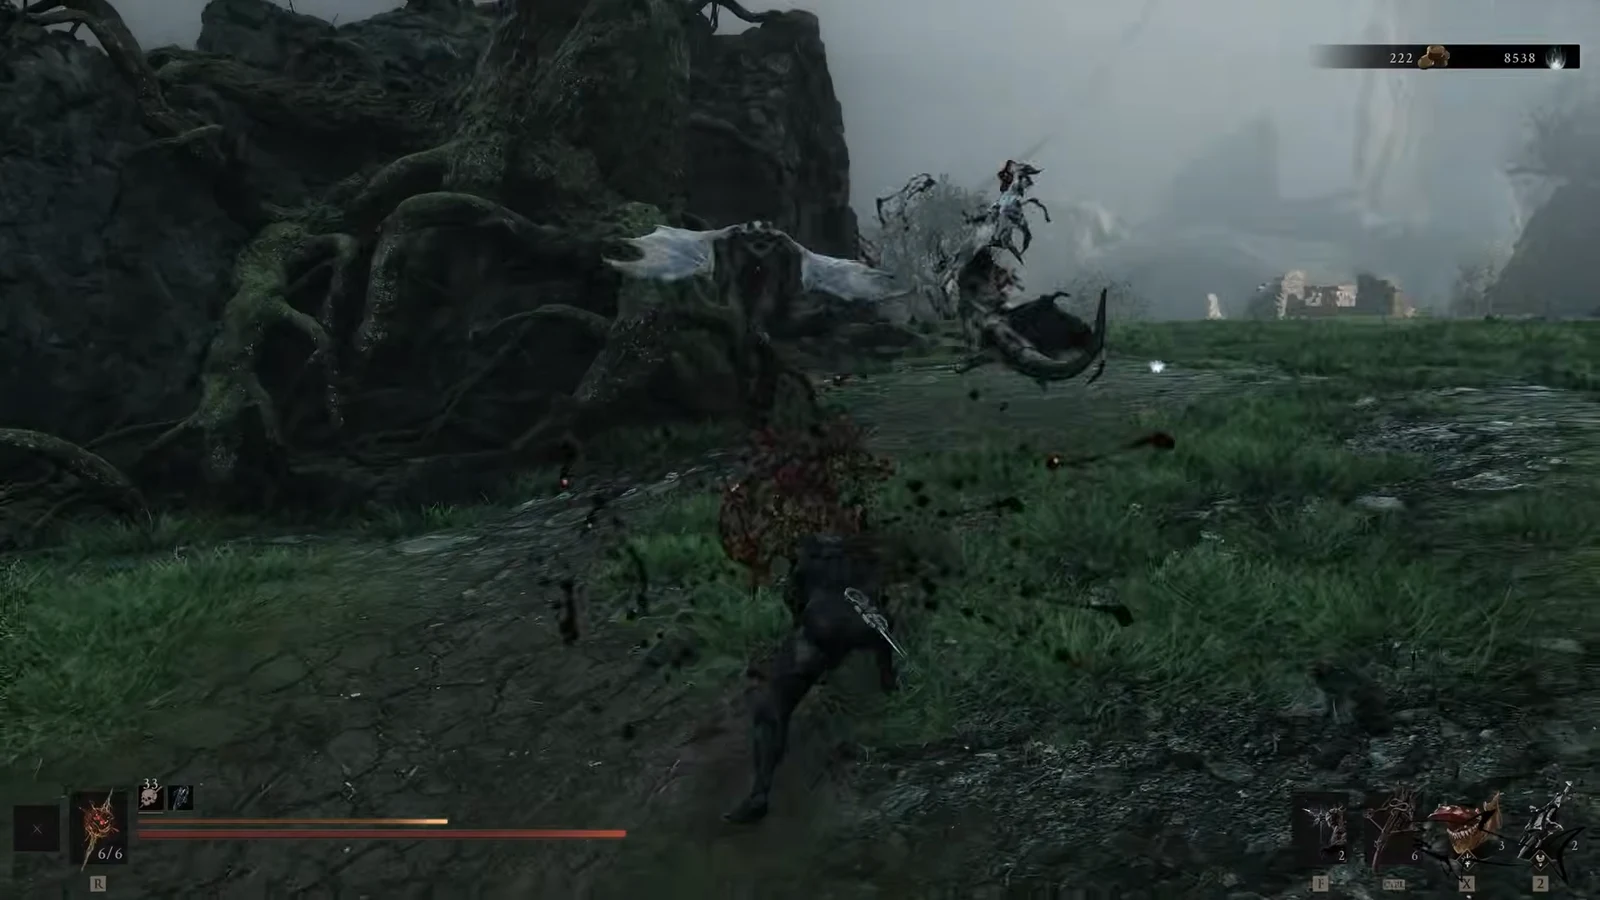
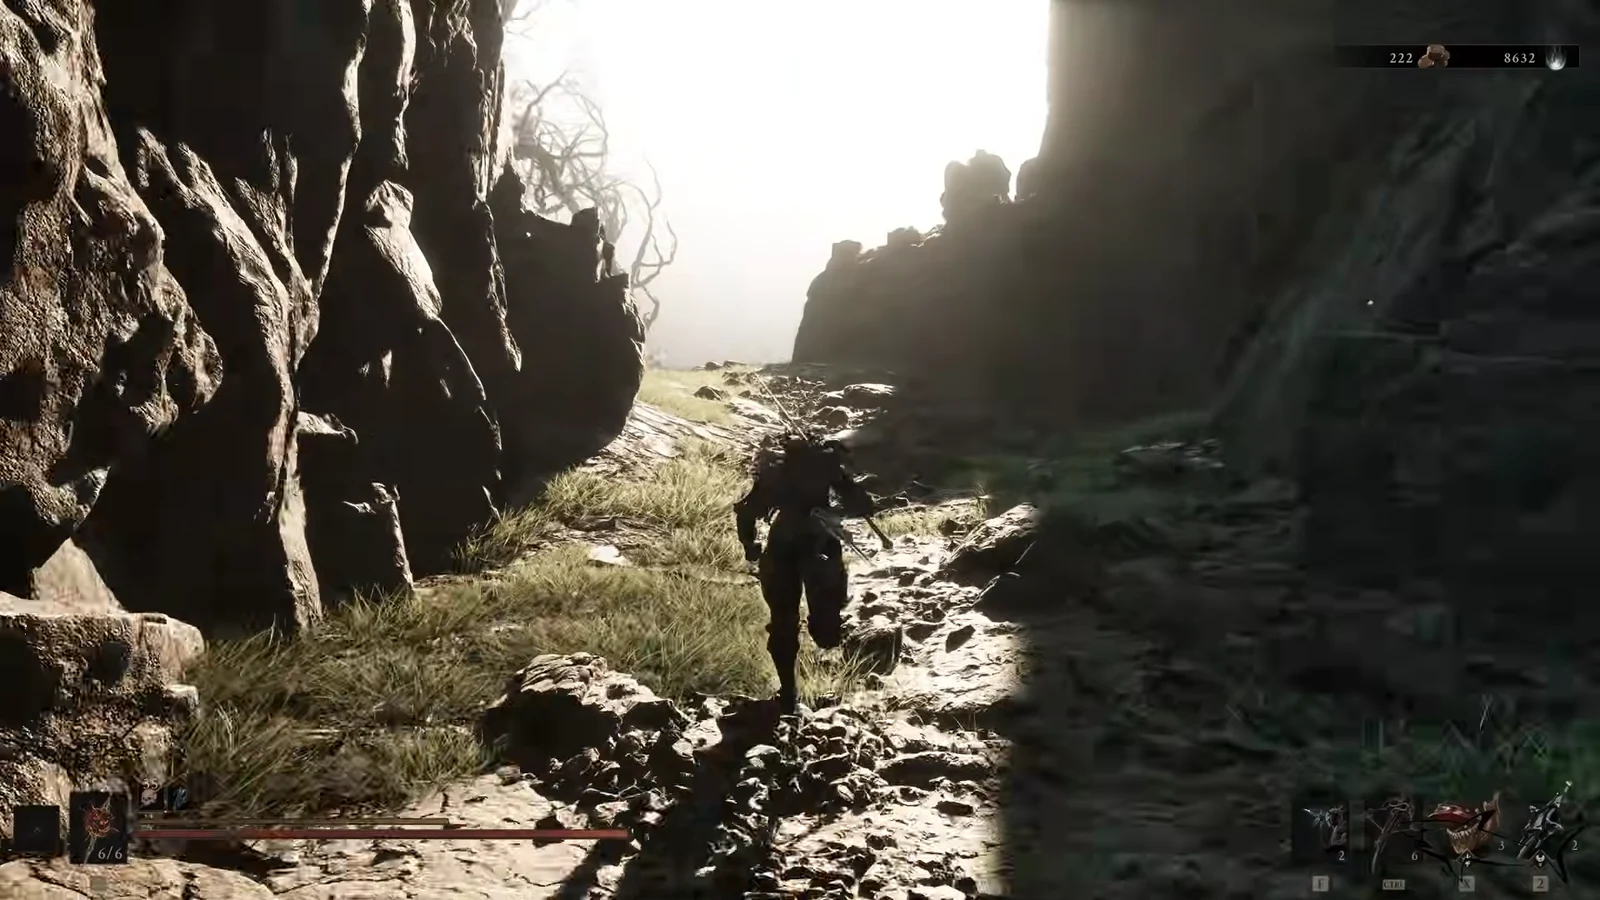
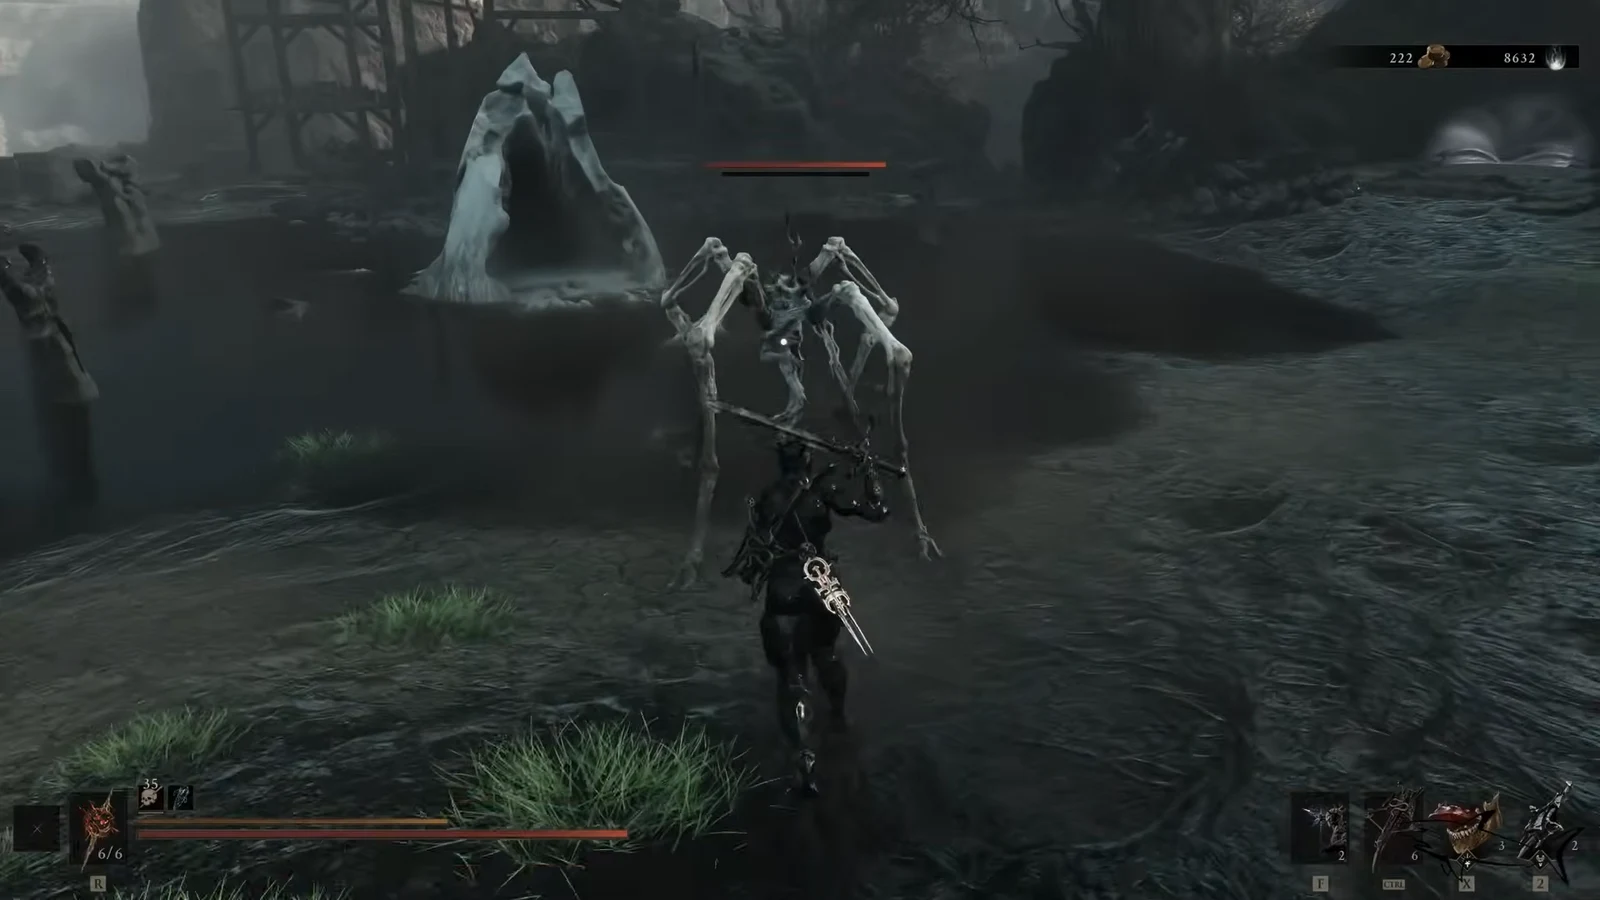
Clearing The Hidden Keep
The Hidden Keep is a medieval, castle-styled dungeon reached by riding the elevator down from the beacon. Beacon dungeons are compact, so plan to fight through most of the enemies rather than looking for shortcuts.
Beating Lucian, the Thirsting Knight
Lucian is a two-phase vampire-type miniboss who leans hard on fast lunge attacks that close distance in an instant. Prioritize dodging over parrying and keep moving through his combos so you never get cornered. He is weak to fire, and Curseblood works exceptionally well against him.
Setting Lucian on fire staggers him and freezes him in place while he burns, opening a long punish window. Stacking Burn with Curseblood deals heavy damage. Once his health drops to half, he bursts into bats and vanishes, and a Bone Gate opens leading toward the tower where his shadow drifted.
Traverse the Bone Gate to a cobblestone road, then go through the tunnel ahead. A gap in the left wall reveals the Ova inside a room. Entering it triggers the second phase, and Lucian starts this fight already at half health.
| Phase | What changes | How to handle it |
|---|---|---|
| Phase 1 | Fast lunges and quick attacks that rush you down | Dodge his approaches, set him on fire to stagger, and punish while he burns |
| Phase 2 | Turns invisible at the start and strikes from the shadows | Apply Curseblood to make him pulse red and cancel the invisibility, then keep circling the arena |
For the second phase, a weapon with wide swings and quick recovery helps a lot, since it keeps you from locking into long animations while he flickers in and out of sight. Imbue your weapon with Curseblood and your sidearm with Burn to stack both effects. Even without those, his invisibility is temporary; he re-materializes, stays solid for a few seconds, then fades again, so you can outlast it by running and dodging in circles. Defeat him here and the Serpent Stone drops.
Rewards and confirming the cleanse
After Lucian falls in the second phase, cleanse the corruption in the room and collect the three Ova to clear the beacon. That final step is what completes The Hidden Keep and cleanses the Corrupted Gate outside, opening the way into the Sanguine Caverns where a main boss waits.
| Reward | Amount |
|---|---|
| Serpent Stone | x1 |
| Glimpse | x1 |
| Ova | x3 |
You will know the cleanse worked when the corruption around the beacon clears and its map icon changes to the cleansed state. The blocked loot around the beacon also becomes reachable, and the gate to the Sanguine Caverns is no longer sealed. Since none of the beacons are missable, you can always return later if you leave before finishing, but the Serpent Stone and the gate only unlock once Lucian’s second phase is done and the three Ova are claimed.





