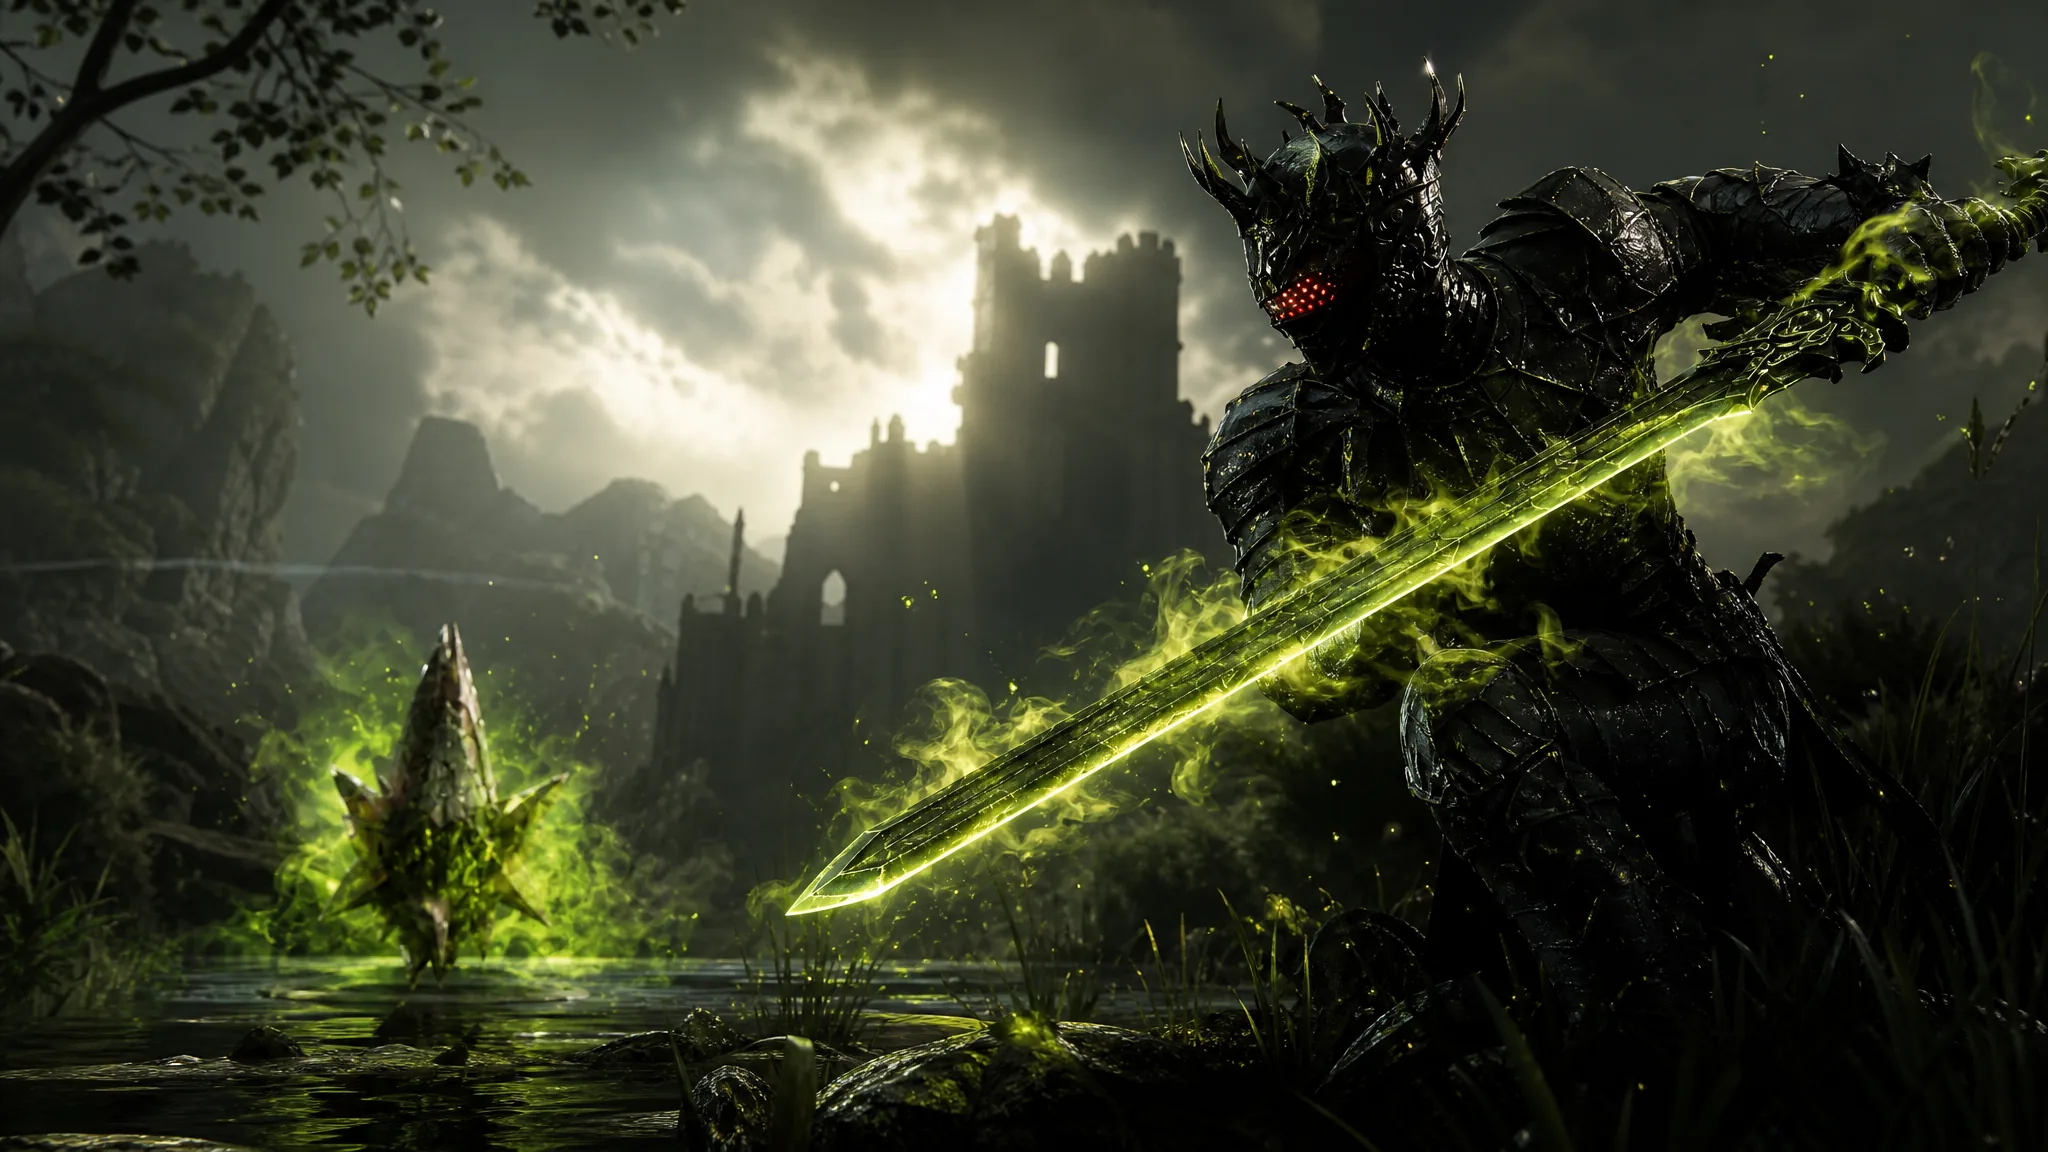
The Serpent Stone is the Tarstone in Mortal Shell 2 that puts Poison on your weapon. It spends Resolve to coat your strikes, and Poison then chips away at an enemy’s health over time. At 15 Resolve, it is the cheapest infusion in the game, and once fully upgraded the effect never wears off.
Quick answer: Defeat Lucian, the Thirsting Knight inside The Hidden Keep dungeon, reached by resting at the Stonebled Gate beacon and cleansing it. He drops the Serpent Stone when he dies.
Serpent Stone effects and upgrade levels
The Serpent Stone is an Infusion Tarstone that slots into your primary weapon. Its core action spends 15 Resolve to imbue the weapon with Poison. Each upgrade extends how long that infusion holds, ending in a version that never expires.
| Level | Effect |
|---|---|
| Base | Consume 15 Resolve to infuse your weapon with Poison |
| Level 1 | Infusion lasts for 4 strikes |
| Level 2 | Infusion lasts for 8 strikes |
| Level 3 | Infusion is permanent |
Poison drains enemy HP gradually rather than in one hit. Some foes resist it and some are weak to it, so it pays off most on tougher targets that survive long enough for the damage to stack. Because it only costs 15 Resolve, roughly half of what most infusions ask, you can keep it running without starving your sidearm of Resolve.
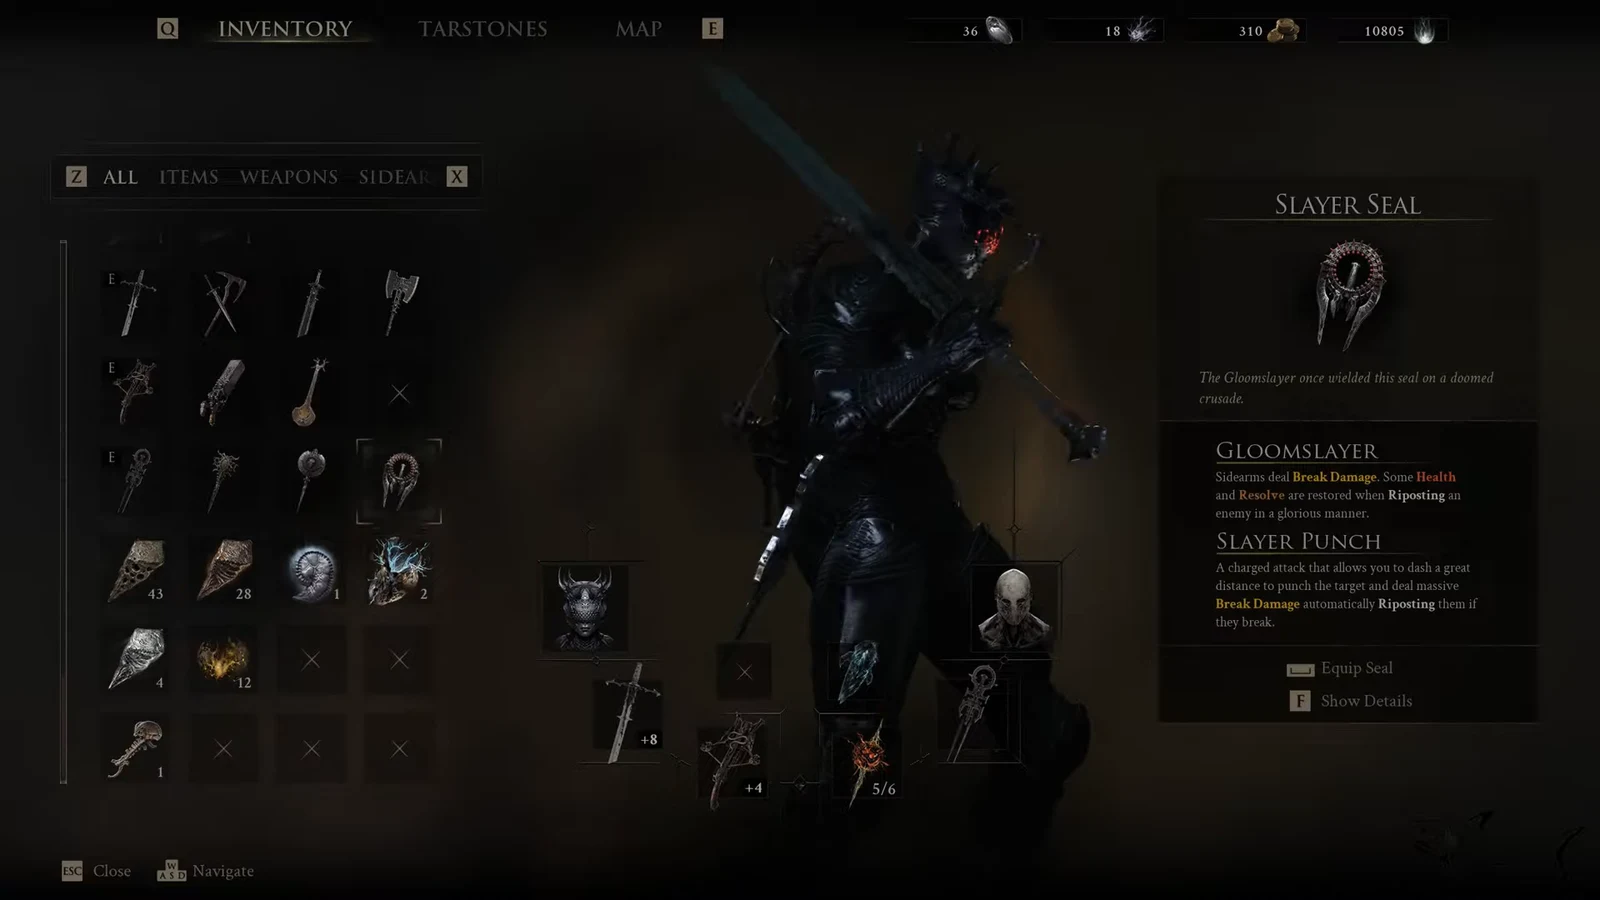
The stone fits two weapons: the Axe and Dagger, and the Black Needle. Equip it to your primary weapon through the equipment menu, then activate the infusion in combat to spend the Resolve.
Route to The Hidden Keep
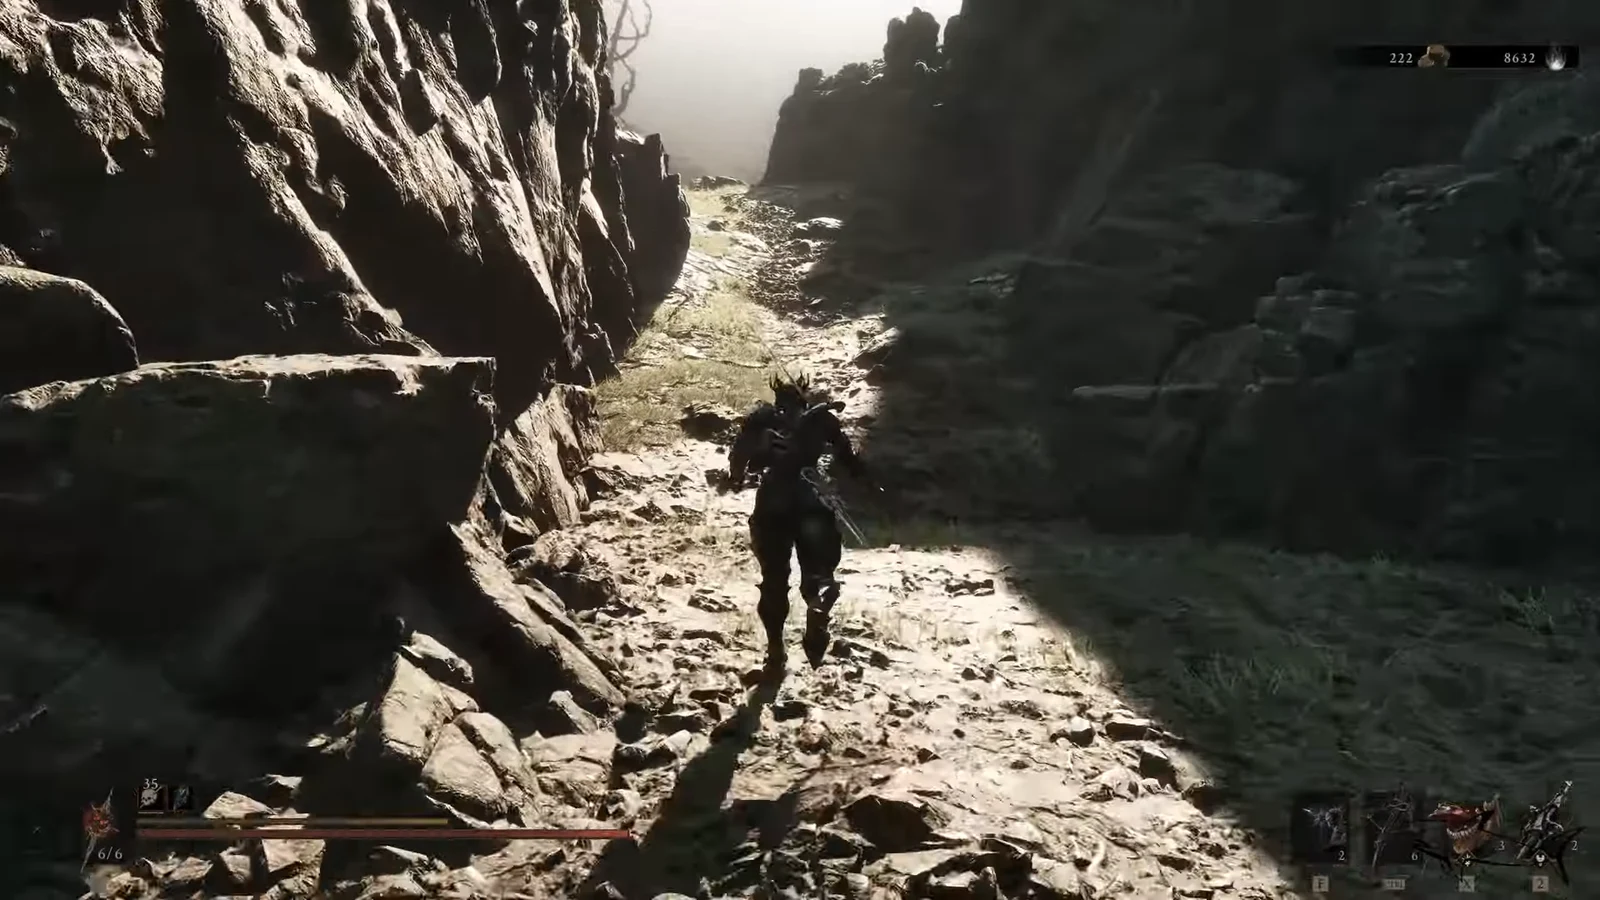
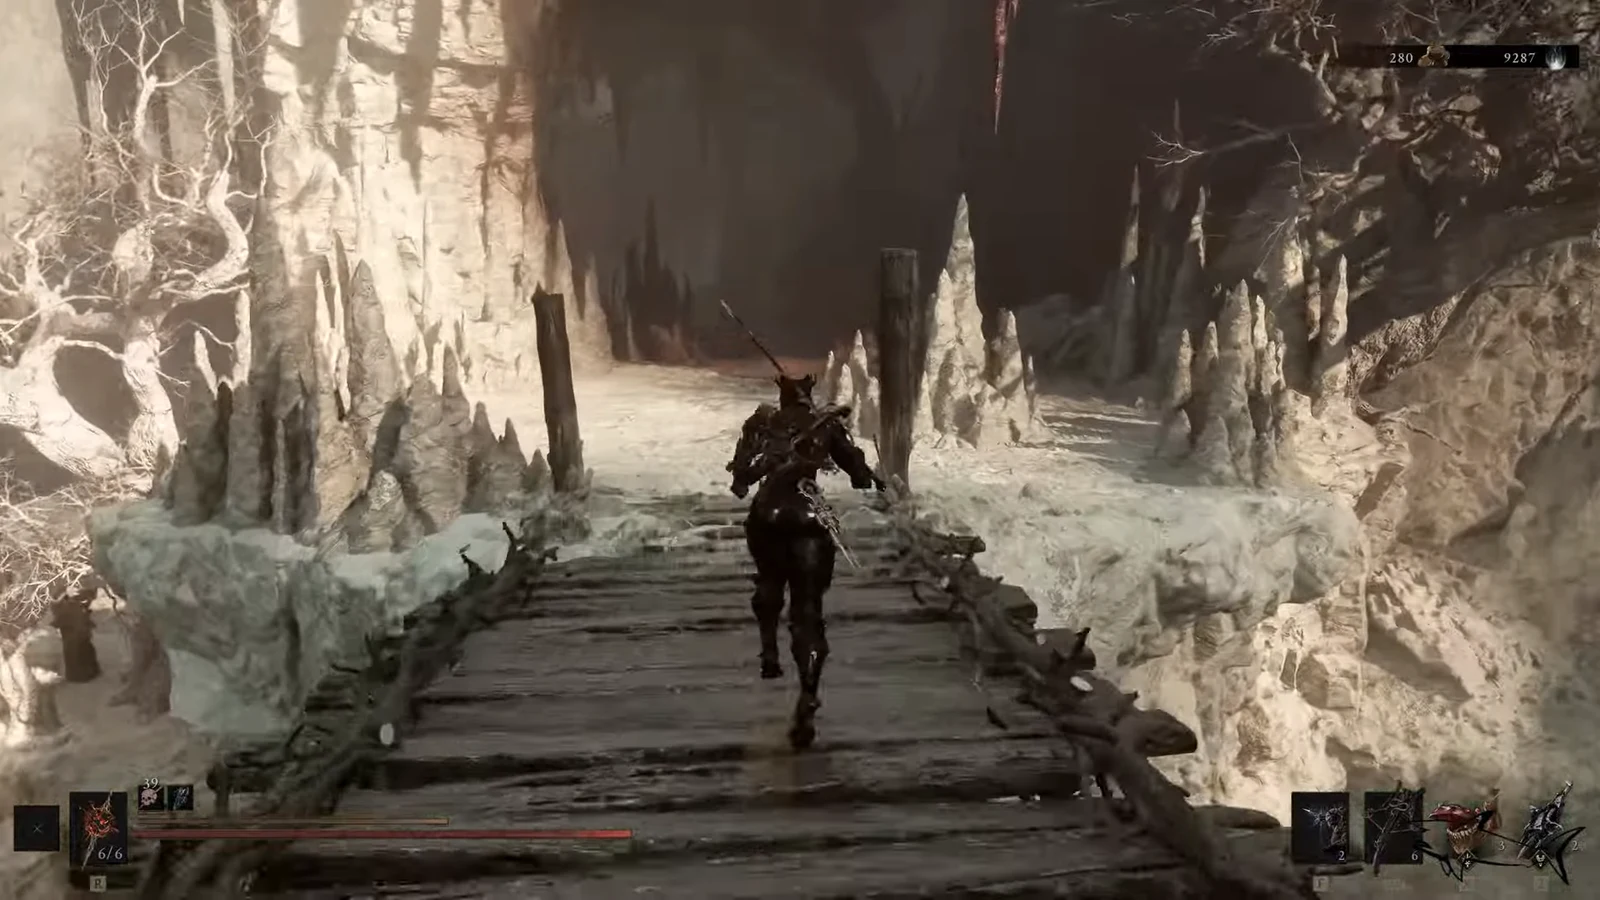
The Serpent Stone sits at the end of a short dungeon run that starts from the Widow’s Overlook beacon and finishes at the Stonebled Gate. Follow the path below to reach the boss arena.

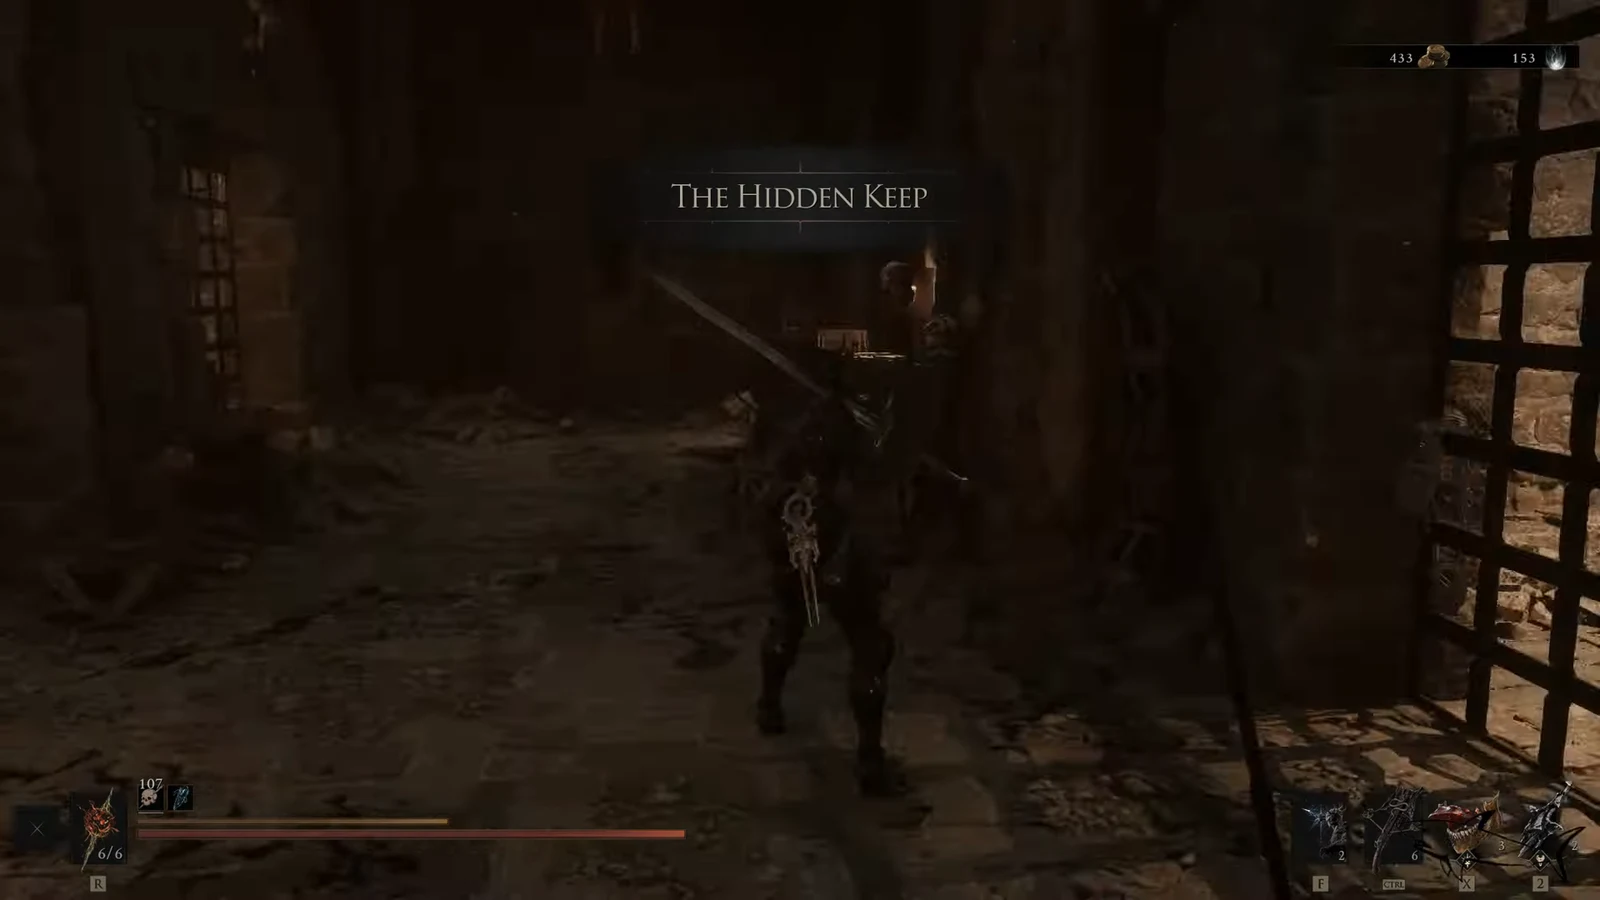
Beating Lucian, the Thirsting Knight
Lucian is a two-phase mini-boss. The first phase is a straightforward duel in the arena. The catch comes in the second phase, when he retreats and turns much harder to see.
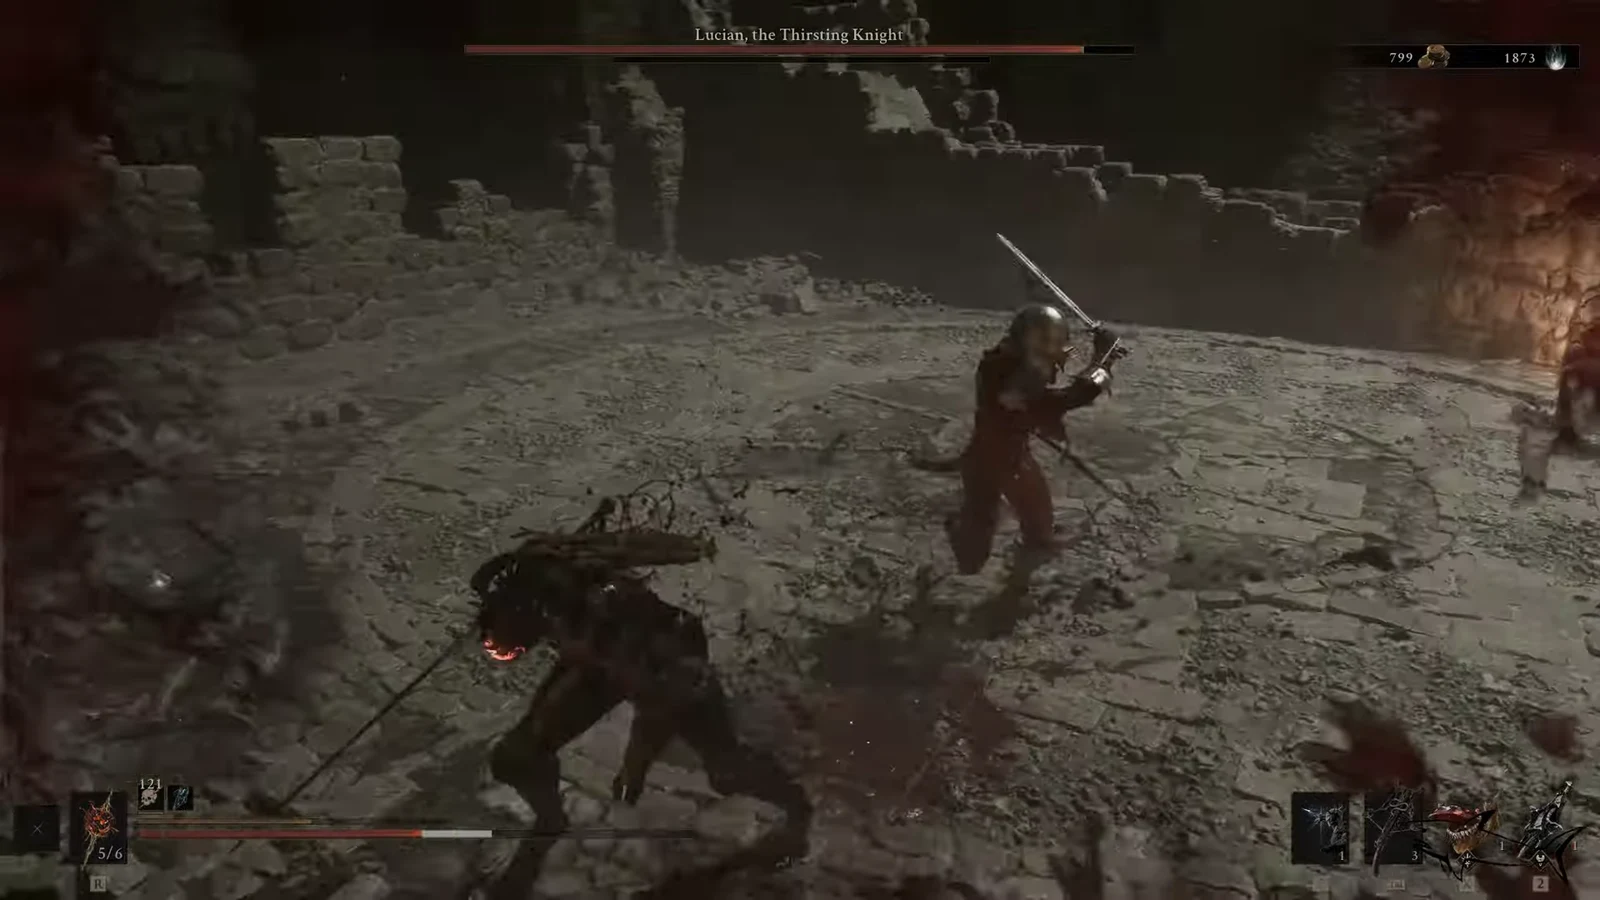
You will know the pickup succeeded when the Serpent Stone appears in your Tarstone inventory. After the fight, collect the three Ova eggs and cleanse the beacon to open the Corrupted Gate and continue onward.
Upgrading the Serpent Stone at the Tarforge
Tarstones level up at the Tarforge in Marrow Keep, but the Serpent Stone’s upgrade options only open once Franz has the Etching Needles. That quest item expands what the Tarforge can do.
The Etching Needles are looted from a chest right before the Magdalena, the Lady of the Woods boss fight. When you see Ruk past the bridge, drop down through the opening and turn right before the tunnel to reach a small section with a bone chest. Loot it to claim the Needles, then hand them to Franz.
With the Needles delivered, equip the Serpent Stone and defeat enemies to build its experience. Once the XP bar fills, return to Franz to buy the next upgrade level, which costs Coin each time. Push it all the way to the final level and the Poison infusion becomes permanent, letting you leave it running for the rest of a fight without spending Resolve again.