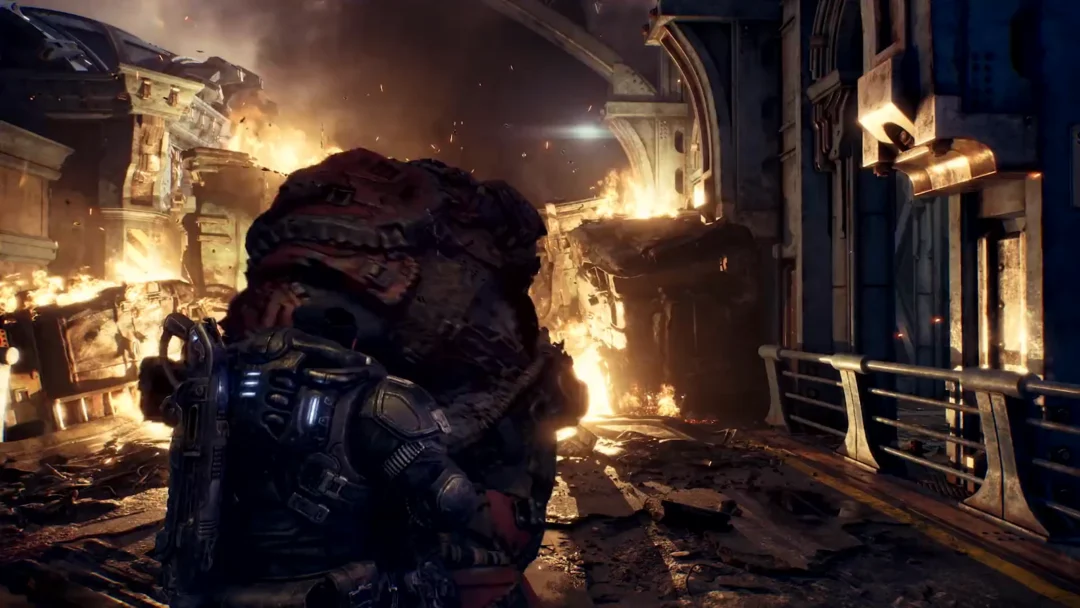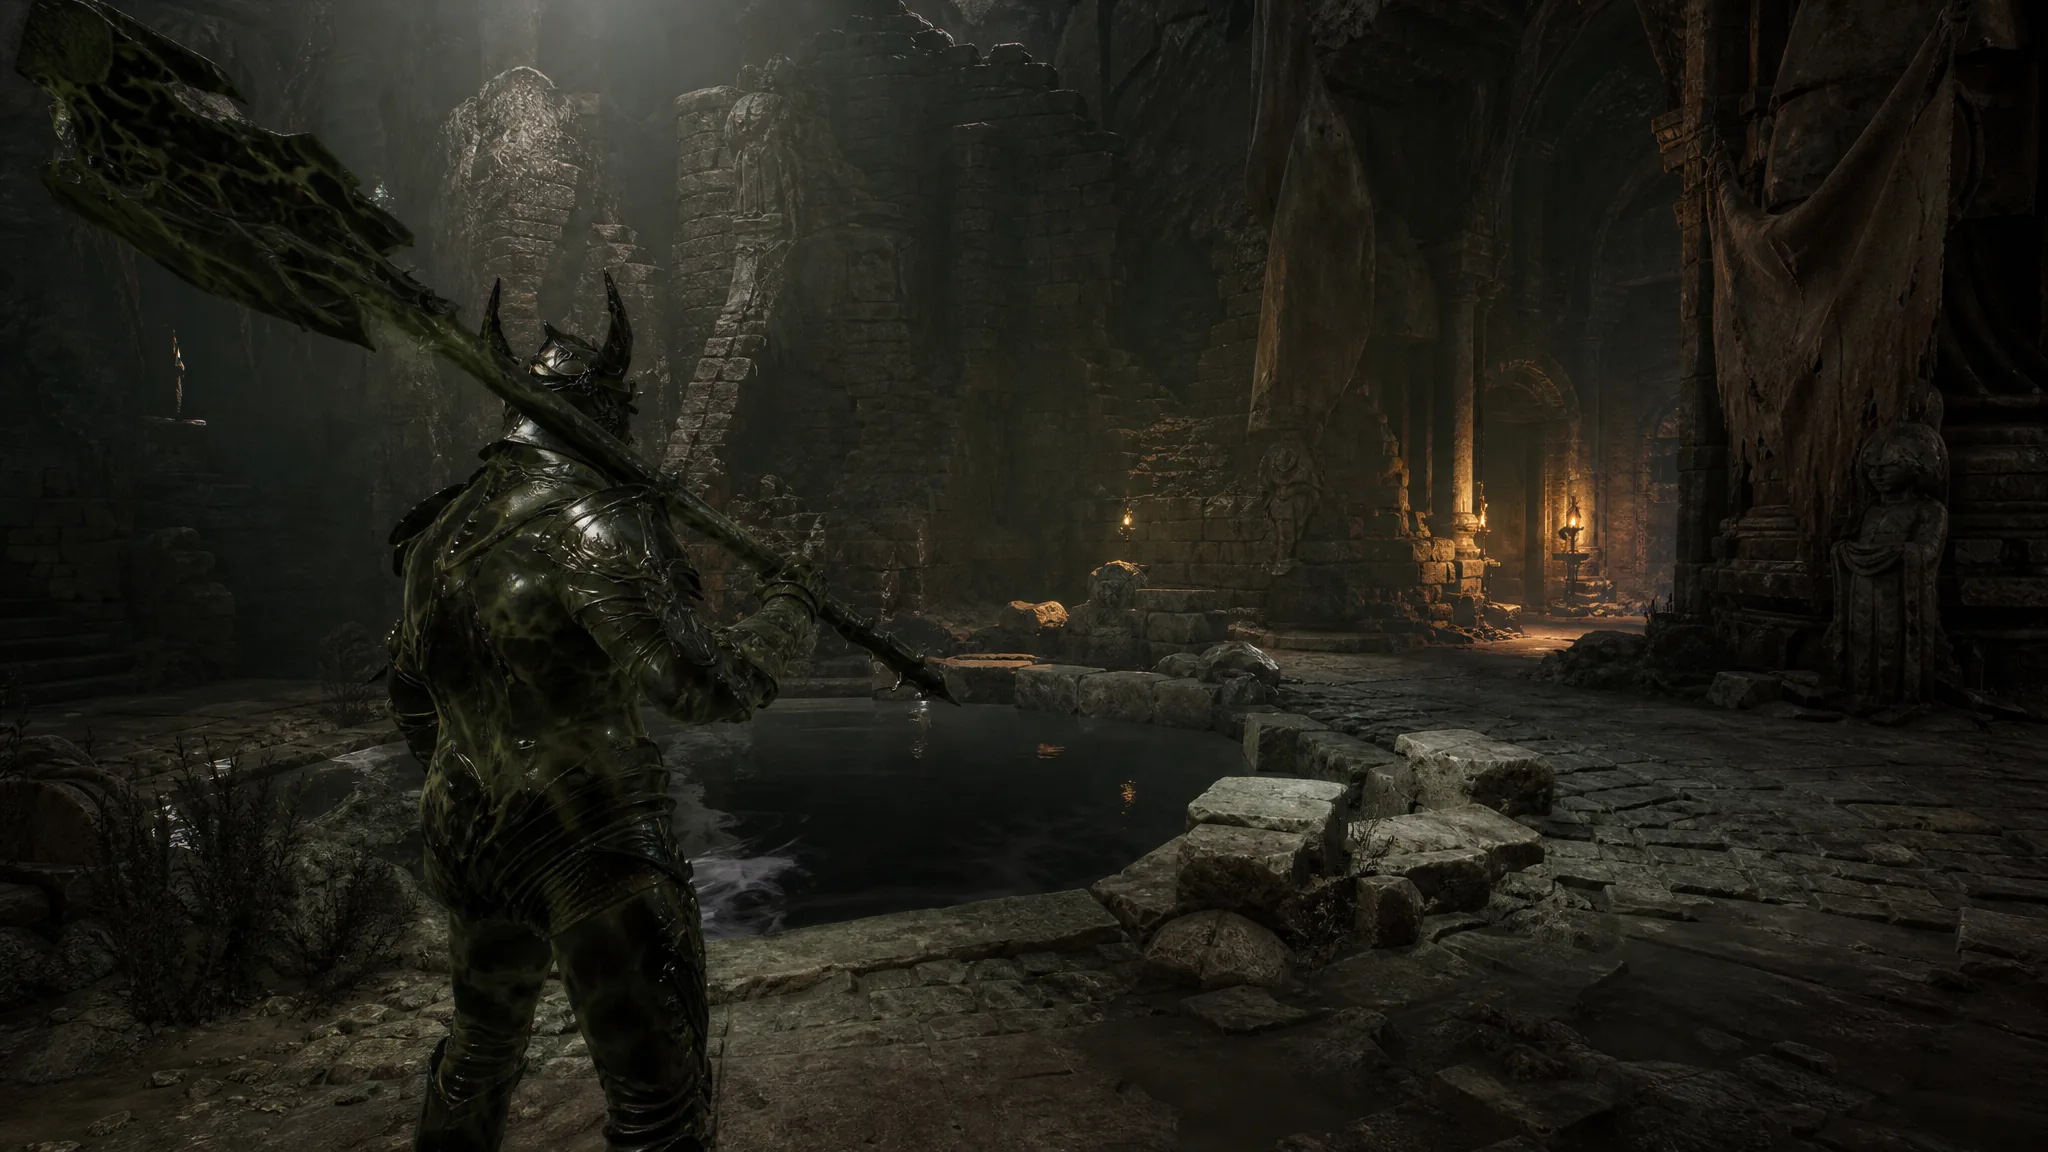
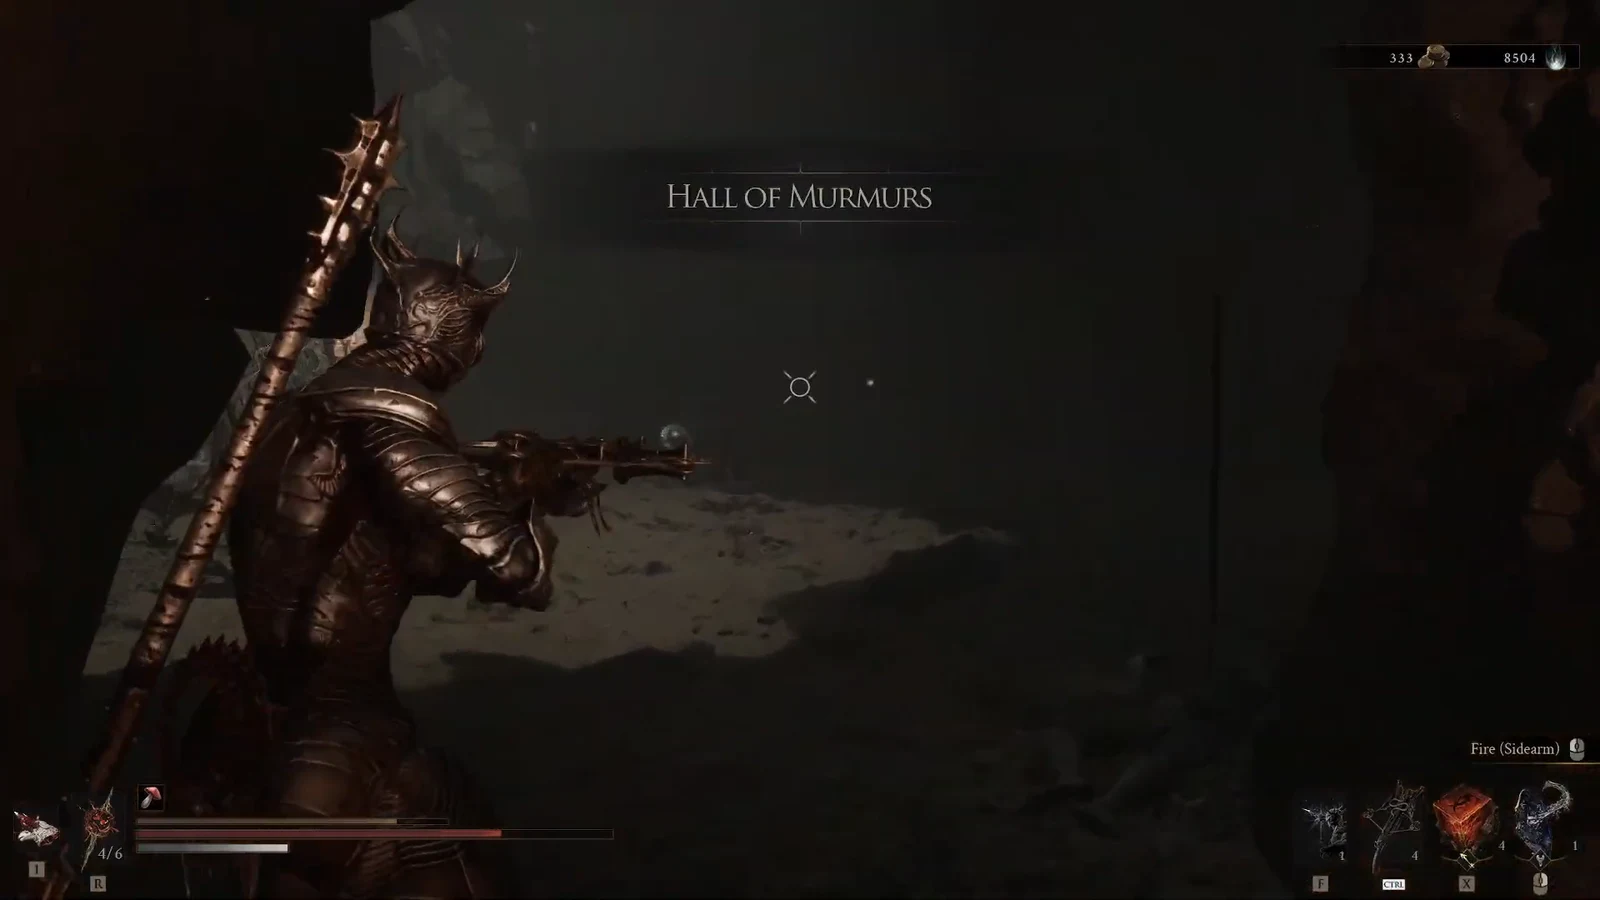
The Hall of Murmurs is a short optional dungeon in Mortal Shell 2, tucked beneath Castigator’s Keep in the Outskirts of Mammon. It has no boss, no chests, and no traps. What it does hold is a small stack of currency and a forge material, guarded by five ordinary enemies and one encounter that only turns hostile when you take the loot.
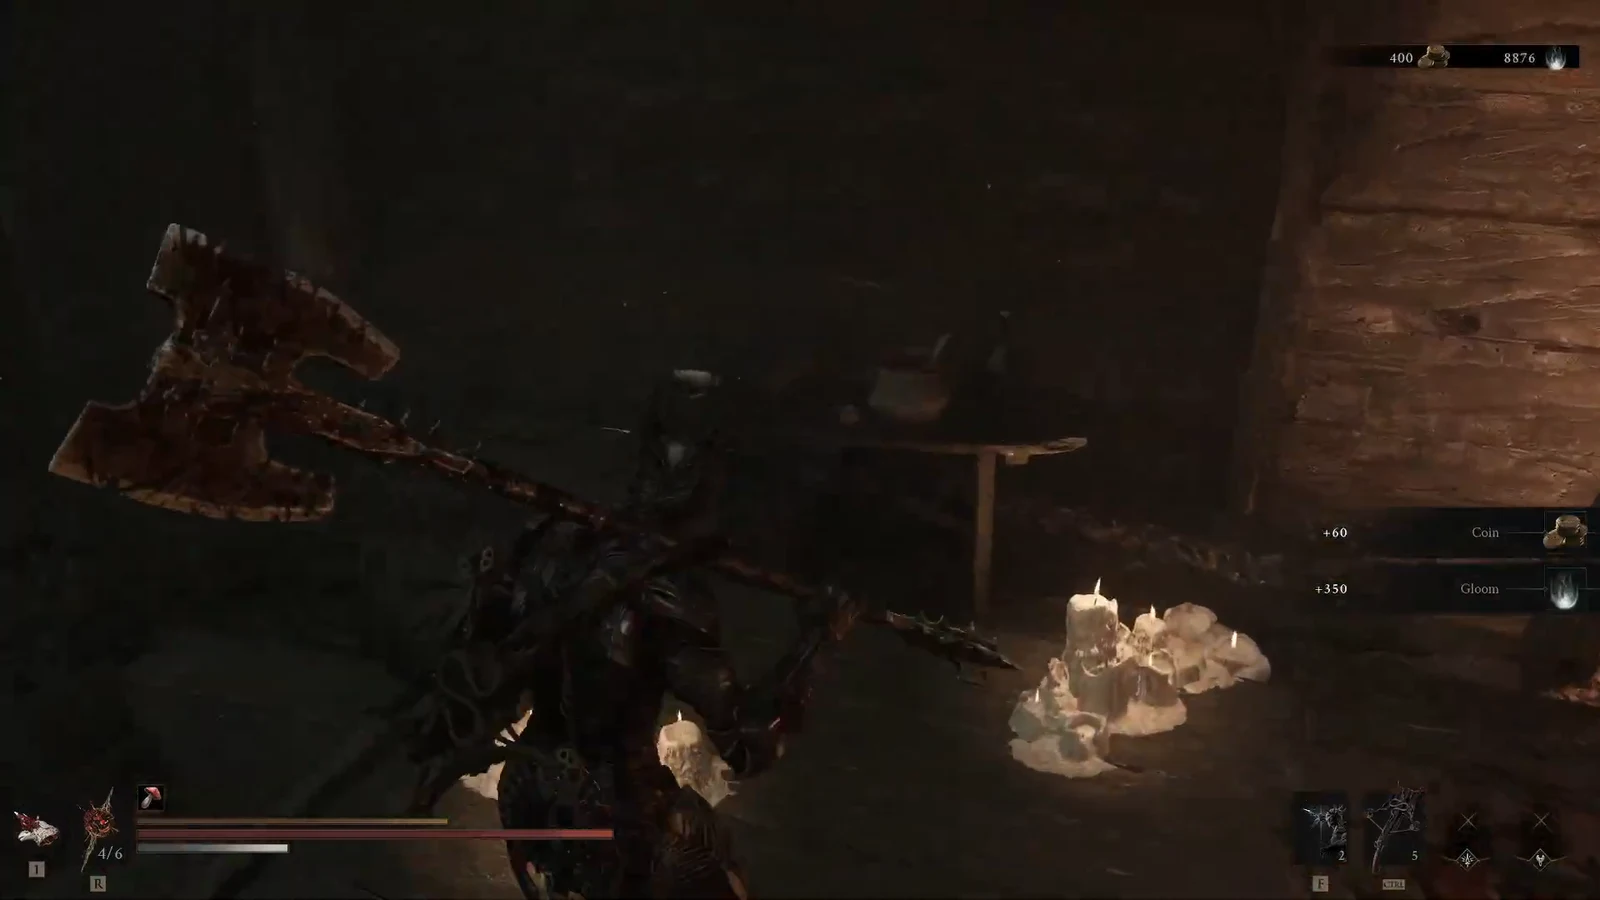
Quick answer: Clear the dungeon for 750 Coins (a 500-Coin pouch plus 250 Coins), one Laterite from the fireplace, and the Gloom dropped by the Foul Knight that awakens when you grab the Laterite.
All Hall of Murmurs loot
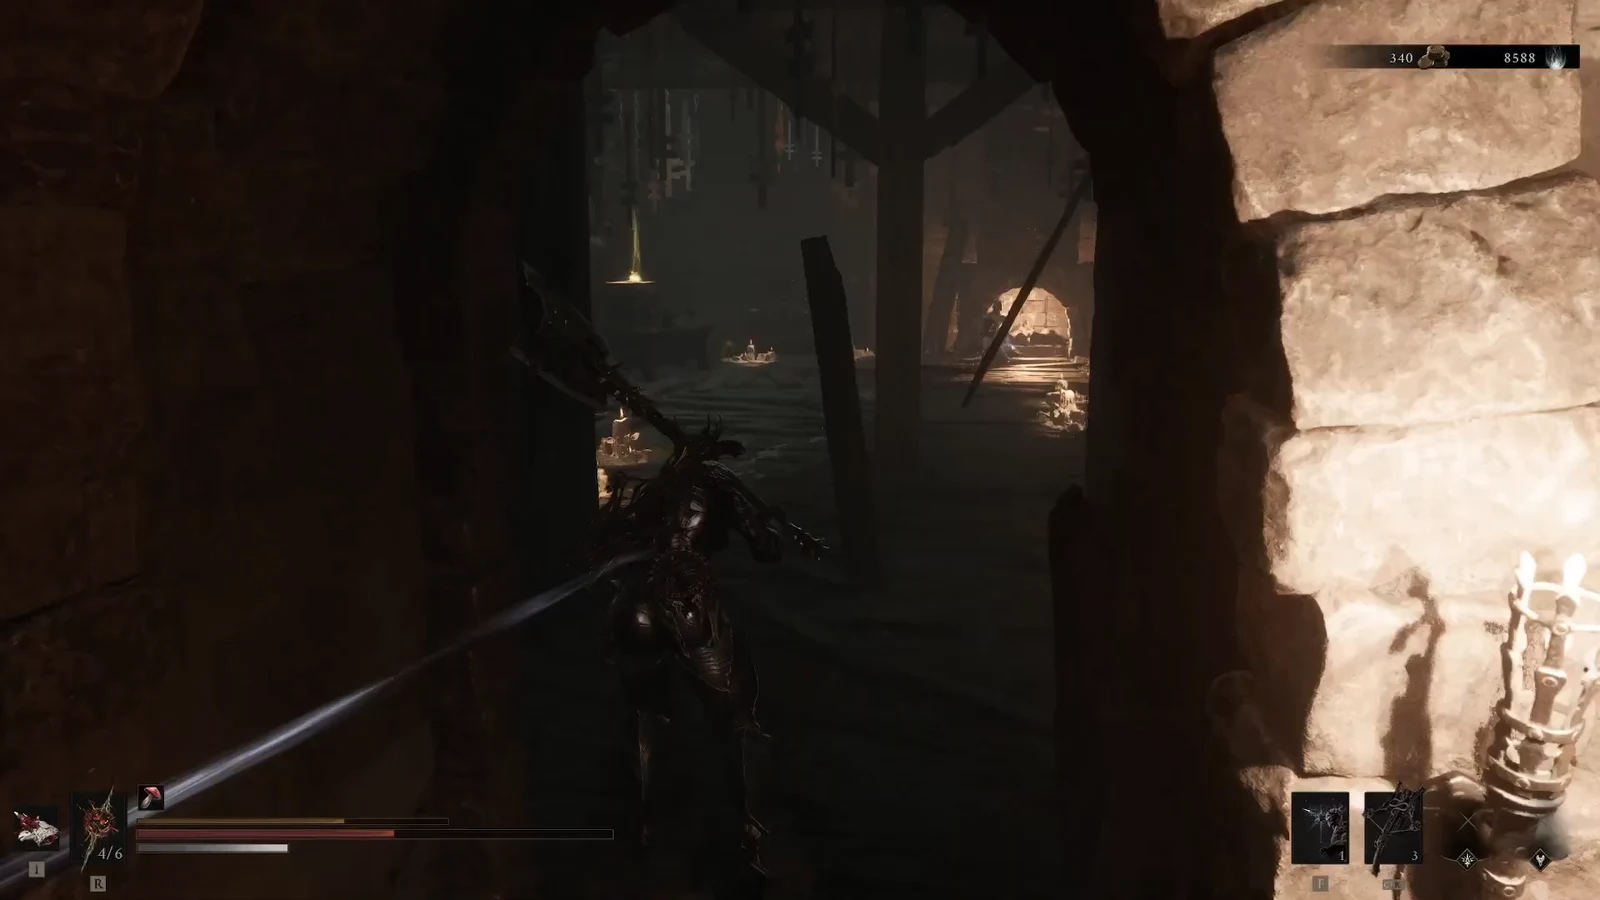
Everything worth picking up sits in the final room. There are two coin pouches and one Laterite, and the enemy by the fire drops Gloom once defeated.
| Reward | Amount | Where to find it |
|---|---|---|
| Coins | 500 | Pouch on the caged box left of the doorway |
| Coins | 250 | Behind the first coin pouch |
| Laterite | 1 | In the fireplace, next to the kneeling enemy |
| Gloom | Combat drop | Dropped by the Foul Knight after you defeat it |
The Laterite is a forge material, so triggering the fight is the practical choice rather than leaving it untouched. There is no hidden chest, so once both pouches and the Laterite are gone, the room is fully looted.
How to reach the Hall of Murmurs
The entrance sits south and southwest of the Castigator’s Keep Beacon in the Outskirts of Mammon. To get to this part of the map, you first need enough Ova to cleanse the corruption blocking Marrow Keep’s second jump pad, then take the pad to the Outskirts of Mammon Beacon.
From the Outskirts of Mammon, follow the bridge from the blasted gate, use the bone gate to cross, and keep on the main road until you reach Castigator’s Keep. Activate the beacon on the gate’s battlement before you continue.
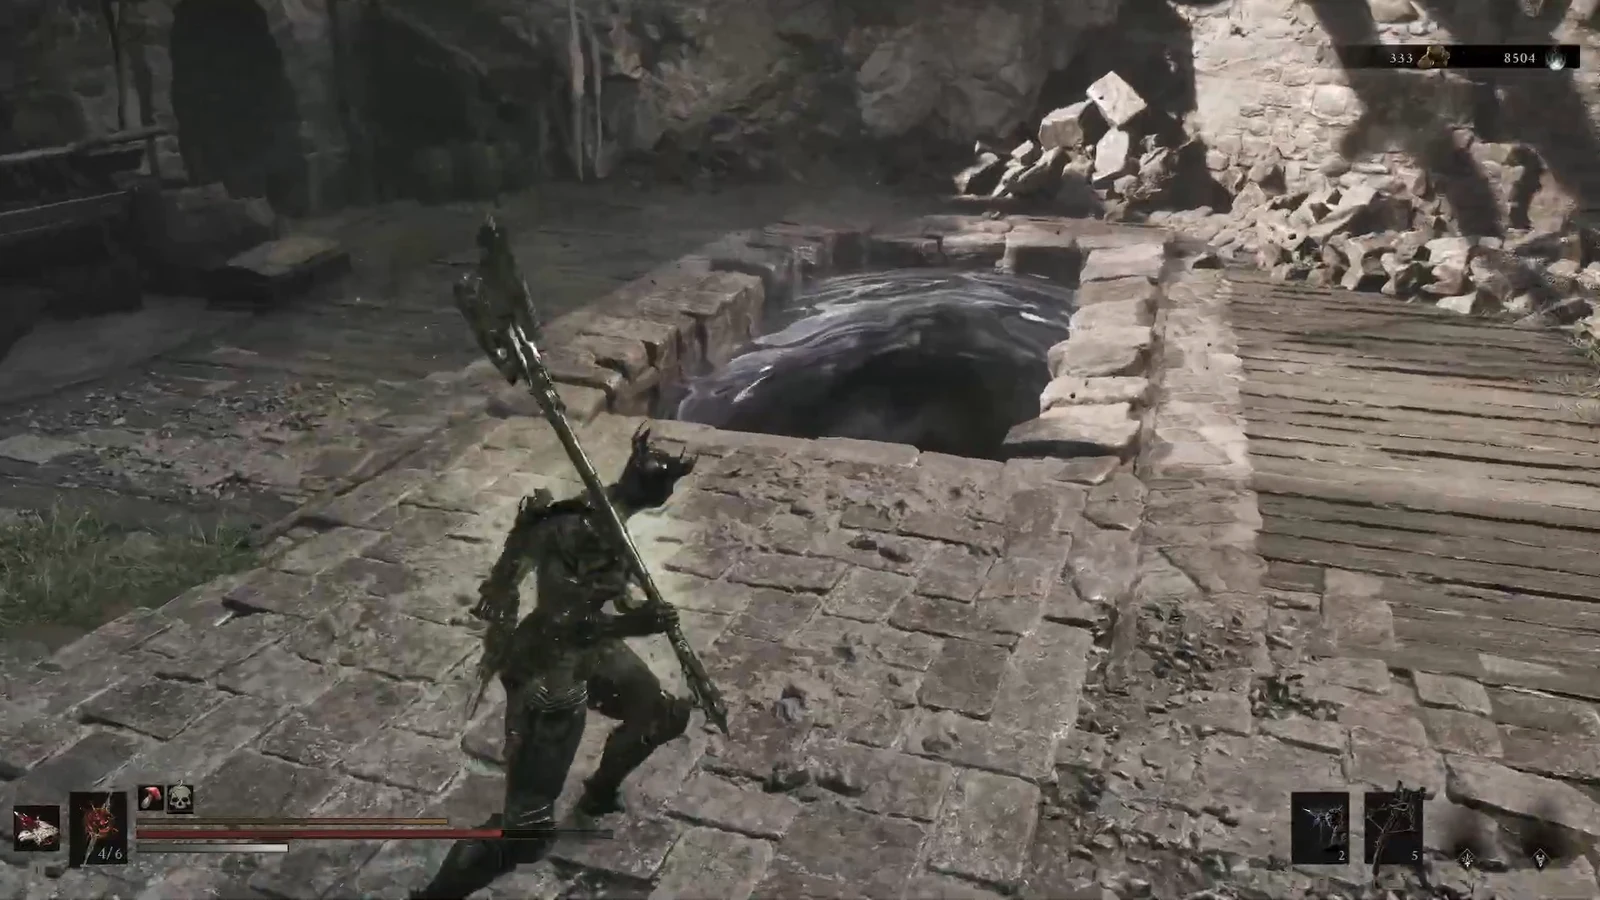
From the Castigator’s Keep Beacon, move through the central area and past the courtyard. Look for stone stairs that descend into the ground near the Grisha Hunter camp. The opening feels like a minor passage rather than a proper dungeon gate, which is why it is easy to walk past.
Clearing the dungeon and grabbing every reward
Why the praying enemy suddenly attacks
The figure by the fire stays passive when you walk in and will not attack on its own. Picking up the Laterite is the trigger that makes it hostile. If a harmless-looking enemy suddenly comes to life, you have not activated a hidden quest or a secret boss. It is simply a loot-triggered encounter.
Note: the praying figure respawns if you re-enter the dungeon, which has fueled a lot of speculation that the room hides more than it shows.
Is there a boss or a secret in the Hall of Murmurs?
No. The dungeon is registered as a standard layout with five enemies, no boss, no chests, and no traps. Despite its ominous name, it has no sound gimmick, no illusory walls, and no button puzzle. Attempts to force something with night mode, the lute, summons, or luring the brigands inside produce nothing extra. The Coins, the Laterite, and the Foul Knight’s Gloom are the complete reward set.
One thing to keep separate: Egon, the NPC tied to the Feed Me trophy, is in the Keep’s central tower, not inside this dungeon. He accepts Gloom, which is a different currency from the Coins you collect here, so clearing the Hall of Murmurs does not progress him.
The Hall of Murmurs is not progression-critical, so you can safely leave it for later and return without missing a story sequence. It is quick to finish while you are already exploring Castigator’s Keep, and once the two pouches, the Laterite, and the beast are handled, there is nothing left to do but walk back out.