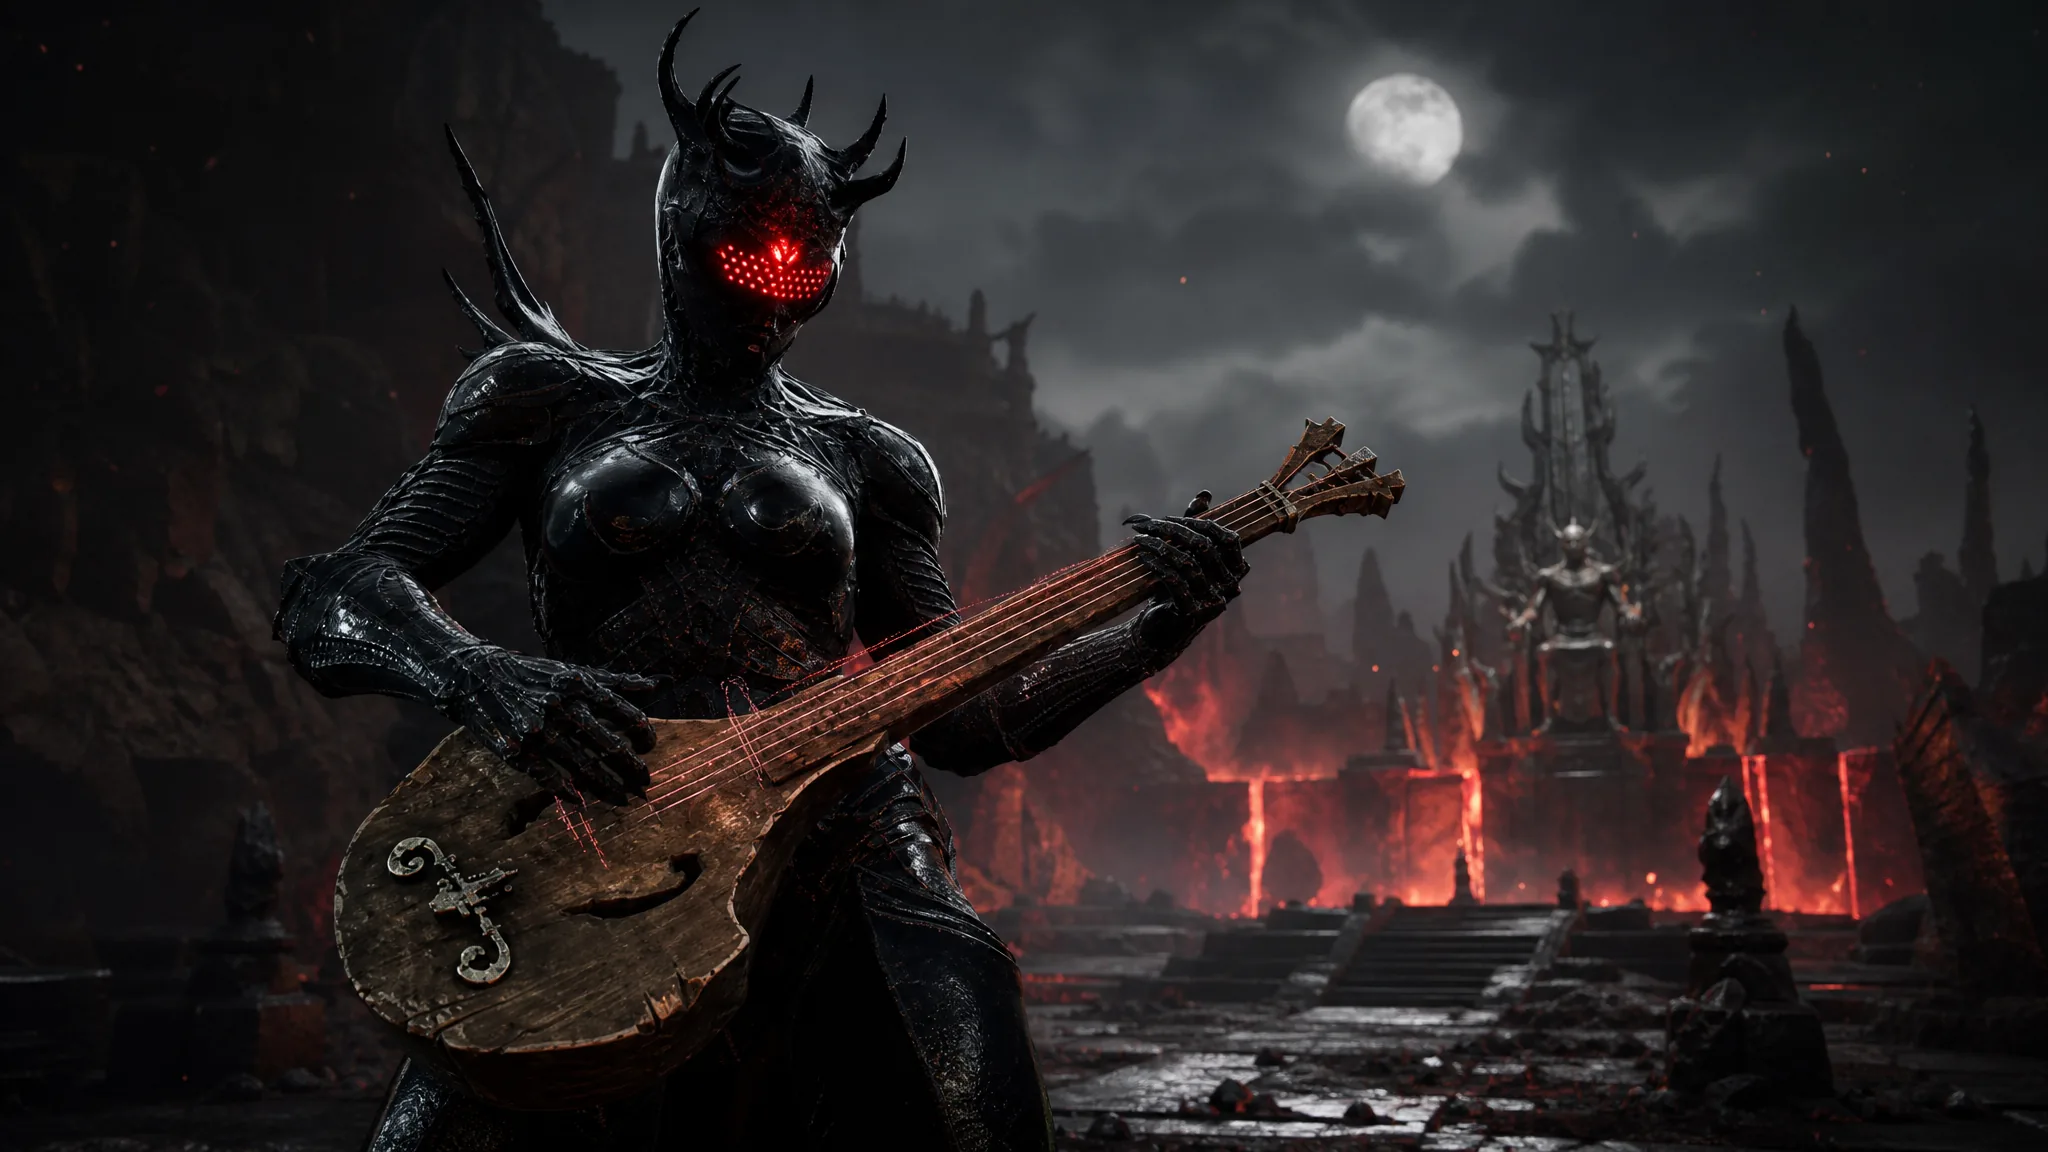
The Troubadour’s Lute is one of the stranger sidearms you can carry in Mortal Shell 2. It fires waves of musical energy instead of bolts, and its main job is not raw damage but crowd control. If you played the open beta and went looking for it in Mushroom Village, that spot no longer works, since the pickup moved for the full release.
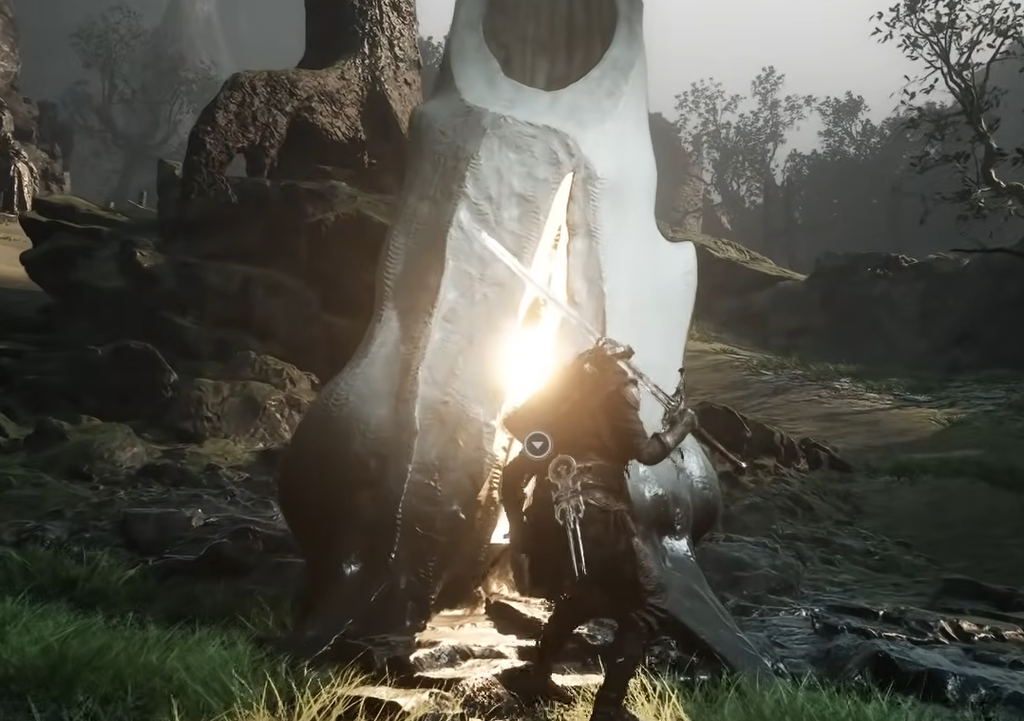
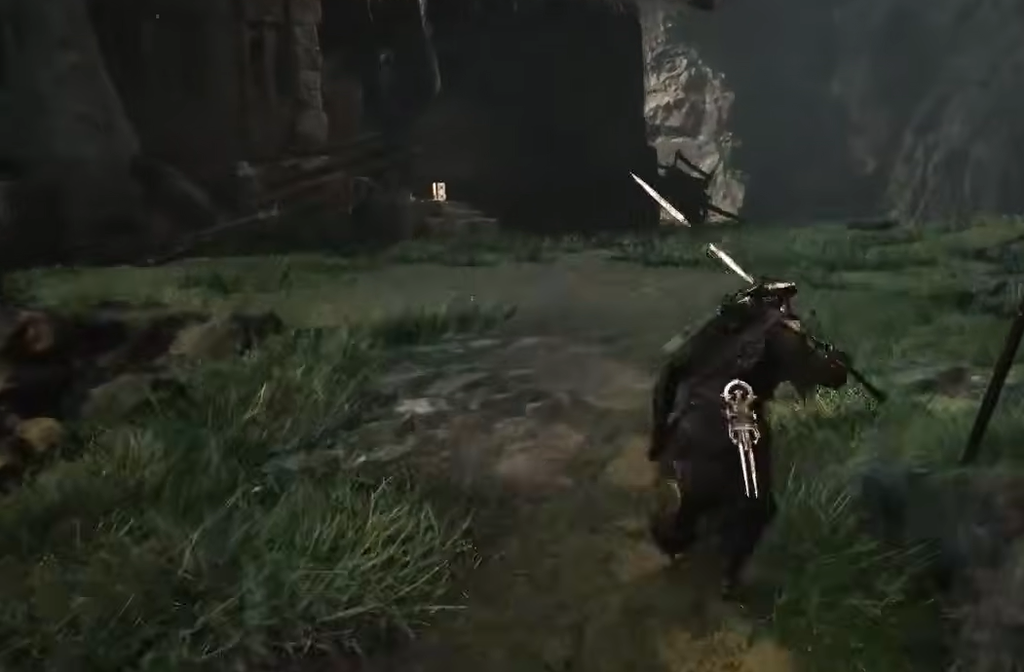
Quick answer: Unlock Mother’s Breath by siphoning Ova in Marrow Keep, then travel east from the Mushroom Village Beacon to the One-Legged Wolf Tavern in Fainweald. The lute leans against the wall by the left side of the stage inside.
What you need before you go
The path to the tavern runs through a wall of corruption, so you cannot simply walk in from the start of the game. You first need Mother’s Breath, the ability that lets you cleanse corruption and fast travel between Beacons.
Mother’s Breath unlocks after you siphon Ova in the Ovum Siphon room inside Marrow Keep. The keep already holds a few Ova when you reach the open world, and the ability becomes available once you have siphoned around eight of them. With it active, the corruption blocking the route east of Mushroom Village can be cleared on contact.
Route to the One-Legged Wolf Tavern
Grabbing the lute inside the tavern
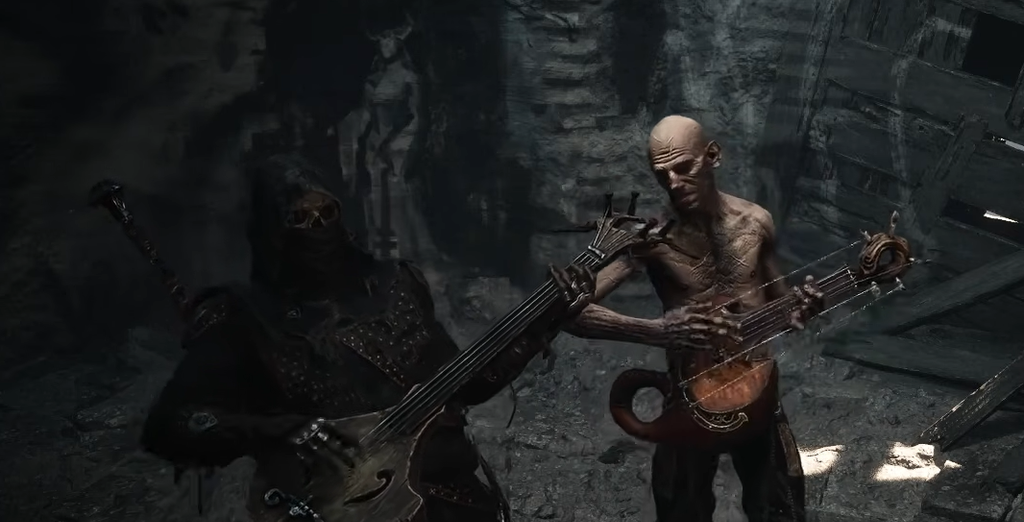
Nobody inside the tavern is hostile, so you can keep your weapon sheathed. A Barkeep sells items, and an NPC named Gragu can hand you a quest to find the Heart of Vatra, which ties into acquiring one of the game’s Shells. A performer stands on the stage playing the lute you are here for.
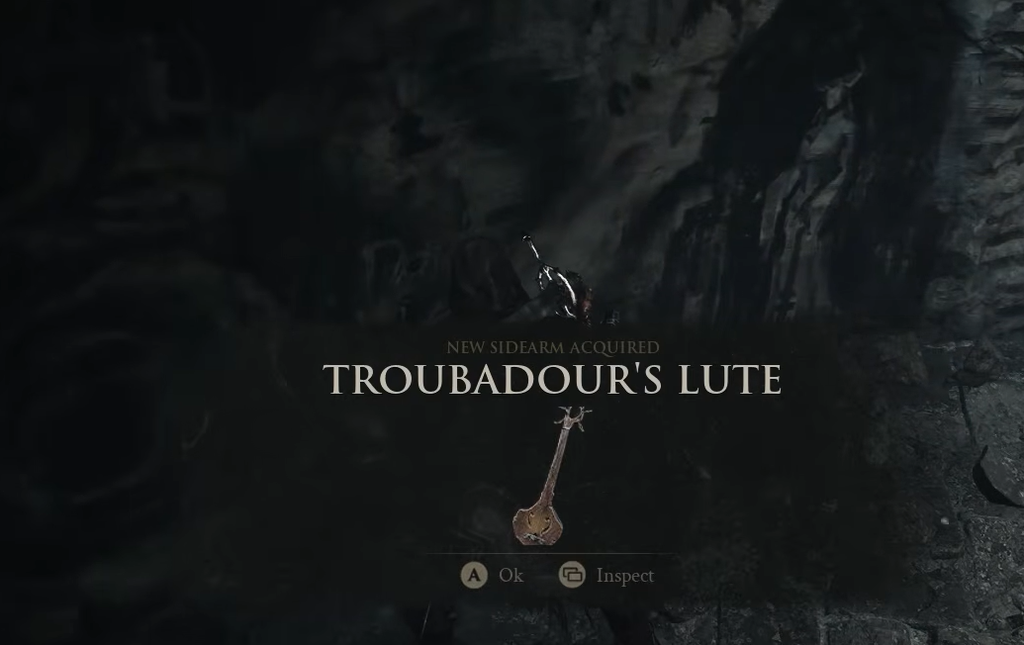
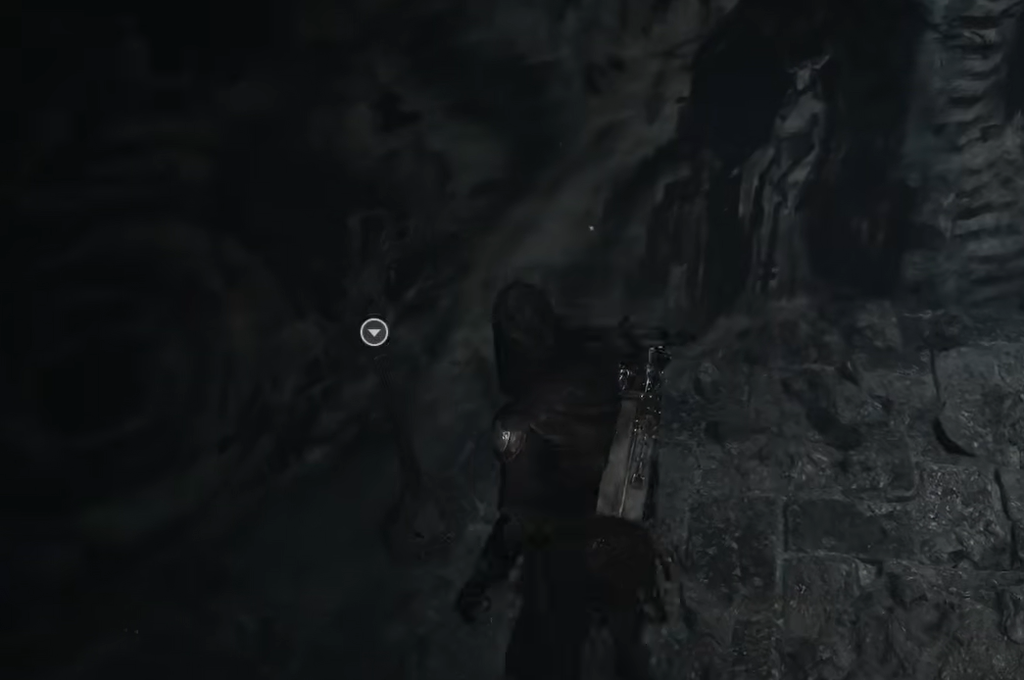
Look to the left side of the stage. The Troubadour’s Lute leans against the wall behind the performer. There is no puzzle to solve and no boss to defeat. Interact with it, and the on-screen prompt NEW SIDEARM ACQUIRED confirms the pickup. The lute enters your inventory at +0.
How the Troubadour’s Lute works in combat
Like other sidearms, the lute draws on your Resolve as ammo. Instead of firing a projectile, it sends out waves of sound that inflict Confusion. A confused enemy turns on nearby foes and fights them for a short window, shown by an icon and a countdown above its health bar.
If there are no other enemies around to attack, hitting a target with the lute deals Break damage instead, which can open it up for a riposte without needing to harden, guard, or parry. You can stack Confusion on tougher enemies as long as you have Resolve to spend, then step back and let the crowd thin itself out. That makes it strongest against groups and while clearing dungeon rooms, and less impactful against single bosses, where its value is mostly the Break damage.
The lute also has a non-combat use. You can strum it to play music, with five tracks that come up at random, giving you a moment to pause and listen.
Compatible Tarstones
Several Tarstones slot into the lute to shape how its ranged output behaves, from splash damage to knockback and status effects.
| Tarstone | Type | Effect |
|---|---|---|
| Volatile Fragment | Combat | Enemies killed by a ranged attack explode for splash damage |
| Splitting Stone | Combat | Fires multiple projectiles per shot without extra Resolve |
| Shuddering Stone | Combat | Projectiles create a knockback shockwave on impact |
| Rupturing Stone | Combat | Critical projectiles deal Break damage |
| Enfeebling Stone | Combat | Projectiles inflict Fragile stacks |
| Spite Stone | Support | Improves ranged damage as your health drops |
| Siegebreaker’s Stone | Support | Improves ranged Stagger damage |
| Marksman’s Stone | Support | Improves ranged Critical Chance |
| Deadeye Stone | Support | Improves ranged Critical damage |
| Hand of Rock | Ability | Spends 80 Resolve to unleash homing projectiles |
If you remember the beta, the lute used to sit inside the chest that the dancing grannies circle in Mushroom Village, unlocked by lighting three candle offering stations. That chest still exists in the full game, but it now holds a Glimpse and an Auspicious Stone instead, so the tavern run is the way to add the Troubadour’s Lute to your loadout.