A Plague Tale: Requiem Resonance Walkthrough (Full Chapter Guide)
Chapter order, early combat and collectibles, and the light and symbol puzzles that gate progress across Sophia's journey.
Chapter order, early combat and collectibles, and the light and symbol puzzles that gate progress across Sophia’s journey.
by AllThingsHow Staff · Edited by Pallav Pathak
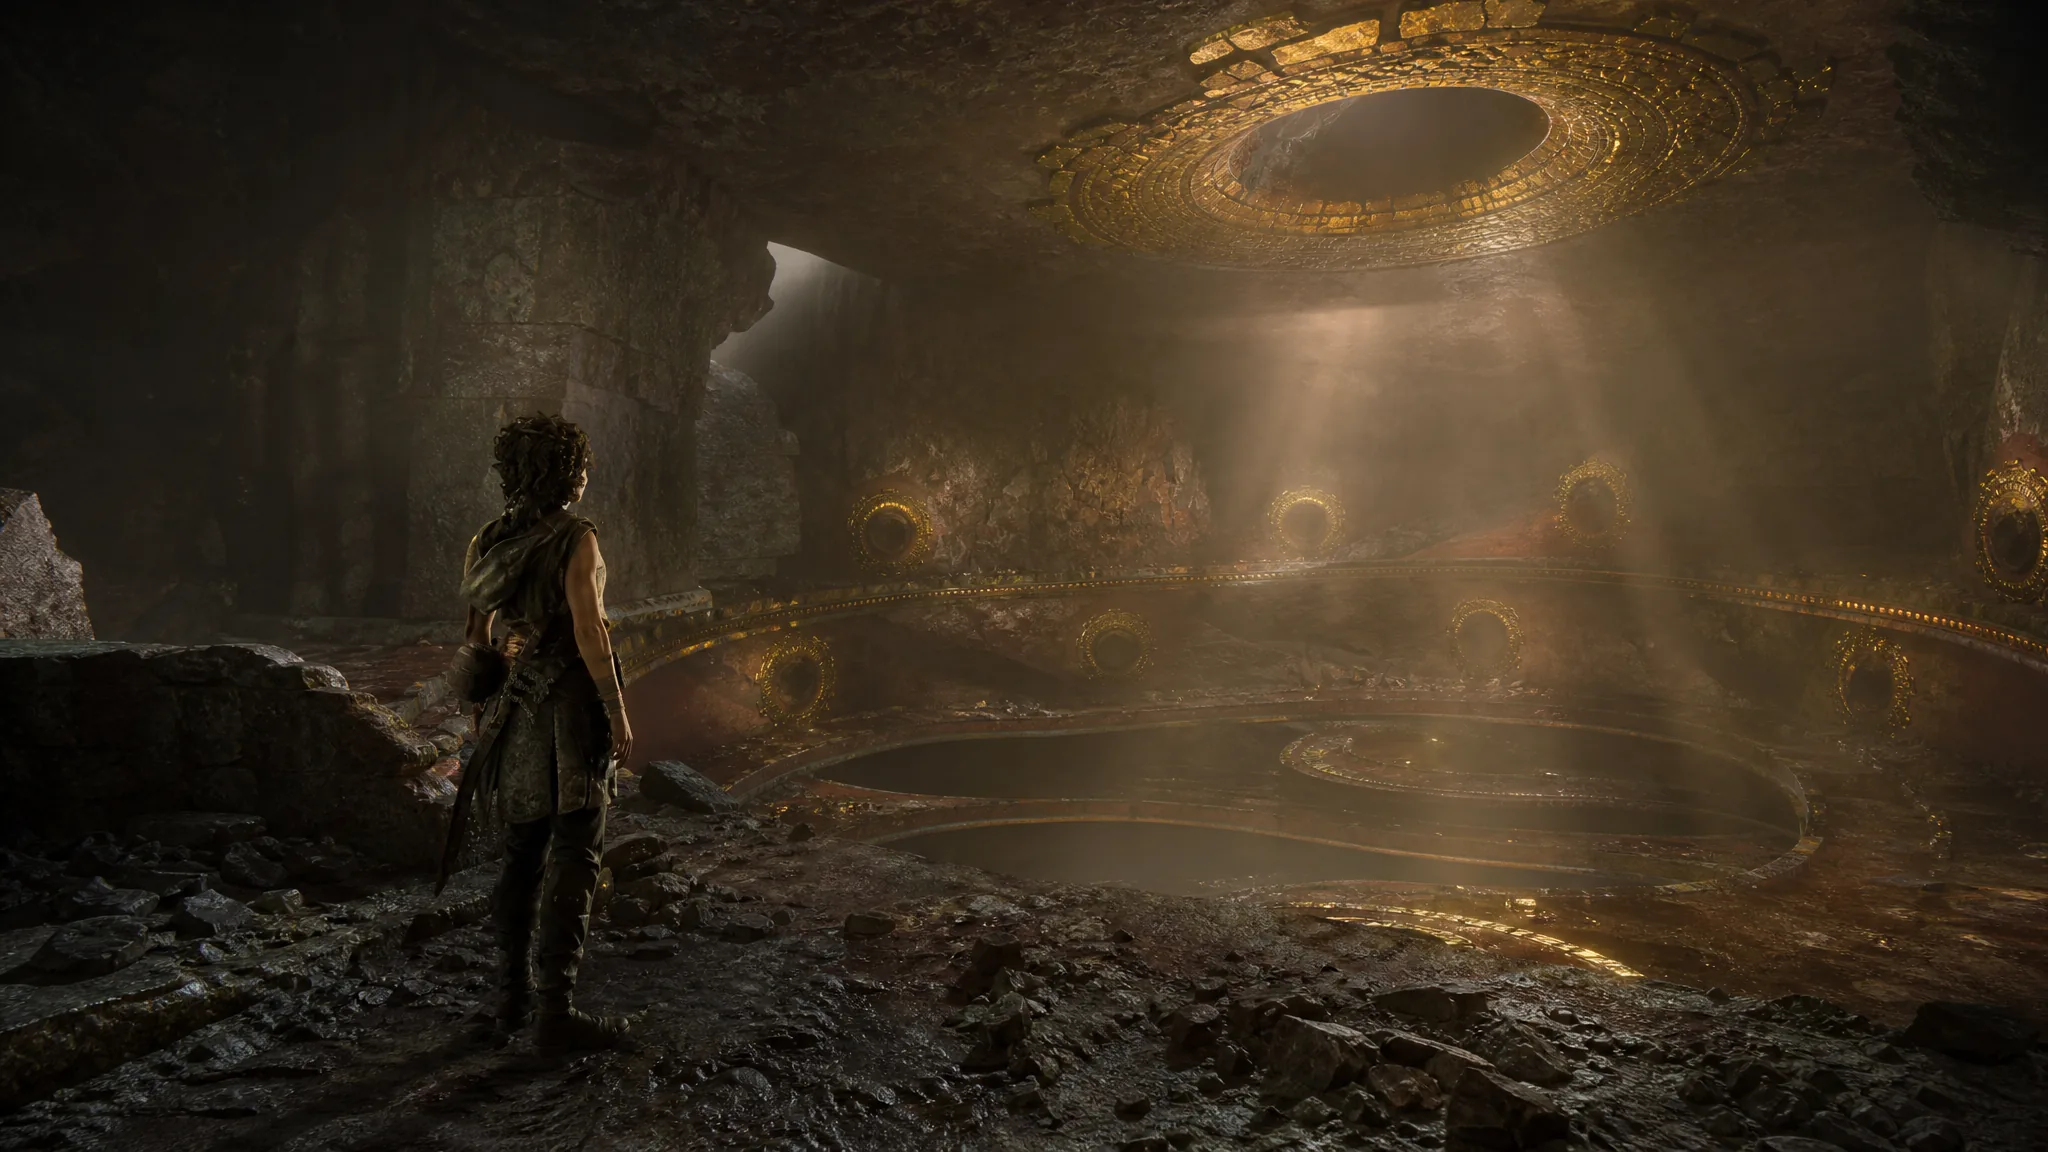
Resonance: A Plague Tale Legacy is a prequel that follows Sophia, a young plunderer, as she chases the truth about her past across covenants, caves, and temples on the way to the Minotaur’s Island. The game runs on a fixed structure of 14 chapters, with no in-game map and a mix of melee combat, light puzzles, and traversal. Progress is linear, so knowing the chapter order and the exact conditions that open each locked door is what keeps you moving.
Quick answer: Play through the chapters in order below. Combat is built around blocking three hits then attacking, and parrying just before an incoming strike. Puzzle doors open only after you record the correct symbols or aim colored light beams into their receivers. Chapters can be replayed after completion, so missed collectibles are never lost for good.
Image credit: Focus Entertainment
All 14 chapters in order
The campaign is split into 14 chapters that alternate between Sophia’s medieval timeline and ancient Minoan flashbacks centered on Theseus. A thorough run that stops for collectibles and optional puzzle rooms takes roughly 15 to 20 hours.
#
Chapter
1
Blood Ties
2
Felons
3
Those Before Us
4
From Hell It Rose
5
Desolation It Wrought
6
What Lies Beneath
7
Death It Sowed
8
Resonance
9
Night Has Come
10
Parallel Paths
11
Patera
12
Fading Light
13
As One
14
What Remains
Image credit: Focus Entertainment
Settings to adjust before you start
Two options change how much the game asks of you, and both can be switched at any time without affecting the story or the puzzles.
Difficulty: Narrative mode dodges and parries for you automatically, which suits a story-first run. Hard mode is available from the start for a tougher fight.
Hints: In the General Settings menu you can turn hints on and set how often Sophia and her companions offer help during puzzles. Turn them off if you would rather solve rooms yourself.
Photo Mode: When a path is unclear, drop into Photo Mode and pan the camera for an overhead view. It reveals routes and is useful during stealth sections.
New weapons, Relics, and Charms are easy to miss because they sit in crawlspaces and side gaps off the main route. Whenever you enter a tunnel, cave, or new area, check for narrow openings you can squeeze through before pressing forward.
Image credit: Focus Entertainment
Chapter 1: Blood Ties
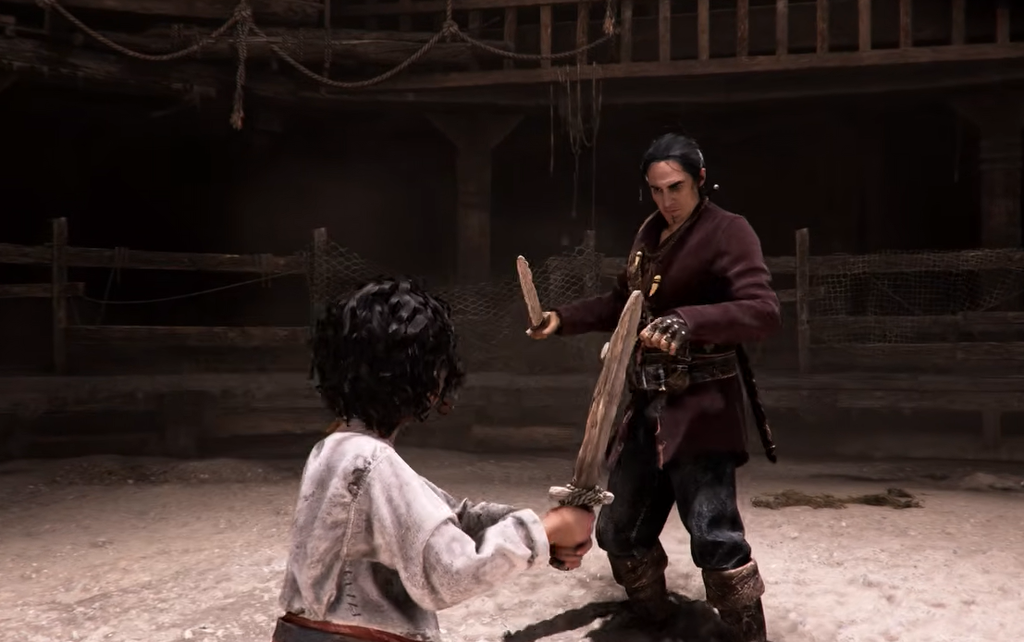
You open in Sophia’s past. Run through the village, climb the steps ahead, and move through the crowd by the tents. Train with Ezra, then continue. The door ahead is locked, so turn right; when Ezra catches Sophia, crawl through the two wall openings and watch the cutscene.
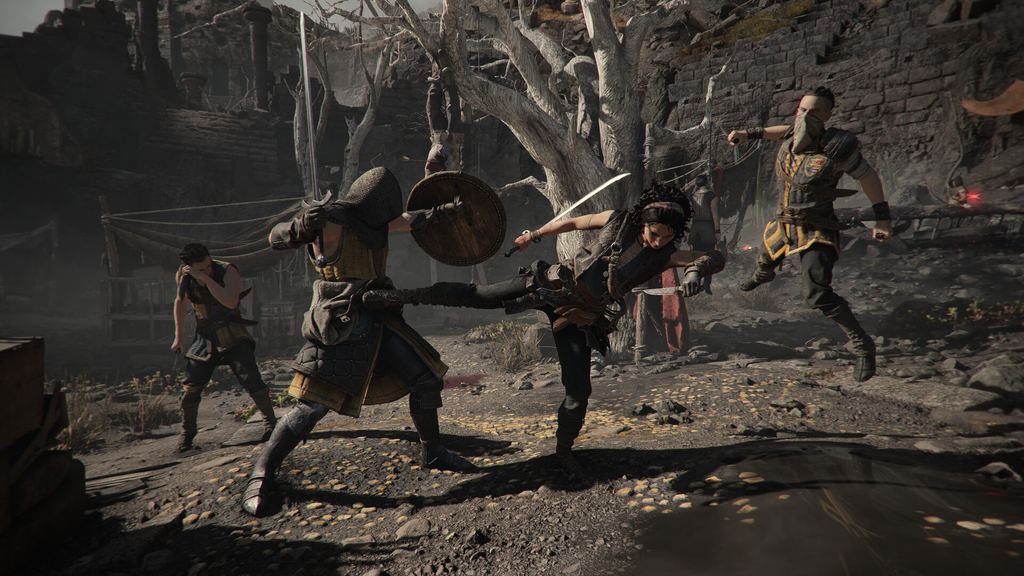
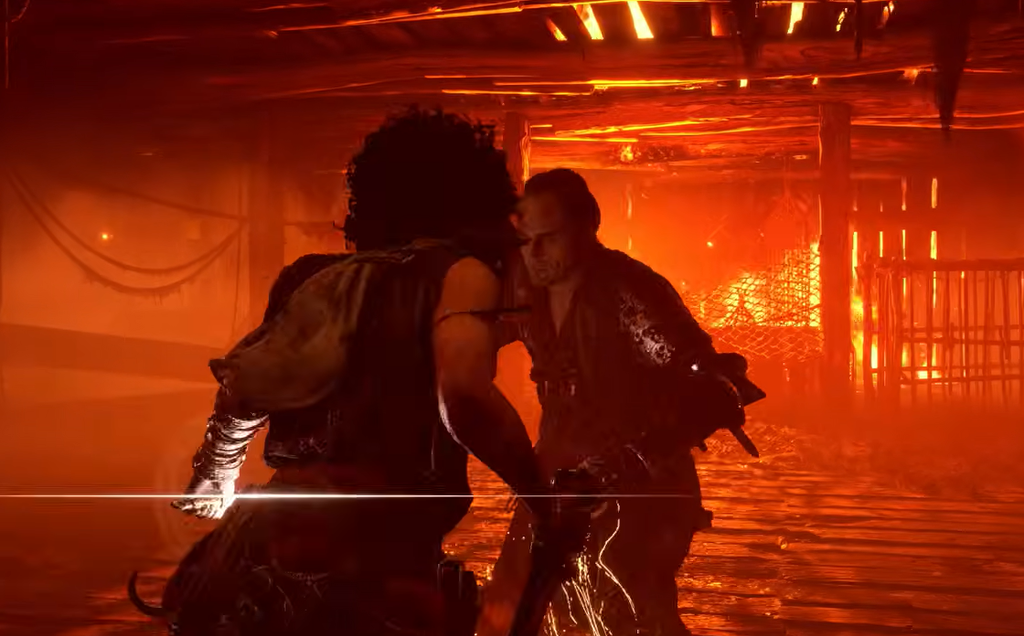
After talking to Faro and returning to bed, the fight against Faro begins. Block his attacks, and after blocking three strikes, attack. When the scene changes, parry just before each incoming hit. Parry twice, then parry several in a row to stun him. Repeat that sequence twice, then fight normally to defeat Valerio.
Move forward and search the corpses. The body beside the dry branch holds the Looped Cross, which is Present Relic 1 of 14. There are 14 Present Relics in total, plus 23 Past Relics. Examine the third corpse farther ahead, then climb the ladder Ivan raises.
Open the door in the far-left corner where Ivan dropped down and fight the enemies inside. During Eirena’s training, hold to perform a powerful attack, parry the yellow attack, then hold again. A normal fight follows; defeat Eirena.
Fight the mercenary one-on-one, then take on several opponents at once. Their leader is the strongest, so clear the weaker enemies first. This is also where you meet Lani, Sophia’s closest friend.
Image credit: Focus Entertainment
Chapter 2: Felons
This chapter introduces stealth, the grappling hook, weapon swapping, and the mirror light mechanic. It also holds three Present Relics and your first Amulet.
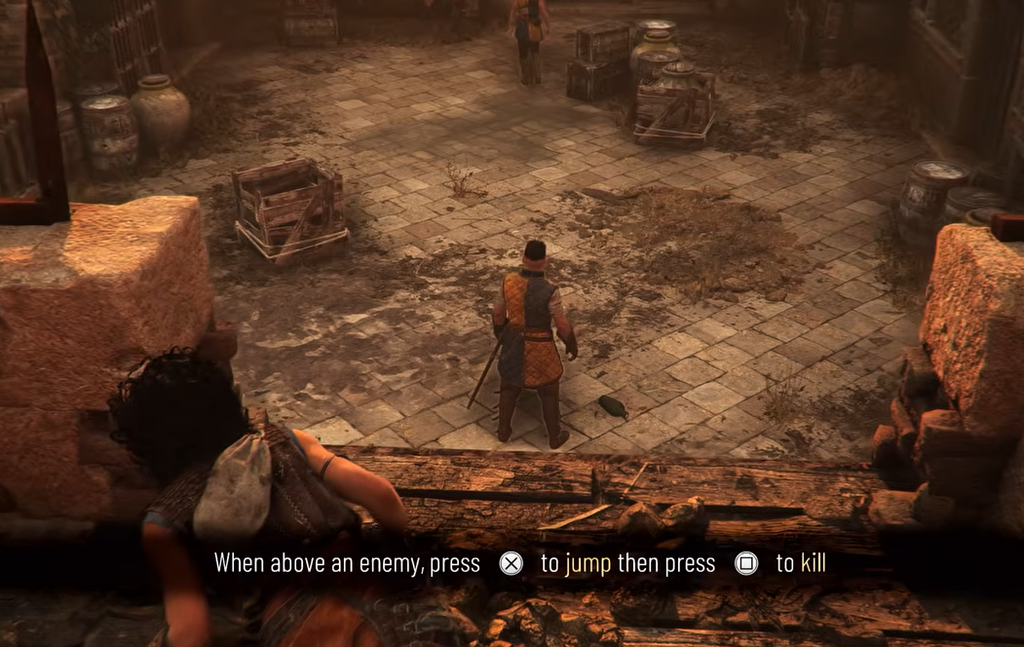
Move forward, climb the ladder, and cross the rooftops. Drop onto the enemy below for an instant kill, and use bottles, knives, and thrown objects to stun and stagger foes. After the fight, enter the building and turn the mechanism to raise the bridge.
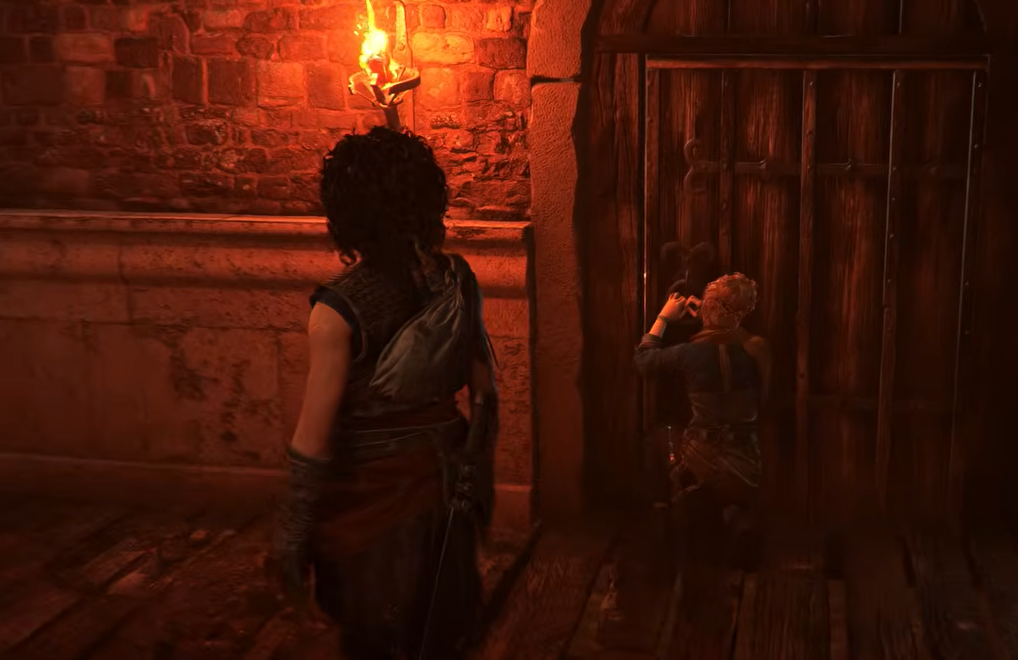
Follow Lani after she picks the lock, drop down, and hide your weapons in the barrel. After two soldiers search you, head right and right again to a set of steps. Before continuing, take the steps on the right to a dock with a boat. The Flag of Venice (Present Relic 2 of 14) lies on the ground near the corner, to the right of the bridge. Grab it before crossing the bridge, or you will have to backtrack.
When soldiers order the masks removed, enter the building on the right so Lani can unlock the door. At the square in front of the church, keep to the right where a man and child sit. Behind the tents on that path, the Bull Mask (Present Relic 3 of 14) is on the ground. That path dead-ends, so backtrack afterward.
Cross the square into the alley with bushes right of the church, then interact with the barrel by the dock to recover your weapons. This unlocks the grappling hook and weapon switching. If you own the expanded edition, you also get the Rusty Sword, the Falchion, and the Hero’s Blade.
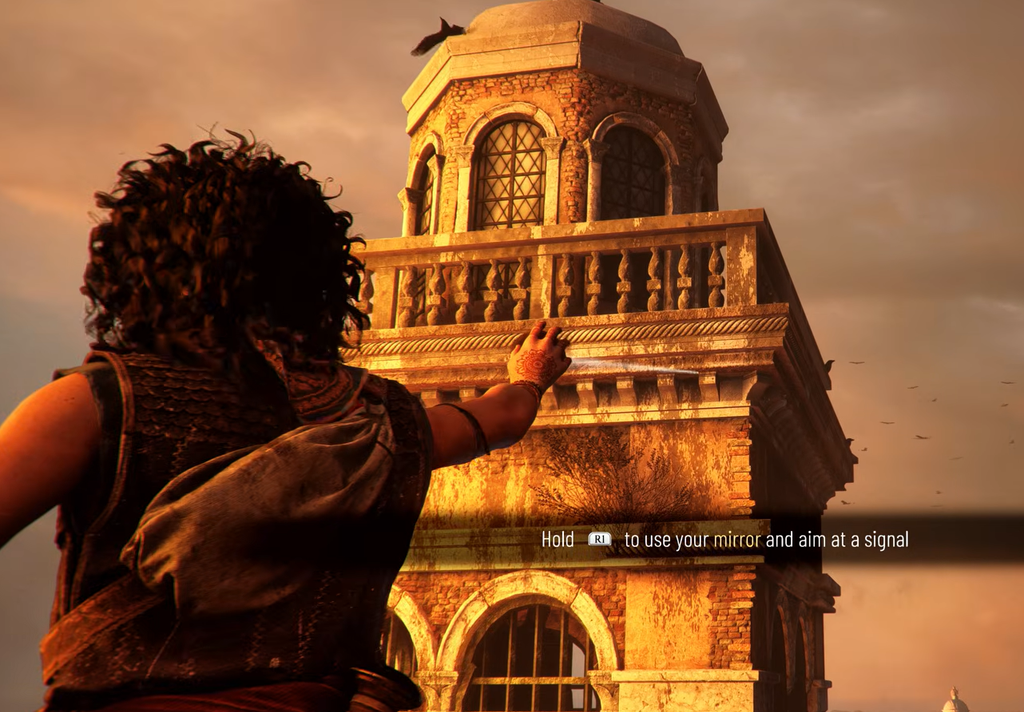
Grapple upward, then again to reach the rooftop. Hold the mirror button so Sophia raises the mirror, and aim it at the light source. Repeat with the second light source near the warehouse docks.
Head back down until you hear soldiers, then run right and swing between rooftops with the hook. Pull an archer down, continue along the wall, and look left to a small chest holding Bracelet 1/5. Sophia can equip 5 Beads, 5 Bands, 5 Bracelets, 5 Pendants, 5 Signet Rings, and 5 Coins, all under the Amulets category.
Cross the rooftops, clearing archers, then drop into the courtyard and fight the Venetians. Inside the arsenal, defeat the enemies and climb the stairs on the right. Slide down the rope to the ship, clear it, and open the large chest for 5 Resonance Points, which unlock new abilities.
You then face a brute with a chain of unblockable red attacks. Dodge them; since you can only dodge once in a row here, unlock the two-consecutive-dodges ability first. After the fight, flee. At the canal, do not sprint, move crouched or the enemies land accurate shots.
Back at the hideout, cross the underground passages. When the pier collapses, jump right, defeat the soldiers, and continue to the Faro fight. Faro uses a four-hit combo ending in a yellow attack, plus unblockable attacks you must dodge; break his guard when he raises it. Keep moving forward after the battle to trigger the next cutscene.
Image credit: Focus Entertainment
Chapter 4 and 5: The trials and light puzzles
The middle chapters move to the island trials, set in 1333 near Crete, where light manipulation and symbol locks gate every door. Chapter 5, Desolation It Wrought, is built around a central four-socket mechanism that only opens once you record three symbols from separate chambers.
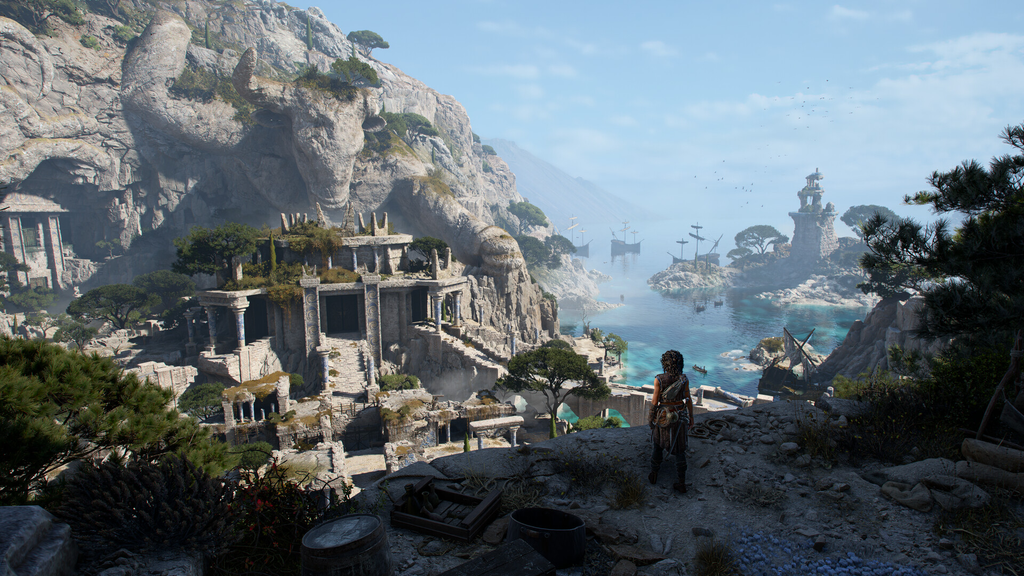
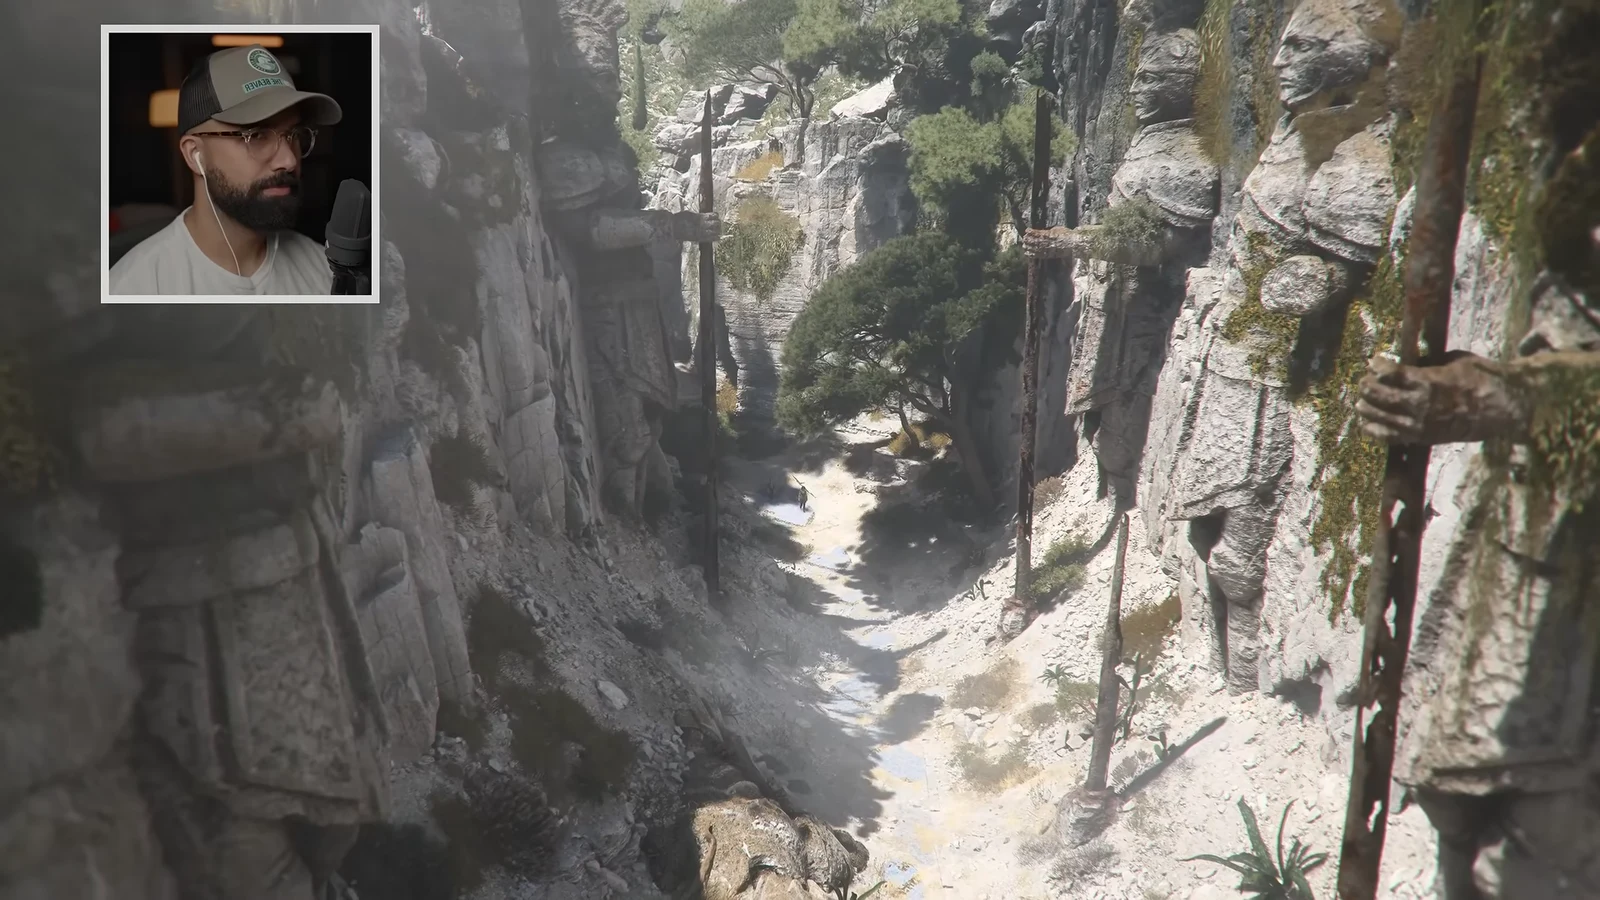
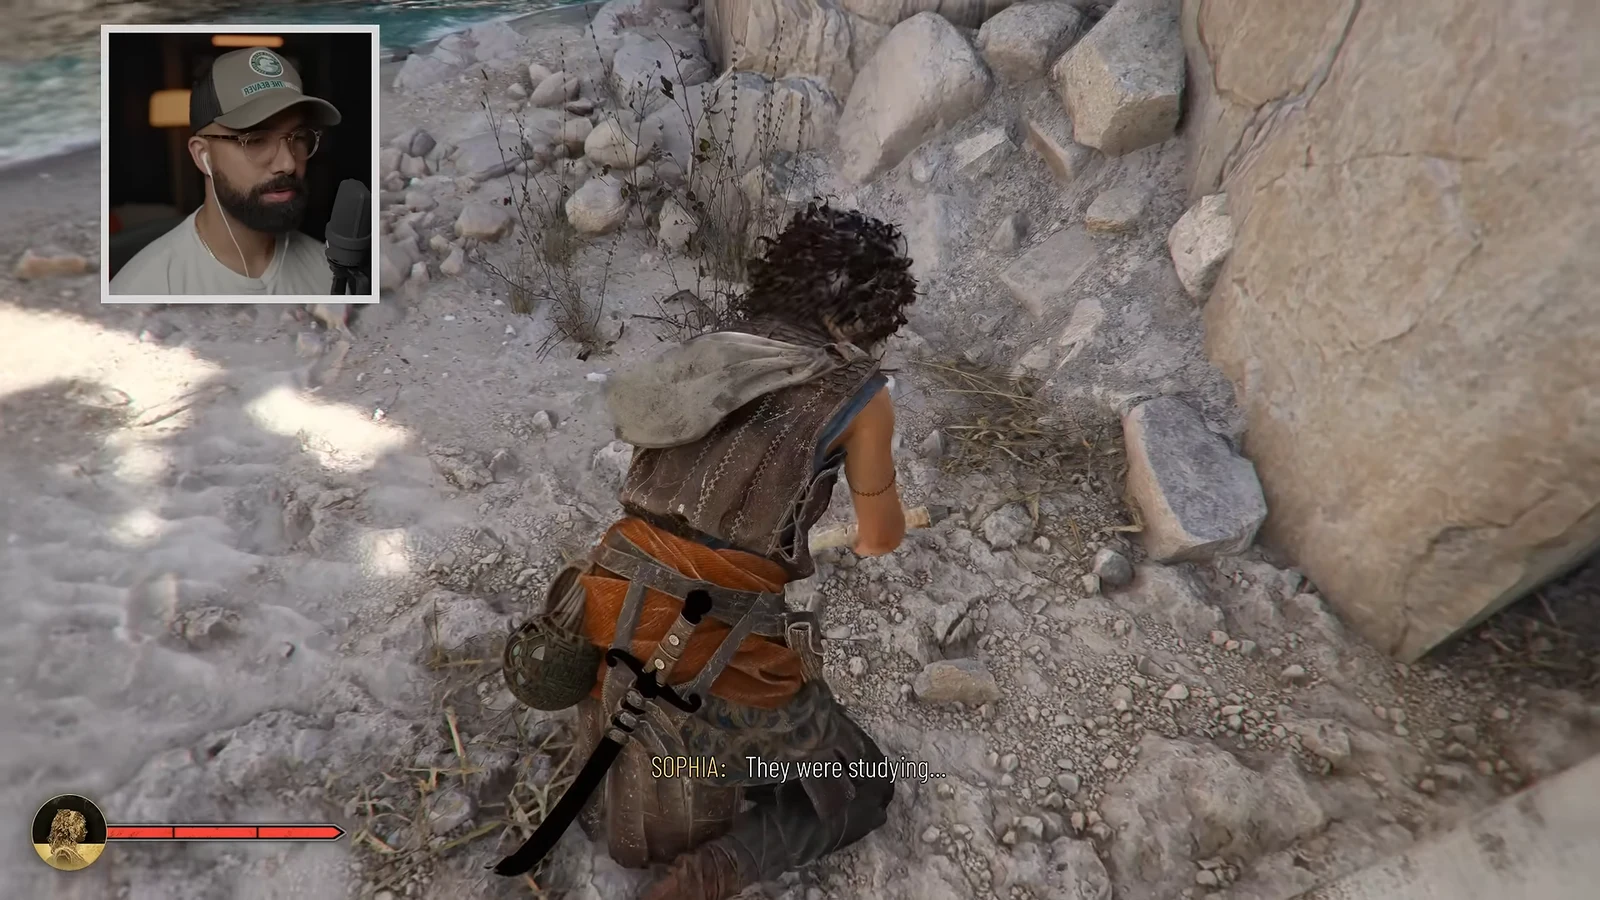
01:34The approach to the trial entrance runs through a narrow canyon lined with warrior statues. Image credit: Focus Entertainment. Shown at 01:34 in Hollow’s video.
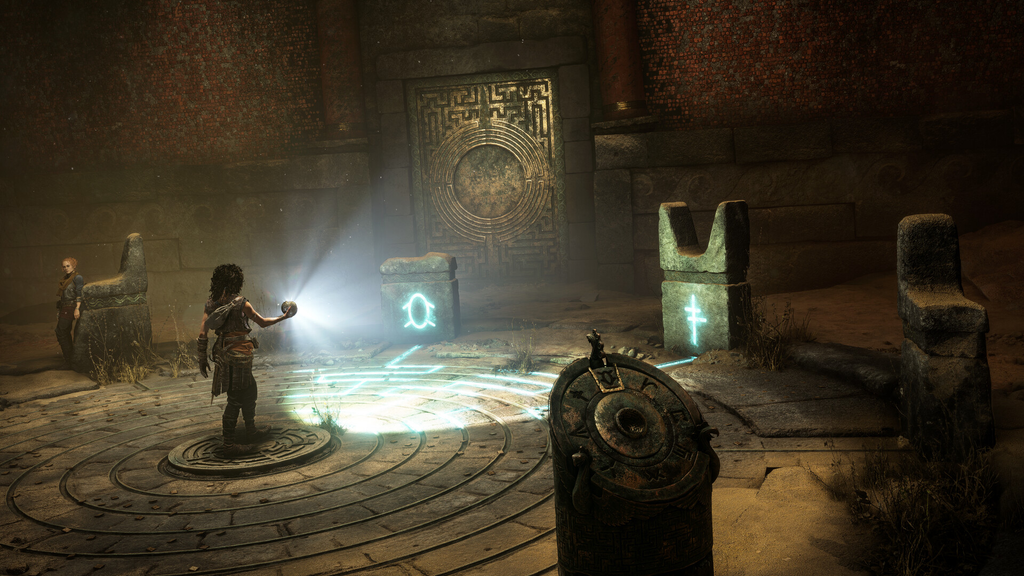
At the entrance hall, collect the Resonance Points, then place the sphere on its pedestal and use Light Splitting to aim colored beams at the entrance door. The door opens onto the Cretan coast; use the rope mechanism to zipline down toward the lower camp.
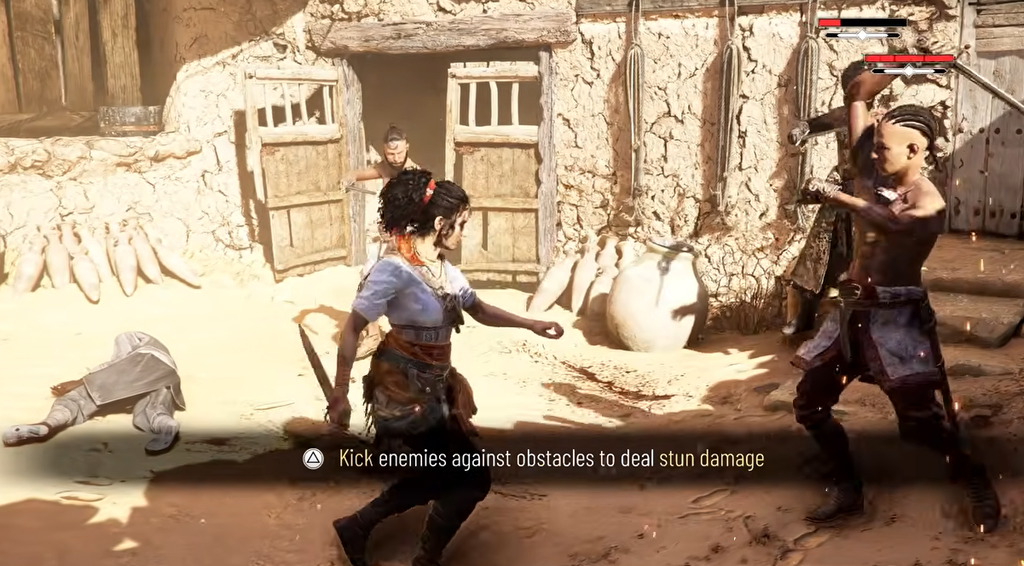
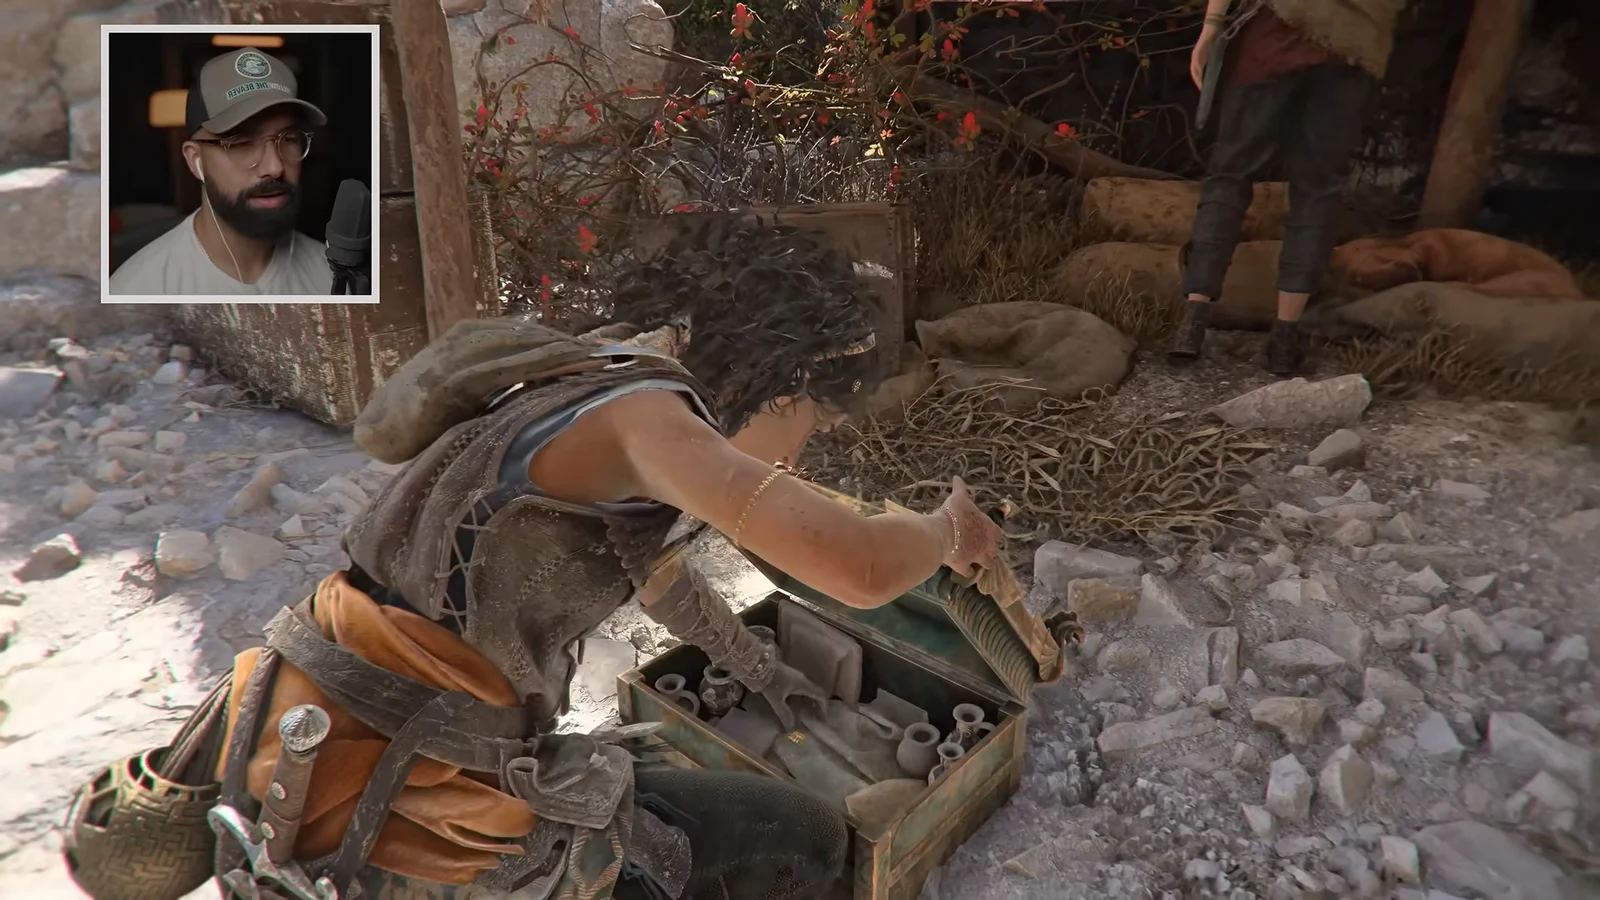
Clear the first melee encounter with sword attacks, parries, and kicks. Along the ruins you can loot a wooden chest for Trinkets, which grant passive bonus stats you can review in the inventory.
10:00Looting a supply crate for Trinkets that add passive bonuses to Sophia's stats. Image credit: Focus Entertainment. Shown at 10:00 in Hollow’s video.
Fight through the flooded courtyard and rocky trails toward the second trial. Along the way you can loot the Dante’s Inferno – Canto XII scroll artifact and read its text in the collectibles menu.
16:15Moving carefully through the ruins on the route between trial chambers. Image credit: Focus Entertainment / HollowPoiint. Shown at 16:15 in Hollow’s video.
Climb the ladders and break the wooden barriers up to the trial chamber. Inside, defeat the shielded soldier near the central pit trap, then examine the four-socket mechanism that needs specific symbols to open the main exit.
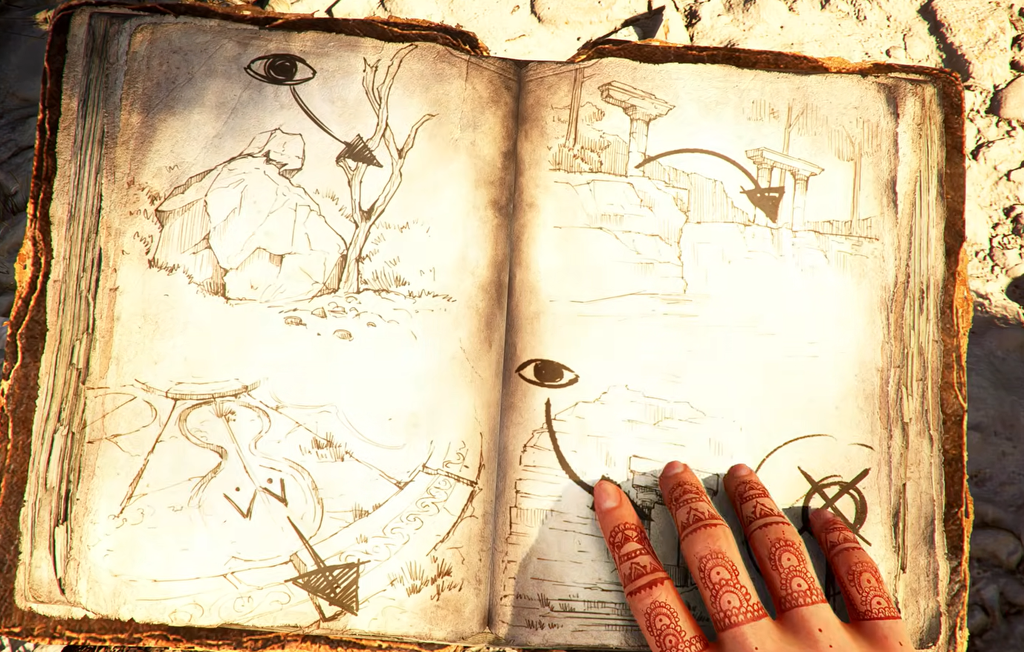
For the first symbol, check your journal sketch and step only on the correct floor plates (Dots, Octopus, Flower) across the stone pillars. Place the sphere into the pedestal to record the first symbol, then zipline back and align it on the central door mechanism. Looting the nearby chest here gives Arm Bands, which widen your parry window.
The second symbol sits in a mirror chamber. Rotate the large concave mirrors to redirect the colored beams and shatter the crystalline obstructions, then reposition the green and blue beams across the chasm to clear a path to the altar.
The third symbol is in a deep chasm trial with floating platforms and spike traps. Cross the moving platform blocks, aim the multi-colored rays at the distant wall receivers to activate hidden bridges, and use the Light Reveal sphere mode to expose the safe floor markings over the lethal trap plates. Reach the cliffside altar to secure the third symbol.
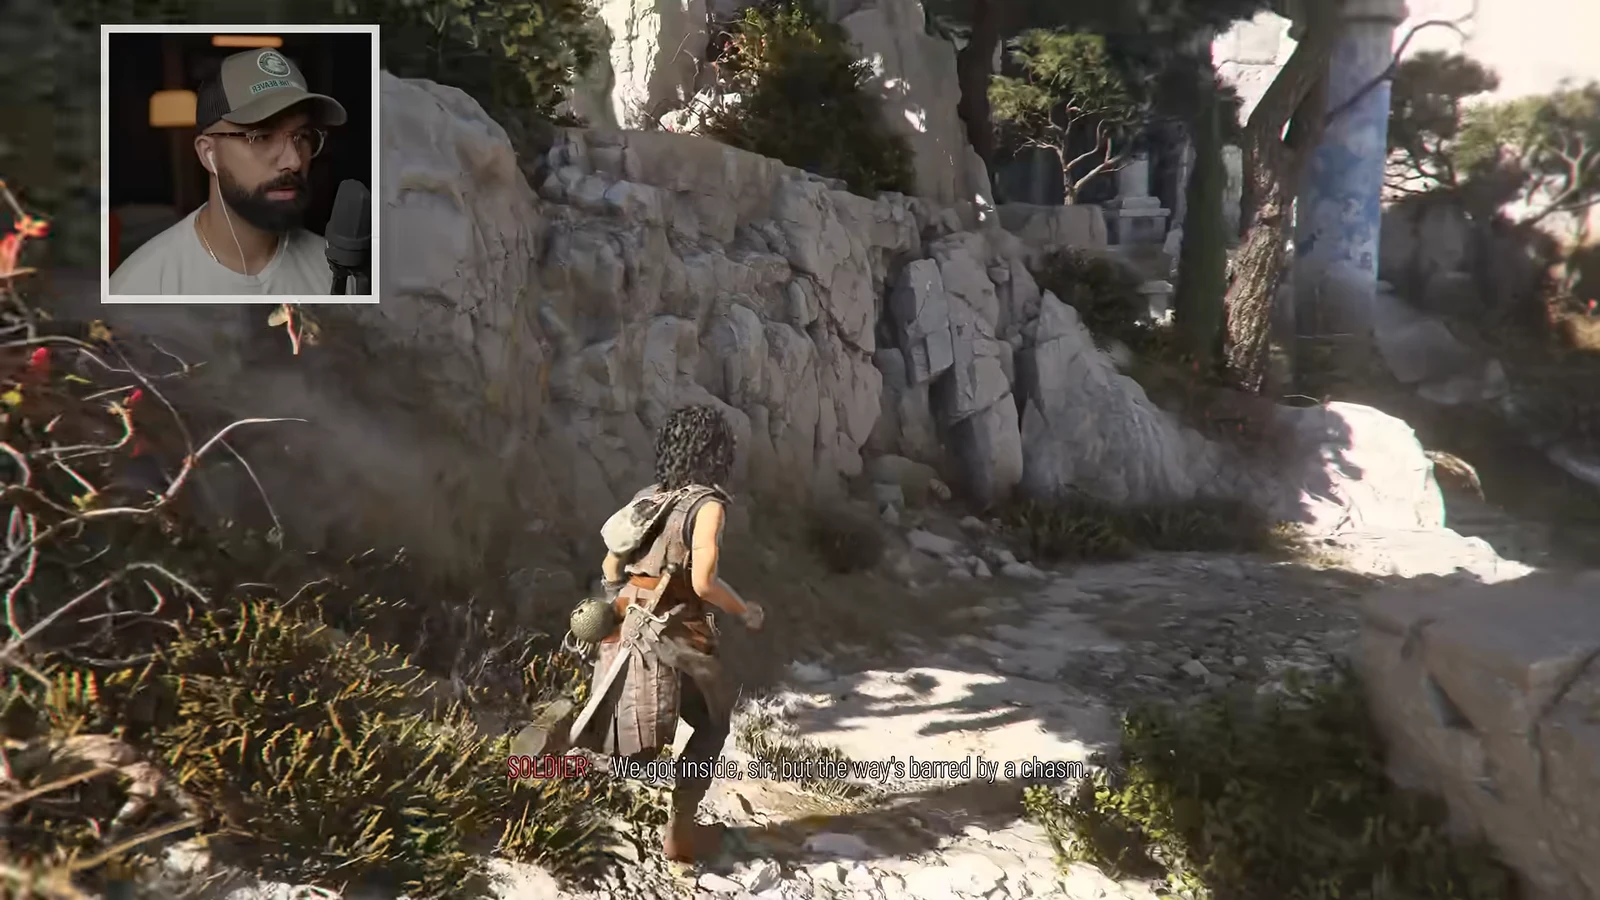
38:45A blocked path forces a detour through the enemy camp in the dry creek bed. Image credit: Focus Entertainment. Shown at 38:45 in Hollow’s video.
With all three symbols recorded, return to the rotunda and dial the third symbol into the central pedestal. This triggers Faro’s ambush, where his gang corners Sophia and Leni and demands the sphere and the codes.
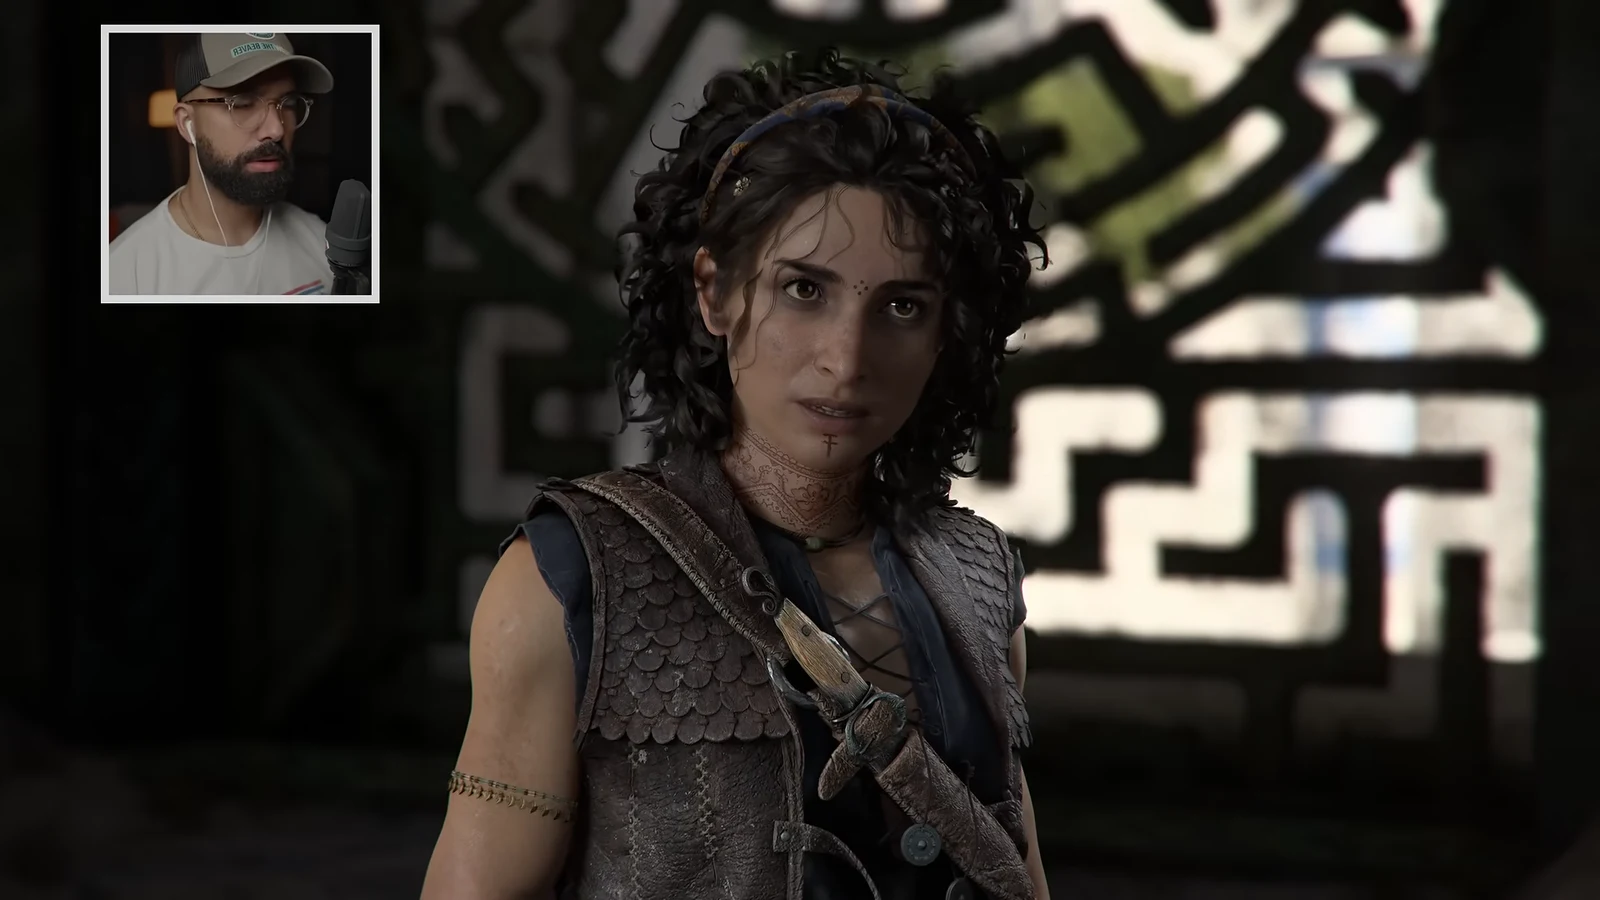
51:15Faro's gang corners Sophia and Leni in the rotunda after the final symbol is set. Image credit: Focus Entertainment / HollowPoiint. Shown at 51:15 in Hollow’s video.
The perspective shifts to a vision of Theseus fighting in a Minoan arena. Control Theseus through the arena combat, then place the sphere into the ancient altar to lock the final symbol. Sophia recalls the symbol from the vision, Faro triggers the mechanism, and the chapter ends with Sophia pushed into the dark pit.
Combat rules that carry through the game
The same fight logic applies from the first duel to the island trials. Learning the attack colors is the fastest way to stop dying in later chambers.
Attack type
Response
Normal combo
Block three strikes, then counter with your own attack.
Yellow attack
Parry just before it lands; chain parries to stun and open the enemy up.
Red (unblockable)
Dodge. Unlock the two-consecutive-dodges ability early for chained red attacks.
Raised guard
Break through it before continuing your combo.
Resonance Points earned from large chests and exploration unlock abilities such as extra dodges, wider parry windows, and stronger strikes. Spend them early on survivability so the mid-game trial fights, which throw shielded soldiers and archers at you in open courtyards, stay manageable.
Collectibles and how not to lose them
Because there is no map, collectibles rely on you spotting side gaps and dead-end paths. The main categories and their totals are worth tracking as you go.
Collectible
Total / notes
Present Relics
14 in total (for example, Looped Cross, Flag of Venice, Bull Mask).
Past Relics
23 in total.
Amulets
5 each of Beads, Bands, Bracelets, Pendants, Signet Rings, and Coins.
Swords
Several are missable; some become permanently inaccessible past mid-game checkpoints.
You confirm a collectible is secured when it appears in the relevant inventory or collectibles menu, and Relics can be re-read there afterward. If you miss one during a chapter, replay that chapter from the selection screen once it is complete. The only real risk is with missable swords, so sweep each area thoroughly before crossing a major story transition rather than backtracking later.