Resonance: A Plague Tale Legacy – How to Find the Second Symbol in Chapter 5
Every door, light-splitting alignment, and Leni crank you need to clear the second trial and log the symbol.
Every door, light-splitting alignment, and Leni crank you need to clear the second trial and log the symbol.
by Pallav Pathak
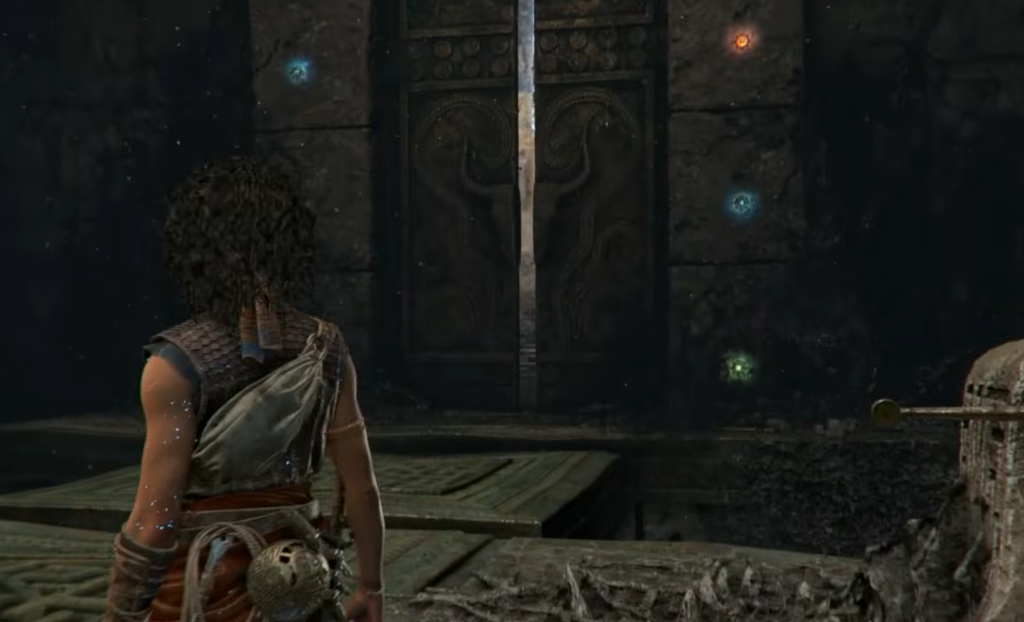
The second symbol in Chapter 5 of Resonance: A Plague Tale Legacy sits behind a string of light puzzles that all lean on Sophia’s Light Splitting ability. Each locked door has red, green, and blue gems, and you clear it by anchoring one beam and rotating the sphere until the other two colors slot into place. Leni handles the cranks along the way, and spike traps punish sloppy jumps.
Quick answer: Enter the trial through the door marked with a circle and three spikes, then solve four light puzzles in sequence. Anchor the green beam on the top green gem each time and rotate the sphere so blue and red land on their gems. After Leni raises the platforms and you cross the final spike maze, slot the key into the socket to note down the second symbol.
Image credit: Focus Entertainment
Reach the second symbol trial
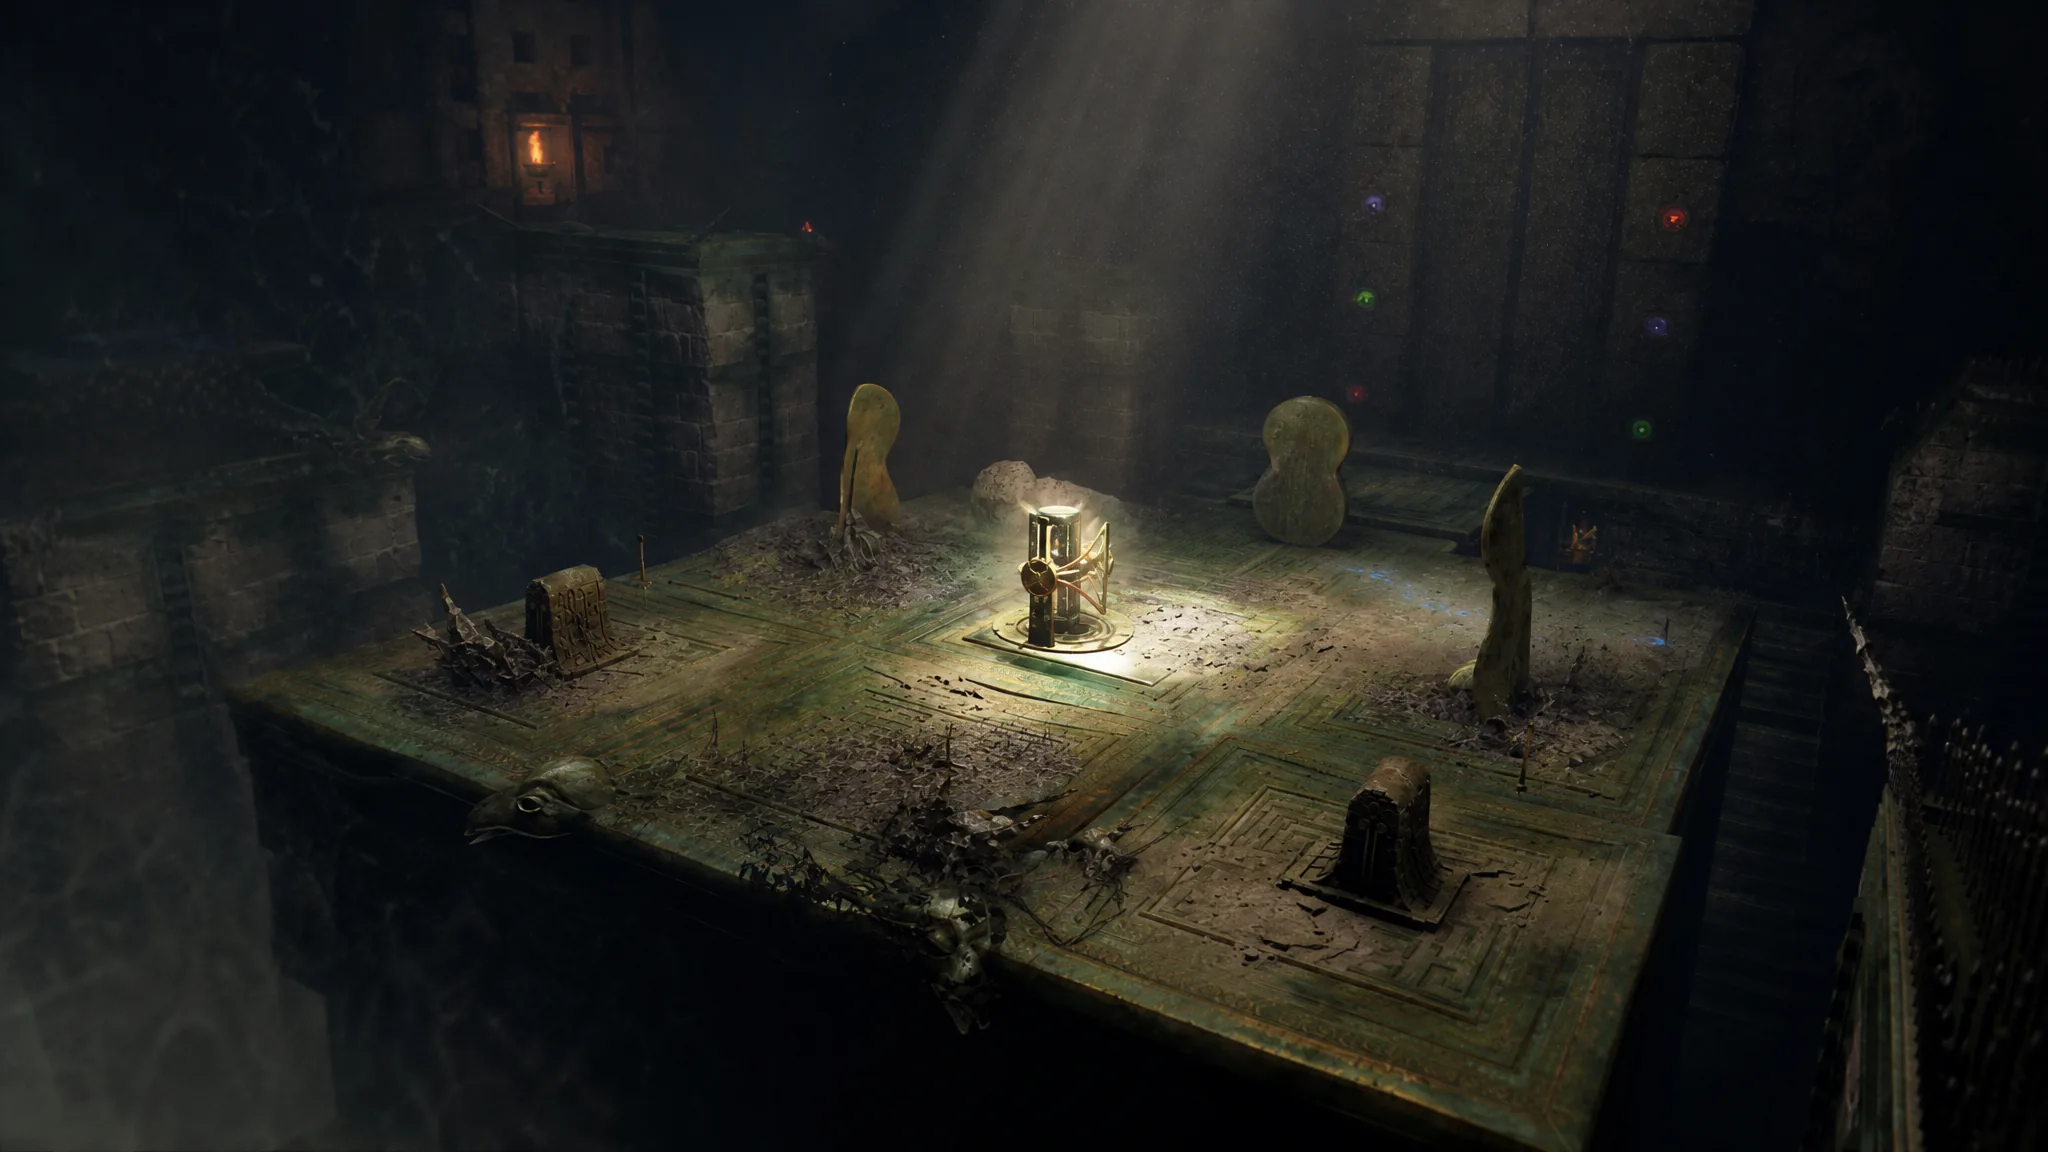
From the room with the four pedestals, the second symbol lives behind the door topped with a circle that has three spikes coming off it. There is no clean line to the building, so you have to loop around the area and clear out a couple of soldiers before the door opens.
Once inside, you get straight into the first light puzzle, so keep the sphere ready.
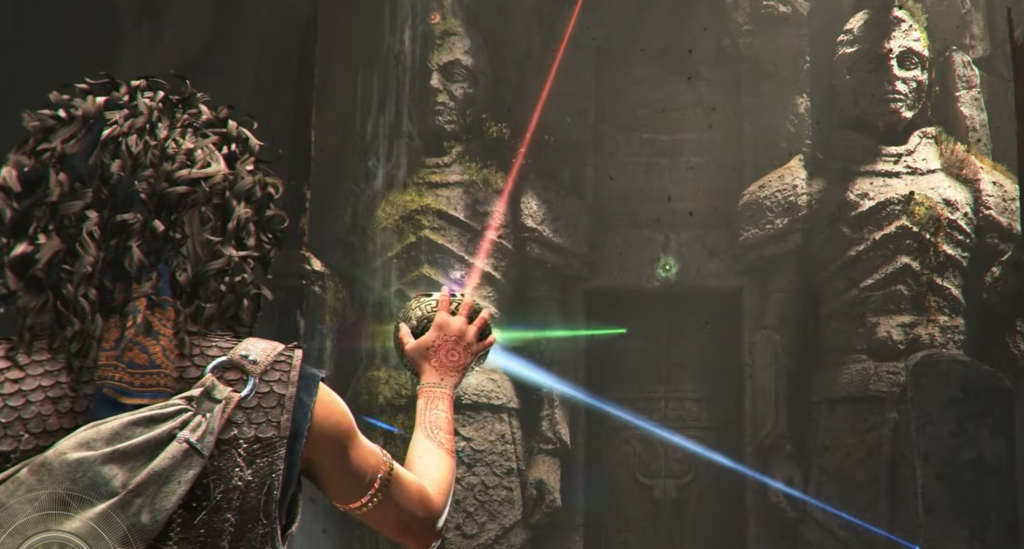
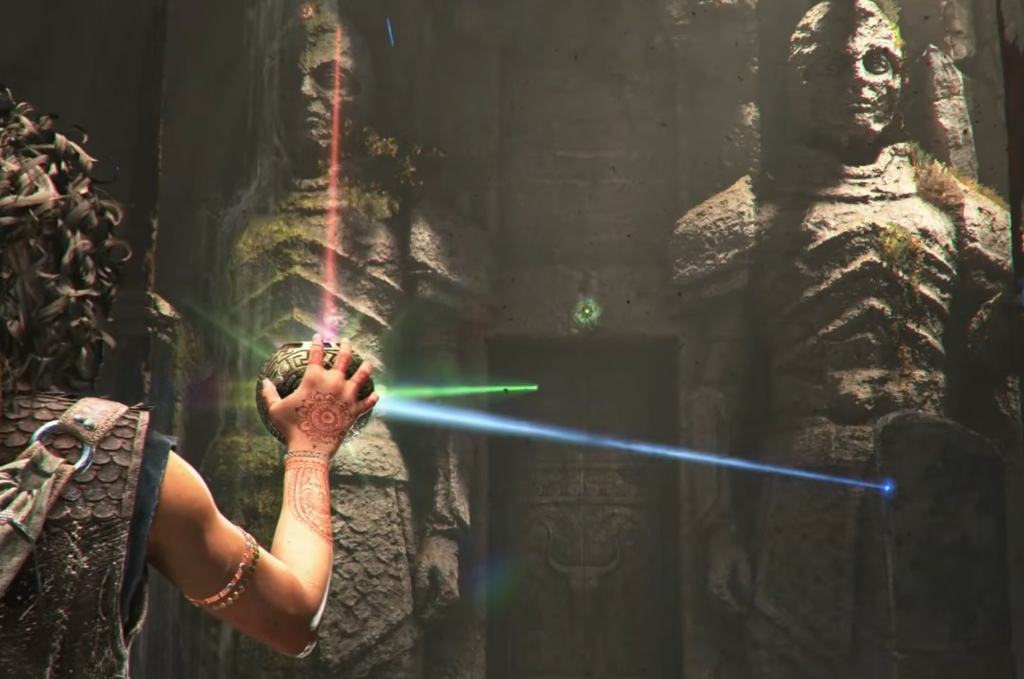
Stand in the spot of light and take out the sphere at the first door. Line up the green beam, then rotate the sphere so the remaining two colors settle onto their gems. The door opens once all three land.
Tackle the second door, which has more gems than the first. Point the green beam at the top green gem, then rotate the blue and red beams until they drop into their matching slots.
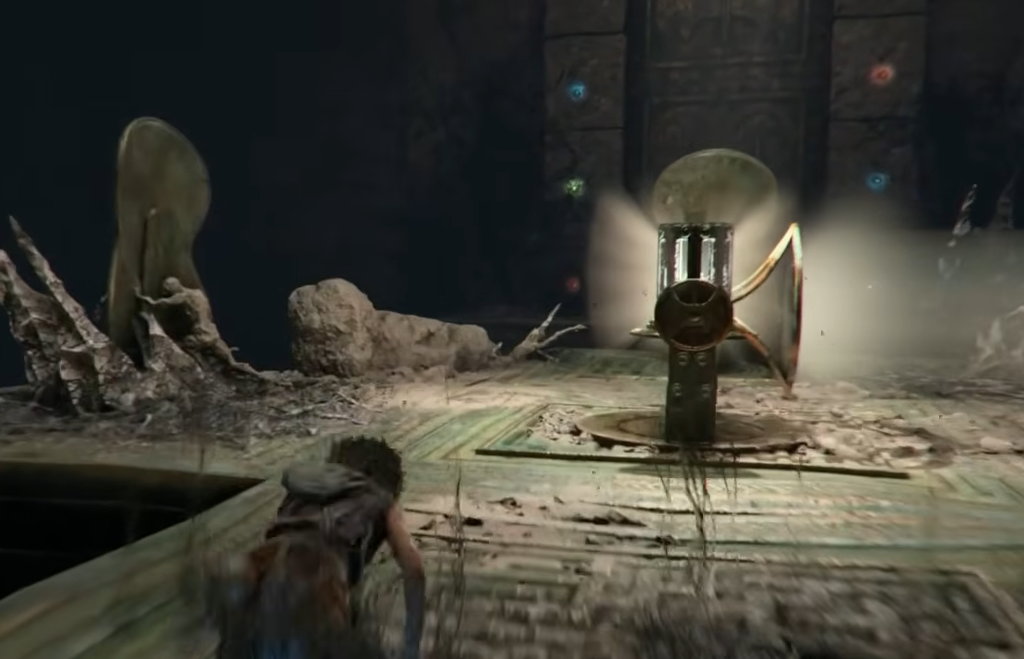
Approach the light in the next room and clear the dust that covers the wheel. With it exposed, Leni can work the wheel to lift a platform, giving Sophia a way up to the light source near the closed door.
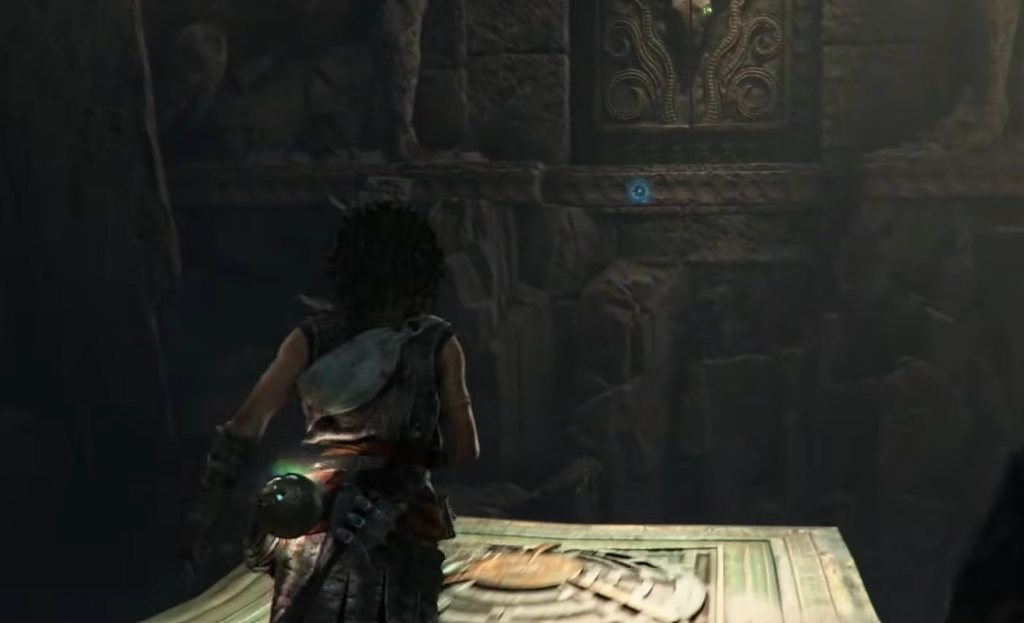
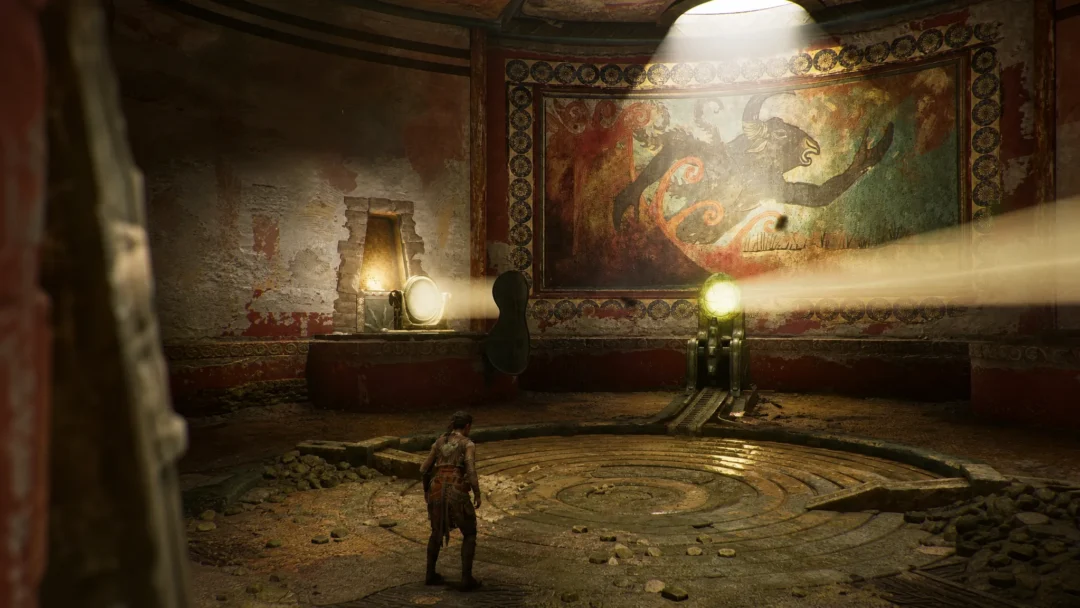
With a light source in hand, turn right and pull out the sphere. Align the green beam to the spot above the hole in the wall. The red and blue beams tend to fall into place on their own once you start rotating.
Solving that shifts the light source and spawns a set of platforms. Use them to reach the light’s new position, and stay clear of the spike traps as you move.
Cross to the far side by jumping to the platforms you can reach. Leni raises or lowers the rest using the newly revealed wheels, so work with the heights she sets.
When Sophia is across, Leni shines a light on her so you can use the sphere’s reflector. Take out the sphere and trace the safe route it reveals over the spike traps.
For the final alignment, line up the green beam on the corner of the platform and rotate the blue and red beams into their spots.
Image credit: Focus Entertainment / Trophy Tom
Confirm the second symbol
Hop onto the middle platform and head out through the door you just unlocked. Slot the key into the socket to record the second symbol in Sophia’s book. Once it appears there, you can head back to the room with the four pedestals and insert it in front of the matching path to keep the trial moving toward the remaining symbols.