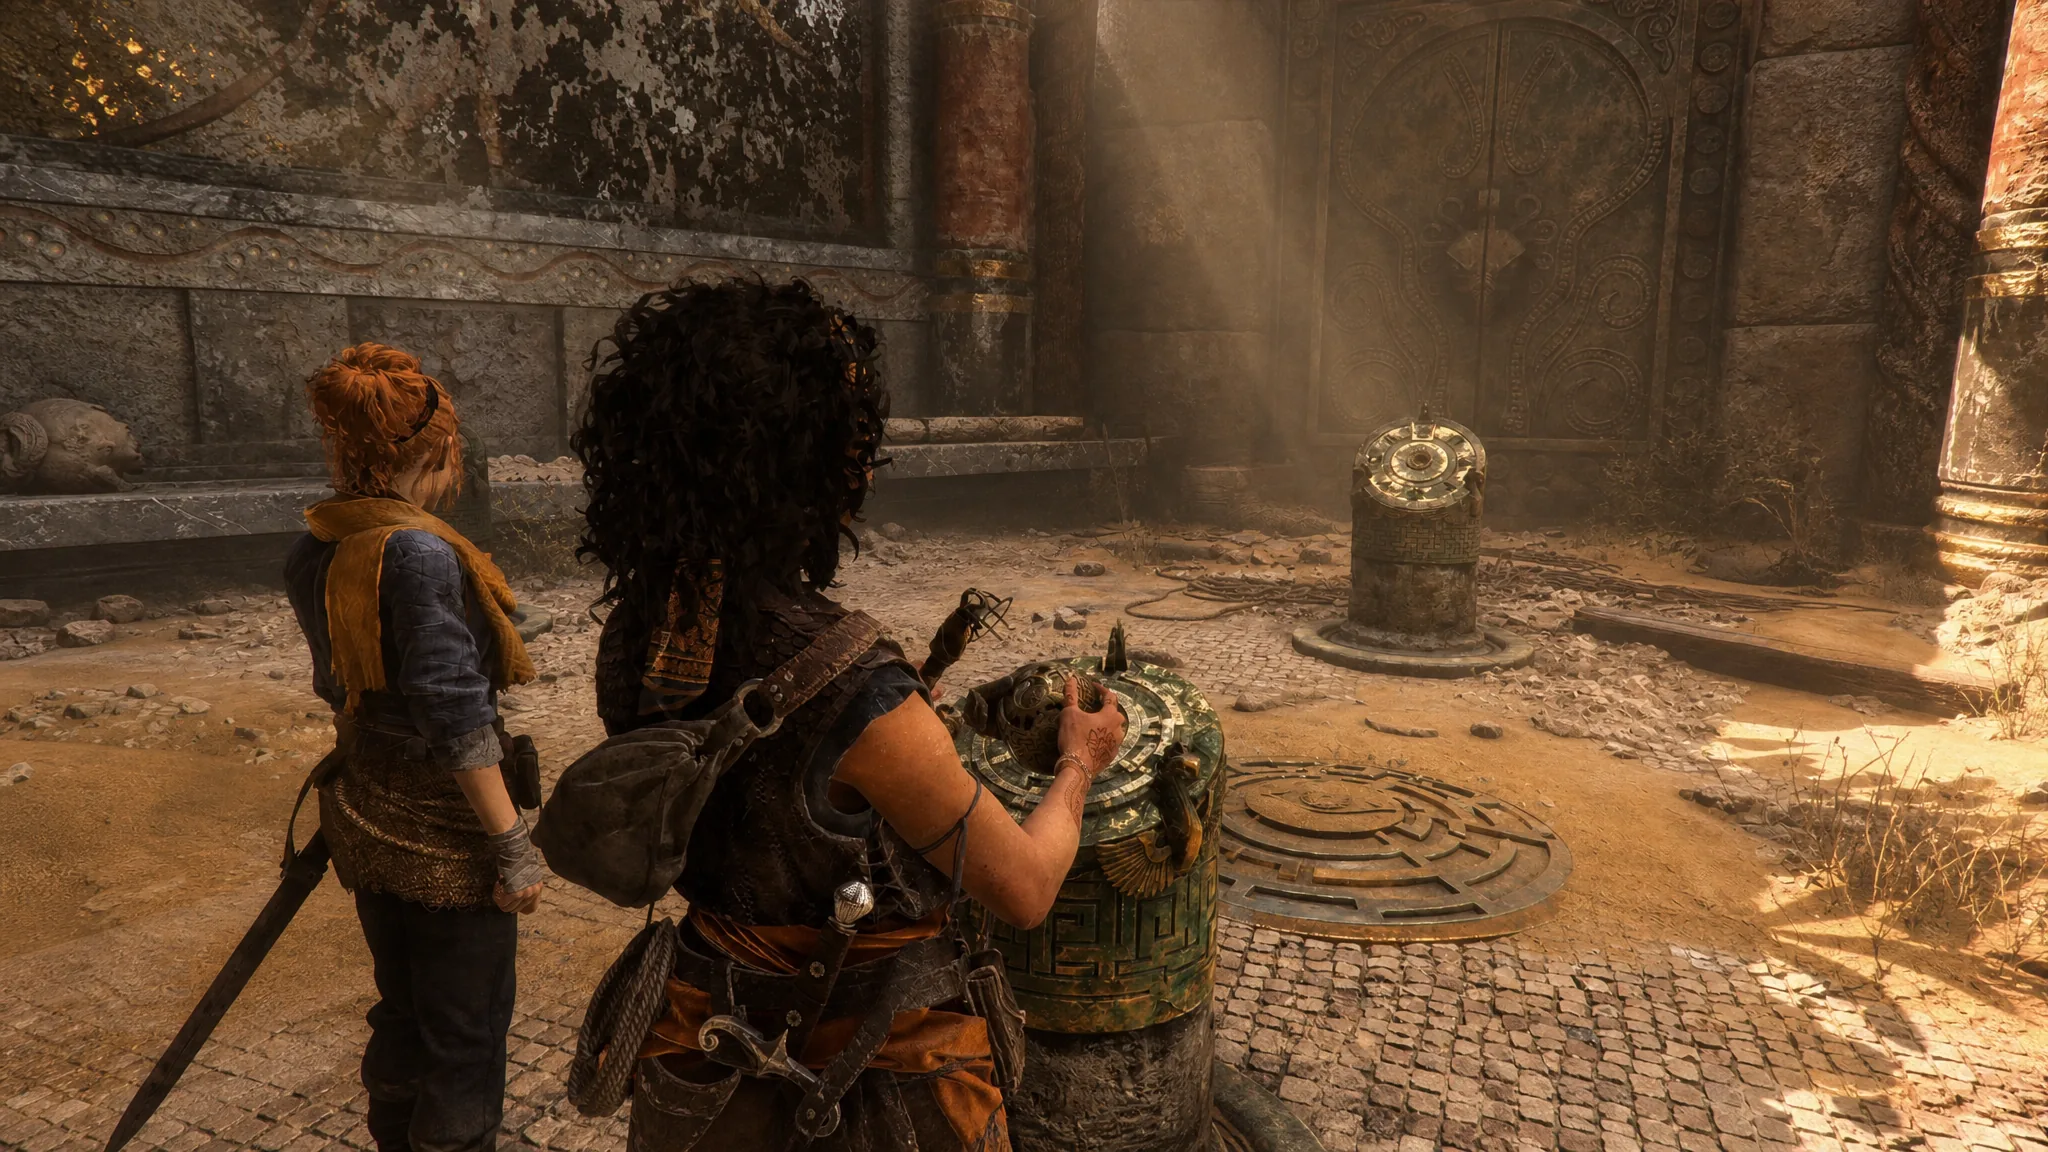
The First Trial in Chapter 4, From Hell It Rose, opens with a sealed door and three pedestals that block your path in Resonance: A Plague Tale Legacy. Sophia gains a new Key Sphere ability called Light Reveal, and you use it to expose hidden marks that point each pedestal toward the correct symbol.
Quick answer: Set the three pedestals from left to right to Y, C, and the upward arrow. When all three match, the door opens on its own after a short delay.
Get the Light Reveal upgrade first
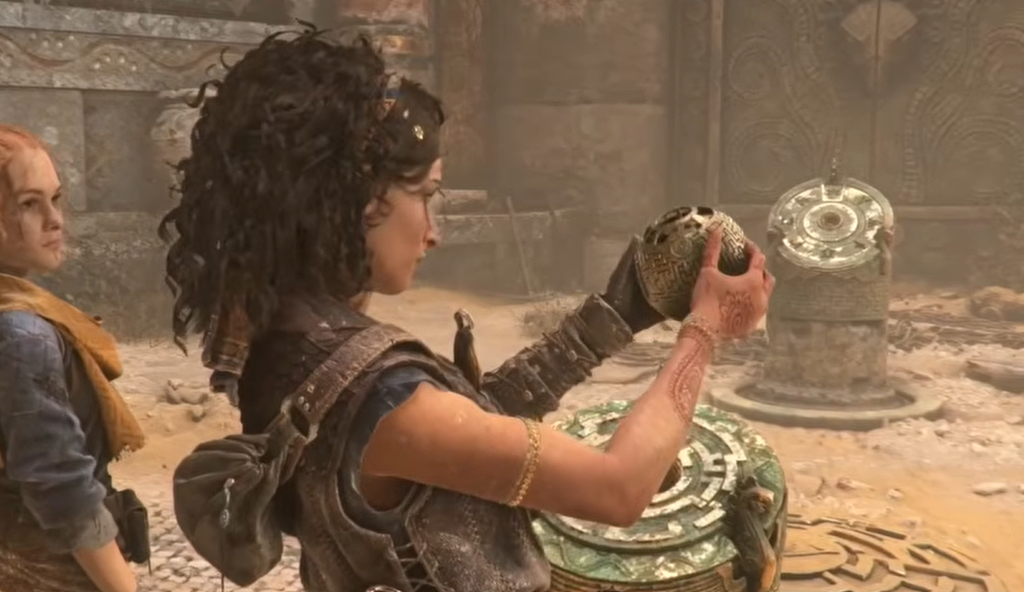
Before the puzzle appears, you clear the soldiers outside and push open the large door into the Trial’s entrance. Inside, walk up to the gilded pedestal in the middle of the room and place the Key Sphere into its empty socket. This triggers a cutscene and grants the Light Reveal function.
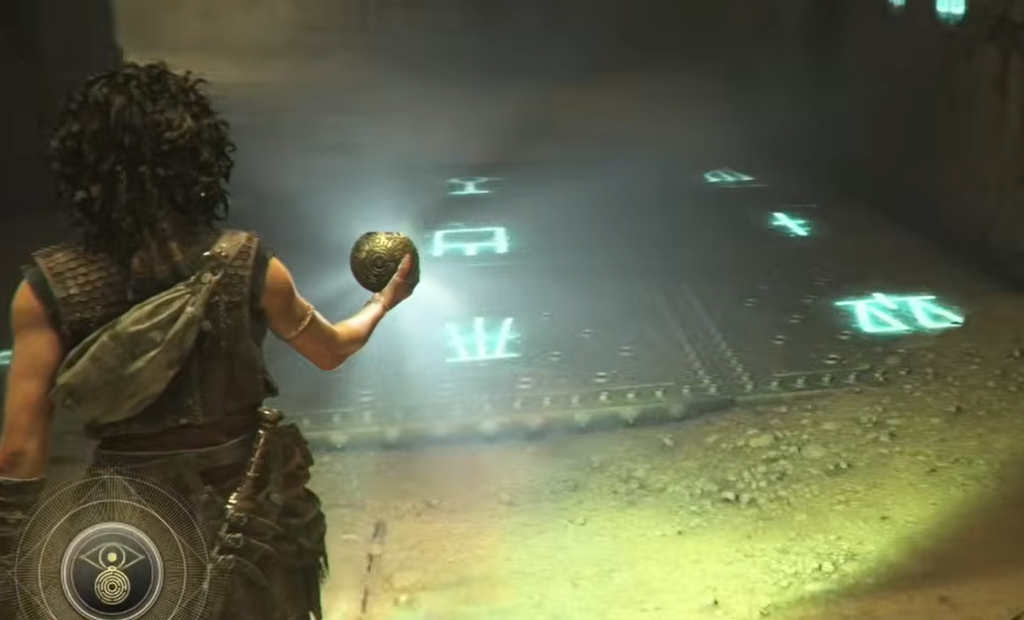
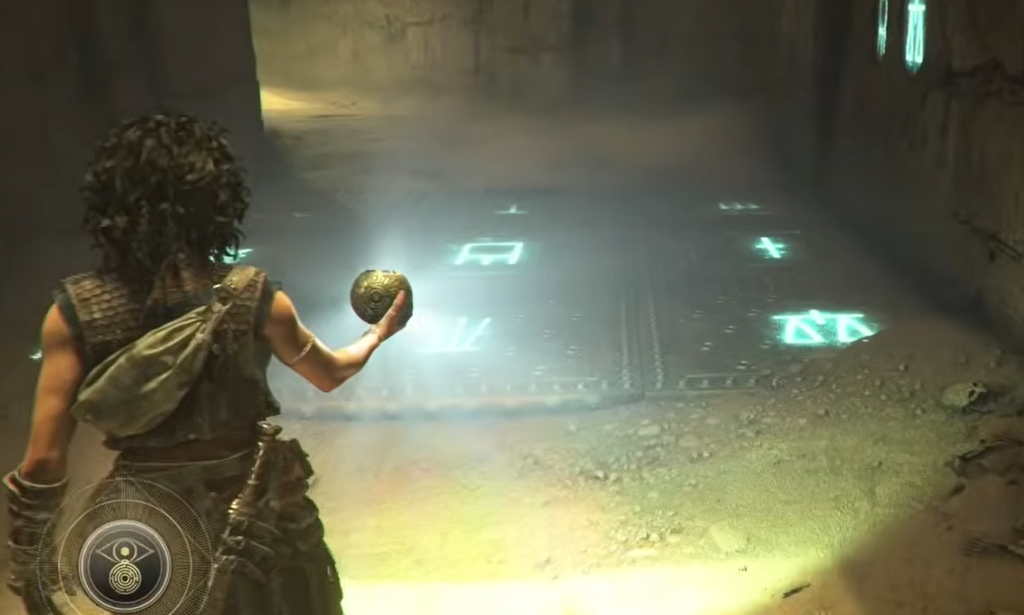
Light Reveal only works while you stand in a light source. Hold R1 (RB) near a light and aim the Sphere to shine its glow across a surface. Hidden blue-green marks then appear on the walls and floor. You need this ability for every part of the First Trial, so make sure you have it before continuing.
How the three-pedestal puzzle works
After you place the Sphere, three pedestals rise from the ground. Each one holds a rotating dial covered in symbols. One dial sits on the left, one in the center, and one on the right of the room. Every pedestal is linked to a single symbol hidden on the surrounding murals.
Hold the Sphere up in the light to reveal the murals. Each hidden symbol shows a glowing trail that runs down the wall and along the floor to the pedestal it belongs to. Follow that trail to learn which symbol each dial needs, then rotate the wheel until the correct symbol sits inside the square at the top.
The three symbols and their pedestals
| Pedestal | Symbol to set |
|---|---|
| Left | Looks like a Y |
| Center | Looks like a C |
| Right | Looks like an arrow’s tip (upward arrow) |
If you prefer to work it out yourself, trace the trail from each mural down to its matching pedestal and set the dial to whatever symbol the line leads to. The solution above is the same result you reach either way.
Steps to unlock the door
How to know it worked
When all three dials are set correctly, the large door begins to open after a short pause. Sophia and Leni also exchange a line of dialogue about the door, which confirms you solved it right. If nothing happens, one of the dials is on the wrong symbol, so shine the Sphere again and recheck that each trail matches the dial it leads to.
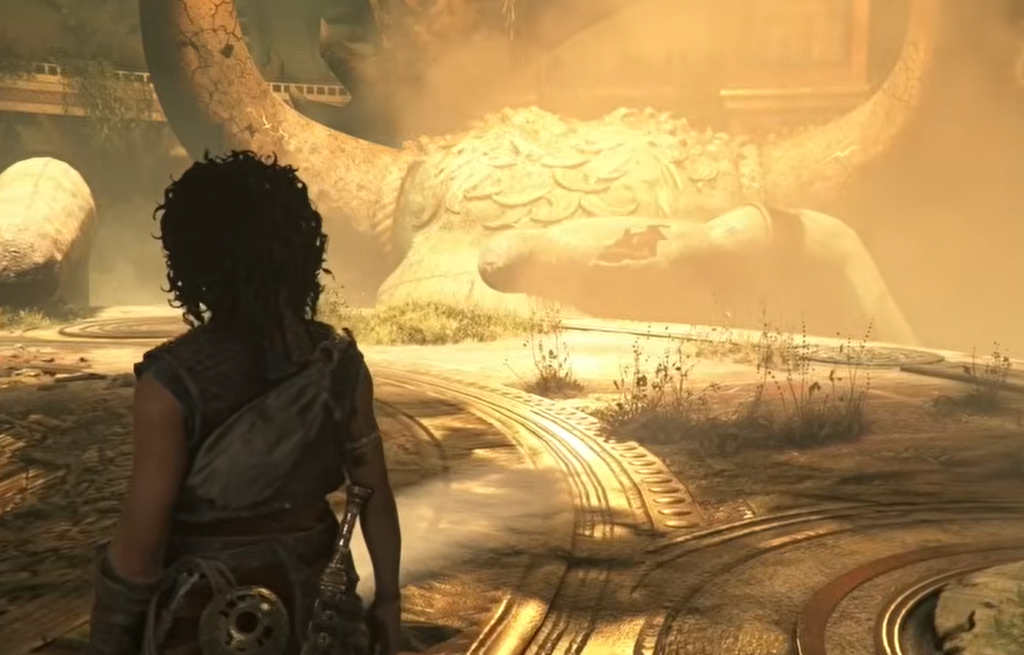
Past the door is a huge statue and a long drop into the next area. This symbol puzzle is only the opening step of the First Trial, and more riddles, mirror puzzles, and spike traps follow as you push deeper into the ruins.