

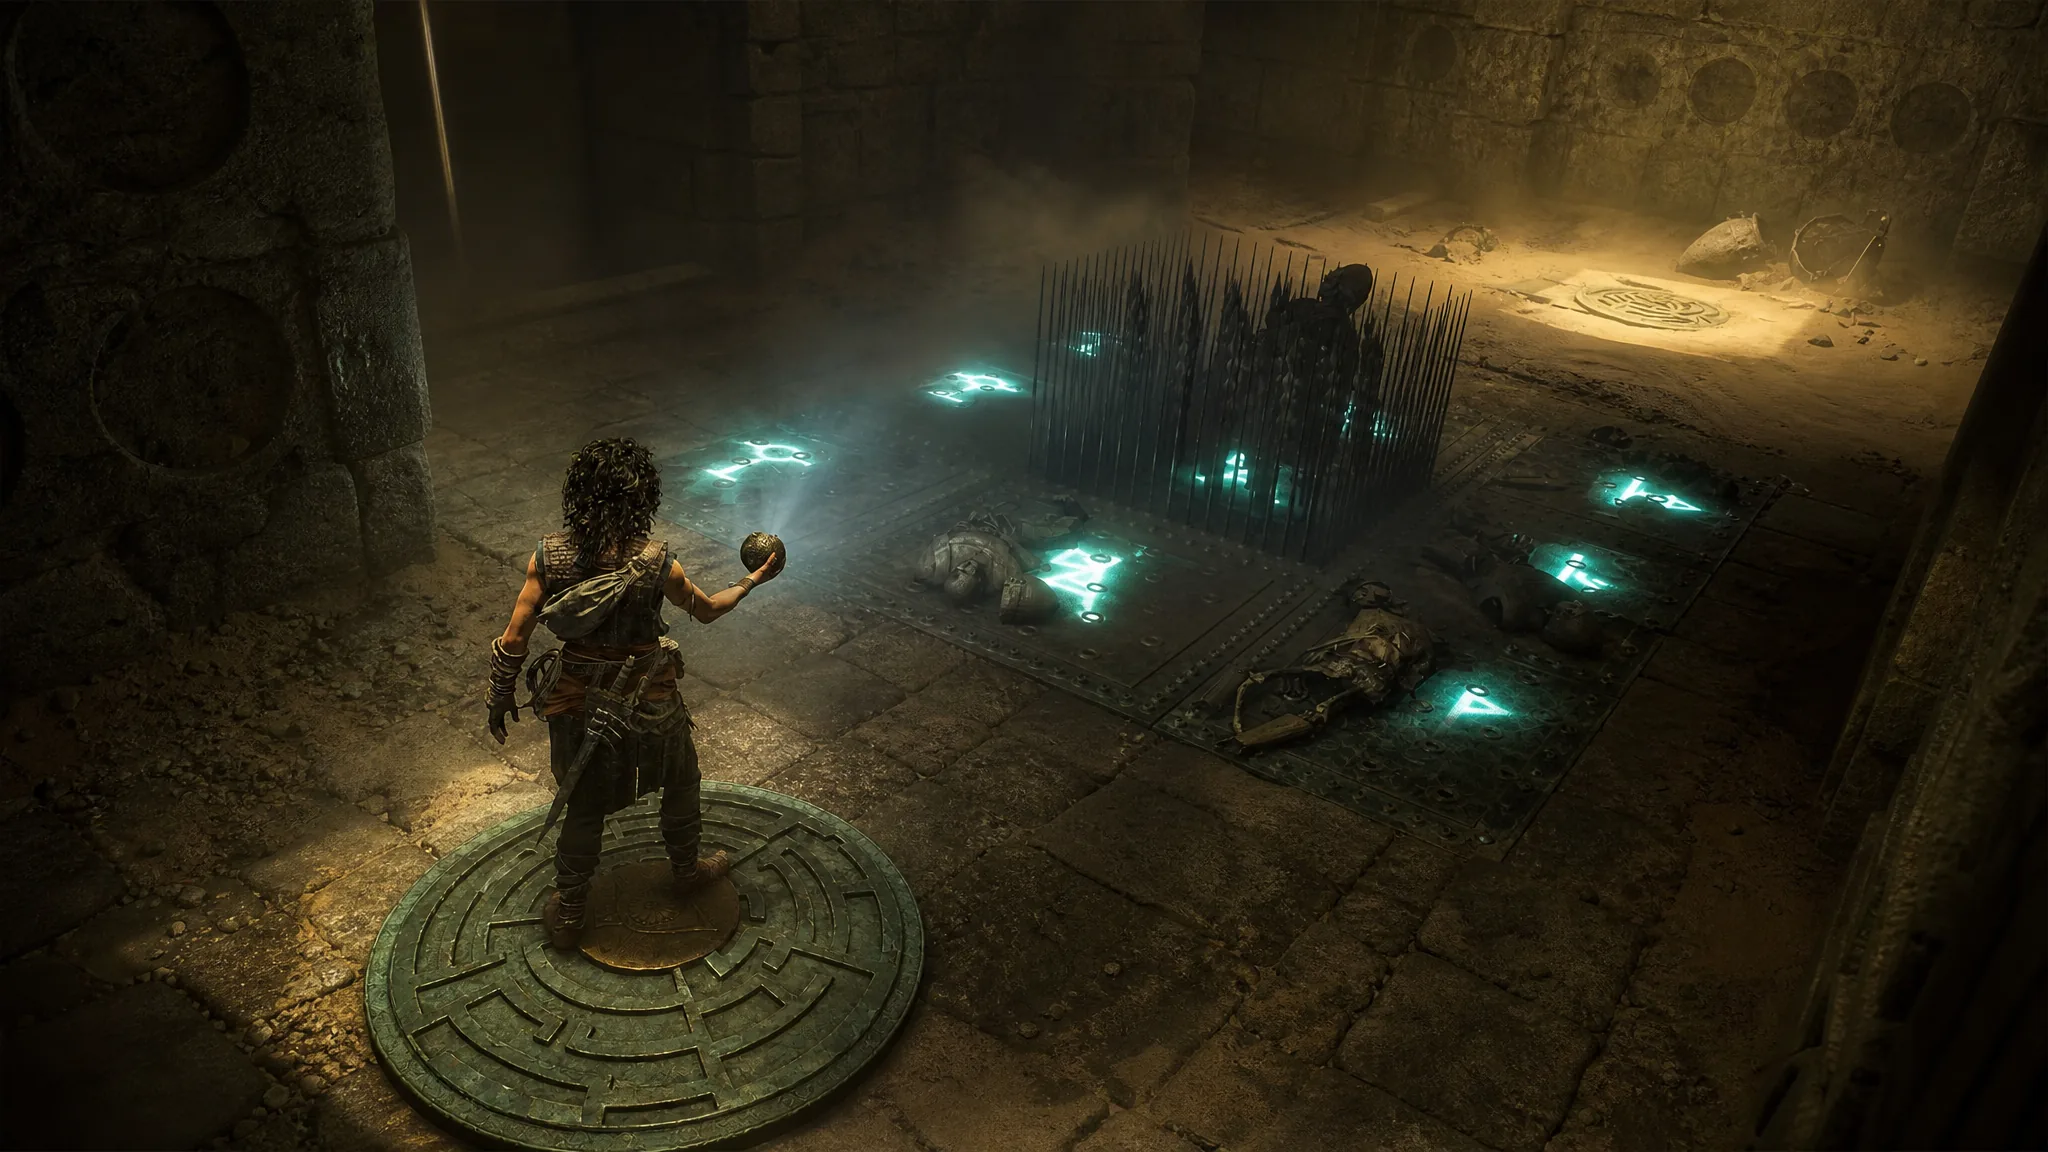
The spike traps in Chapter 4, “From Hell It Rose,” are the first puzzles in Resonance: A Plague Tale Legacy that can kill Sophia instantly. Step on the wrong floor tile and spikes shoot up; pick the wrong wall socket and you get skewered. The whole sequence hangs on one tool you unlock earlier in the chapter, the Sphere’s Light Reveal ability, which exposes hidden symbols and glowing paths only while you stand in light.
Quick answer: For the corridor, walk the far-left tiles straight across the first trap, then start far-right on the second trap and go forward two tiles, left one, forward one. At the spike wall, insert the Sphere into the socket marked with the scales symbol on the left. In the large room, boost Leni to the lens and follow the blue floor line one segment at a time.
How Light Reveal decides the safe tiles
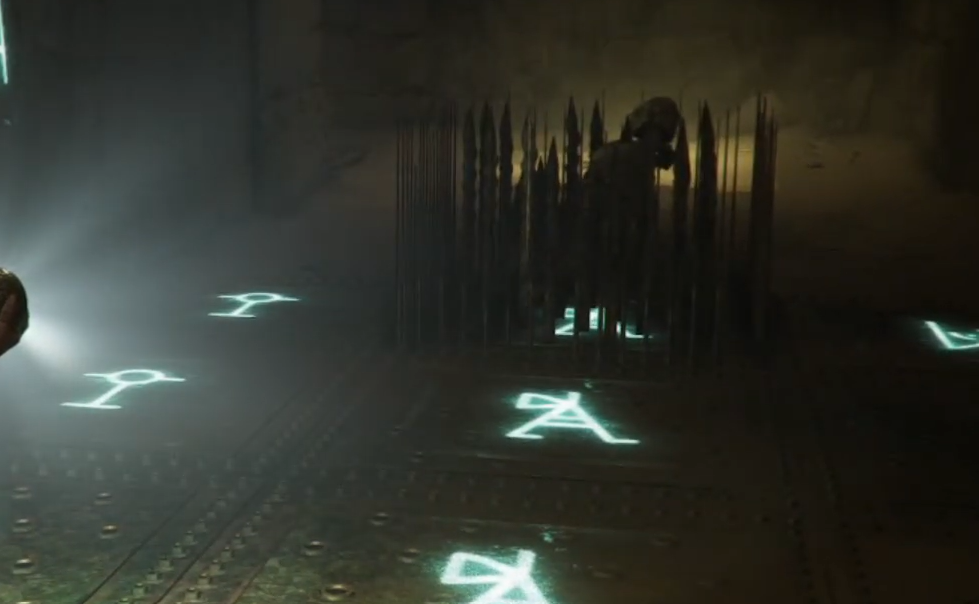
Hold R1 (RB) while standing in a light source to make the Sphere reflect light and expose the hidden markings. When you reach the first trap, this shows four symbols on the walls to your left and right. Those four are your “safe” symbols. Any floor tile stamped with one of them is safe to stand on; everything else triggers the spikes.
Sophia copies the four symbols into her book automatically, so you don’t have to memorize them perfectly. The important limit is that Light Reveal only works while you are lit. Once you step onto the trap tiles you lose the light, so read the path first, then move by memory.
Spike trap corridor: the three safe routes
The corridor has two floor traps followed by a set of spiked walls. Check the wall symbols with Light Reveal before each one, then follow the routes below.
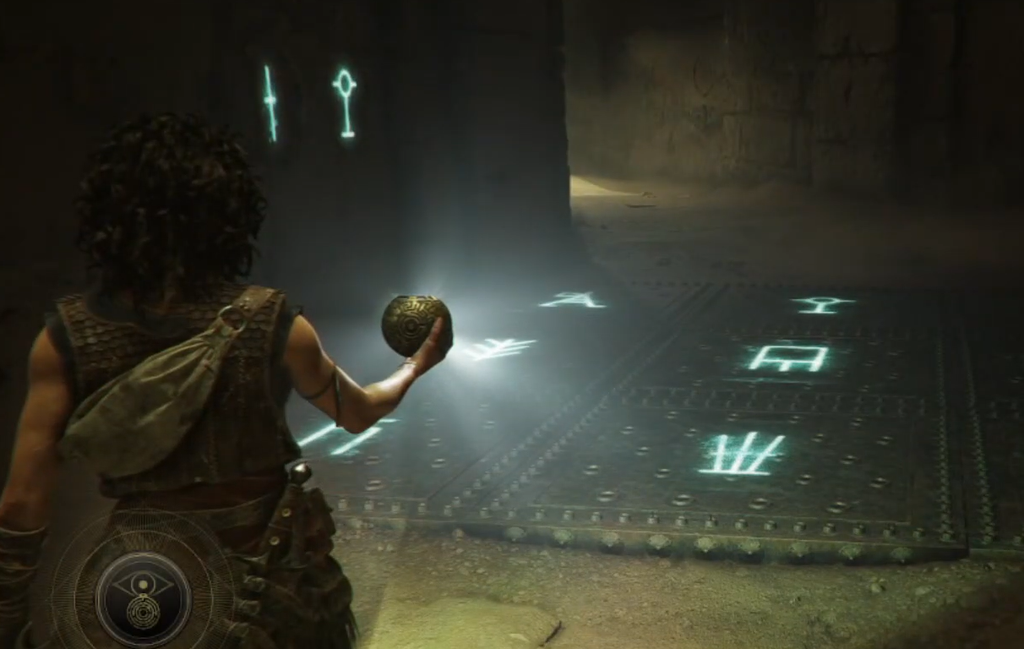
The scales socket is the safe one, sitting among the holes on the left. If you are in a rush, aim for the scales symbol rather than counting holes, since the symbol is the reliable marker.
Corridor route reference
| Trap | Safe route |
|---|---|
| First floor trap | Far-left tiles, straight across |
| Second floor trap | Far-right start, forward two, left one, forward one |
| Spiked walls | Sphere into the scales-symbol socket on the left |
The large spike-trap room with Leni
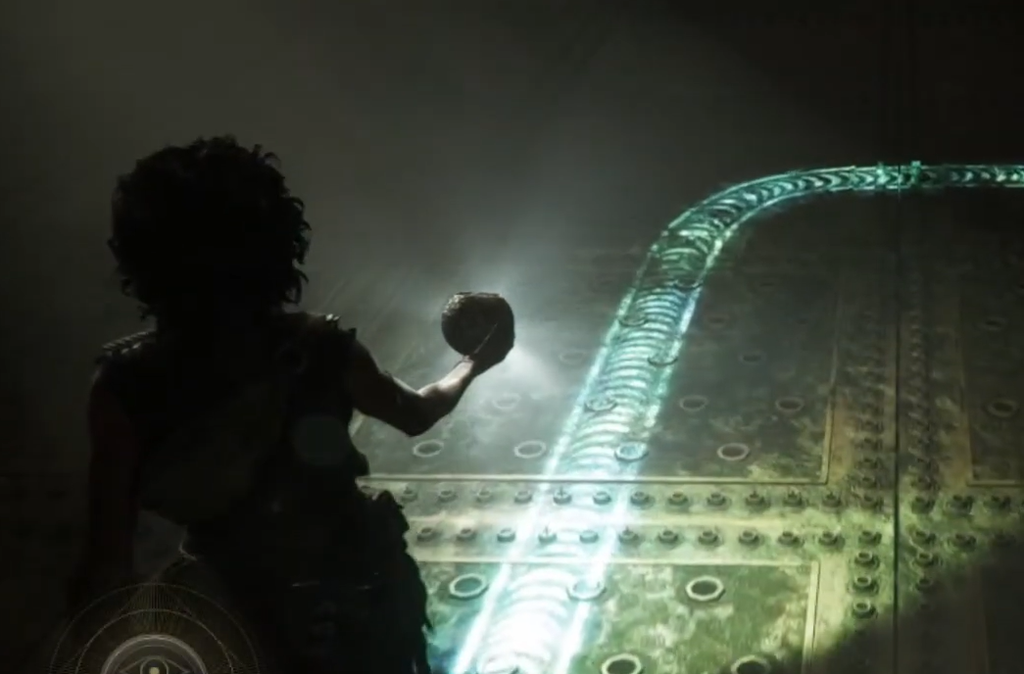
The next room is a full floor of spike traps with a single manual light source. You cannot brute-force this one, because Leni has to aim the lens at you so you can use Light Reveal on the move.
How to know you cleared it
You have solved the corridor when the spiked walls retract after the Sphere locks into the scales socket, letting you walk through unharmed. You have finished the large room once Leni rejoins you and the door past the ceiling spikes opens. If you keep dying, the cause is almost always the same: you either stepped on a tile without a safe symbol, or you moved while out of the light and lost track of the path. Reset to the last lit tile, re-check the symbols with Light Reveal, and advance one confirmed tile at a time.





