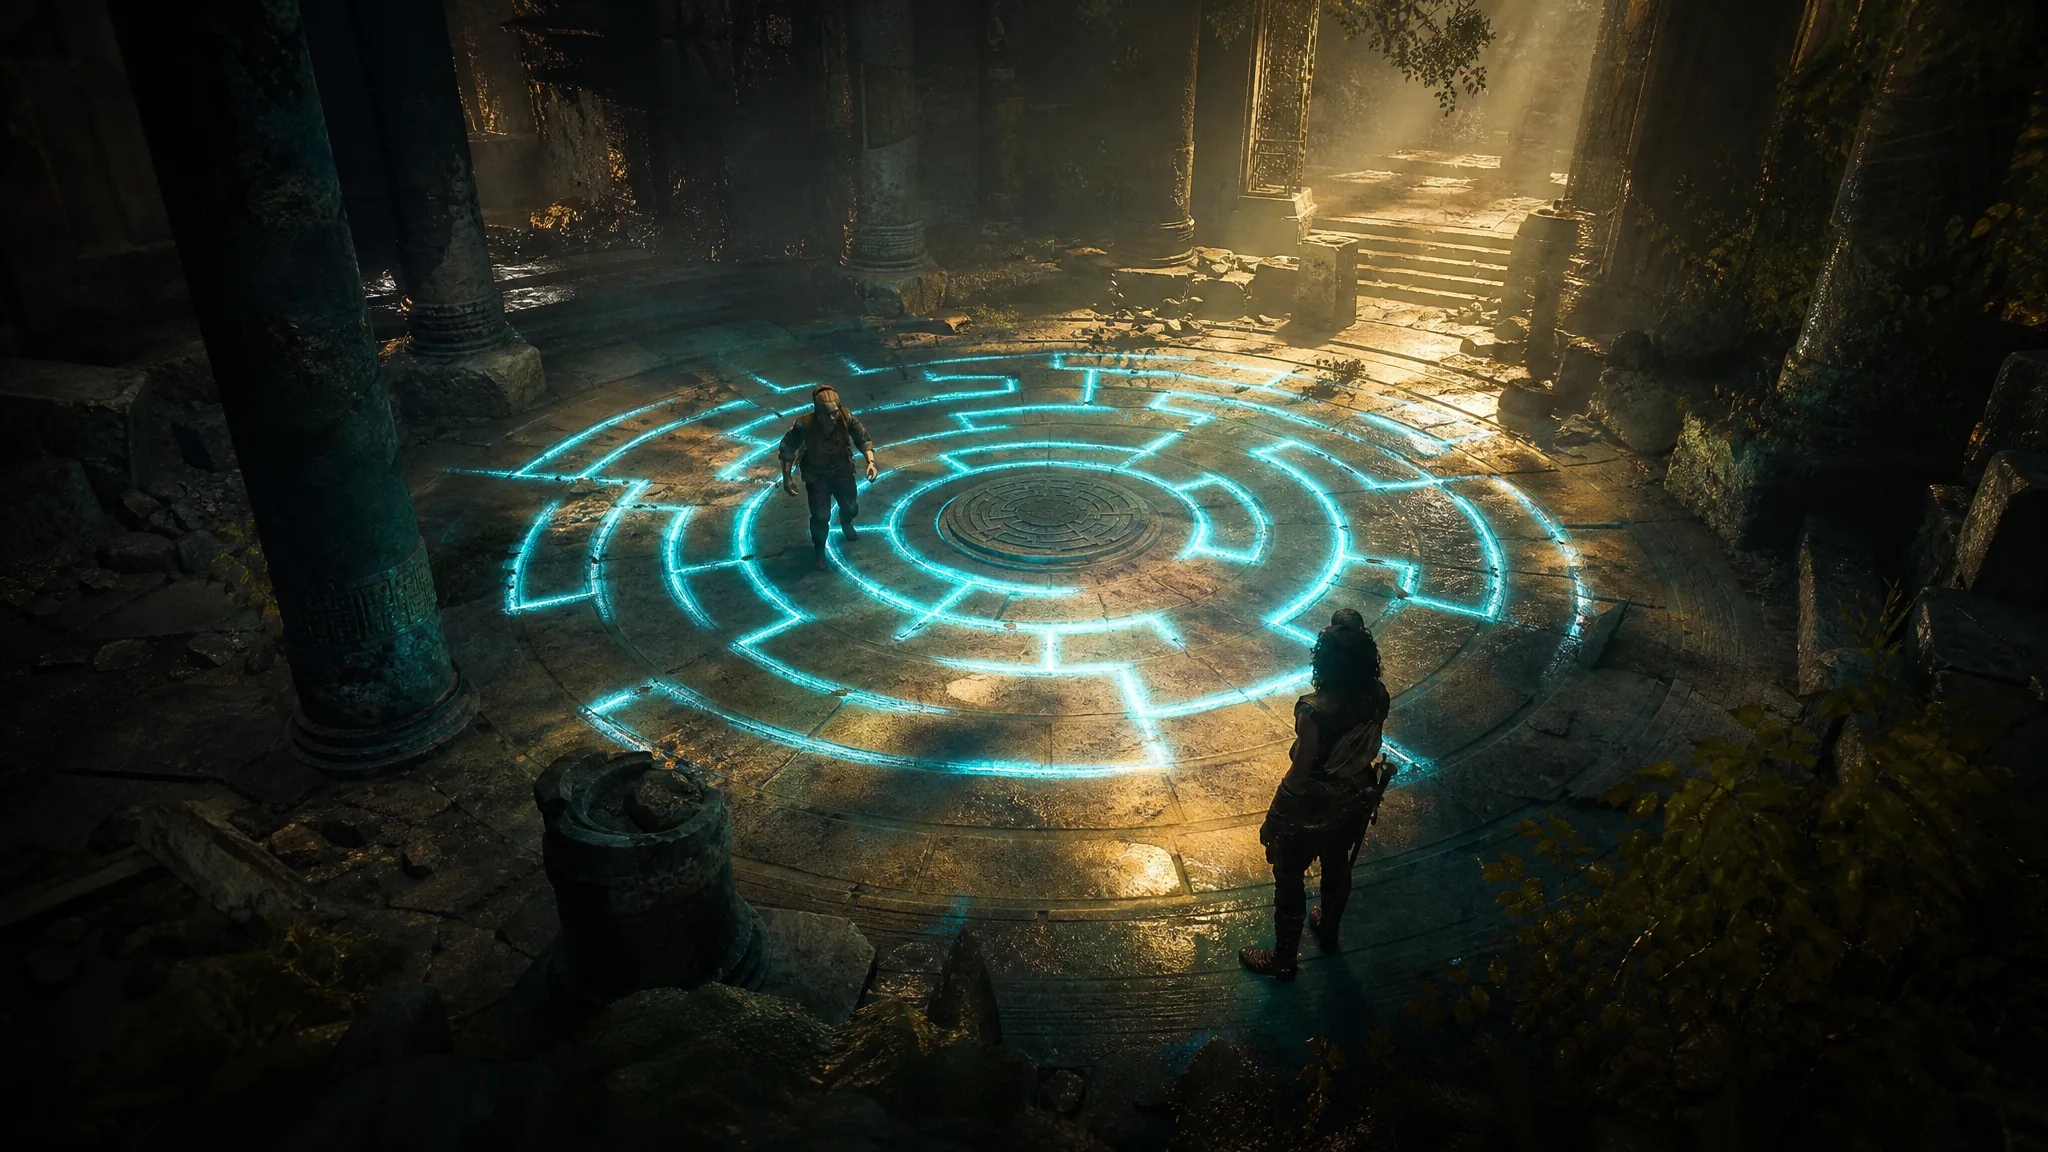
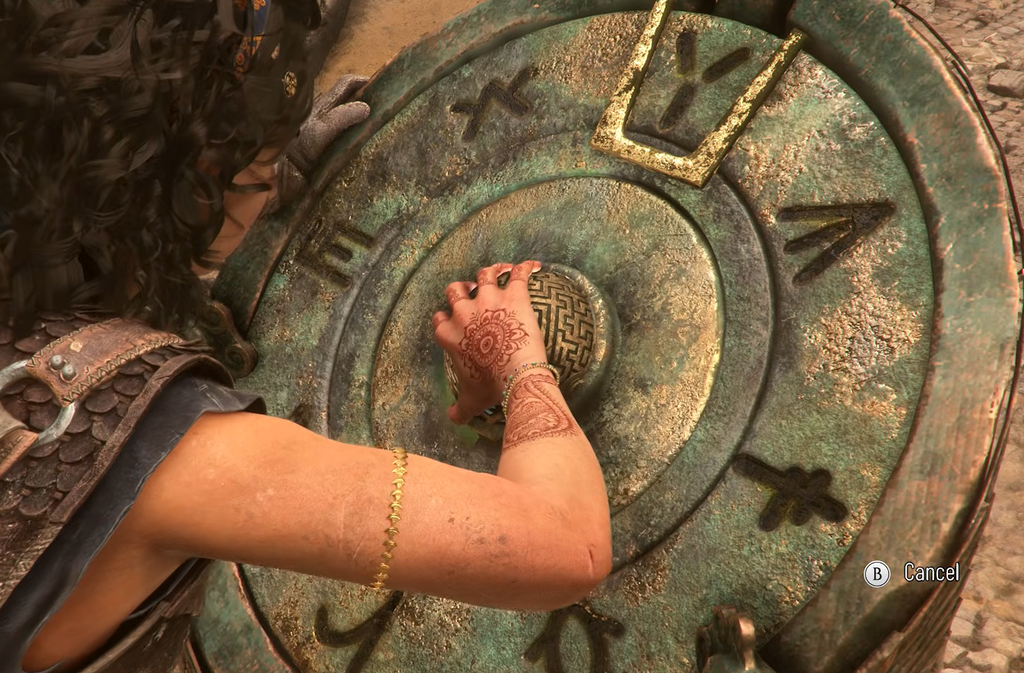
The floor maze puzzle sits inside the First Trial in Chapter 4, “From Hell It Rose,” and it stops Sophia and Leni at a locked door until two pedestals show the right symbols. Both pedestals have rotating dials, and the answer for each is hidden in a maze of light that only appears when you use the Key Sphere’s Light Reveal ability.
Quick answer: Set the left pedestal to the insect/bug symbol (an oval body with four lines sticking out) and the right pedestal to the symbol its light line reaches, which looks like an “F” or “T” shape. Rotate each dial until that symbol sits in the top slot, and the door opens.
What you need before the puzzle
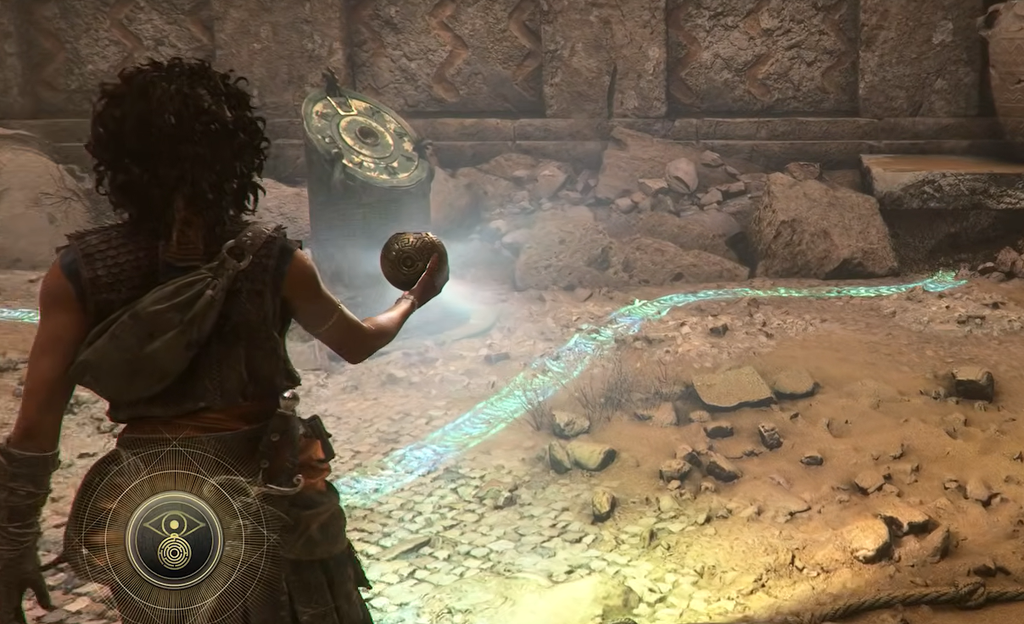
This is the third locked door of the First Trial, reached after the wall light puzzle earlier in the chapter. You need the Sphere’s Light Reveal function, which Sophia gains from the gilded pedestal near the Trial’s entrance. Without it, the maze on the floor and the five surrounding symbols stay invisible.
The room holds two main pedestals with dials and five runes arranged in a circle. Each rune carries a symbol you can only read when you shine the orb’s torch on it. A hidden glowing line runs from each dial pedestal, winds through the labyrinth in the center, and ends at one of those runes. That endpoint is the symbol you input.
Correct symbols for each pedestal
| Pedestal | Symbol to set |
|---|---|
| Left | The insect/bug symbol — an oval body with four lines sticking out of it |
| Right (facing the gate) | The symbol its light line reaches, shaped like an “F” or “T” |
The left answer is consistent: it is the bug-like rune that resembles an insect’s body. The right pedestal’s symbol is the one connected by its own glowing line, and it reads as an angular “F” or “T” shape depending on the angle you view it from. If you would rather confirm it yourself, follow that line across the maze instead of trusting the shape name.
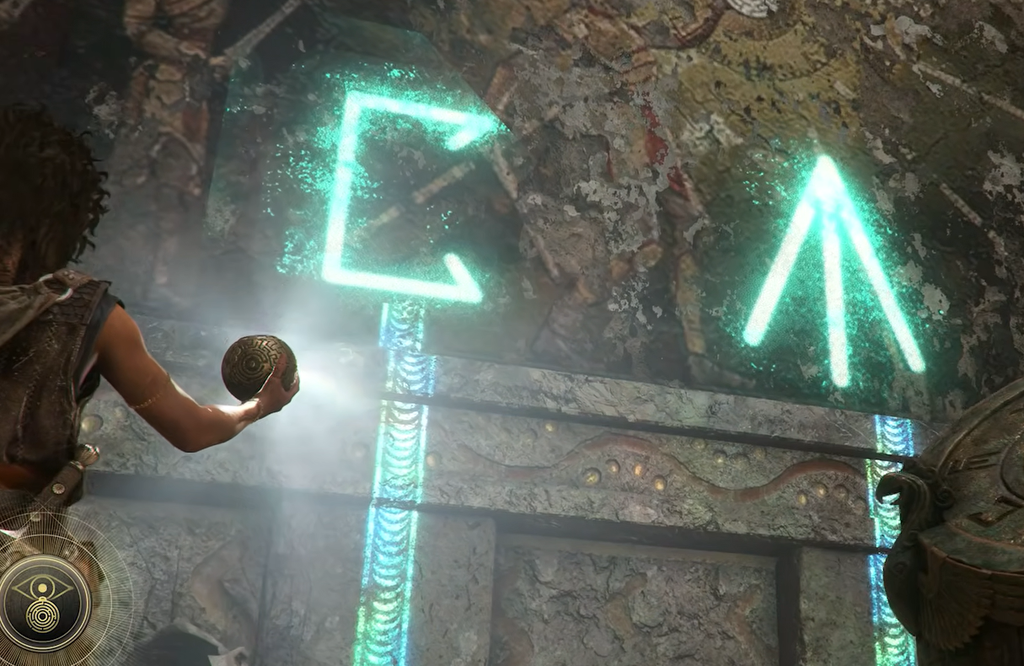
How to trace the maze and set the dials
How to confirm the puzzle is solved
Once both symbols are correct, the walls beside the doorway light up with a trailing line of fire, and the door ahead unlocks. That fire trail is your confirmation that the input matched.
Note: the moment the door opens, a group of soldiers storms the room, and the fight includes a Brute-level enemy. Clear them before moving through the passage to continue the First Trial.