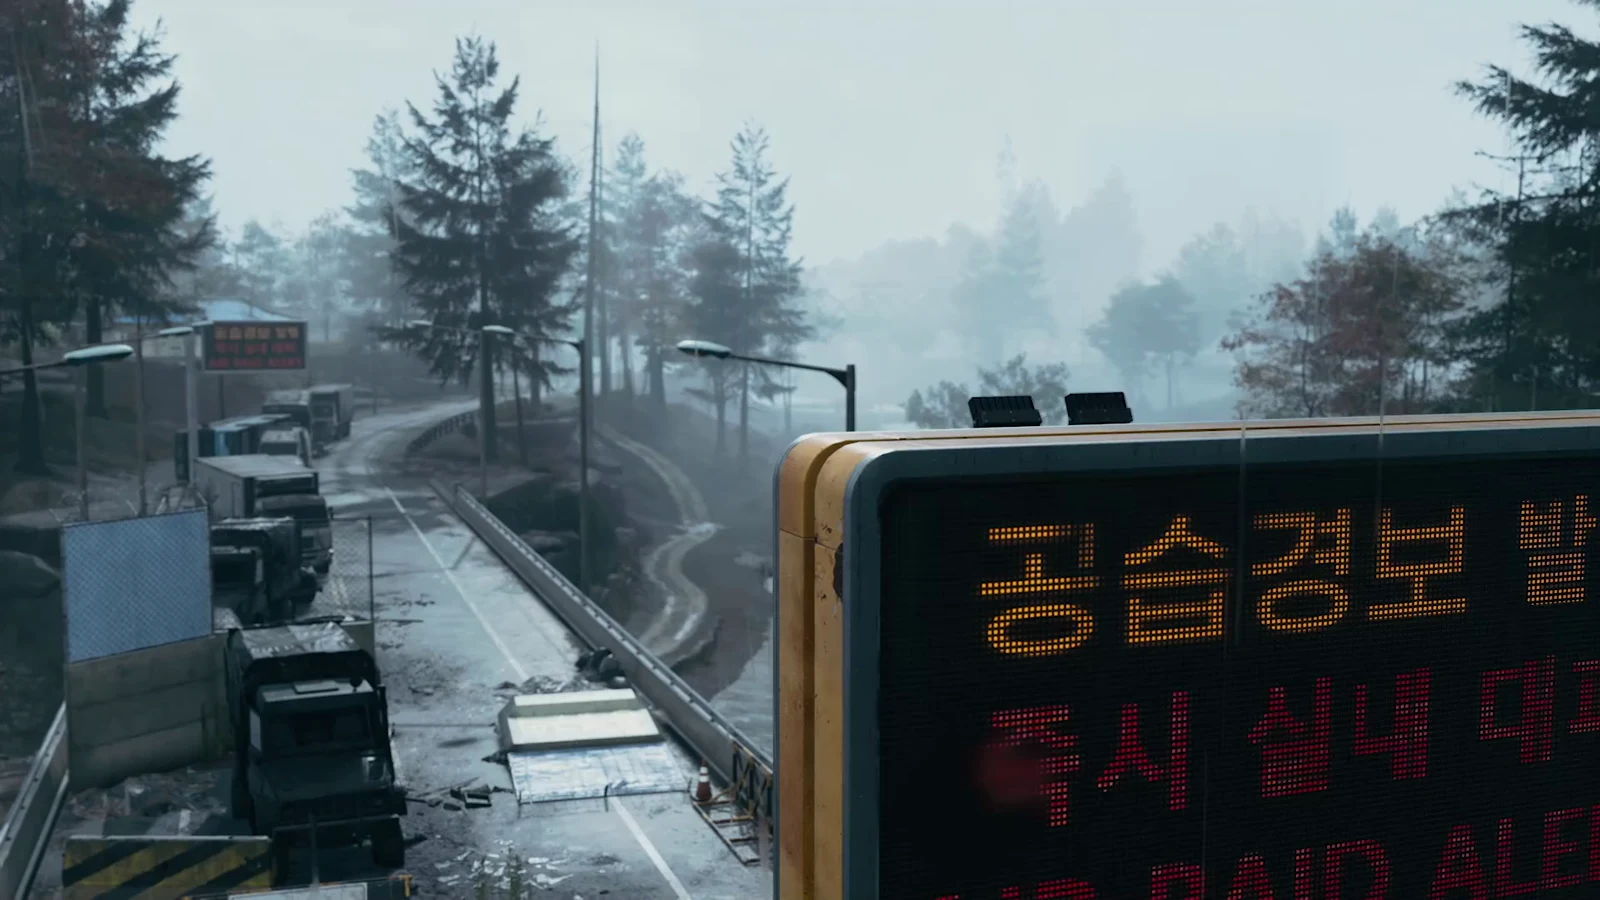
Losing Ground is the fifth mission in the Call of Duty: Modern Warfare 4 campaign. It is also the point where the Korean storyline stops being about a few successful skirmishes and starts being about retreat. You play as Private Park Hyun-Jun of the Republic of Korea Marine Corps (ROKMC) during the first hours of a North Korean invasion of Hajin City. The mission moves in one direction. Each position the squad takes falls, and the run ends with the unit leaving the city in the back of a truck.
Quick answer: Losing Ground has five objectives in order: Reach the Café, Hold the Café, Reach the Bridge, Mount the Mortar Launcher, and Reach the Tunnel. Completing it unlocks the Ready Line Loading Screen.
Losing Ground objectives and how the mission flows
The mission takes place at night in Hajin City, South Korea. It opens on a “PRESENT DAY” cutscene. Park is pulled out of rubble by Sgt. Jae and Cpl. Dunn after his squad blew up and sealed an enemy tunnel. Lt. West then radios Sierra-1 to regroup at TRP Charlie. Once the squad links up with West in an alley, the “LOSING GROUND 01” title card appears and the fighting starts. A full run on Regular with no detours takes about 14 minutes.
| Objective | Where it happens | Main threat |
|---|---|---|
| Reach the Café | Streets under the elevated rail | Infantry behind cars and stalls |
| Hold the Café | Second-floor café windows | Infantry, RPG gunners, a BMP |
| Reach the Bridge | Back alleys and burning blocks | Rooftop hostiles |
| Mount the Mortar Launcher | Dragon 6-4 truck on the bridge | Infantry, snipers, vehicles |
| Reach the Tunnel | Collapsing bridge span | Attack helicopter, falls |
Civilians run through almost every street fight in the mission. West tells the squad to watch for them before the push begins, and the bridge sequence is built around protecting civilians as they evacuate.
Park’s squad and the call signs you’ll hear
Park fights alongside a mixed group of South Korean and US Marines. The radio traffic is dense, so it helps to know who is who.
- Sierra-1 is Park’s unit, led on the ground by Sgt. Jae, with Cpl. Dunn and Cho on point.
- Lt. West commands the wider group and gives most of the movement orders.
- Captain Kal holds the café hardpoint and later calls mortar targets at the bridge.
- Spartan 2-5 is a friendly element you cover as it falls back to the café.
- Dragon 6-4 is the mortar truck parked on the evacuation bridge.
- Other name tags include Pvt. Moon, Pvt. Ji-ho, Pvt. Woo, and Pvt. Kang.
Weapons in Losing Ground
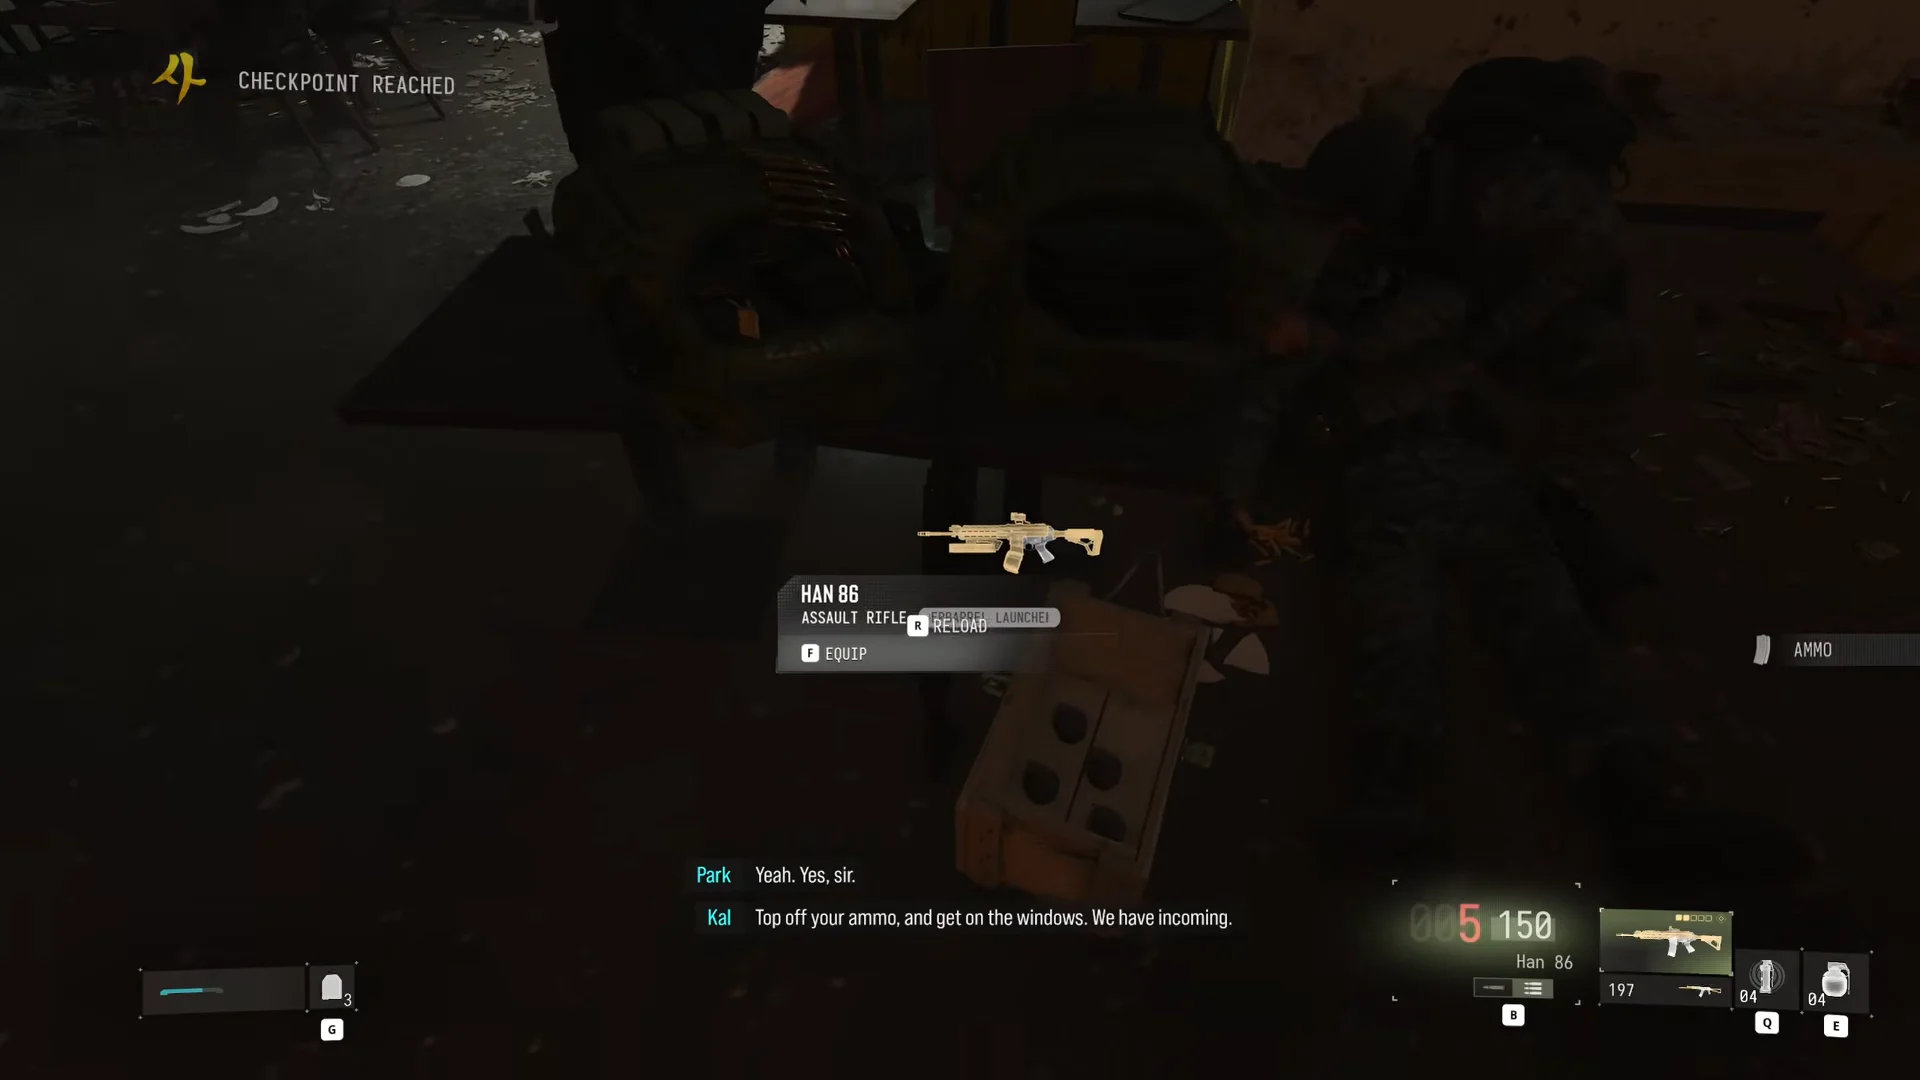
Park starts with a South Korean service rifle and picks up enemy weapons along the way. Frags and flashbangs are both available, and armor plates work the same way they do in the rest of the campaign.
| Weapon | Type | Where it shows up |
|---|---|---|
| HAN 86 | Assault rifle (5.56 NATO) | Starting loadout |
| KASTOV 545 | Assault rifle | Enemy pickup |
| PPSh-41 | SMG | Enemy pickup |
| Sang Yee | Pistol | Sidearm |
| MAR-9 | Marksman rifle | Café window sill |
The MAR-9 matters most. It has a variable-zoom scope, and the café defense is built around long sightlines across an intersection.
The café hardpoint
The squad heads for the café along a debris-strewn road running under an elevated train line. On the way, they pass a food truck, market stalls, and a city bus that has stalled; enemies shelter behind parked cars and barricades. Lt. West points out the café at the intersection’s northwest corner. The two-story building has a cat sign that reads “야옹 Cafe.” The squad takes the exterior stairs up to the second floor, where Kal tells everyone to resupply and move to a window.
The defense comes in waves. Infantry crosses the street and the intersection first. Then fighters and RPG gunners climb onto the train cars stopped on the elevated track, which gives them height over the café. Near the end, Spartan 2-5 falls back across the intersection, and Park has to pick off the soldiers trying to cut them off.
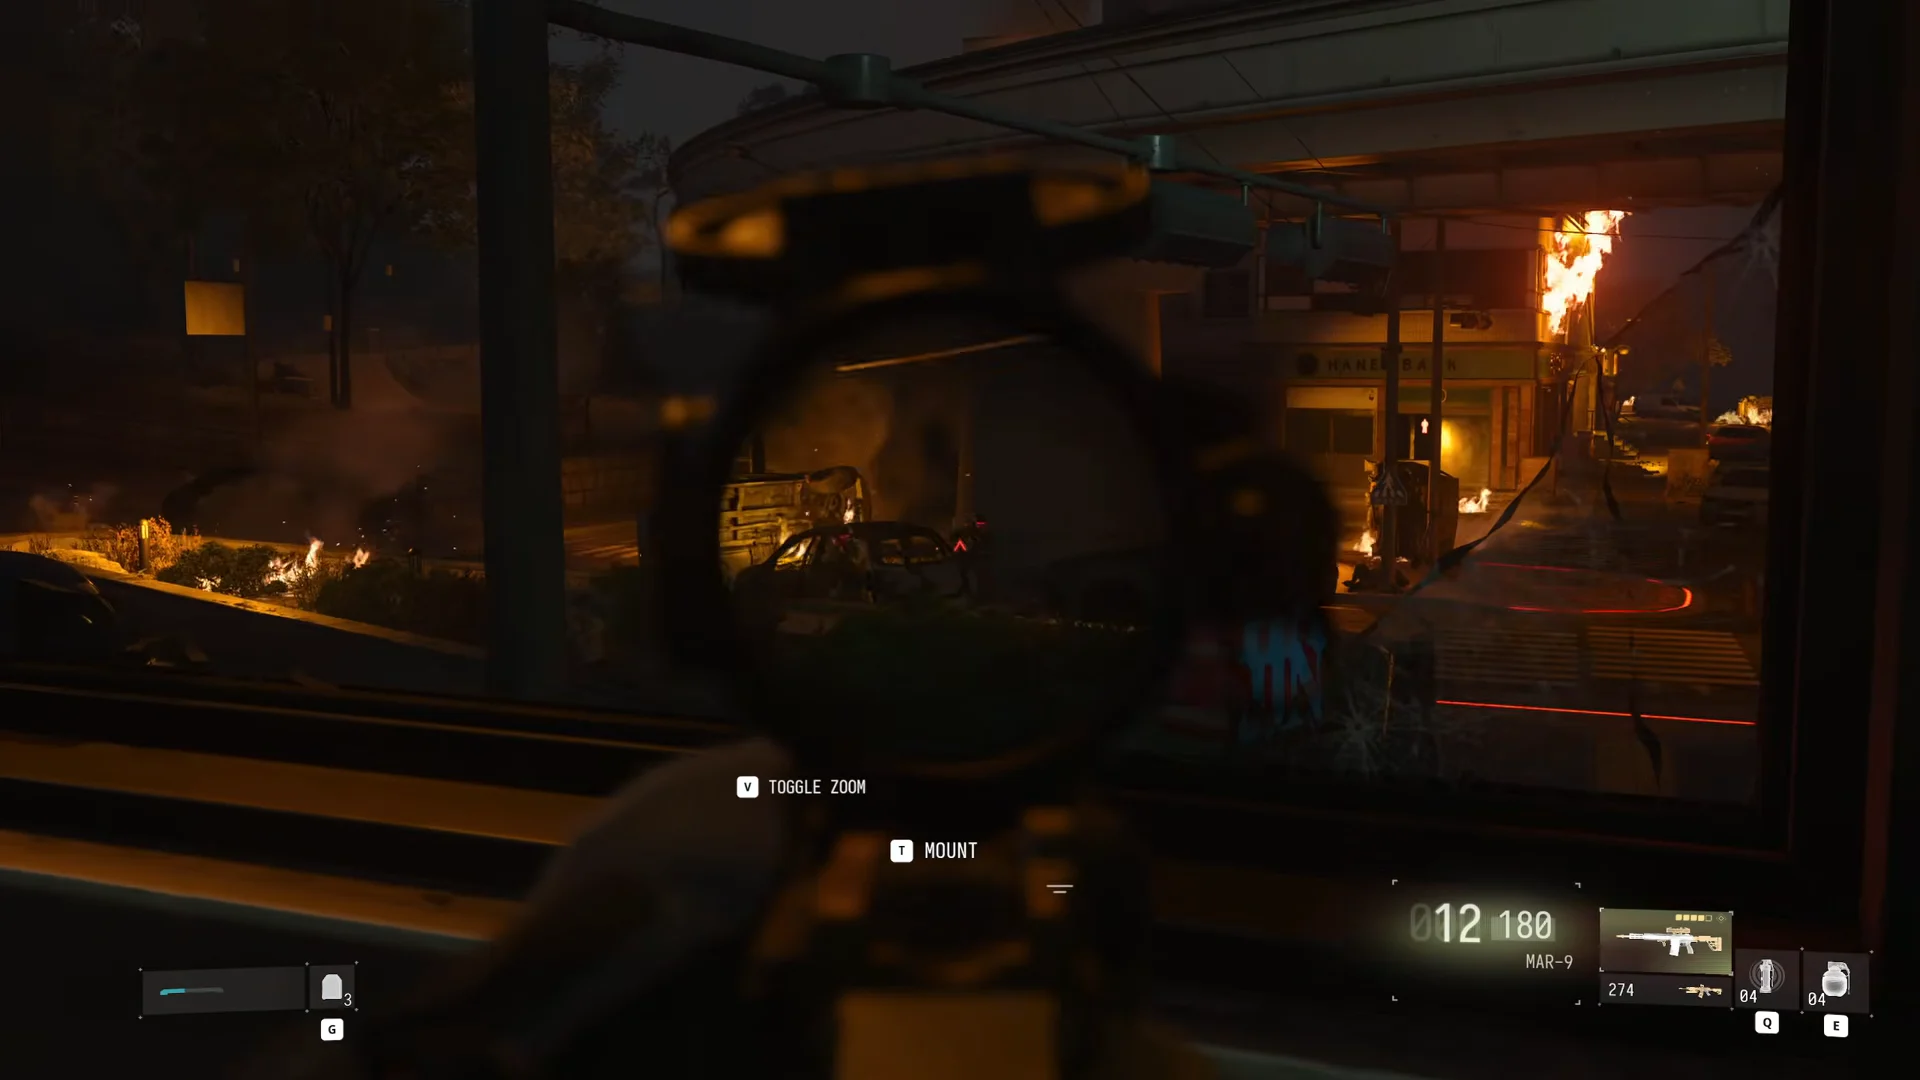
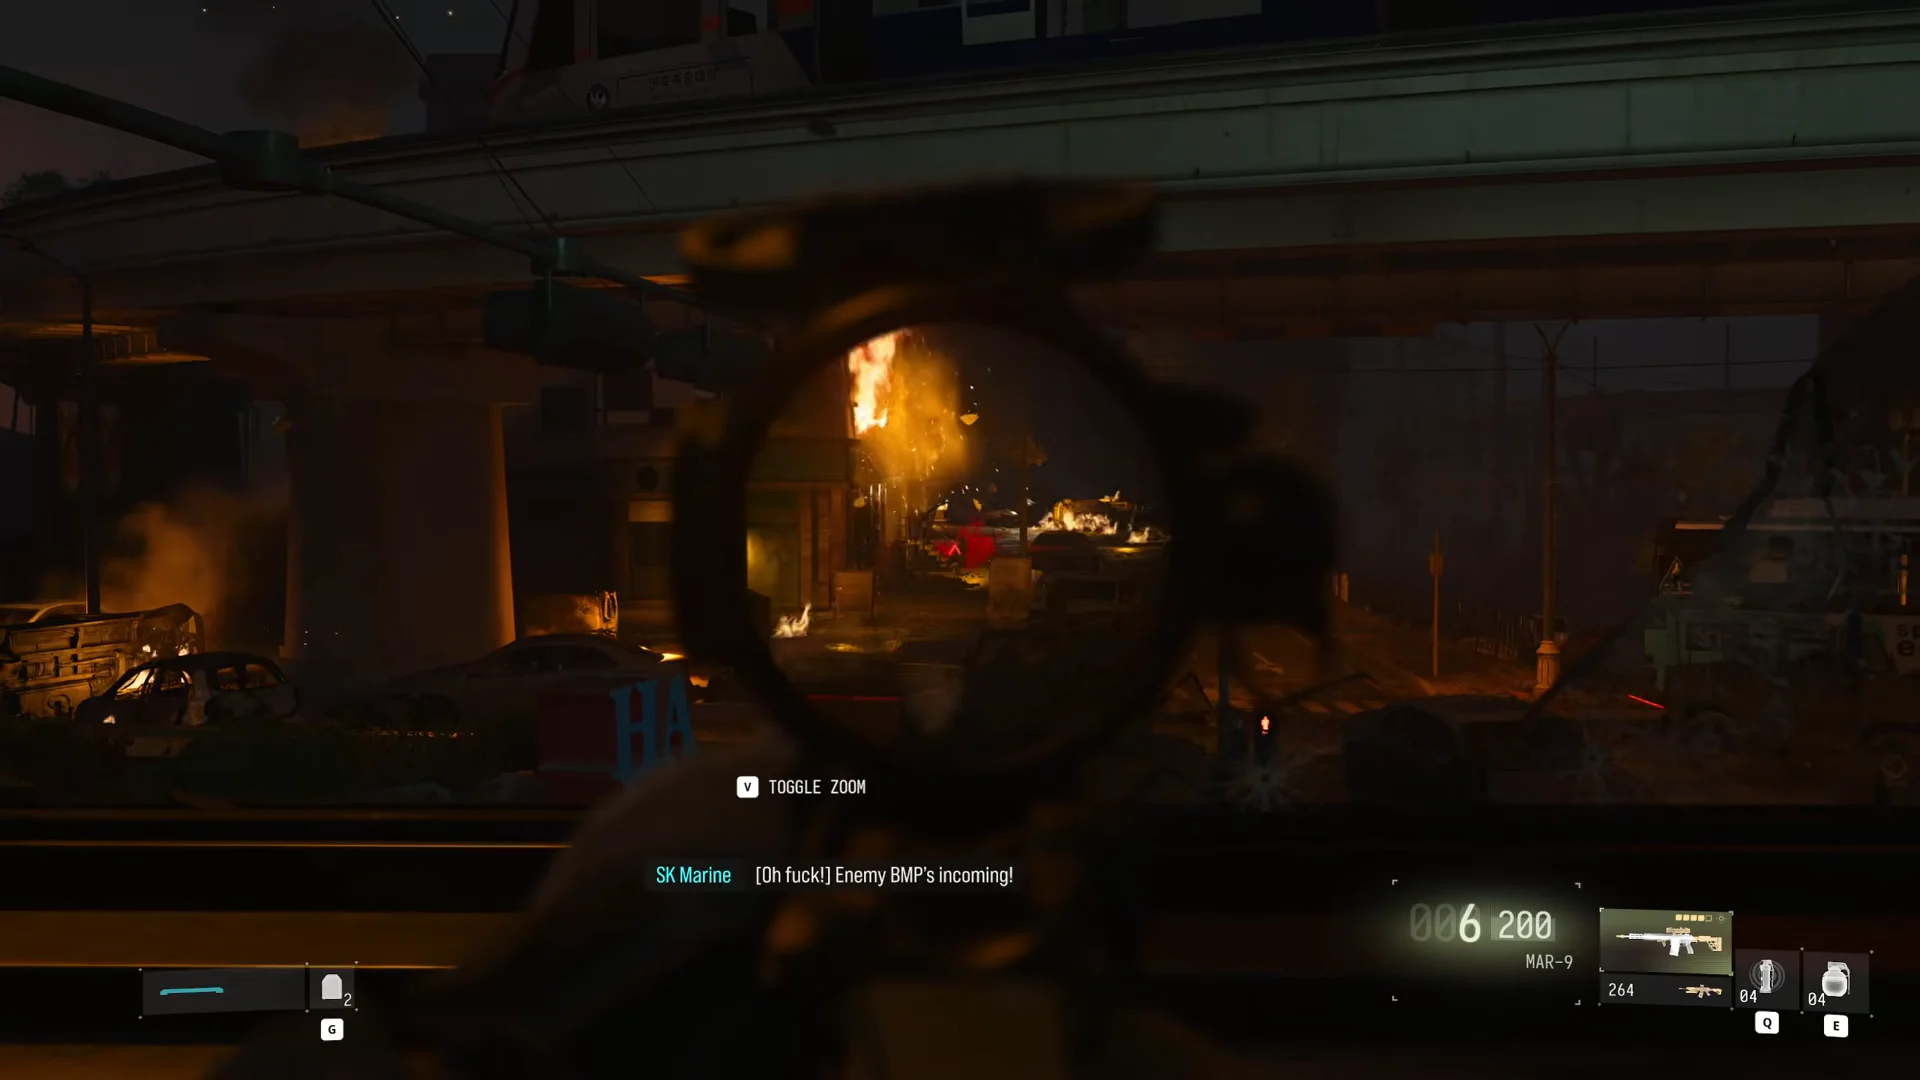
The defense can’t be won. An enemy BMP rolls up and fires straight into the building, the position collapses, and Kal orders a full retreat. Park escapes through the back of the café and into the alleys.
The Dragon 6-4 mortar on the bridge
The squad falls back past apartment buildings ablaze, with hostiles positioned on their rooftops. Friendly mortars strike nearby, providing cover for the final leg to the bridge. Red emergency flares indicate the evacuation route there. Not long after the squad reaches the bridge, a sniper takes out the Dragon 6-4 truck’s gunner. Park climbs onto the truck bed and operates the mortar tube.
The mortar is a mounted weapon with its own control scheme. On PC, the prompts work as follows.
| Action | PC keys |
|---|---|
| Aim closer / further | [W] / [S] |
| Adjust range | [R] / [T] |
| Turn left / right | [A] / [D] |
| Rotate | [Q] / [E] |
| Zoom | [V] |
| Fire | [LMB] |
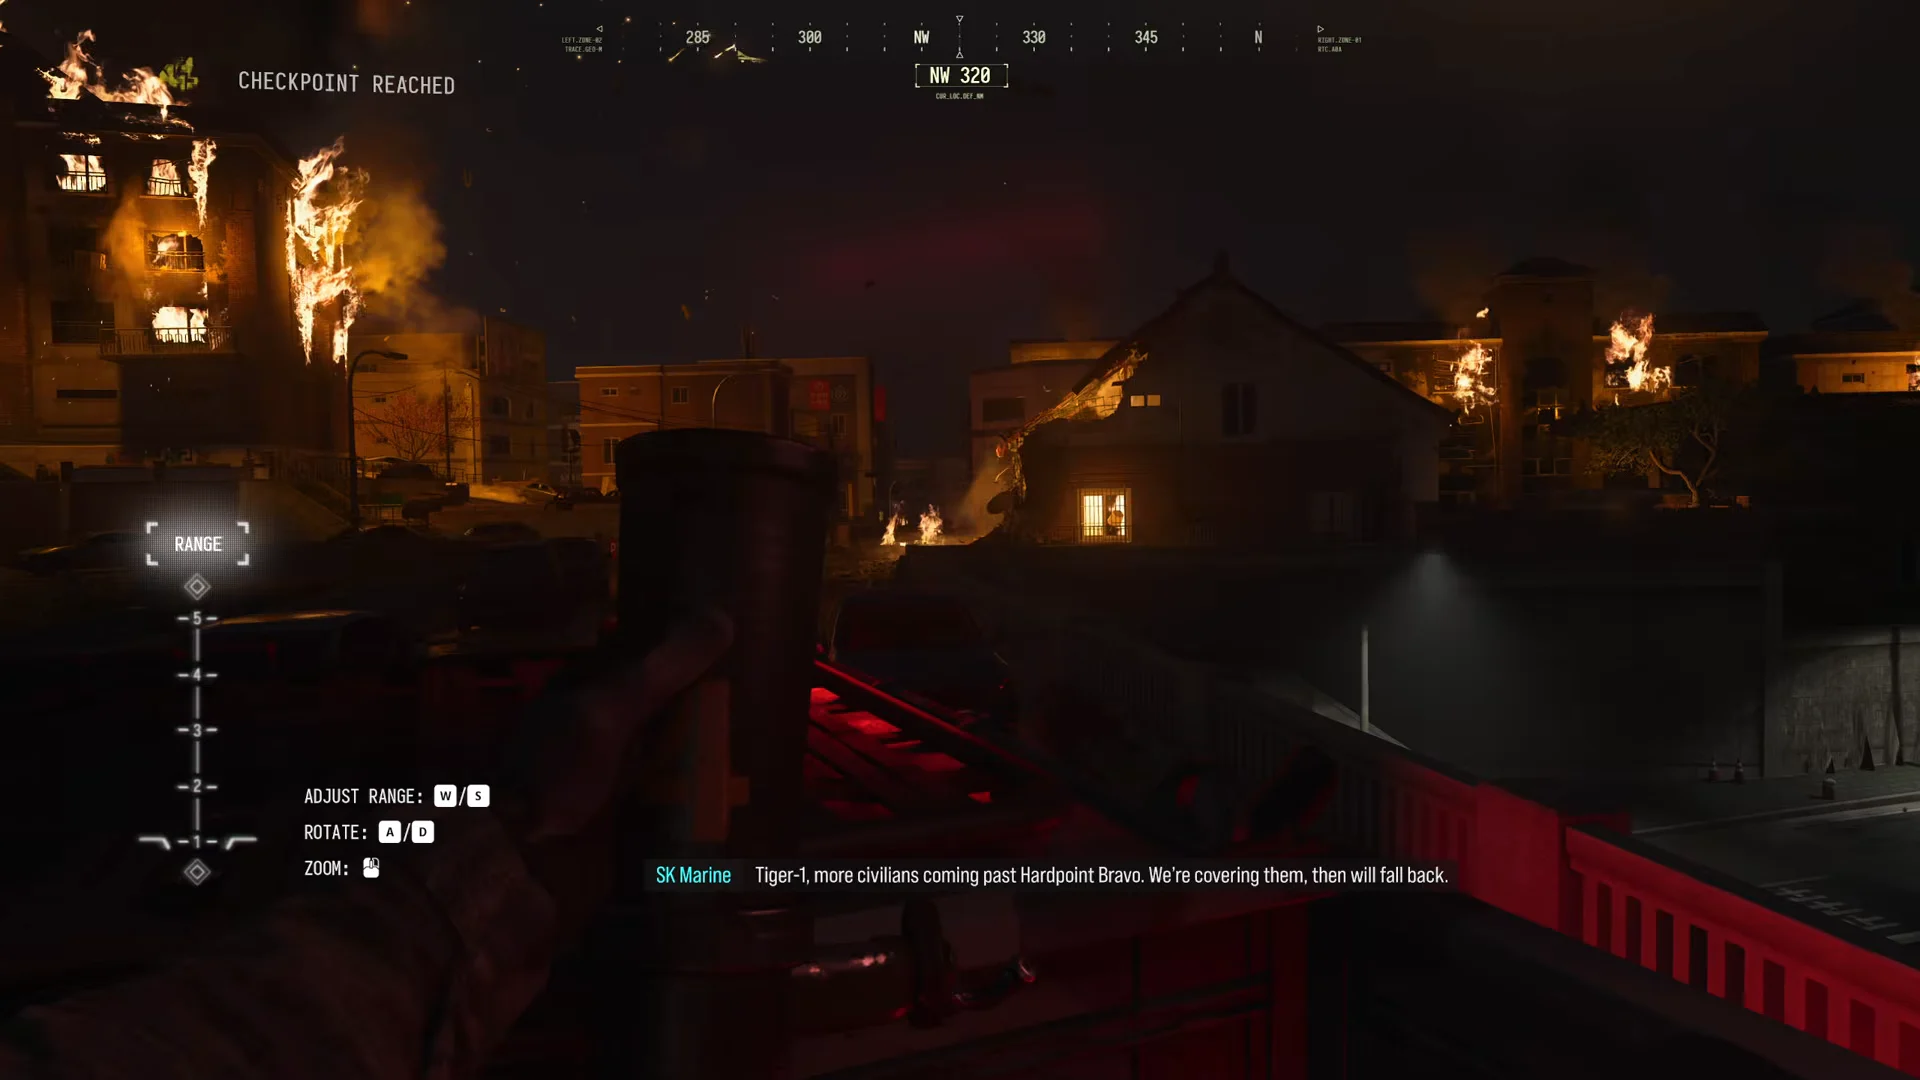
Kal calls out targets while Park fires. First come infantry on a hillside and on distant roads.
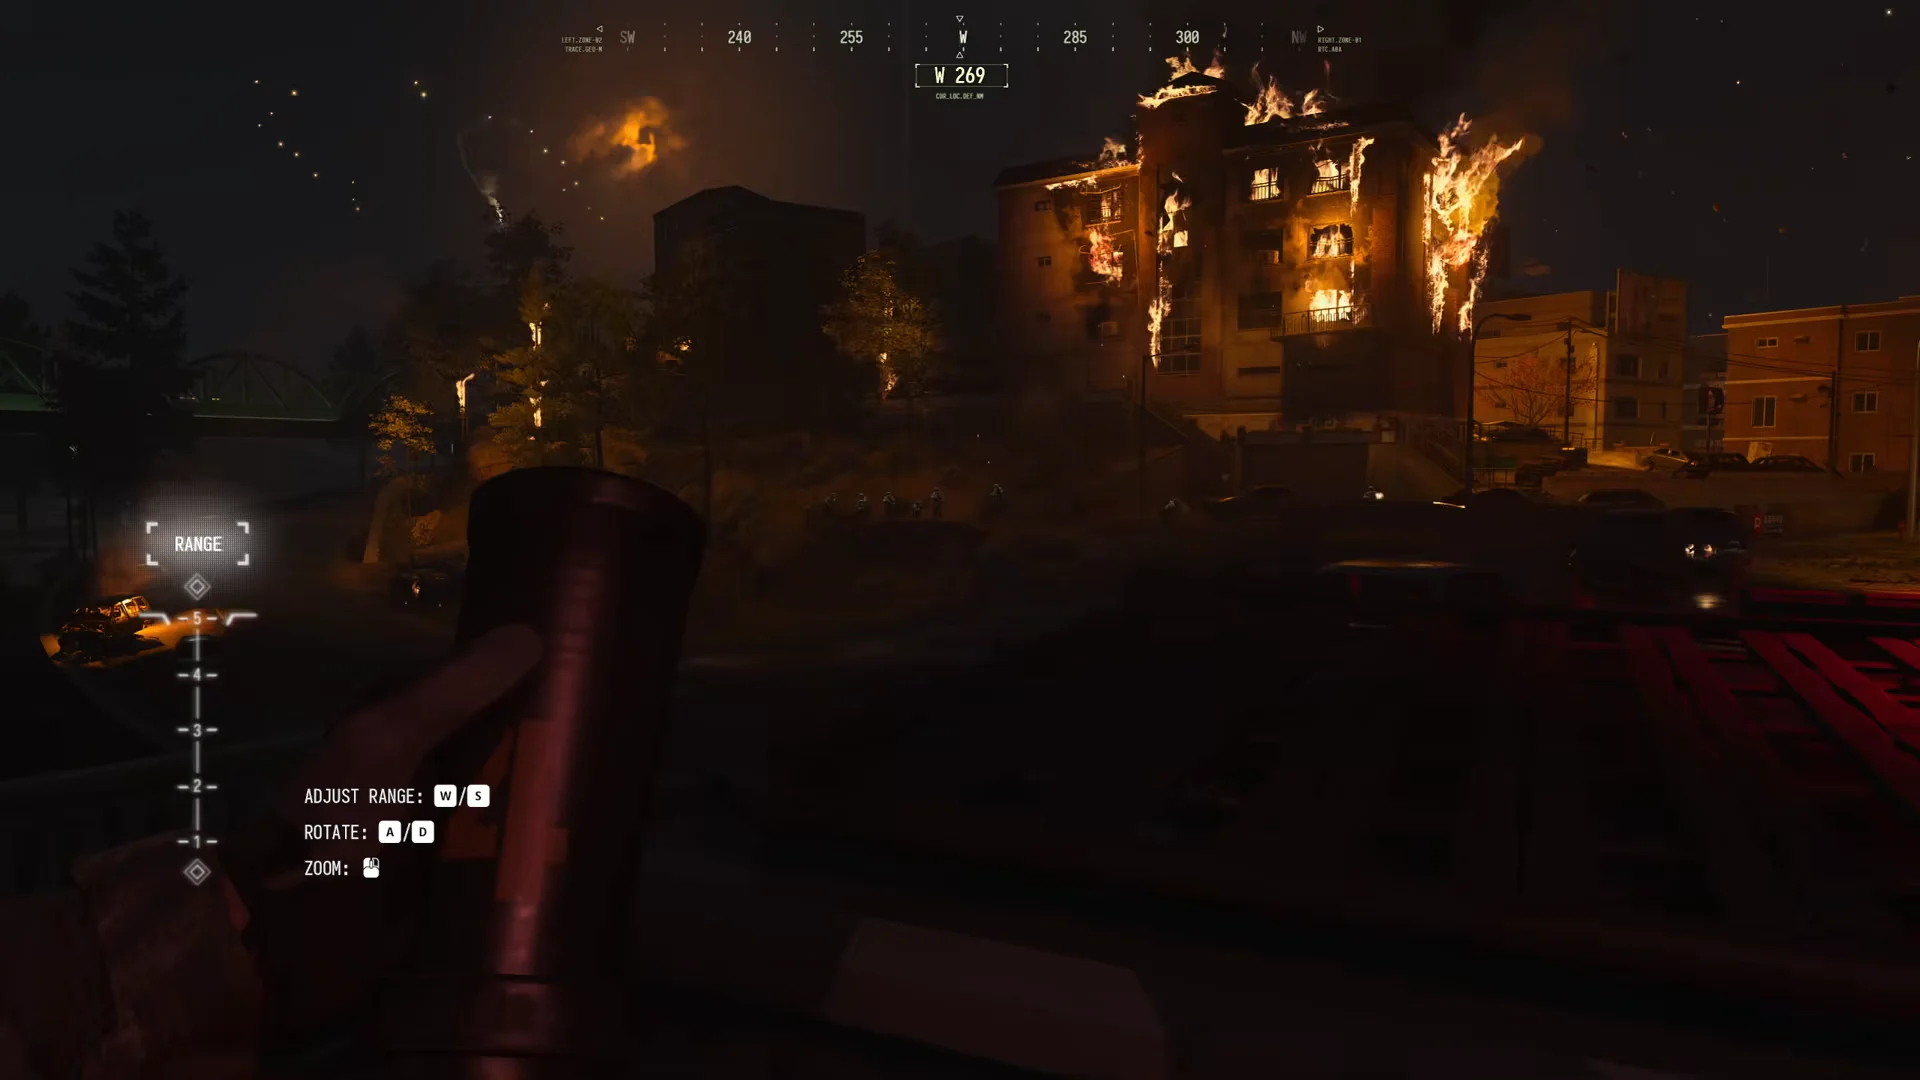
Next are squads attacking civilian vehicles and crossing the streets, then shooters on rooftops. The sequence ends with vehicles. Park destroys an incoming enemy transport and lands direct hits on a BMP-1 driving up the center road.
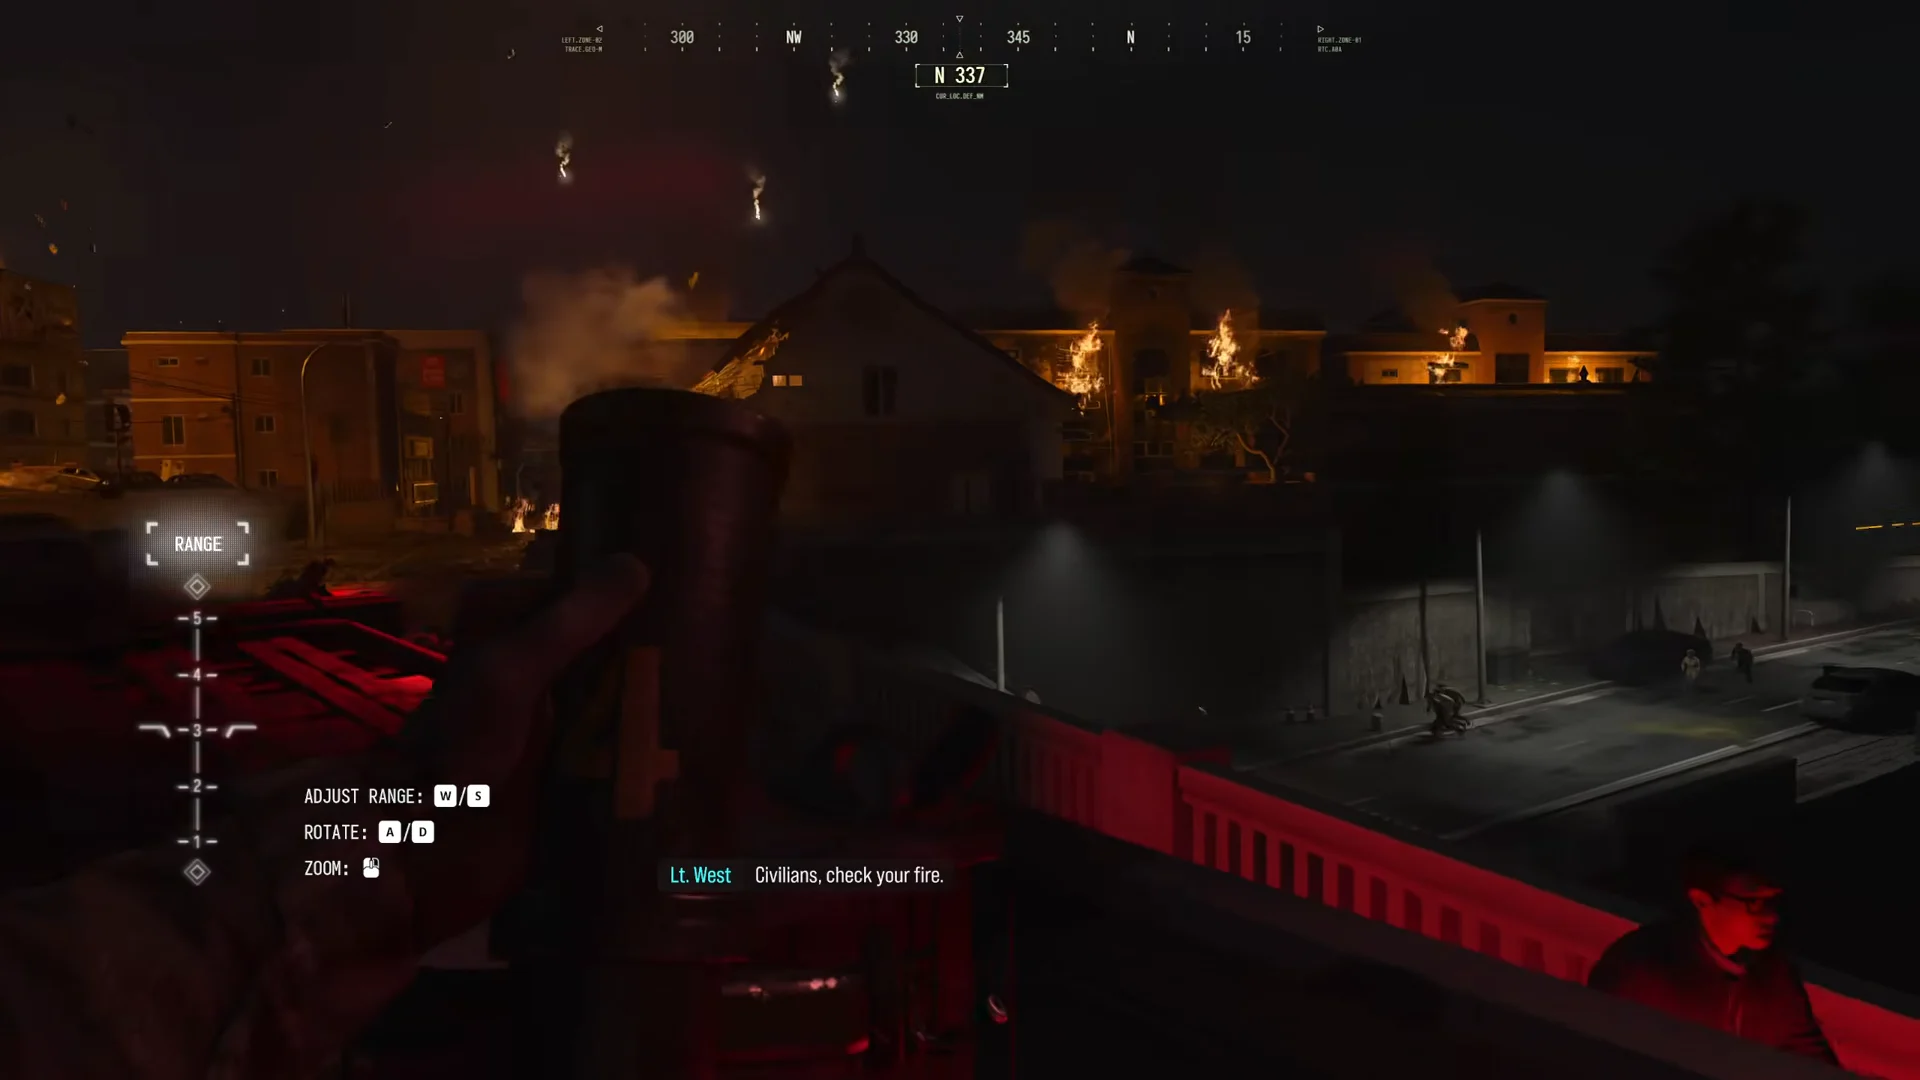
This section awards the Raining Thunder trophy (Silver). For it, get 15 kills using 3 mortar rounds in succession in Losing Ground; wait until enemies gather in groups rather than targeting lone soldiers.
Bridge collapse and the run to the tunnel
Once the BMP is destroyed, an enemy attack helicopter strafes the bridge with rockets. The mortar truck is destroyed and the span cracks open. From there the mission becomes a scripted escape. Park follows Kal across the collapsing roadway and runs through a passenger bus hanging over the gap. He jumps out through the windshield, climbs over crushed cars, and is pulled up by Sgt. Jae.
The bus jump is the easiest place to die in the mission, because a missed landing drops Park off the road edge. The game places a checkpoint at the bus jump, so a fall reloads from there instead of from the mortar sequence. The objective is complete when West and Kal pull the squad onto an evacuation truck and it drives into the tunnel.
Losing Ground reward and the story after it
Completing Losing Ground grants the Ready Line Loading Screen, one of the campaign’s 16 rewards. The item can be used in Multiplayer and DMZ once the full game releases on October 23, 2026. Qualifying digital pre-orders already have early access to the campaign, which is single-player only.
In the closing cutscene inside the truck, Park says he can’t believe the city is lost. West tells him the fight isn’t over, and Park holds on to his dog tags. The story then moves to Camp Humphreys. Col. Shaw briefs the troops on the size of the North Korean surprise attack and on plans for a counteroffensive. Kal offers West’s squad a frontline job backing up Special Forces on a border-crossing mission. Later, West confronts a hesitant Park in the hangar and tells him to stand by his squad, which sets up Park’s role in the rest of the campaign.