Weapon appearance in Star Wars Zero Company is handled entirely at the Armory table inside The Den, separate from the mod system that changes stats. You can swap the physical model of a blaster, repaint individual parts of it, and set a finish, all without touching a single combat number.
Quick answer: Go to the Armory in The Den, interact with the Armory table, pick the operator and weapon you want, then choose CUSTOMIZE APPEARANCE to change the model and PAINT COLOR to set style, finish, and color.
Where the weapon skin options live in The Den
The Armory sits in the holotable room, toward the back right corner. If you are not sure where you are standing, open the map and look for THE DEN layout, which lists rooms such as HOLOTABLE, MEDBAY, PERSONNEL, CUSTOMIZATION, and COMMAND CENTER. The Armory is the interaction point for everything weapon related, cosmetic or otherwise.
There is a second entry point. On the operator selection screen right before a mission, click an operator and pick Open Armory to jump straight to that character’s weapon. It opens the same menus, so you can repaint a blaster while you are already building the squad.
How to add skins and paint jobs to a weapon
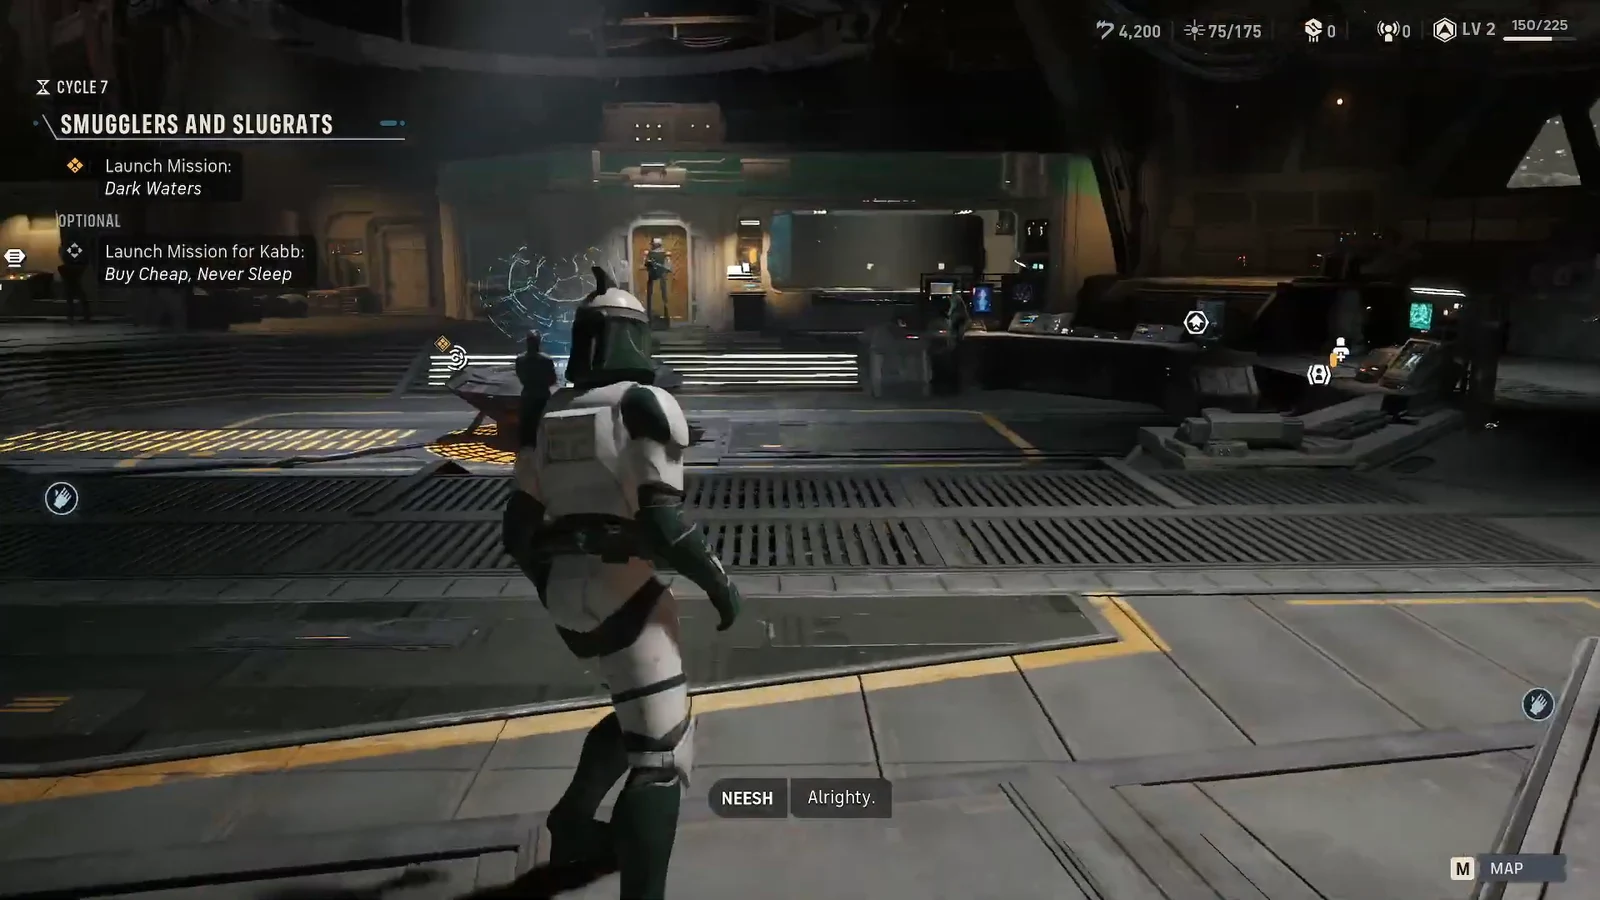
MODEL: RELBY-V10 under BLASTER RIFLE, with EQUIP MODS, CHANGE WEAPON, and CUSTOMIZE APPEARANCE listed alongside it.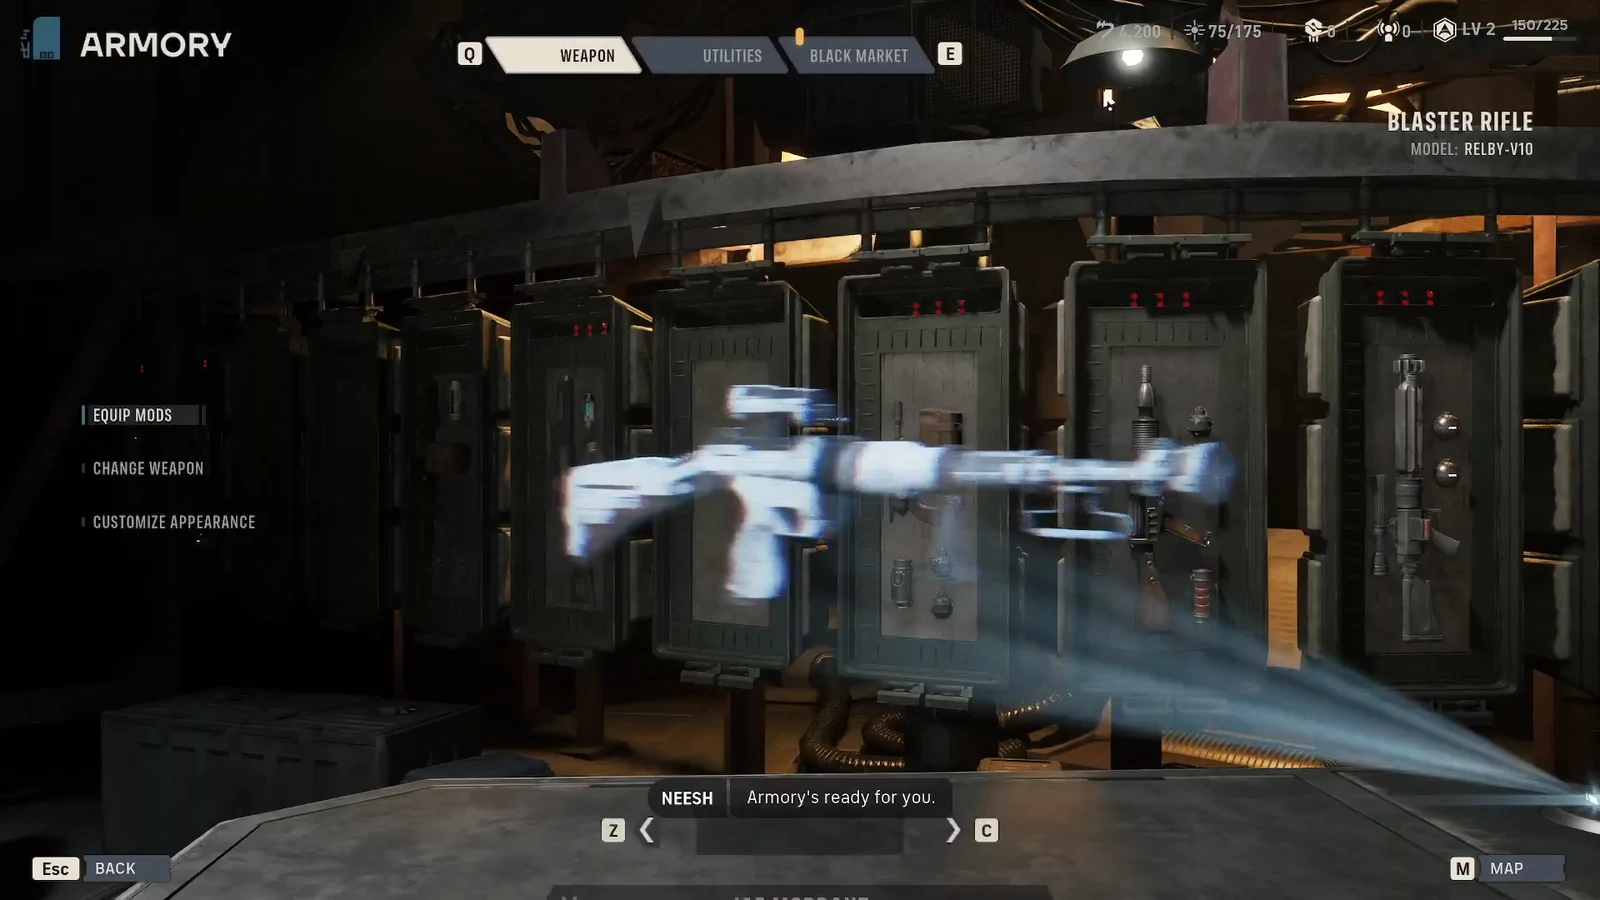
What each customization layer controls
Cosmetics stack in layers. The model sets the silhouette, individual weapon parts can be skinned separately, and the paint options sit on top of all of it.
| Layer | What it changes |
|---|---|
| Model | The overall blaster used by that operator, chosen from the models tied to its weapon class |
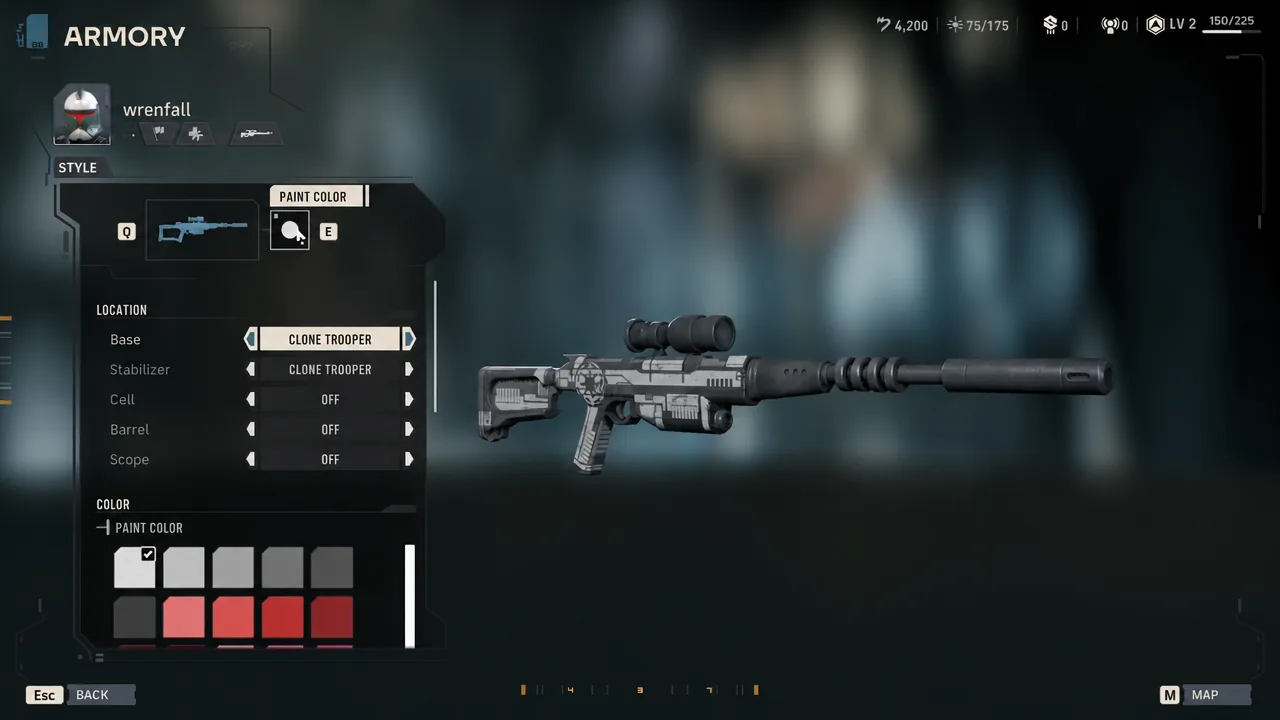
| Part skins | Individual pieces, covering the Base, Stabilizer, Cell, Barrel, and Scope, which can be mixed and matched |
| Paint style | The pattern applied to the weapon, including options like Clone Trooper, Full, and Lite Trim |
| Paint finish | Surface treatment, with Metal Gloss, Shiny, and Matte available |
| Color | The paint swatch itself, from White through numbered shades such as Orange 5 and Pink 1 |
Skins are cosmetic, mods are not
Changing a weapon model has no effect on damage, range, or action point cost. A DC-17 blaster pistol and a DH-17 behave identically in combat, and the same holds across every class. The performance differences come from the weapon type itself, not the model you display.
The part names can be confusing, because weapon mods use the same four categories: Barrel, Cell, Scope, and Stabilizer. Those live under EQUIP MODS and do change stats or add effects such as burn damage. Anything you set under CUSTOMIZE APPEARANCE or PAINT COLOR is purely visual.
Note: mods are tied to a single operator’s blaster at a time, while paint and models are set per operator too. Repainting one operator’s rifle does not repaint another operator’s rifle of the same class.
Weapon models available in each class
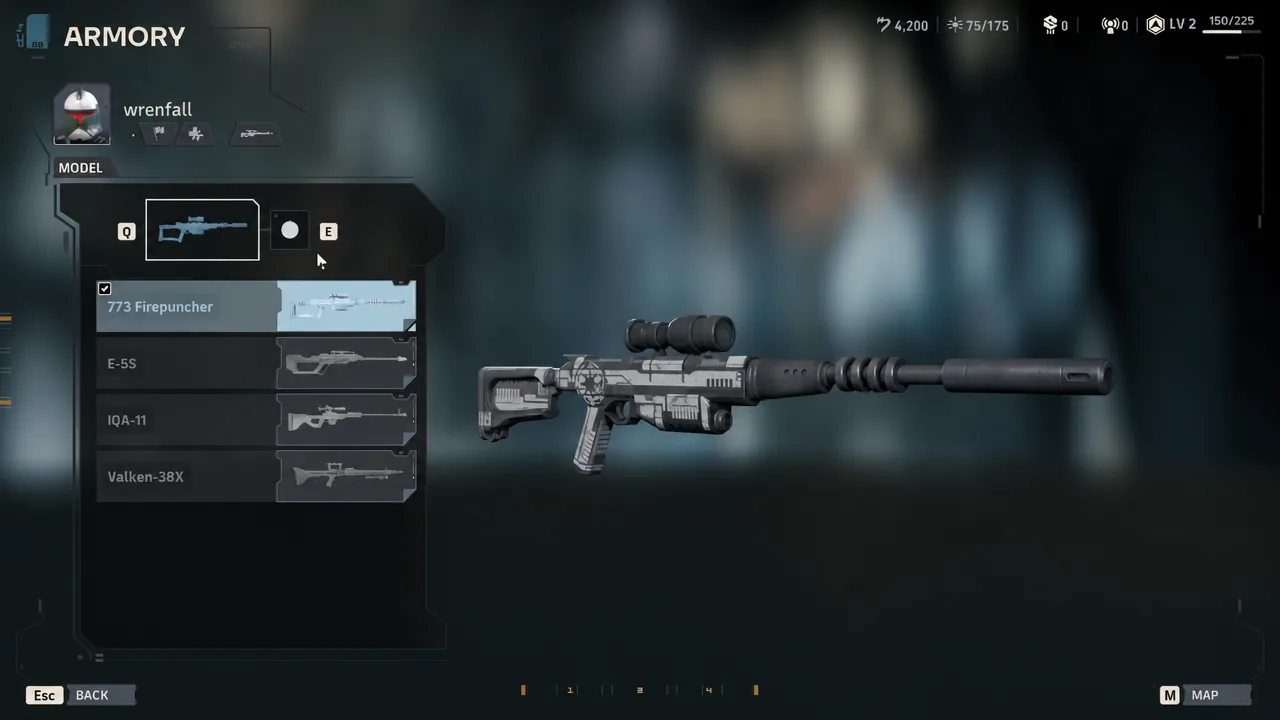
There are four weapon classes, each with its own set of models to pick from in the appearance menu.
| Weapon class | Models |
|---|---|
| Longarm Blaster | 773 Firepuncher, E-5S, IQA-11, Valken 38X |
| Blaster Pistol | DC-17, DH-17, AZ-7, RG-4D, G-405 |
| Repeater | M-32, DC-15LE, T-21, TMG-4 |
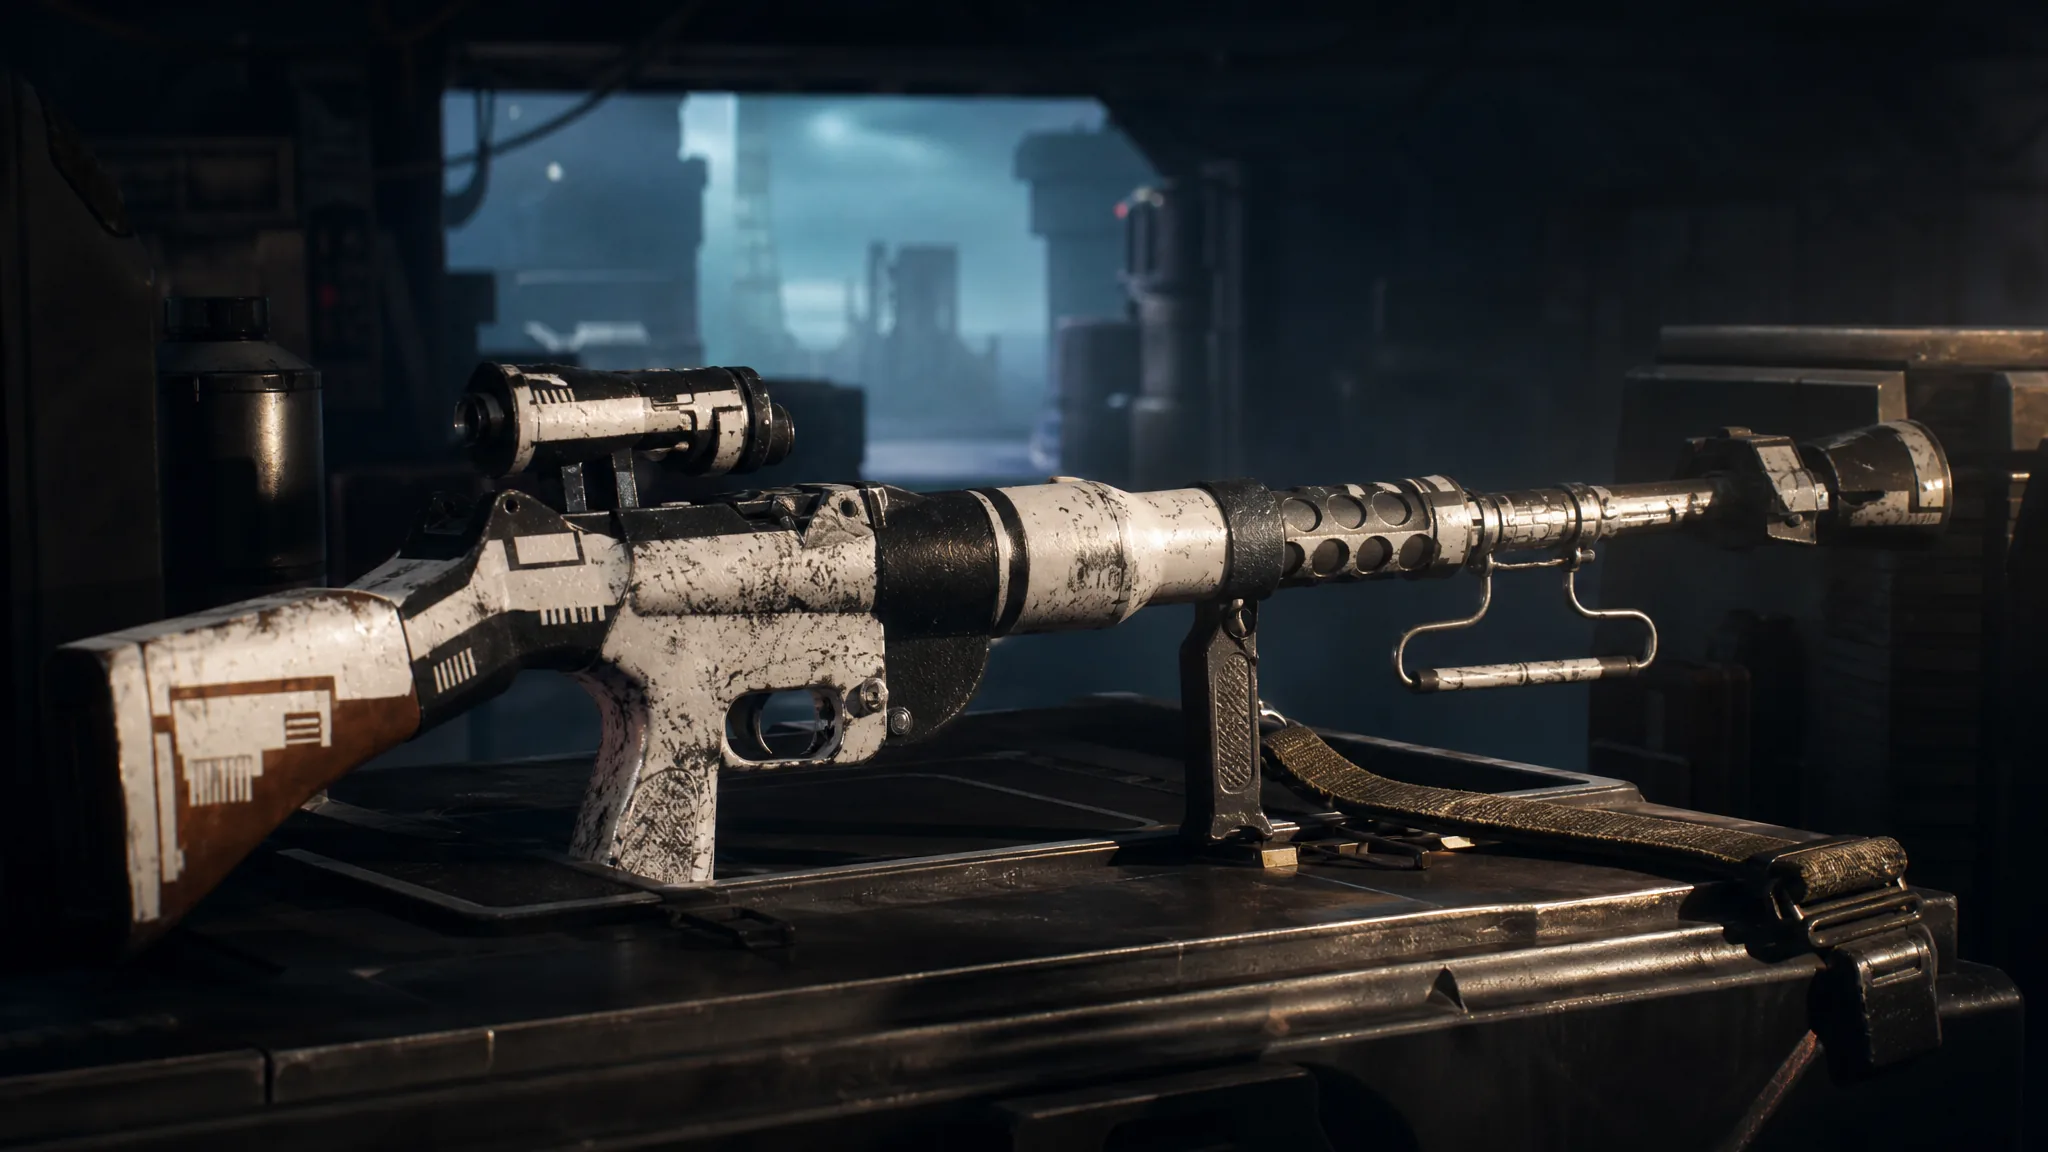
| Blaster Rifle | VT-51, DC-15A, EE-3, Relby-V10, Westar M5 |
Extra weapon themes from the Deluxe Edition
Five painted weapon set themes come with the Deluxe Edition of Star Wars Zero Company, covering the 100th Clone Company, Kafrene Informant, Black Sun Syndicate Enforcer, Bespin Security, and Separatist Warrior. They are cosmetic only and slot into the same appearance menus described above, alongside the Grand Army of the Republic and Shadow Collective packs.
If a change does not appear to take, check that you selected the right operator at the Armory table before opening the appearance menu, since each character’s blaster is customized on its own. Once the model label and the preview both show what you picked, the look is locked in for that operator and travels with them on every deployment.