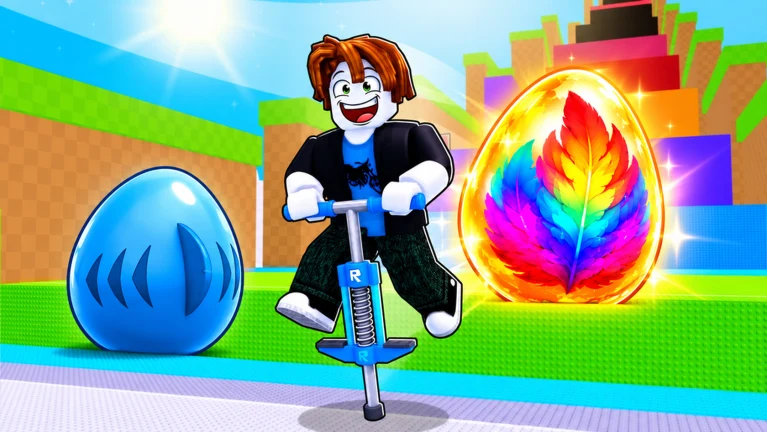
Dungeon Quest Reborn is an action RPG on Roblox built around one repeatable cycle. You pick a dungeon from the lobby, choose a difficulty, fight through waves of enemies to a boss, and collect the loot the boss drops. Egg Island is the starting map, and it needs only a level 1 character to enter, which makes it the fastest way to learn the game and gain your first few levels.
Quick answer: Open the Play menu, select Create Dungeon, pick Egg Island on Easy, and start the lobby. Equip a weapon, armor, and two skills, then clear the entry bridge, the Bunny Grenadier mini-boss (220K HP), the stone corridor, and the Egg Mech boss (225K HP). Defeating the Egg Mech ends the run and teleports you back to the lobby with EXP and Gold.
Start Egg Island from the lobby
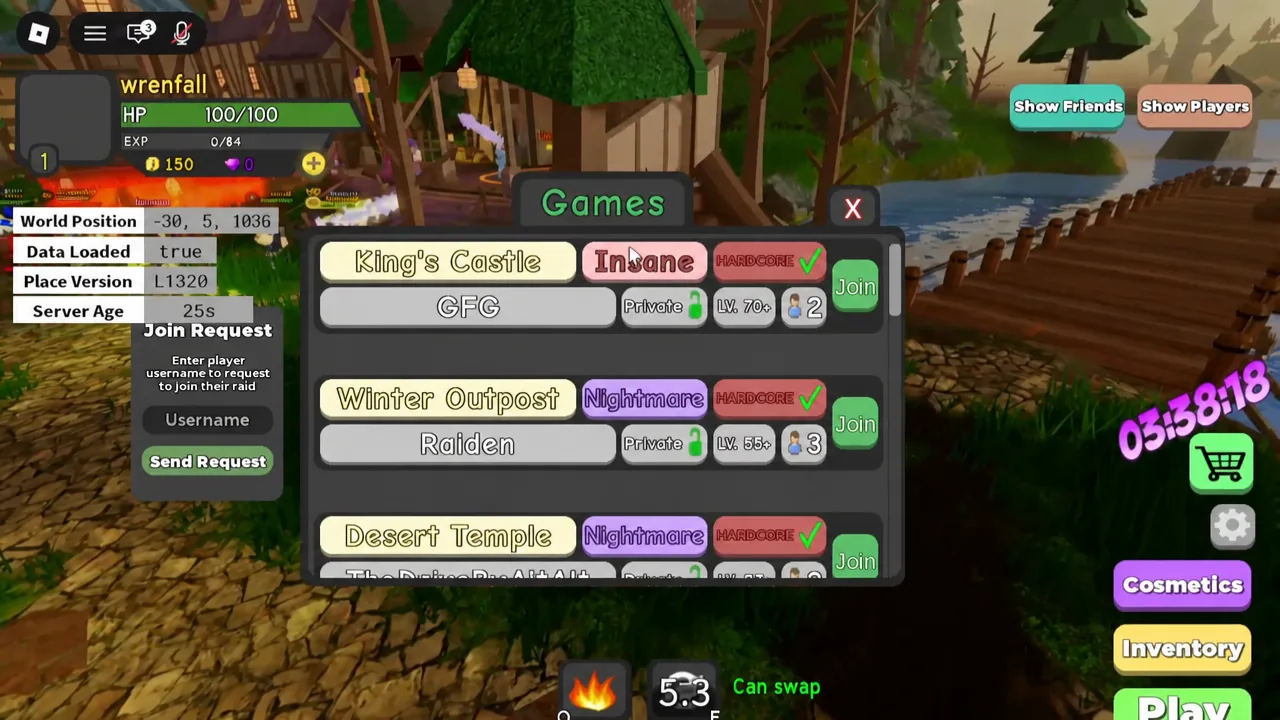
You begin in the main lobby at level 1 with 100 HP and 150 Gold. Everything you need to launch a run sits behind the Play button. Egg Island lists a Required Level of 1, so no prep is needed before you can enter it.
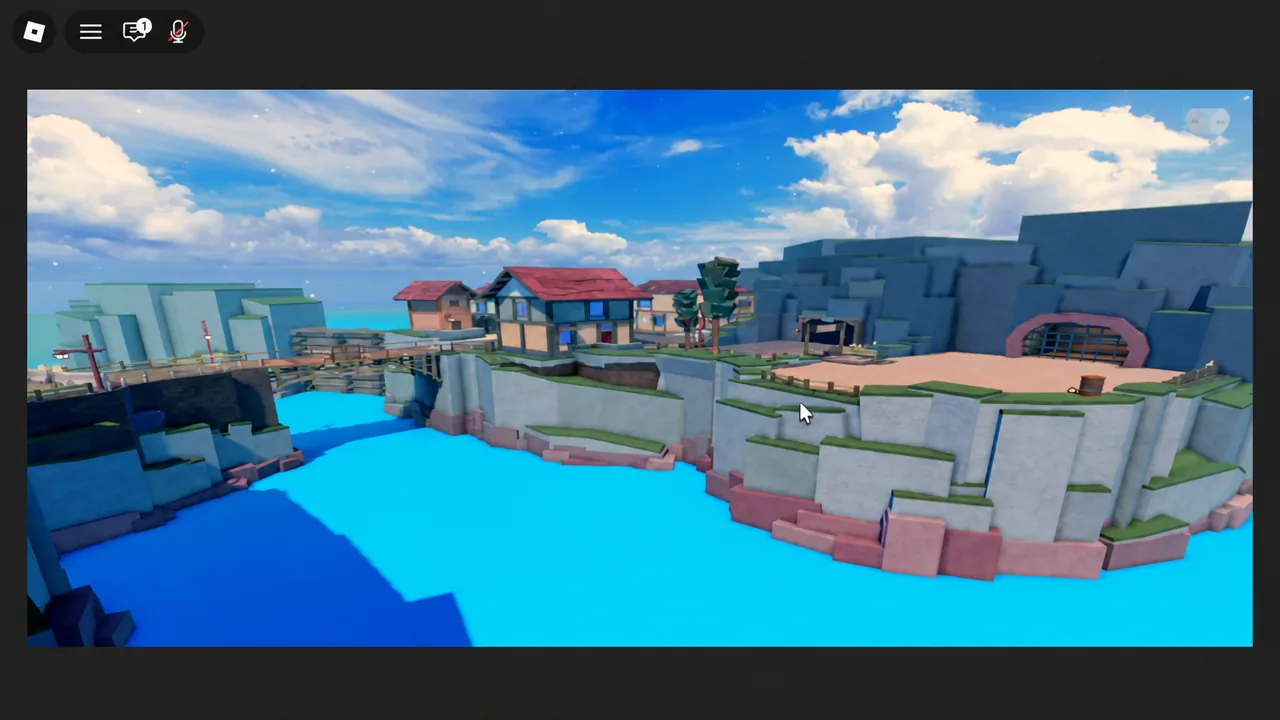
You can launch the game directly from its official Roblox experience page if you are not already in.
Set up gear and skills before the first wave
The moment you spawn inside the dungeon, open your inventory and lock in your loadout before pressing START. Your build should commit to one damage stat. Physical Power drives melee weapons and physical skills, while Spell Power drives mage skills. Mixing both spreads your stats thin and produces weaker damage.
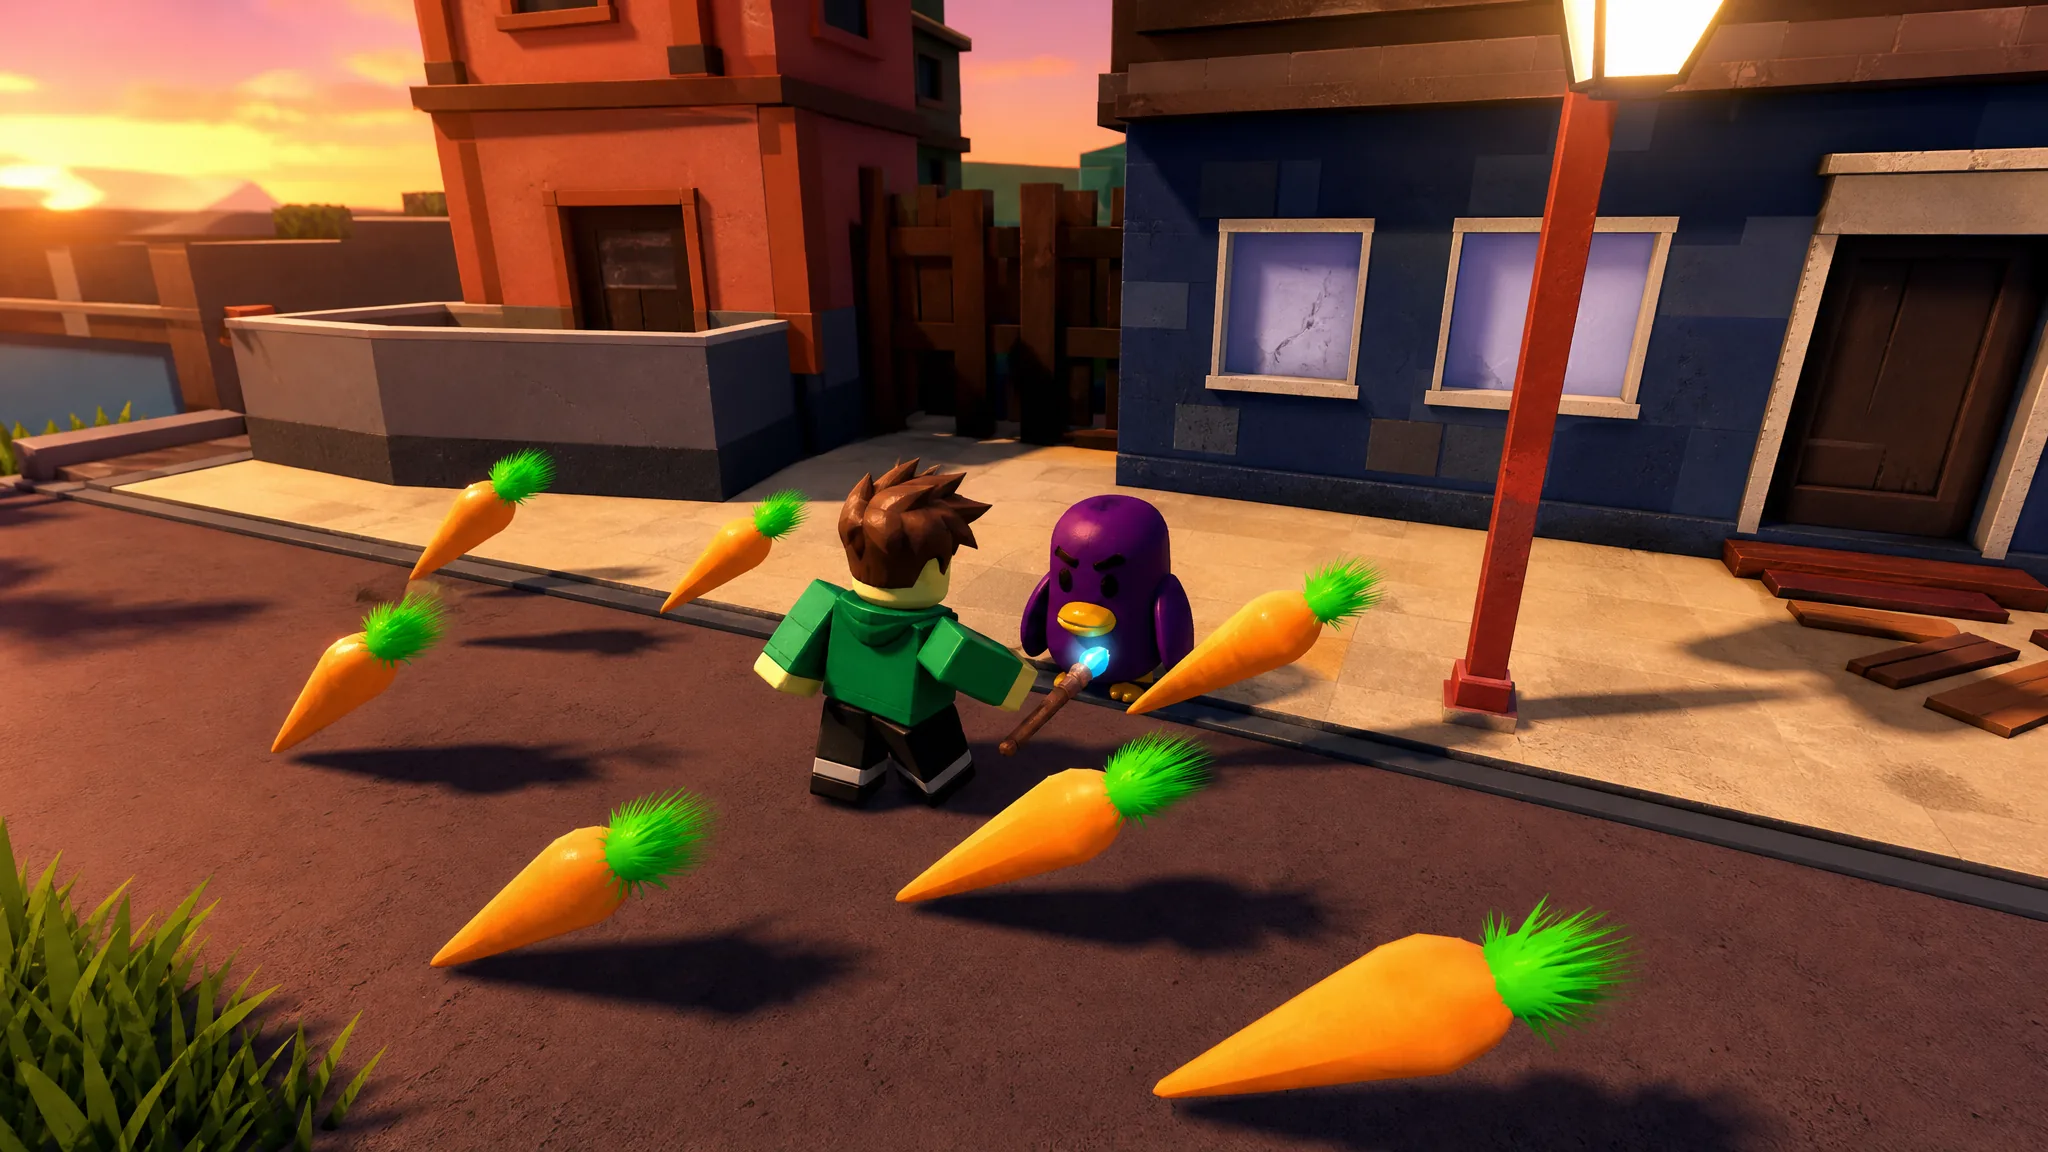
Skills are mapped to the Q and E hotkeys. The two most useful early options are Carrot Barrage, which fires multiple carrots and scales with Spell Power, and Egg Bomb, which explodes for damage that scales with Physical Damage. Assign Carrot Barrage to Q and Egg Bomb to E to cover both ranged spell damage and a physical burst.
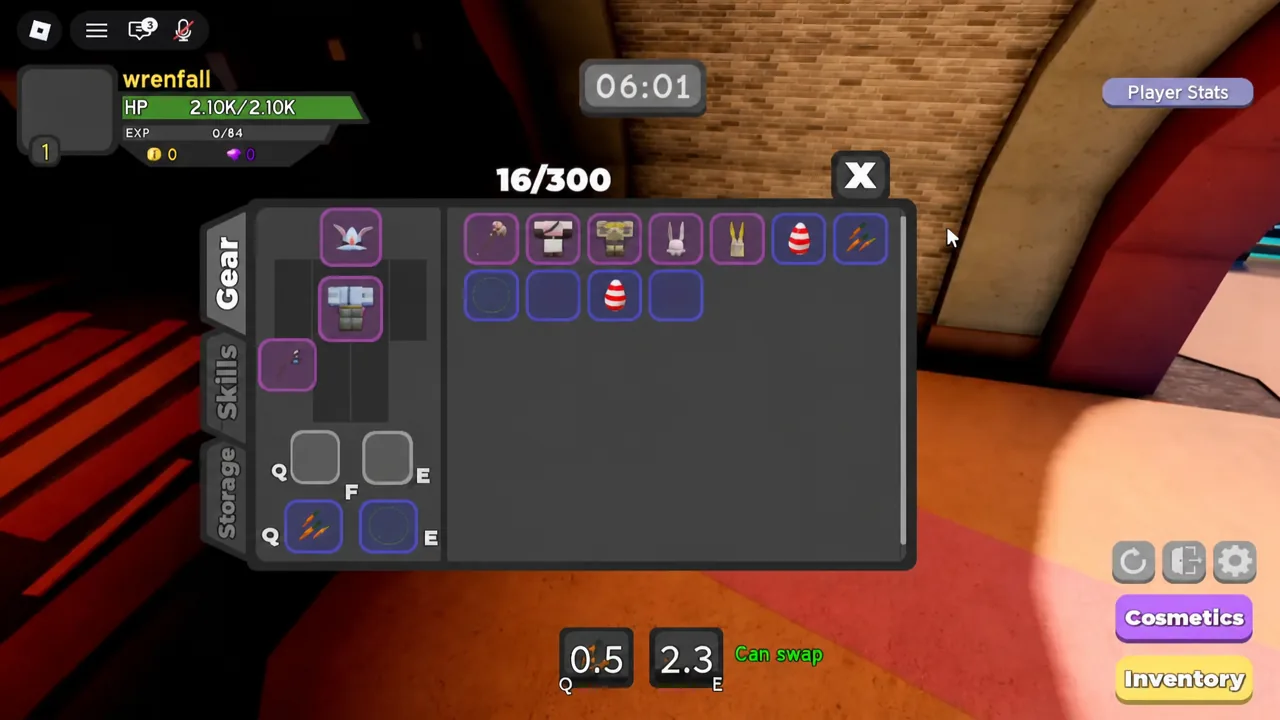
For a high physical opening, equip the Easter Guardian Armor and the Egg Maul. The Egg Maul carries 2000 Physical power, and the Guardian Armor adds 2500 Health, which gives you both hard-hitting melee and a large health pool for the mini-boss ahead. If you prefer a spell build, the Easter Mage Armor and Egg Staff push Spell Power to 2000 instead. Once your gear and skills are set, press START to open the run.
| Item | Physical | Spell Power | Health |
|---|---|---|---|
| Egg Maul | 2000 | 100 | — |
| Egg Staff | 100 | 2000 | — |
| Easter Guardian Armor | 20 | 20 | 2500 |
| Easter Mage Armor | 5 | 100 | 1000 |
Use Quick Gear Select to swap classes mid-run
Quick Gear Select lets you instantly switch between four archetypes: Warrior, Mage, Healer, and Tank. Each choice shifts your active stats toward that role, so you can favor spell power for clearing packs of weak enemies, then swap to a physical or tank setup for single tough targets.
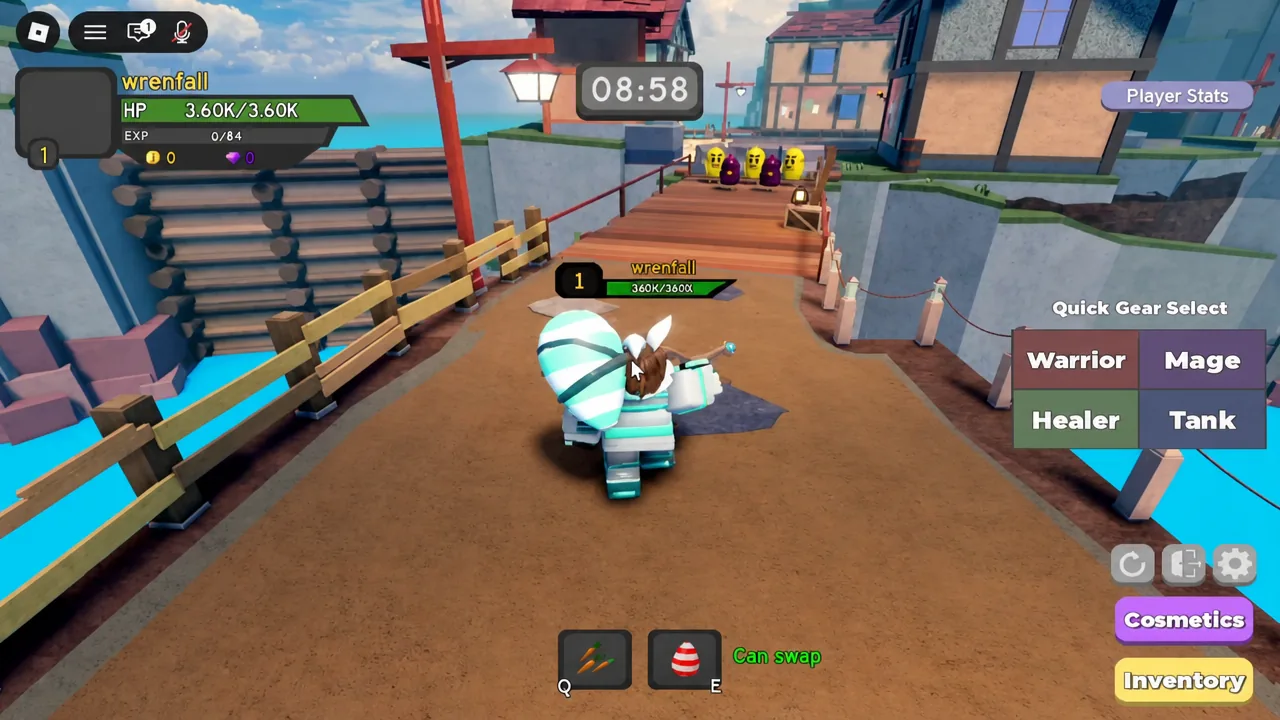
A practical pattern on Easy is to pick Mage and use Carrot Barrage to melt grouped Chicken enemies at range, then swap back to the Egg Maul through your inventory for higher physical damage on single targets. Tank shifts you toward survivability if a wave is punishing you.
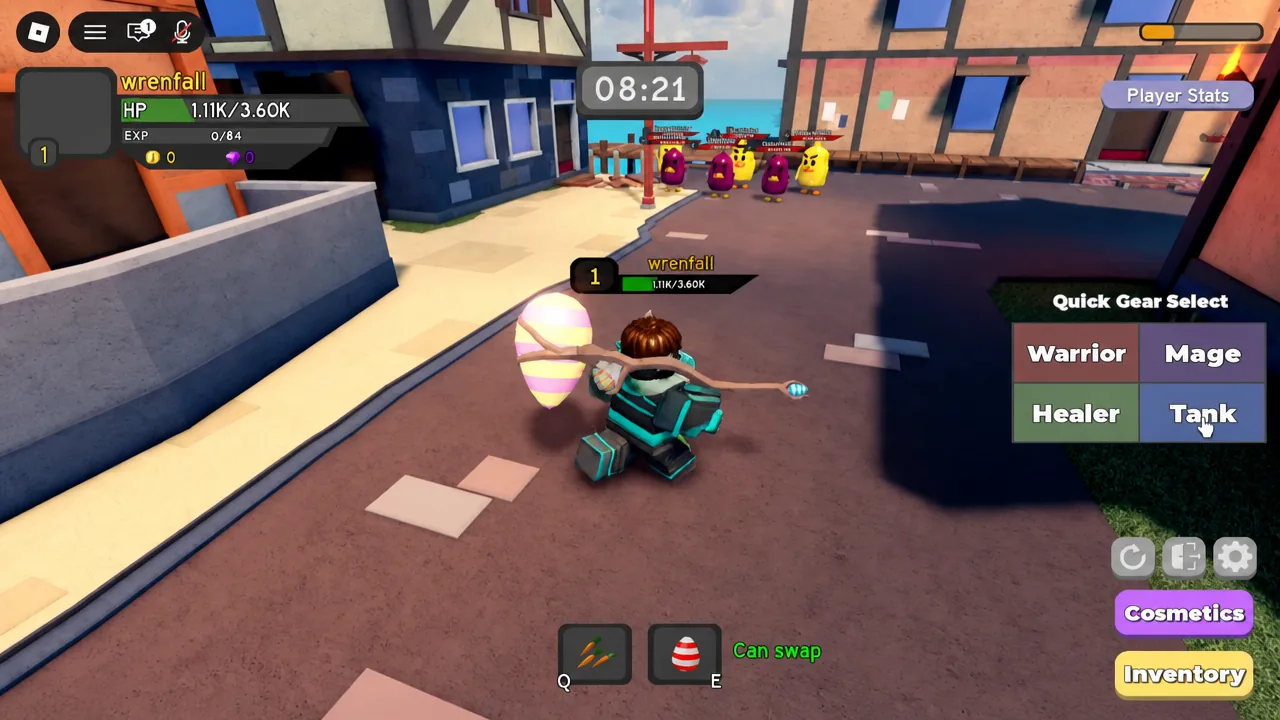
Note: You cannot swap a skill while it is on cooldown. If you try, the game shows “You cannot swap an ability while it is on cooldown.” Wait for the skill to come off cooldown, then reassign your Q and E slots.
Clear the Egg Island route in order
The Easy layout runs in four stages, from the opening bridge to the final boss chamber. Each fight ramps up in health, so pace your skills and keep your own HP topped off before the two big encounters.
| Stage | What you face | HP |
|---|---|---|
| Entry bridge | Chicken Brawler, Chicken Mage | 60K each |
| Mini-boss arena | Bunny Grenadier | 220K |
| Stone corridor | Chicken Brawler, Chicken Mage waves | 60K each |
| Boss chamber | Egg Mech | 225K |
Cross the entry bridge
Cross the wooden bridge and deal with Chicken Brawlers and Chicken Mages as they appear. Melee attacks and Egg Bomb clear them quickly, or switch to Mage and use Carrot Barrage to hit the whole group in front of you. Enter each cluster far enough to see it before committing to a long skill, and keep space so you can move if a Mage fires back.
Beat the Bunny Grenadier mini-boss
At the end of the bridge you reach the Bunny Grenadier, a 220K HP mini-boss. It marks the ground with green circular indicators and throws carrot projectiles. Step out of the green circles, dodge the carrots, and deal damage in the gaps between its attacks. After it falls, equip Life Pulse to heal your HP back to full before moving on.
Life Pulse heals all players around you and scales with Spell Power, so it makes a strong E-slot skill for the rest of the run. A common setup after the mini-boss is Carrot Barrage on Q and Life Pulse on E.
Push through the stone corridor
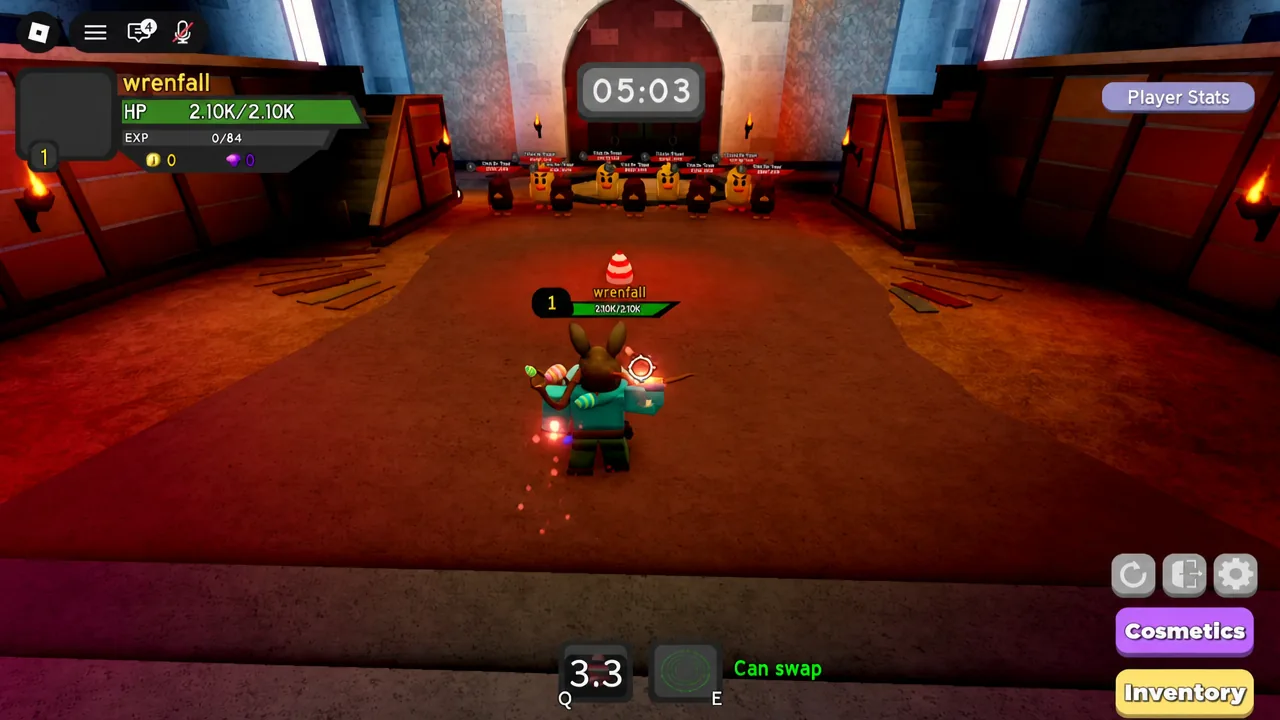
Inside the stone corridor you meet dense waves of Chicken Mages and Chicken Brawlers. Egg Bomb and Carrot Barrage together clear these packs fast. Keep enemies on screen and avoid backing into walls that cut off your escape routes.
Defeat the Egg Mech boss
You drop into the final arena to fight the Egg Mech, a 225K HP boss. It uses two main attacks: yellow fire beams and red circular ground zones. Spend the first few seconds watching so you learn the cue and recovery window of each attack, then move first and damage second.
Stay out of the red circles, sidestep the yellow beams, and use Carrot Barrage to chip its health down during safe windows. When you take damage, cast Life Pulse to recover. A steady rhythm of dodge, damage, heal is more reliable than a long attack that gets interrupted.
You know the run is complete when the Egg Mech dies, the screen fades to black, and the Dungeon Quest Reborn logo appears. The game then loads you back into the main lobby automatically. A clean Egg Island run on Easy takes a level 1 character to level 5 and can leave you with well over a thousand Gold.
What to do back in the lobby
Completing the dungeon rewards EXP and Gold, which fund your next steps. Back in the lobby, compare each dropped item against the slot it could replace instead of keeping items purely by rarity. Check the item’s category, whether its useful stats actually improve on what you have, and which run produced it before you commit upgrade resources.
Raise the difficulty only once your Easy clear is repeatable. If normal rooms are eating your time, improve your area damage or movement first. If only the boss is a problem, keep the same route and practice its attack cues. When a clear feels comfortable, test the next difficulty once and compare what the reward screen actually gives you before making it your farm.
From Egg Island, the dungeon chain continues through maps such as Winter Outpost, Pirate Island, and King’s Castle, each with tougher enemy patterns and better gear. The same loop carries all the way up: clear a dungeon you can handle, keep the drops that improve your main stat, upgrade selectively, and move forward when your current stage stops slowing you down.