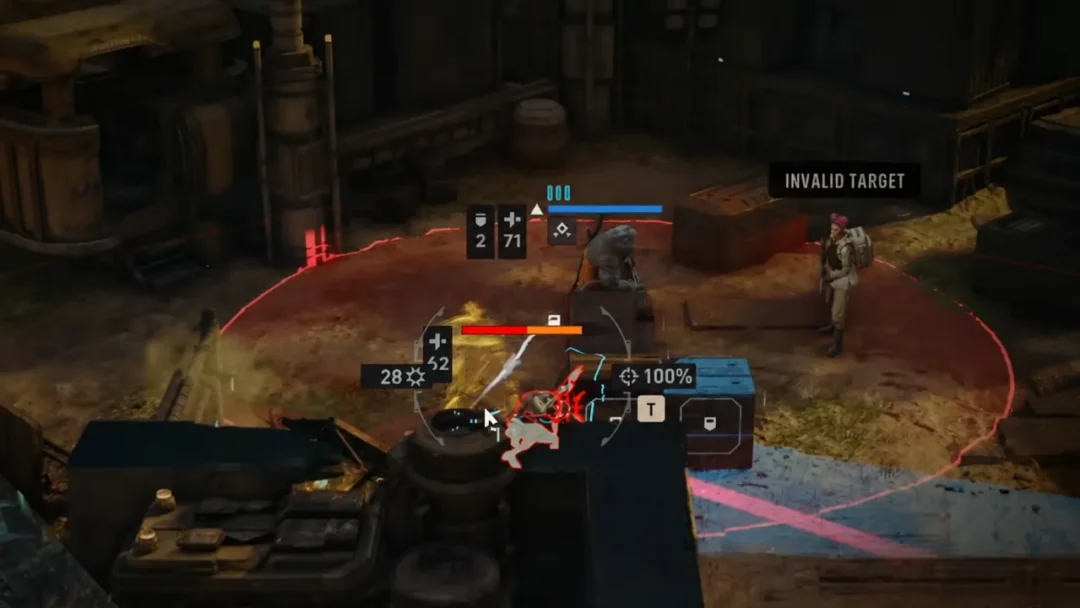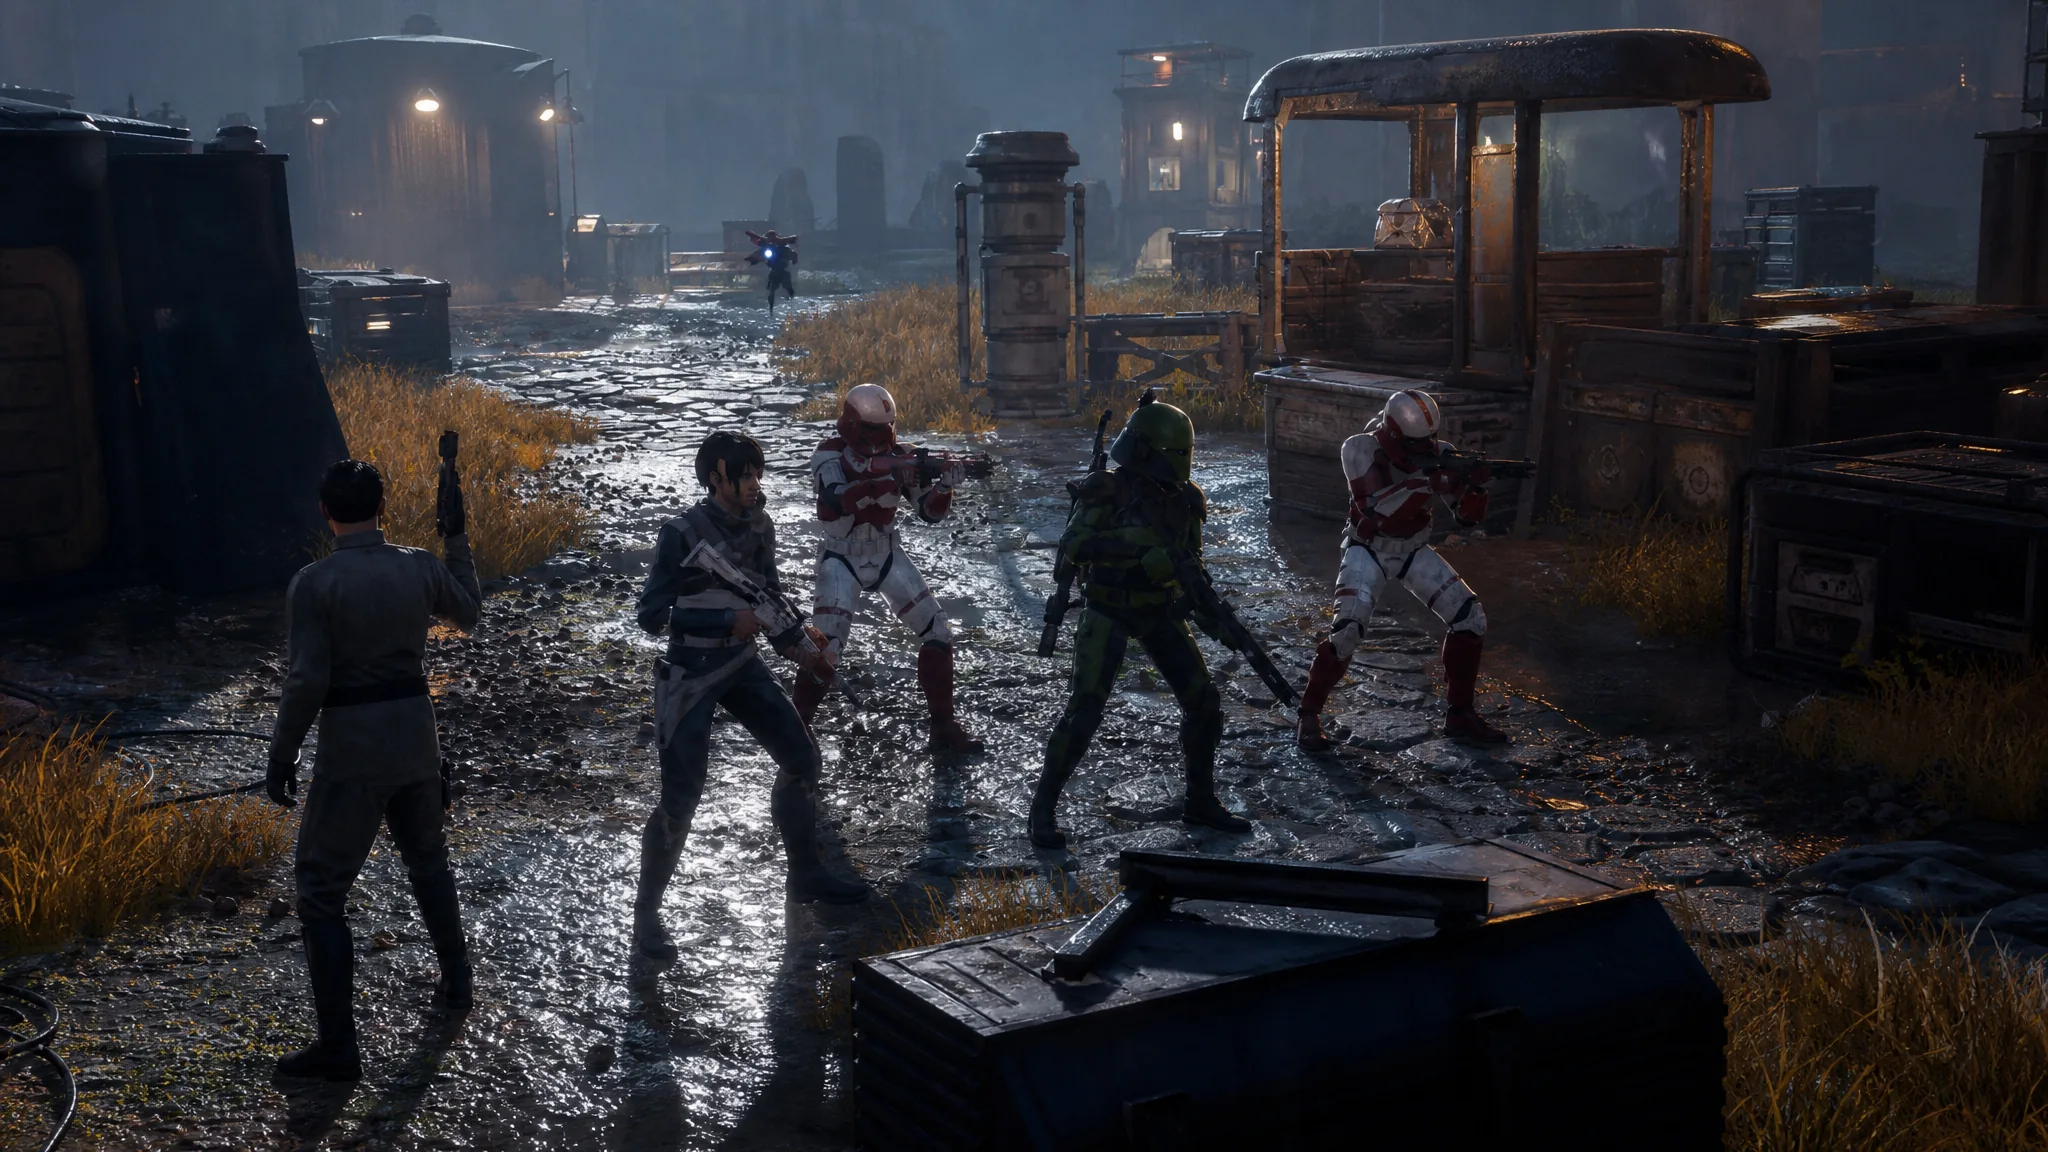
The rescue mission built around the captured Republic Officer is two fights stacked on top of each other. The first half is a straightforward push across the map toward the building where the target is held. The second half starts the moment you reach him, when the objective flips to EVACUATE ALL OPERATORS and the map fills back up with enemies behind you.
Quick answer: Clear the Coil forces on the approach, move an operator into the structure to free the Republic Officer, then walk all five operators into the yellow evacuation grid with the officer still alive.
Mission conditions for “Rescue the Captured Official”
The mission tracks a primary objective with sub-objectives underneath it, and both change partway through. Knowing which phase you are in tells you whether to hold ground or keep moving.
| Phase | What the game asks for |
|---|---|
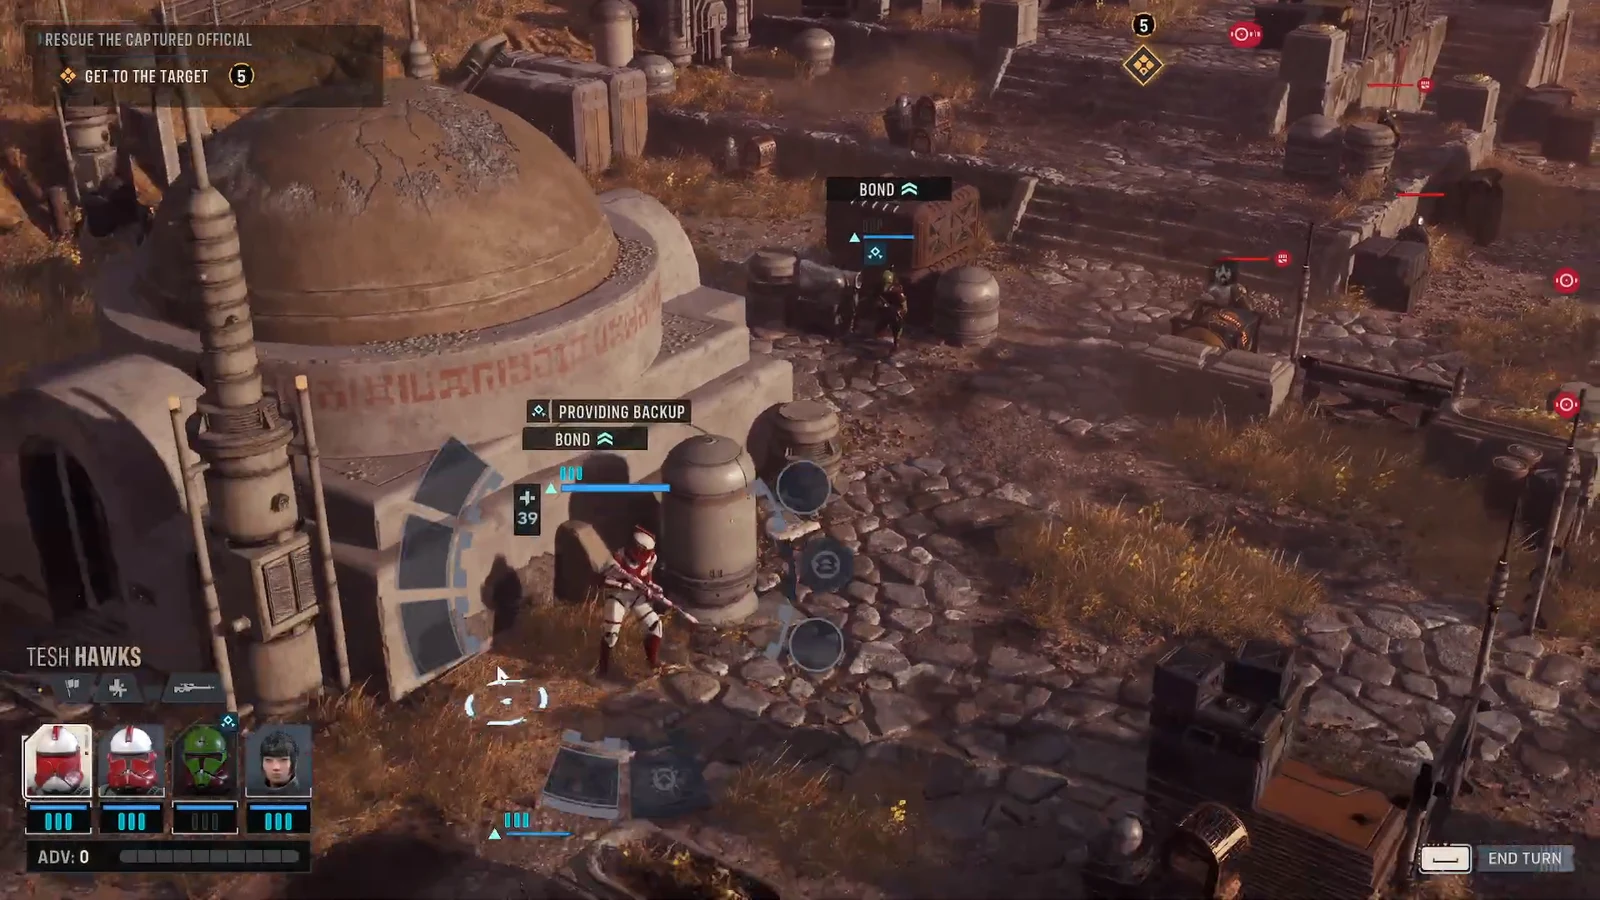
| Approach | RESCUE THE CAPTURED OFFICIAL / GET TO THE TARGET — reach the building holding the Republic Officer |
| After contact | EVACUATE ALL OPERATORS — reinforcements spawn, and THE TARGET MUST SURVIVE becomes a live failure condition |
| Completion | All five operators standing inside the yellow evacuation grid |
Note: reaching a hostage before you have thinned out the enemy force is what triggers the reinforcement wave. Sprinting straight for the target is possible, but you pay for it on the way back out.
Squad picks and abilities that matter
Trick belongs on the front line. His automatic revive means he can absorb the opening exchange with Coil Strikers and Enforcers without costing you a Rally action or an injury on someone more fragile. Grit and Bull Rush both suit that role.
Bring healing, and bring more than one source of it. Medpac Mk. II covers ordinary chip damage between fights, while Combat Stim III is the tool you save for the officer himself later. A support ability like Morale Boost, which heals operators grouped near the user, is worth building the final turns around.
Overwatch is less useful here than it is in a hold-the-line mission. Rescue and extraction objectives punish setting up firing lanes and waiting, because the map keeps asking you to move. Spend the third action point on repositioning or an ability more often than on a reaction shot.
Fighting your way to the target
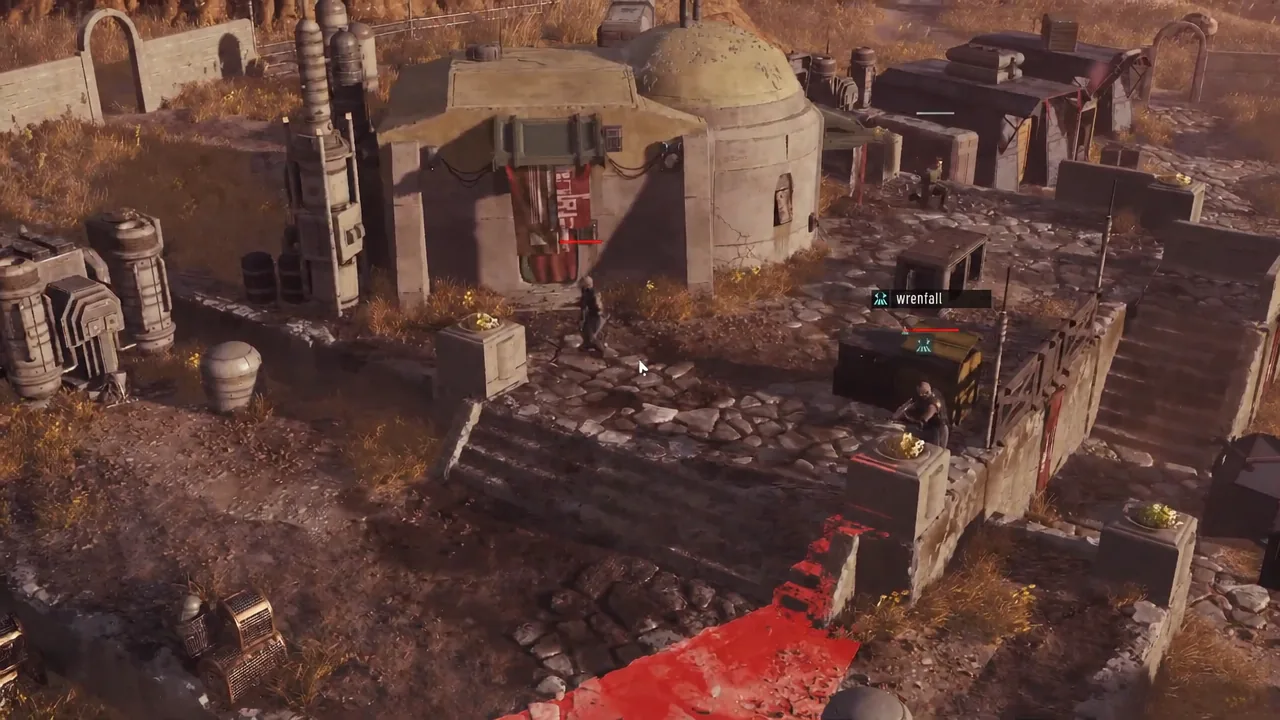
Reaching the Republic Officer and surviving the reinforcements
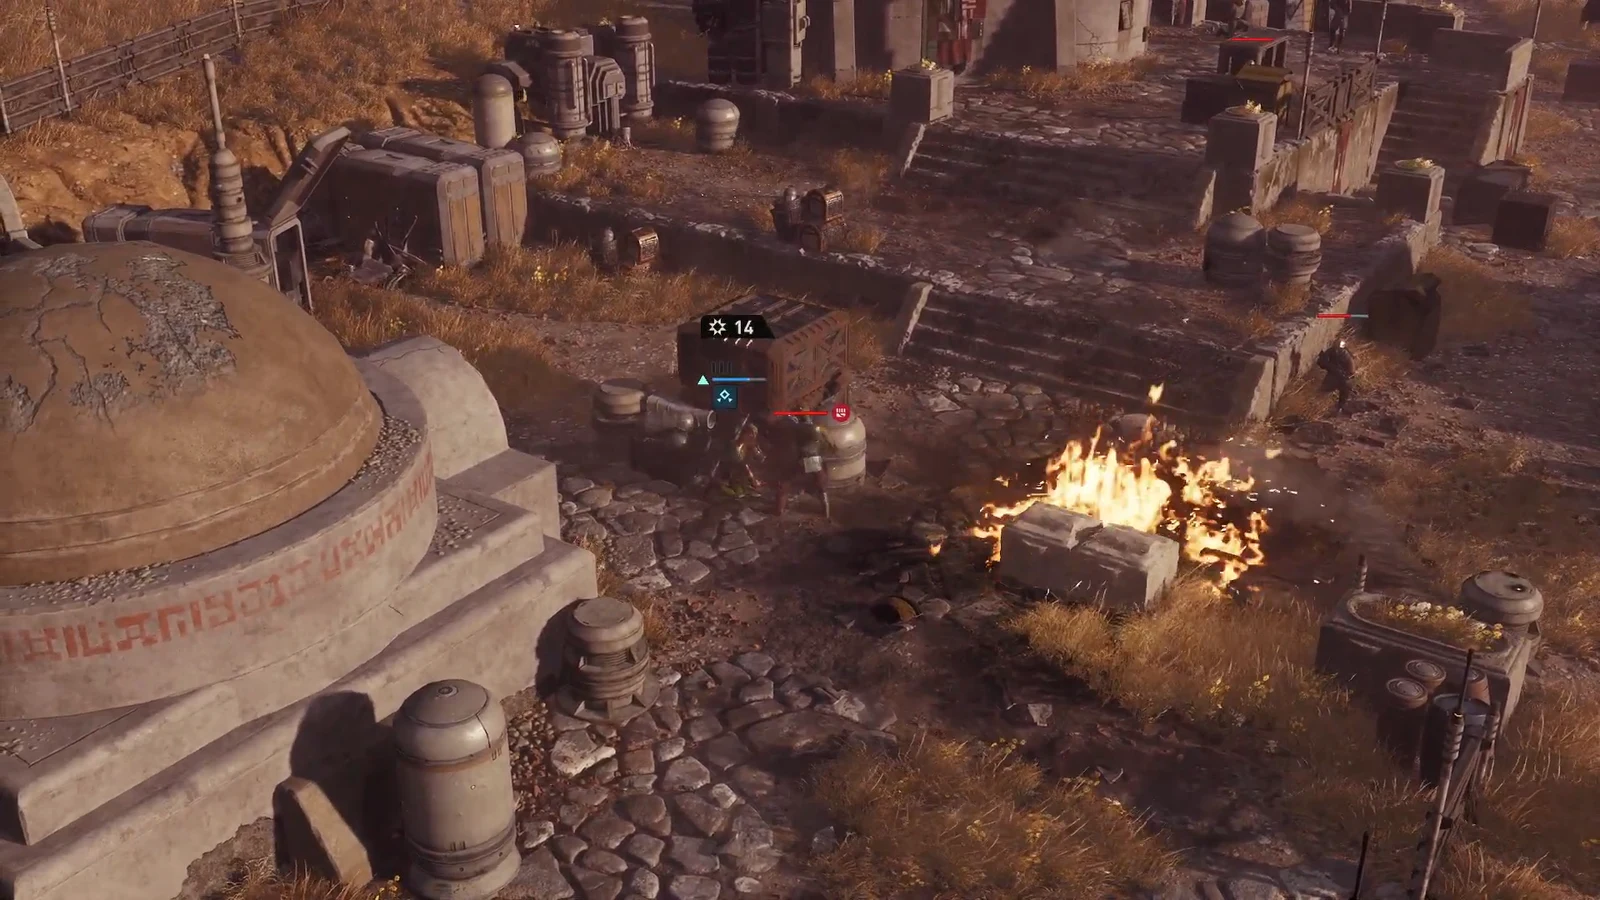
Once an operator reaches the Republic Officer, the mission text changes and REINFORCEMENTS INCOMING appears. Fresh enemies spawn, and they tend to arrive between your squad and the way out, so treat the rescue itself as the start of the hard part rather than the finish.
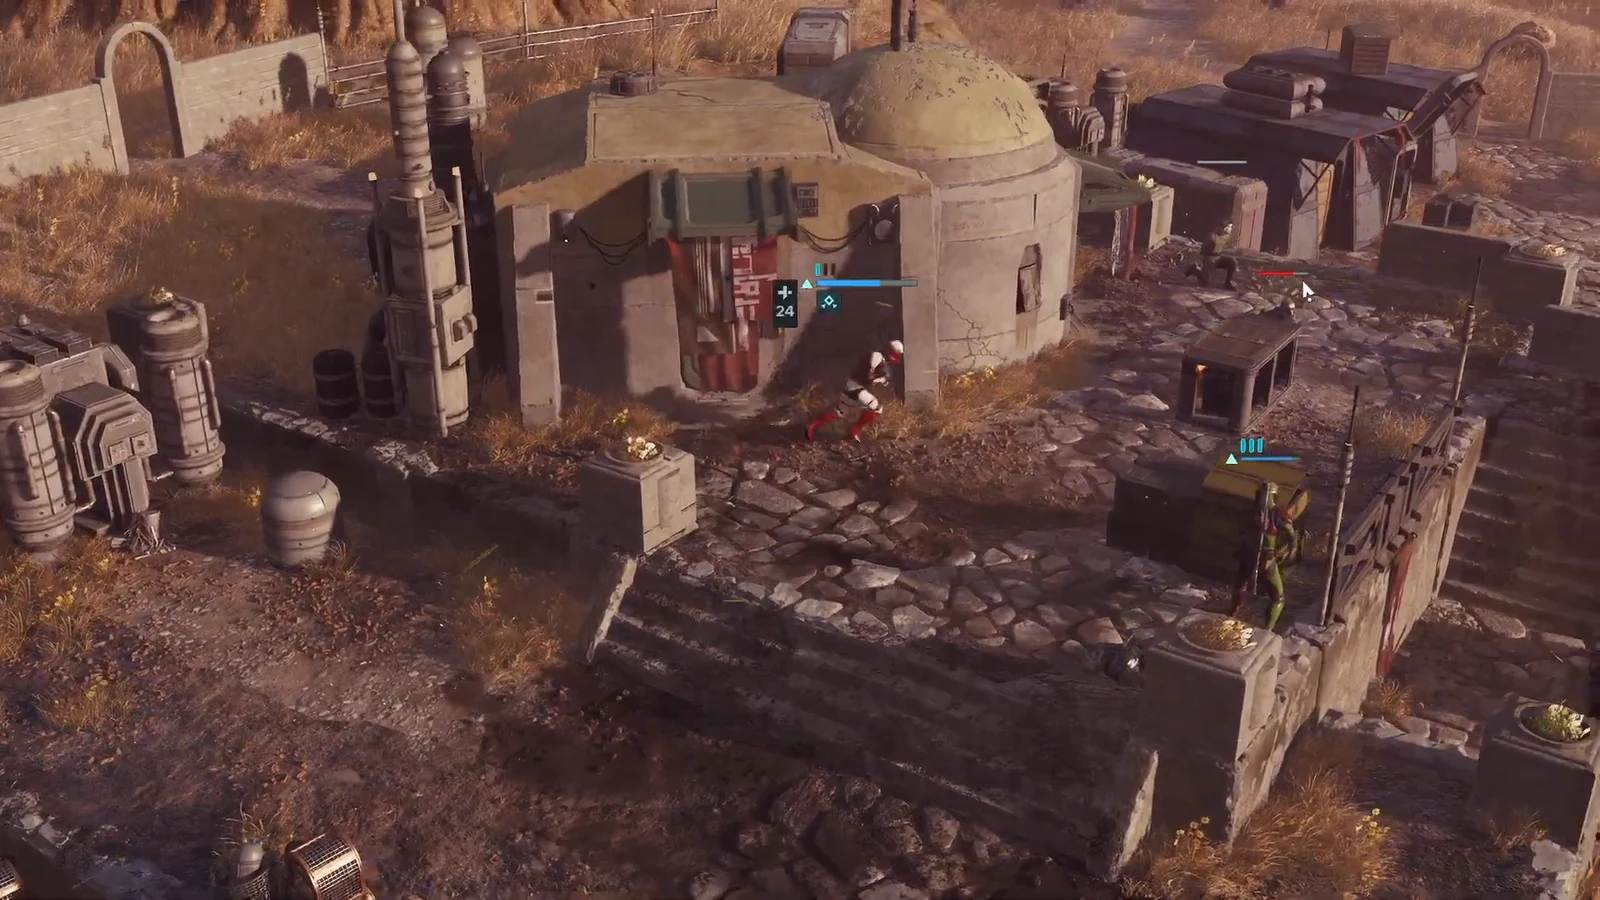
The officer is now a failure condition. He has his own health bar and he is not built to trade shots, so keep at least one operator between him and the nearest enemy line. If he starts taking damage, a Combat Stim III on him is a better use of a turn than another attack.
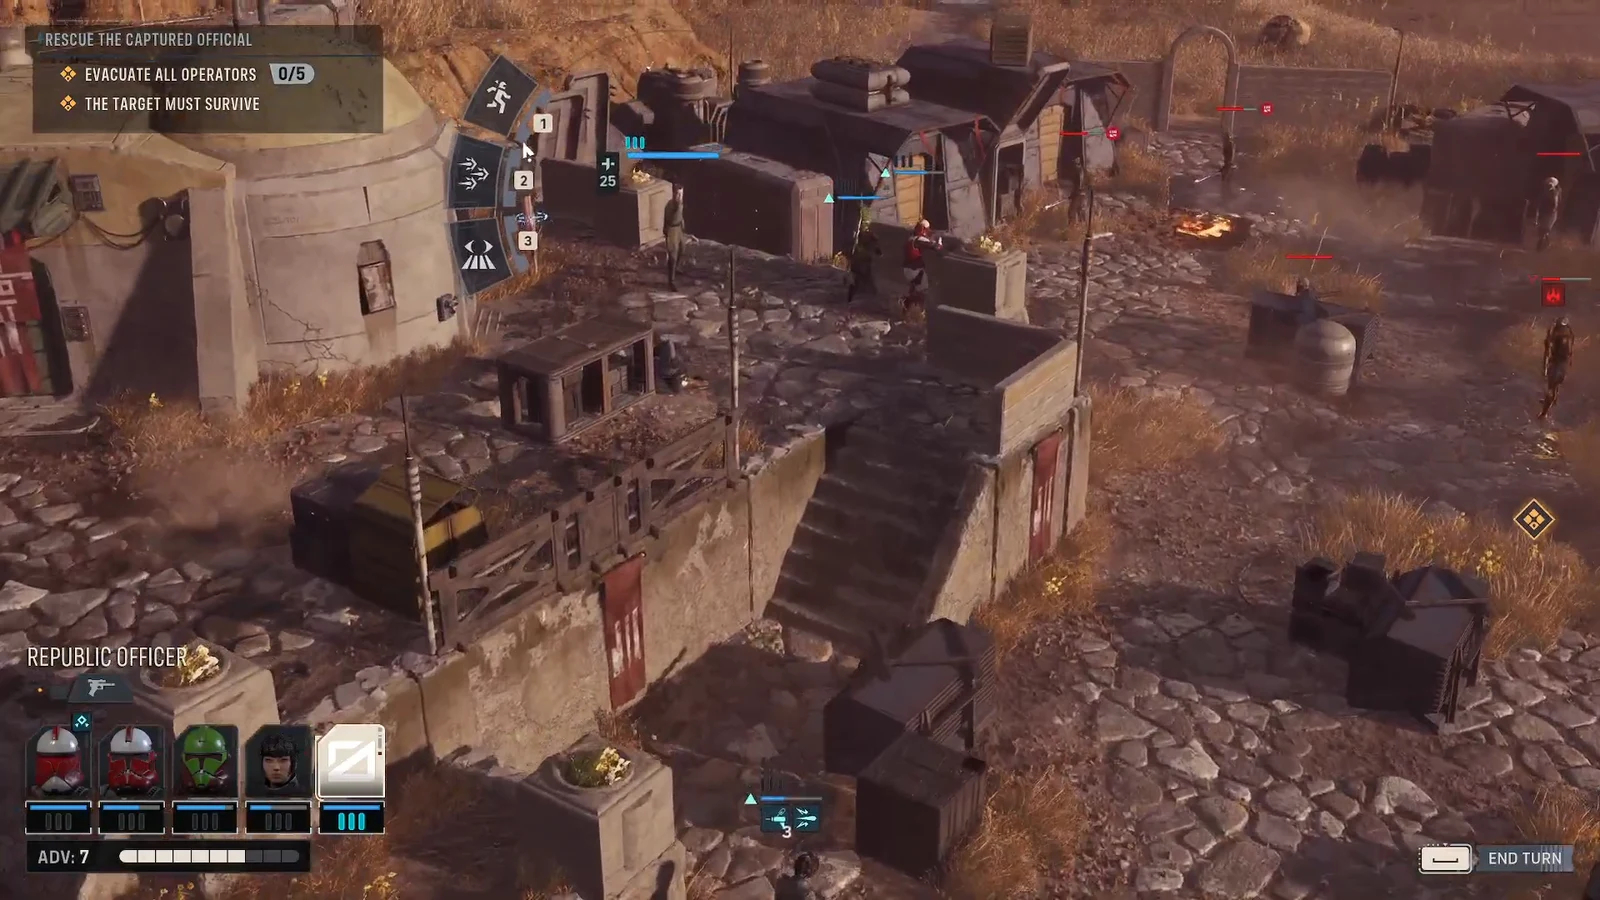
Retreat as a group rather than as individuals. Keeping the squad clustered lets a single Morale Boost heal several operators at once, and it stops the reinforcements from picking off a straggler who moved too far ahead of the rest.
Completing the evacuation
The mission ends when every operator is standing inside the highlighted yellow grid, not when the last enemy dies. Plan the final two turns around movement distance to that grid and clear only what is actually blocking the path.
You will know it worked when all five operators occupy the zone and the mission resolves on its own. Downed squadmates are not automatically a loss here either, since a knocked-down operator can be carried out through the evacuation point.
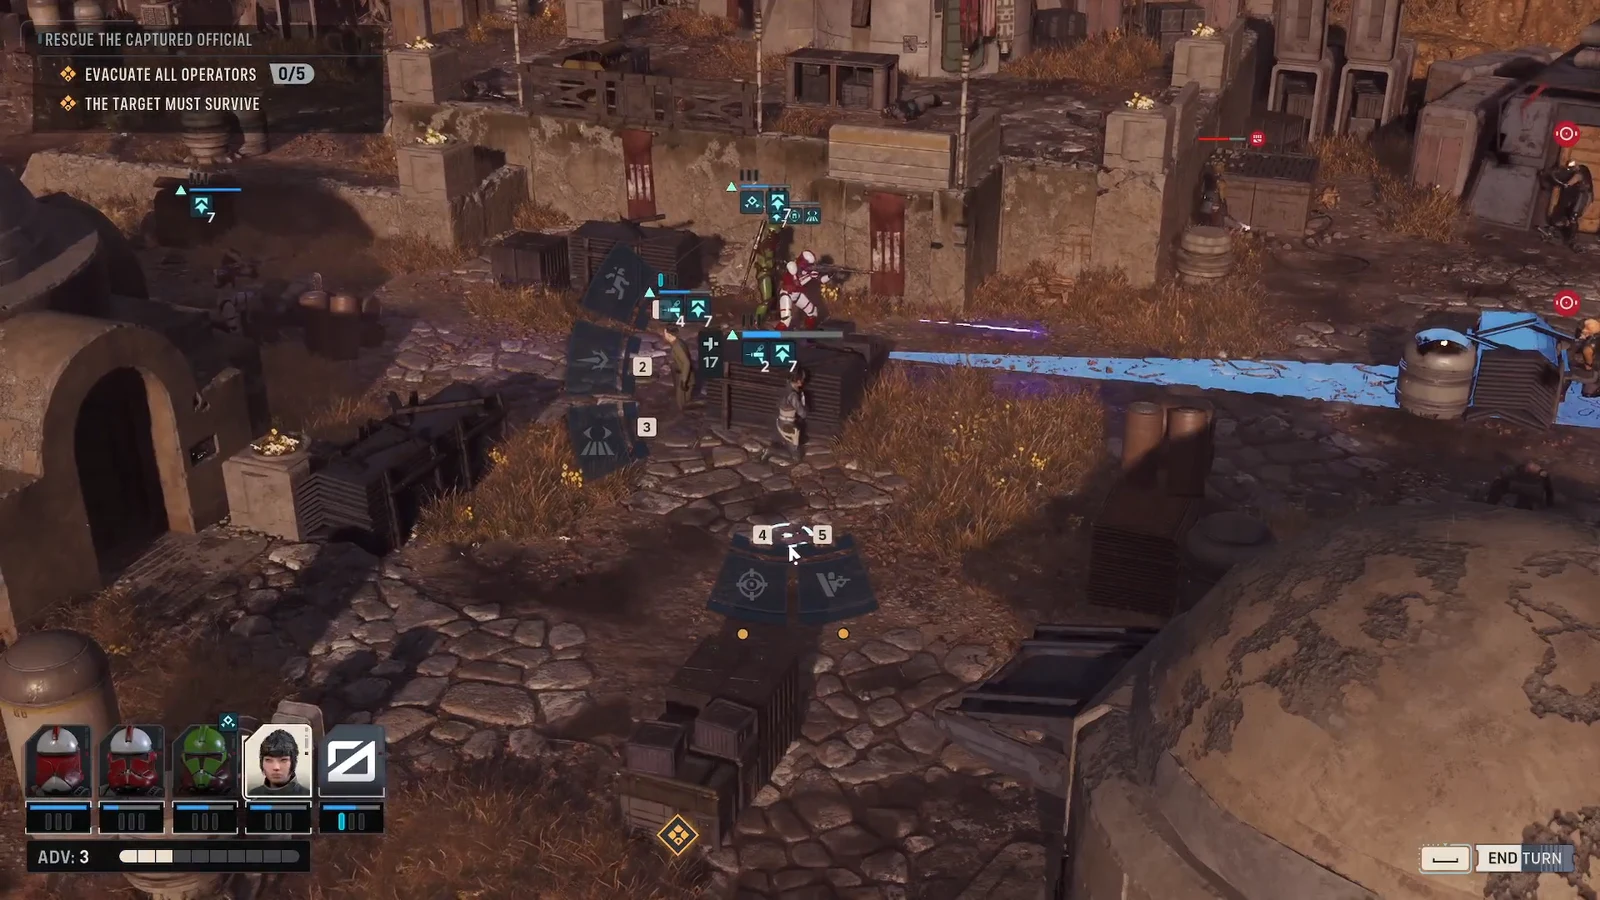
Why the mission fails
| Cause | Fix |
|---|---|
| The Republic Officer is killed during the retreat | Keep him behind cover and spend a combat stim on him early rather than at low health |
| Reinforcements cut off the exit | Thin out the original enemy force before touching the target, and move toward the grid every turn |
| An operator is left outside the evacuation zone | Check movement range for all five operators before ending the turn; carry anyone who is down |
| The squad stalls in overwatch | Spend leftover action points on movement and abilities, since this objective rewards pushing forward |
If a run goes badly, the mission can be restarted from the game menu with the same operators, which is worth doing when permadeath is on and you lose someone in the last few tiles. With the officer extracted and the squad intact, you return to the Den and the cycle advances as normal.