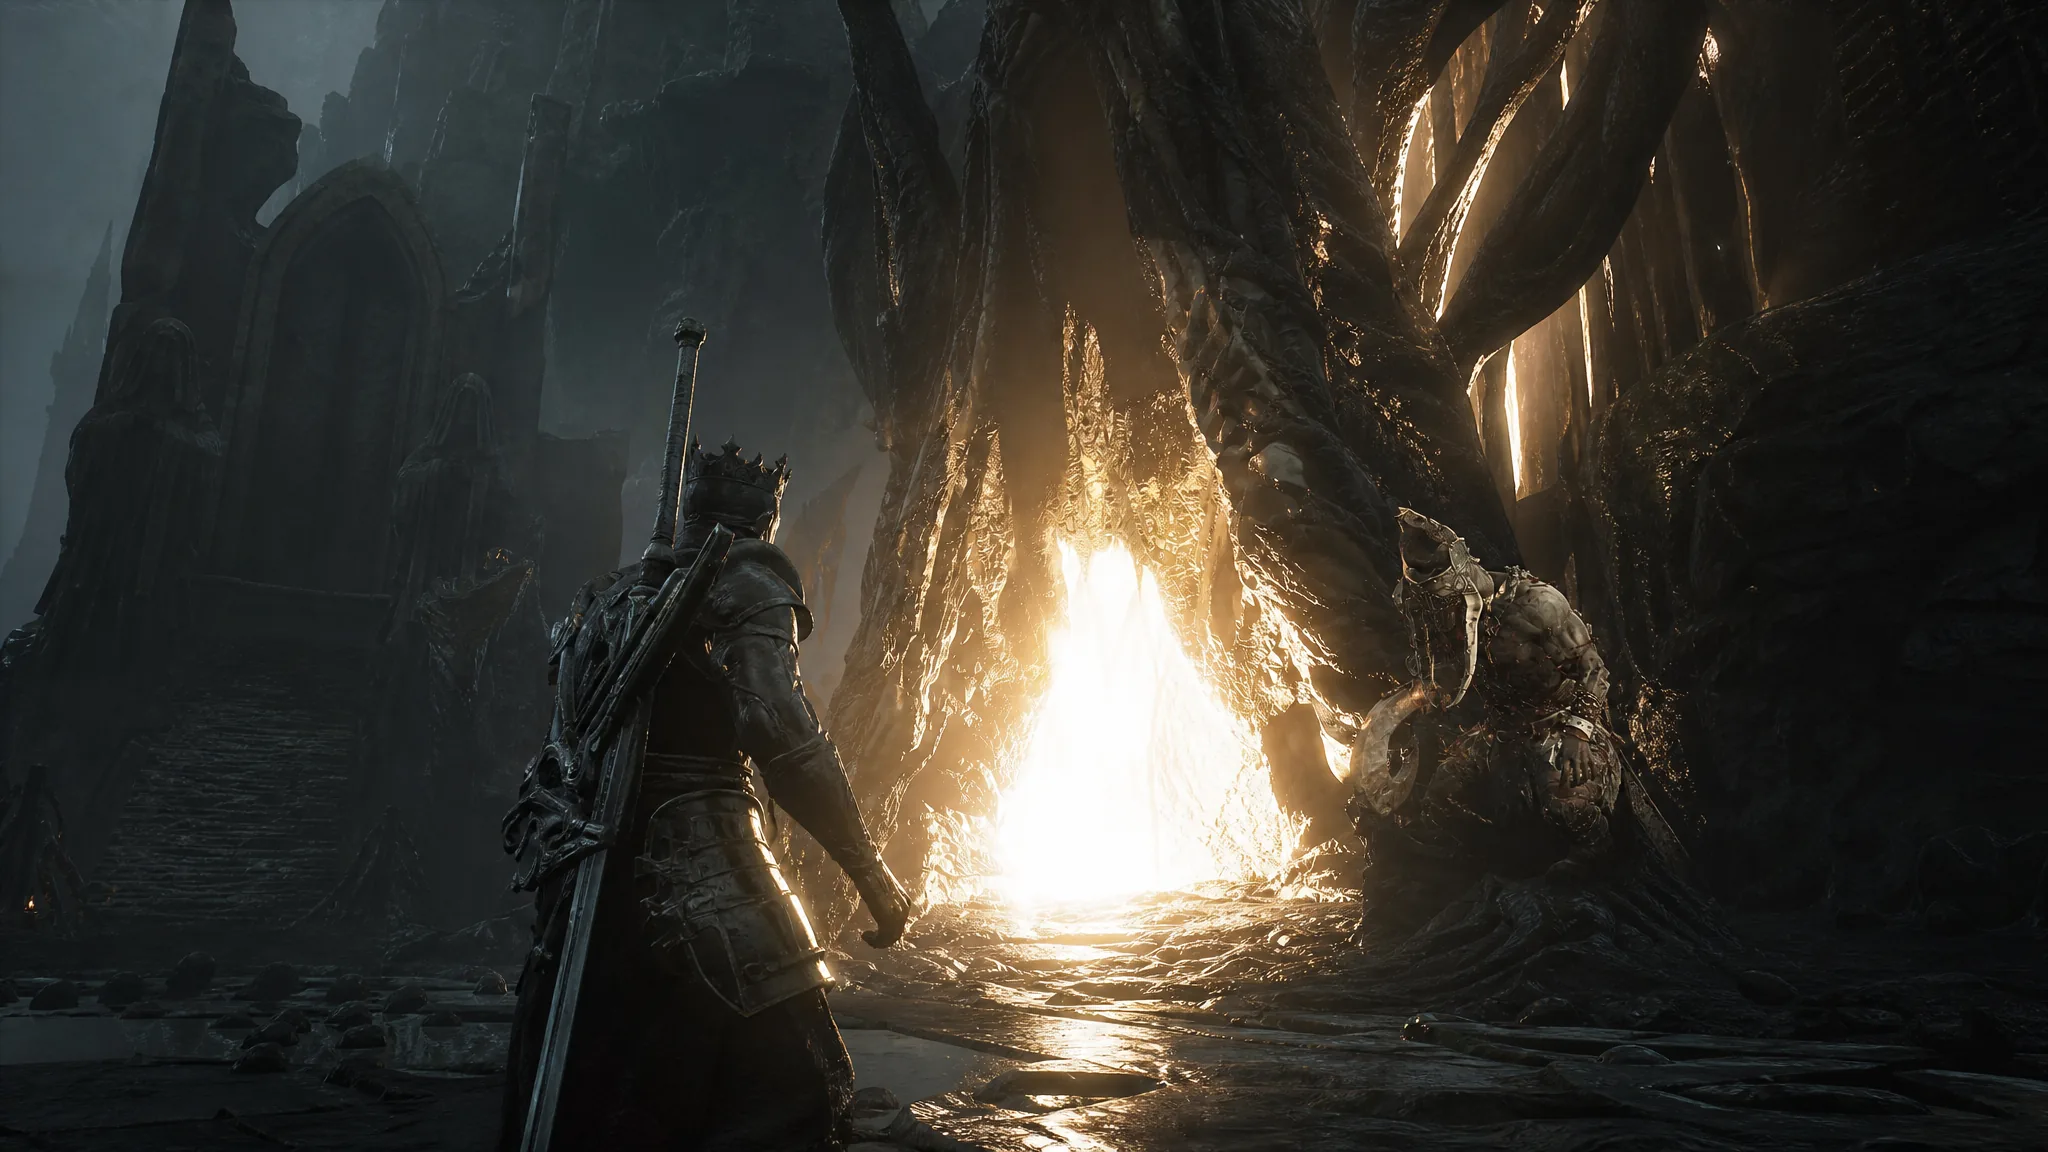
The Nochtean Gate is one of the earlier beacons you can clear in Fainweald, and it is the one gating your path toward the Prisoner’s Domain. Cleansing it means dropping into the Abandoned Shrine, a short dungeon that ends with a shield-swinging mini-boss called Vrago, Solikar Champion. Beat him and you walk out with the Voltaic Crown tarstone and an Ova, plus the large Corrupted Gate behind the beacon finally opens.
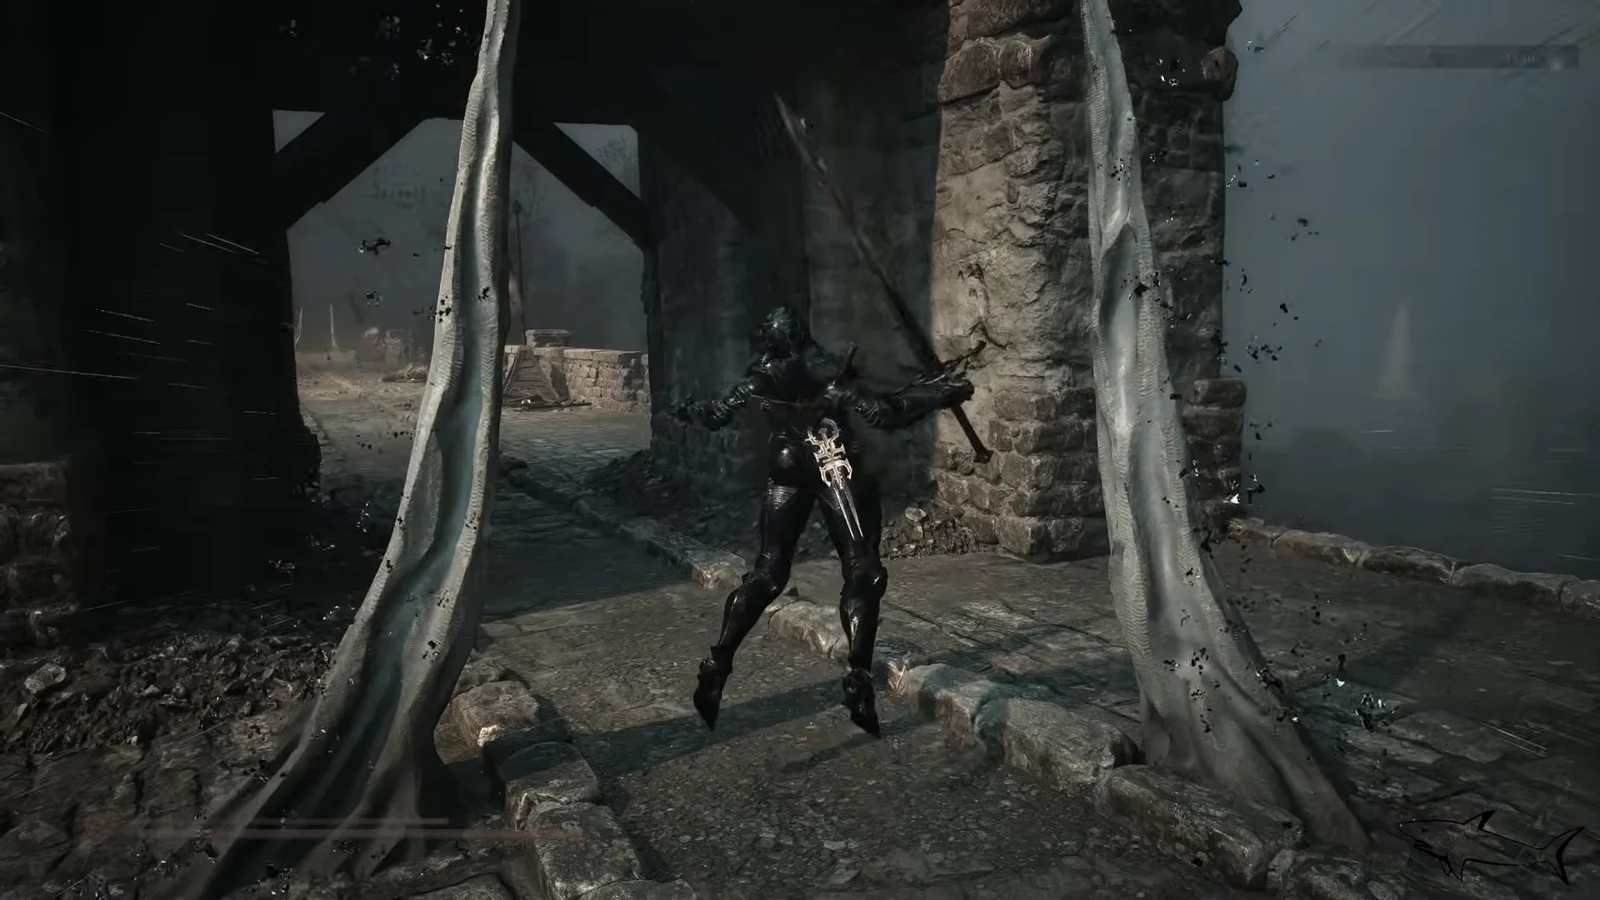
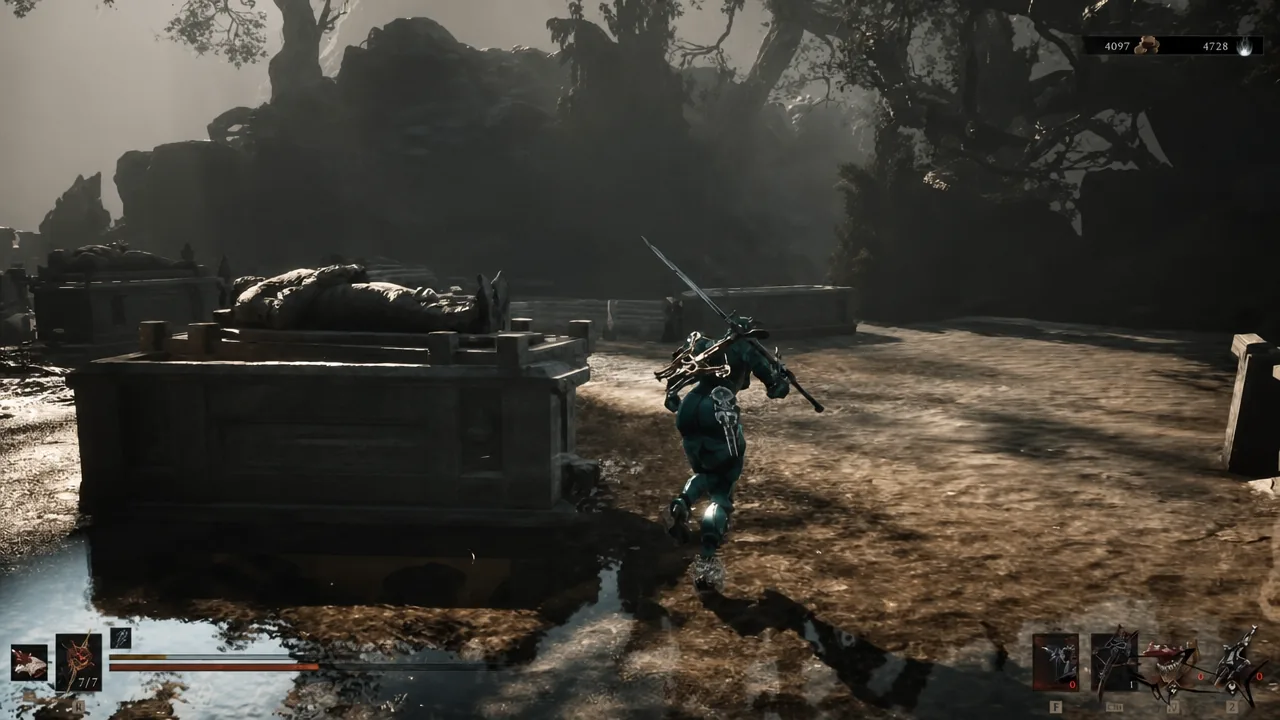
Quick answer: Head west from Widow’s Overlook to the far end of the Ruins of Nochte, activate the Nochtean Gate beacon inside the castle ruins, select Cleanse Beacon to descend into the Abandoned Shrine, kill Vrago, then interact with the corruption on the right side of his arena to claim the Ova.
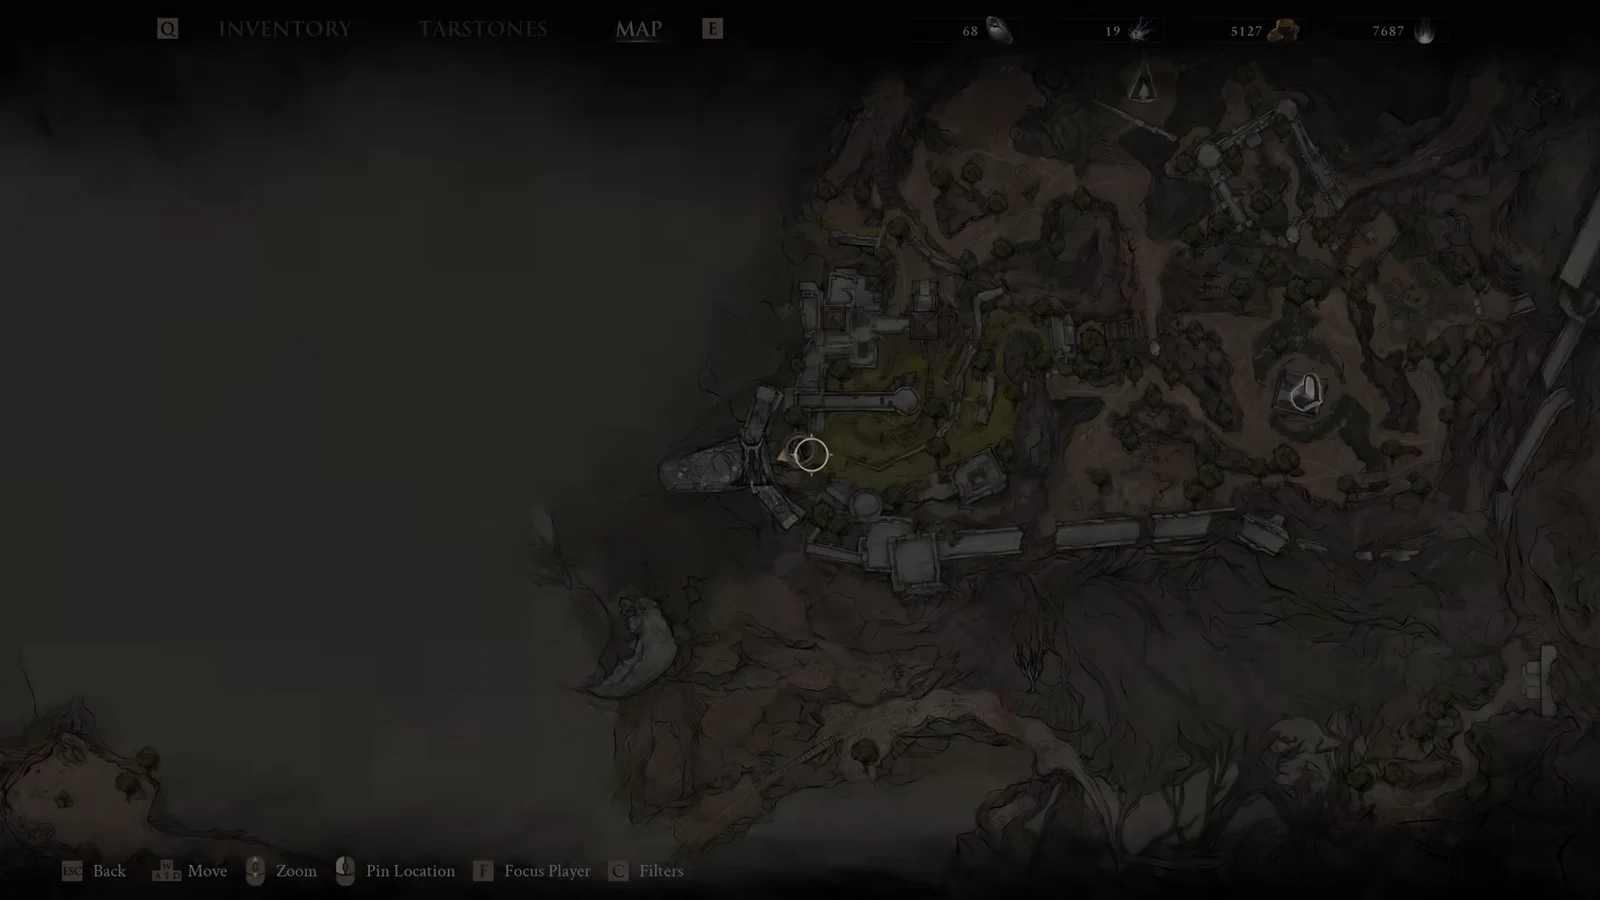
Nochtean Gate Beacon location in Fainweald
The beacon sits southwest of Fainweald, at the very end of the Ruins of Nochte and south of the Citadel of Penance. It is tucked inside a castle structure, which is why plenty of players run straight past it. It is listed as the fourth beacon in the Mether’s Breath fast travel menu, and it holds the Abandoned Shrine dungeon.
| Detail | Value |
|---|---|
| Region | Fainweald (Ruins of Nochte) |
| Dungeon inside | Abandoned Shrine |
| Boss | Vrago, Solikar Champion |
| Nearest beacon | Outskirts of Nochte (on The Hag’s Path) |
| Main reward | Voltaic Crown tarstone, Ova, Glimpse, Gloom |
| Unlocks | The Corrupted Gate directly behind the beacon |
Route from Widow’s Overlook to the Nochtean Gate
How to cleanse the beacon and enter the Abandoned Shrine
Interact with the lit beacon and pick the Cleanse Beacon option instead of Mether’s Breath. That sends you underground into the Abandoned Shrine. Follow the corridor to the end and ride the elevator down to reach the dungeon proper.
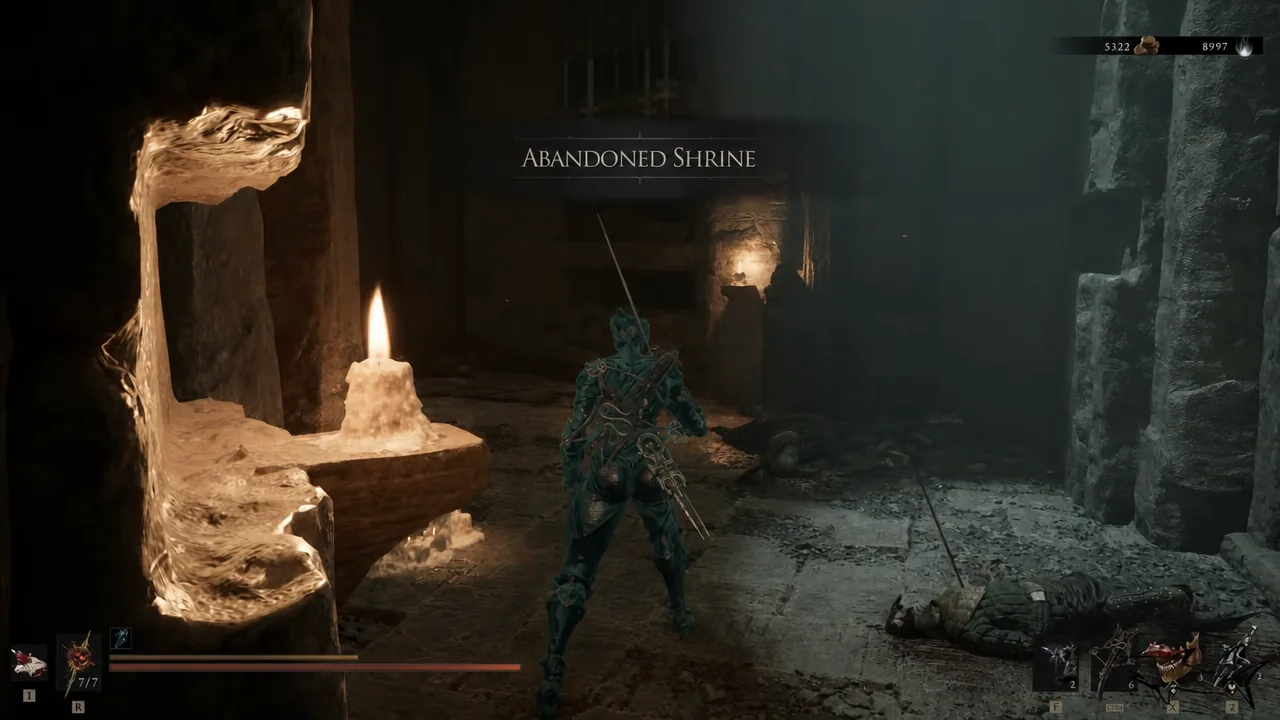
A Foul Knight is waiting in the first open area. Deal with it, then drop into the lower section where two more Foul Knights are patrolling. Neither group is difficult, but fighting all three at once in the lower room is an easy way to waste healing before the boss.
Every pickup inside the Abandoned Shrine
From the lower area, walk straight toward the far wall to find a chest holding 1,500 coins. Some of these stashes sit on top of stacked wooden crates, so look up and climb if the chest is not at ground level. The growth tree immediately to the right of the chest gives you Laterite.
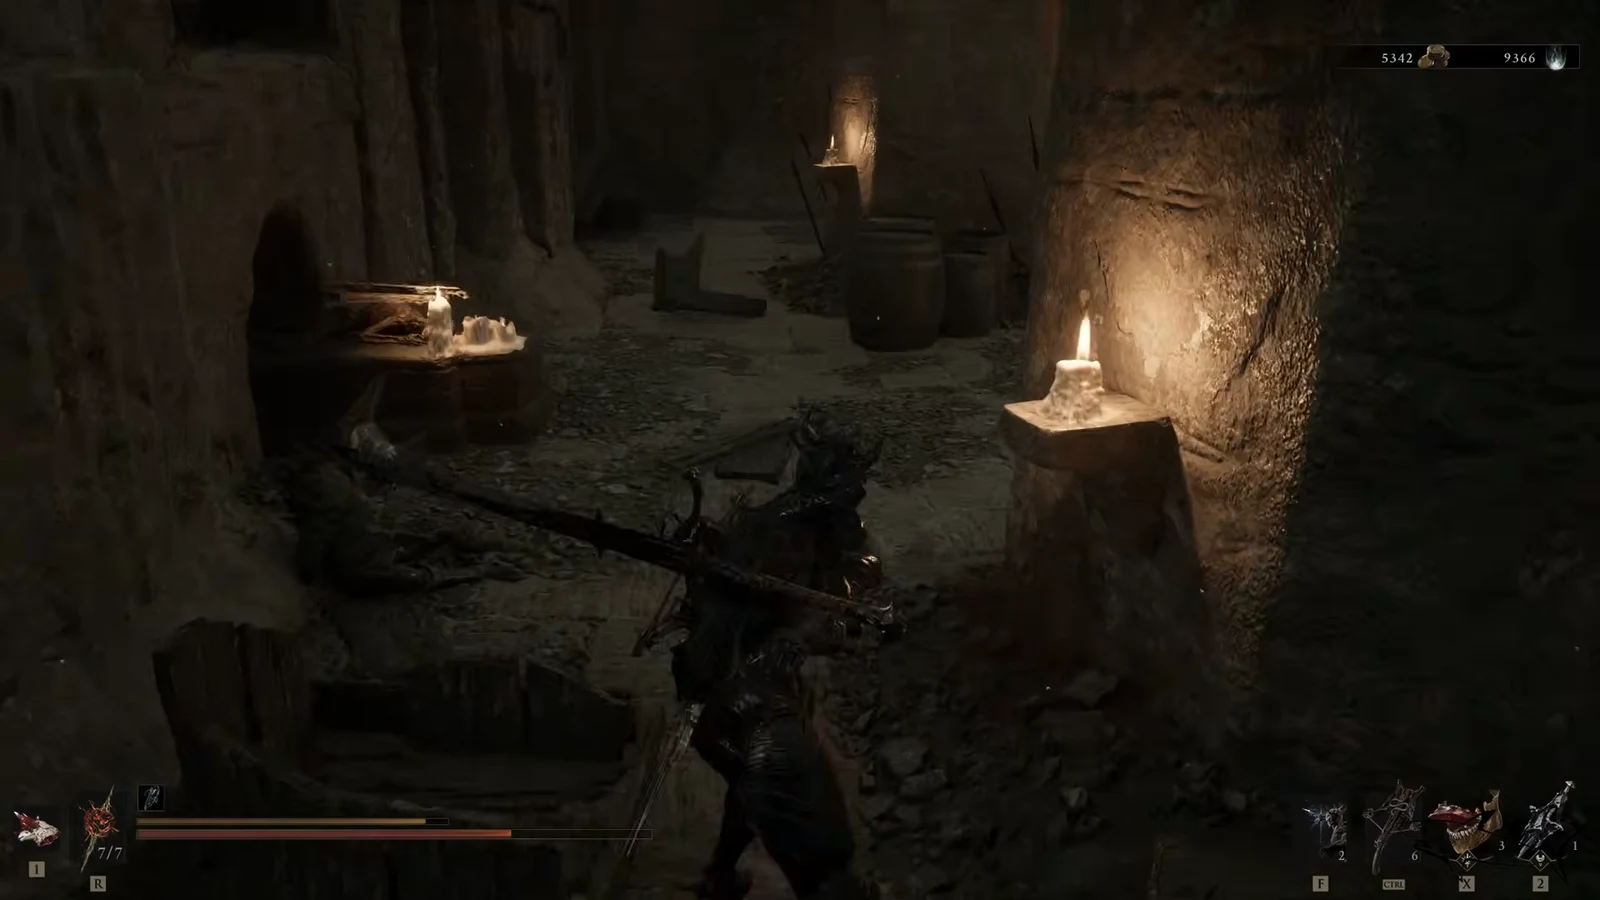
Head back around the wall and turn left. Before you drop down to the next level, attack the carved section of wall on your right. It breaks open to reveal a Resolve Tree, and harvesting it tops up your Resolve right before the fight. There is also an Extracted Specimen to collect while clearing the corridors.
Note: dropping down from that ledge triggers the boss immediately, so grab the wall Resolve and the chest first.
How to beat Vrago, Solikar Champion
Vrago is a heavily armored brute who fights with a massive shield, using it as a club and as a thrown weapon. Most of his slams cannot be parried, so dodging is your only reliable defense. The upside is that his swings have long windups, and he pulls his arm back well behind his body before committing, which telegraphs almost everything.
| Attack | How to handle it |
|---|---|
| Shield combo (up to four swings) | Dodge through the chain and wait it out. Do not try to squeeze hits in mid-combo. |
| Leaping overhead smash | Ends the combo and covers a lot of ground. Dodge to either side, never backward. |
| Boomerang shield throw | Avoid the outgoing throw, then stay alert for the return path on its way back to him. |
| Overhead spinning sweep | Wide reach, so time the dodge late rather than early. |
Your damage windows are short, so a hard-hitting weapon is worth more here than a fast one. The safest opening comes right after his leaping smash lands. Close in, land your hits, and immediately back out before the next chain starts. Shell Abilities that stun or interrupt him create extra openings, and a plunge attack from higher ground is a strong opener. Overcommitting is the main reason this fight goes wrong.
Voltaic Crown and the rest of the cleanse rewards
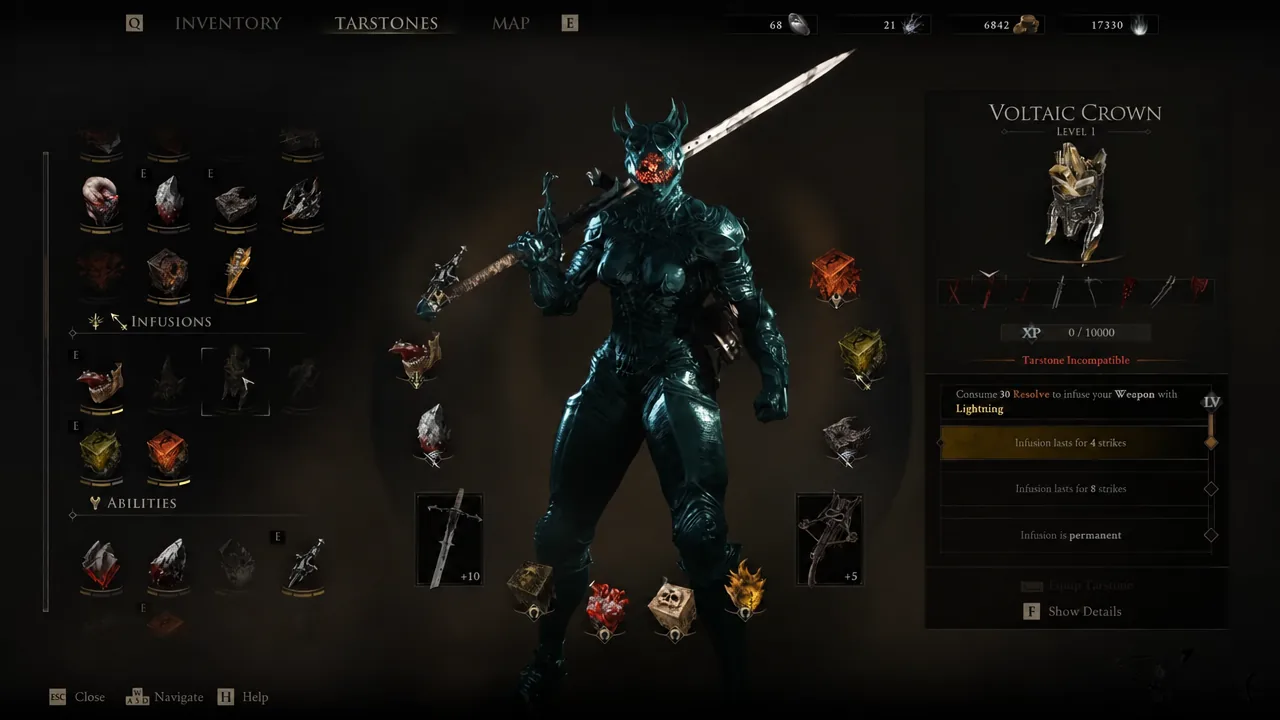
Vrago drops the Voltaic Crown tarstone along with Gloom and Glimpse. The Voltaic Crown spends 30 Resolve to infuse your weapon with lightning damage, and the infusion runs for a set number of strikes rather than a timer, so save it for a boss opening instead of burning it on trash mobs.
After the fight ends, turn to the right side of the arena and interact with the corruption. That is the actual cleanse, and it is what hands you the Ova. Killing Vrago alone does not count.
How to tell the Nochtean Gate Beacon is cleansed
Two things confirm it. You receive the Ova from the corruption node in the boss room, and back on the surface the enormous Corrupted Gate directly behind the beacon is now open. The beacon also stays available in the Mether’s Breath menu as a fast travel point that restores Health and Resolve.
If the gate is still sealed when you return, you almost certainly walked out after killing Vrago without touching the corruption. Head back down through the beacon and interact with it. Nothing here is missable either, so a beacon you skipped can be cleared later in free roam before you commit to New Game+.