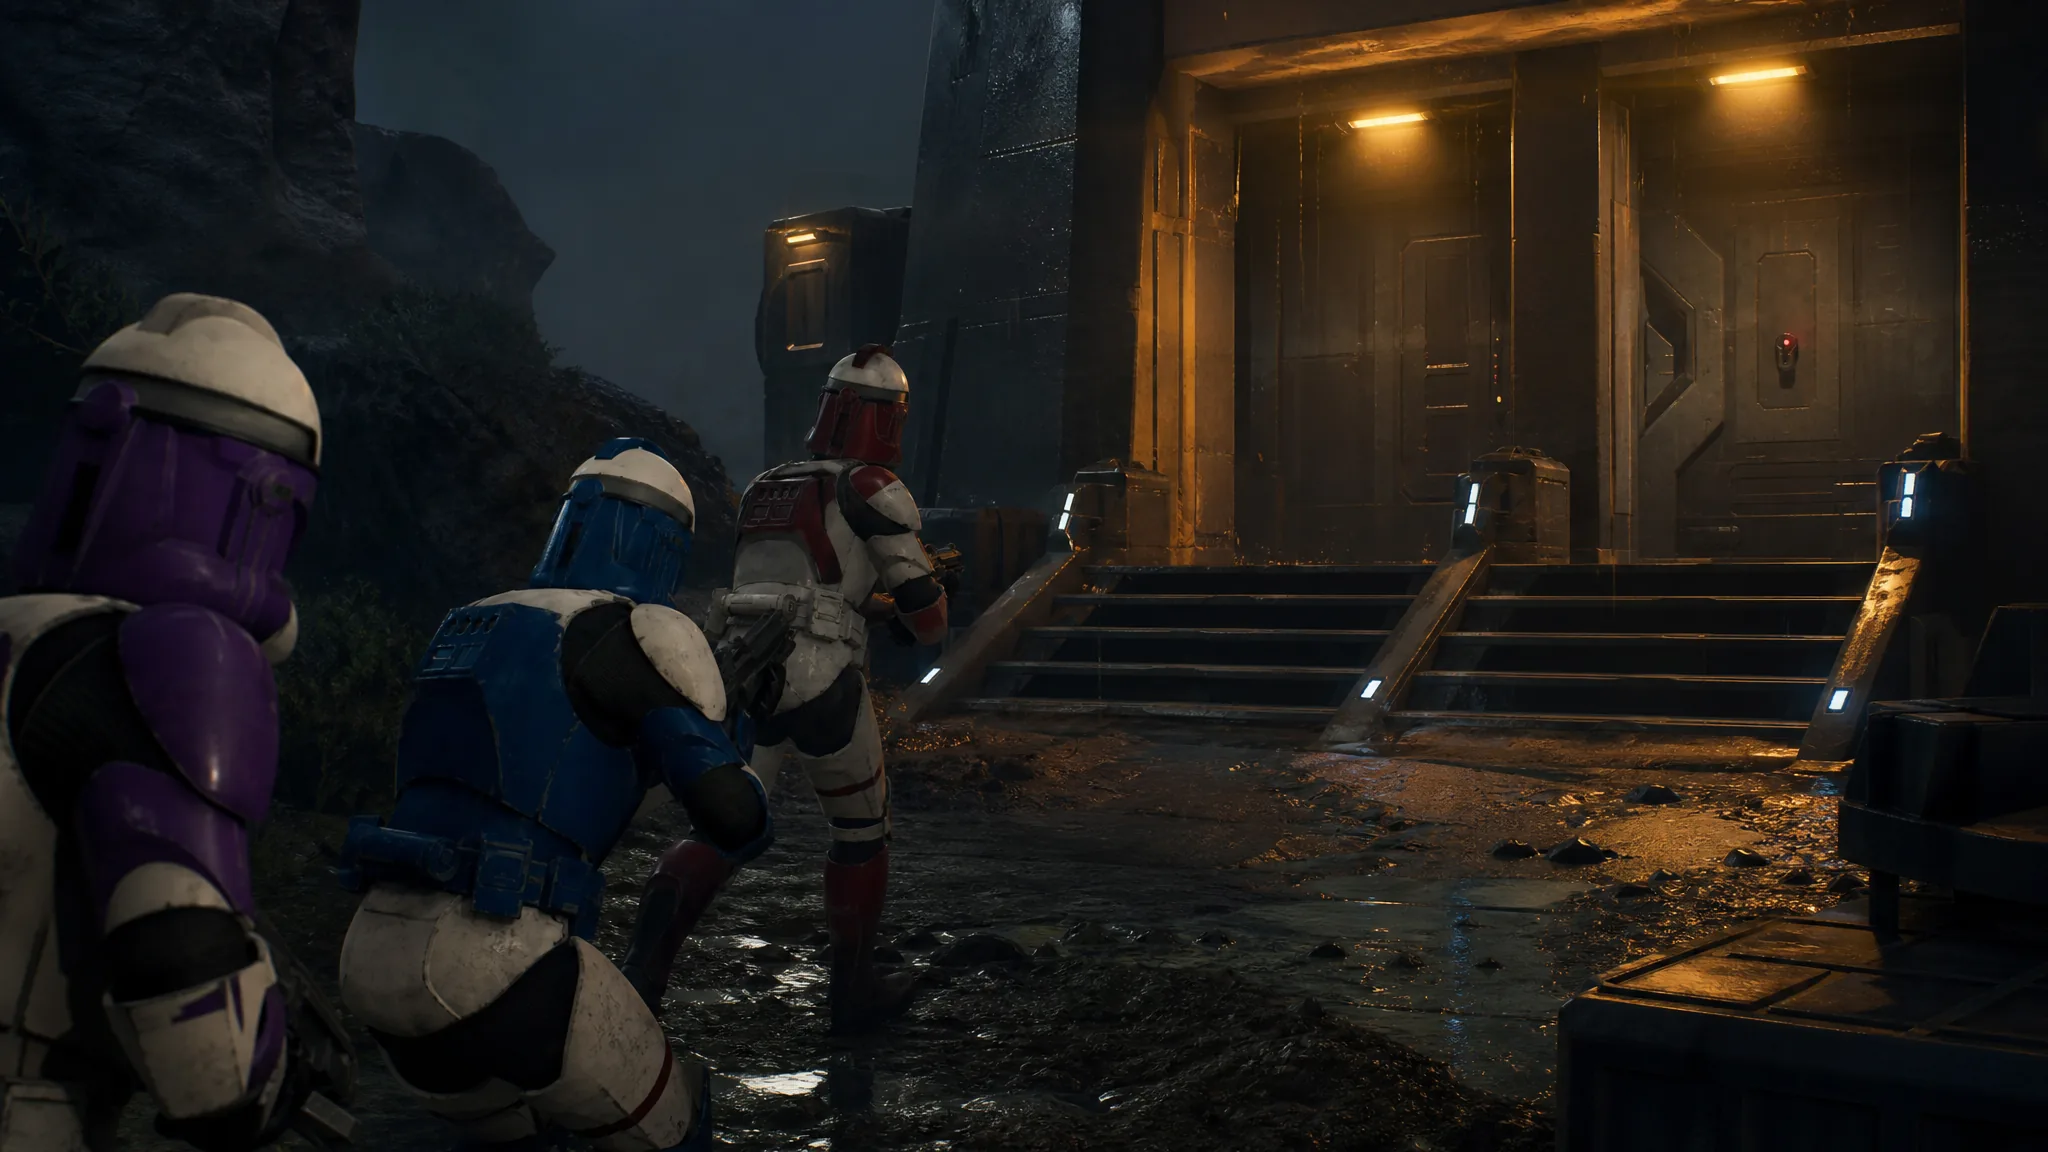
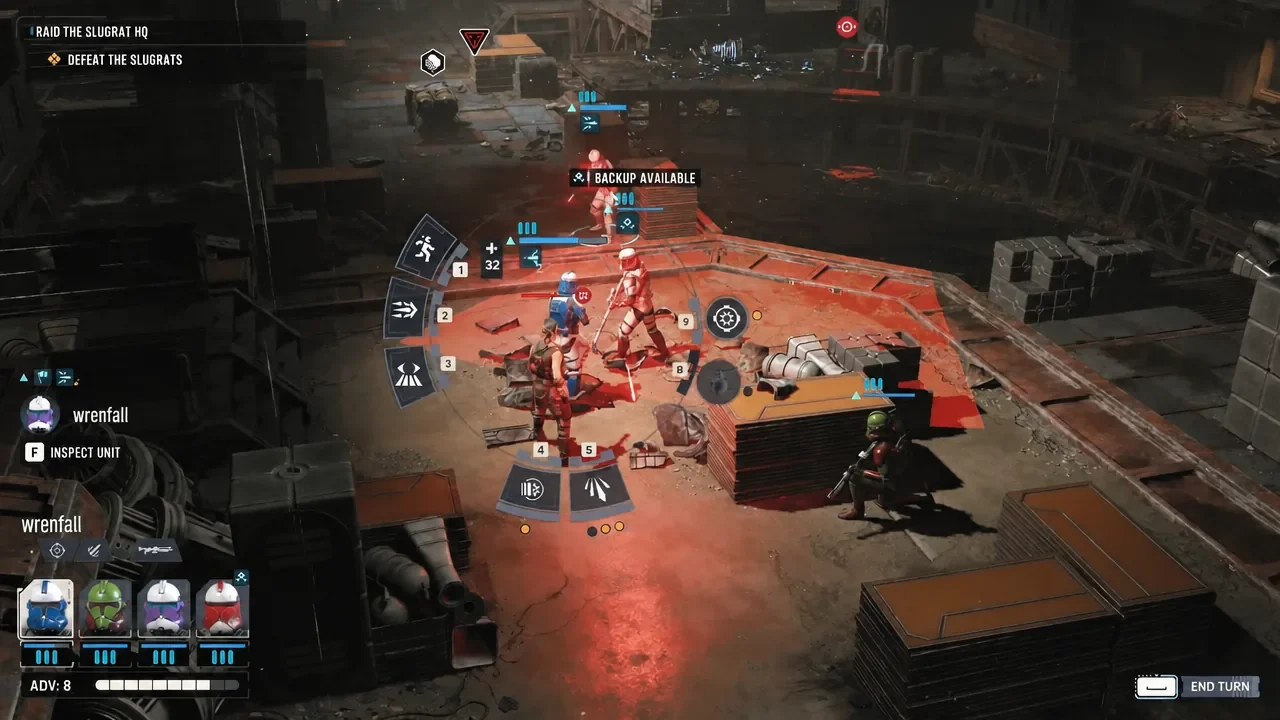
The Slugrat headquarters raid is a defensive fight dressed up as an assault. Zero Company drops into an open courtyard with Slugrat Enforcers holding the flanks and Slugrat Strikers waiting to close the distance, and the objective banner reads simply “DEFEAT THE SLUGRATS.” Push forward too fast and the reinforcement wave arrives while your squad is standing in the open with no cover and no Action Points left.
Quick answer: Kill the flank Enforcers first from cover, hold a choke point with Overwatch when “REINFORCEMENTS INCOMING” appears, and use an Impact Bomb on any cluster of three or more. The objective flips to “EXPLORE THE WAREHOUSE” the moment the last Slugrat dies.
What you are fighting in the Slugrat HQ
Two enemy types carry the encounter, and they demand opposite answers. Ranged Enforcers sit behind cover and trade shots, so they need cover stripped or a flanking angle. Strikers run at you, which makes them free kills if a reaction shot is already aimed at the route they have to take.
| Enemy | Threat | How to answer it |
|---|---|---|
| Slugrat Enforcer | Ranged blaster fire from cover, holds the flanks at the start | Concentrated fire or an Impact Bomb to remove cover, then finish with a second Operator |
| Slugrat Striker | Melee rusher, punishes Operators caught in the open | Overwatch on the approach lane so it is hit before it reaches you |
A squad of Hawks, Trick, Fred, and Jae Mordant handles the fight comfortably, but any four-Operator group works as long as one of them carries an Impact Bomb and one has a reliable ranged weapon for Overwatch duty.
Clear the flanks before you advance
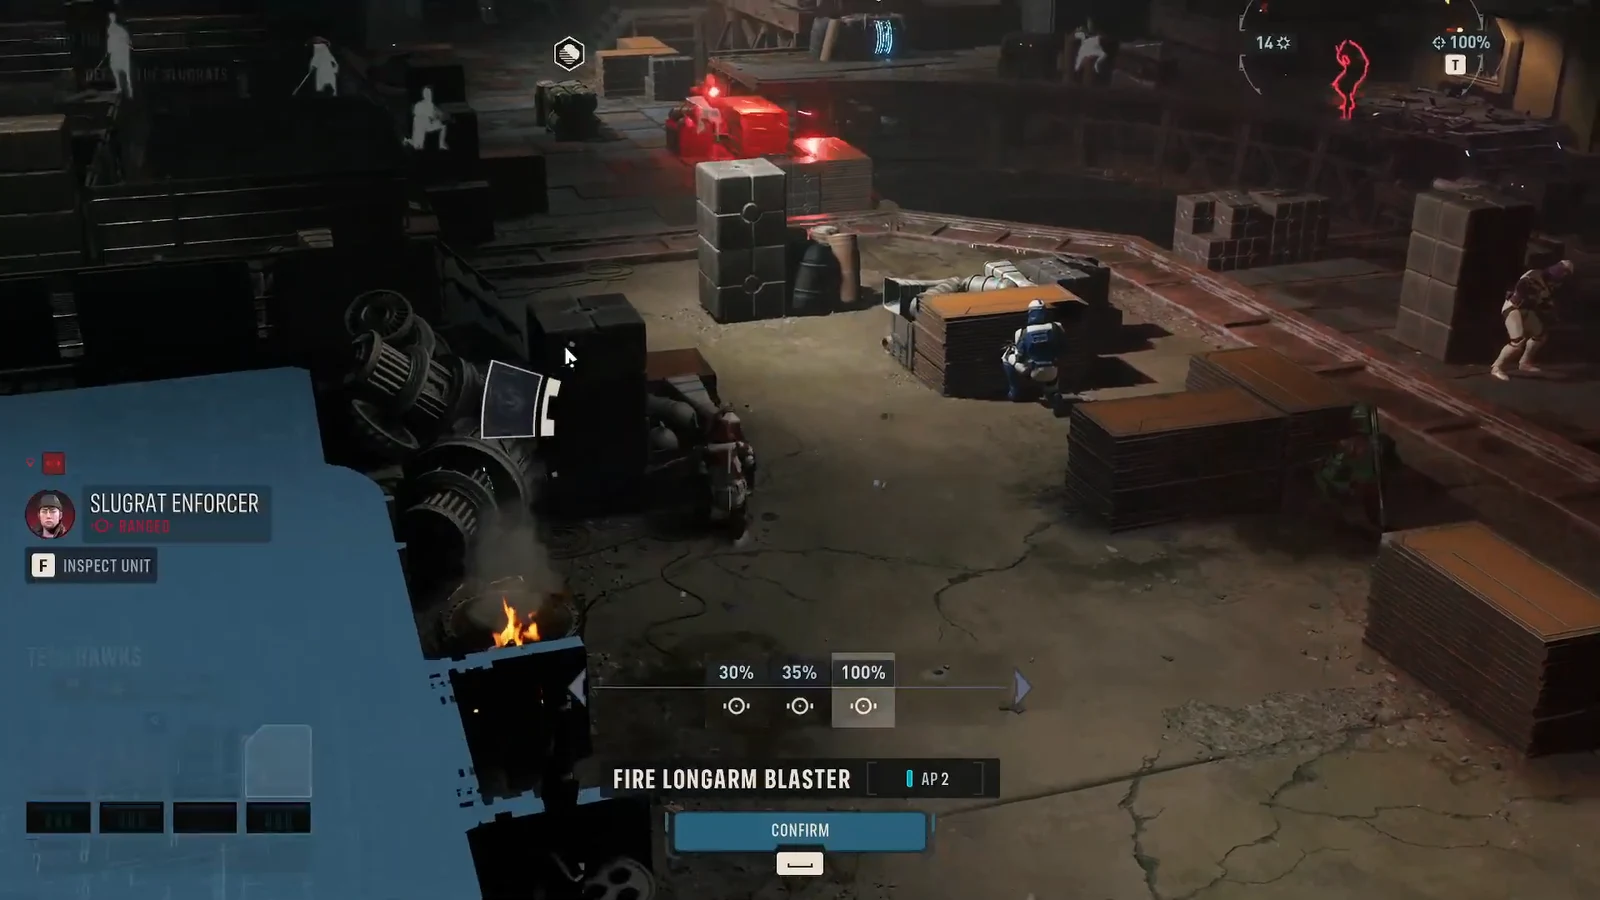
Move up using explosive barrels and Impact Bombs
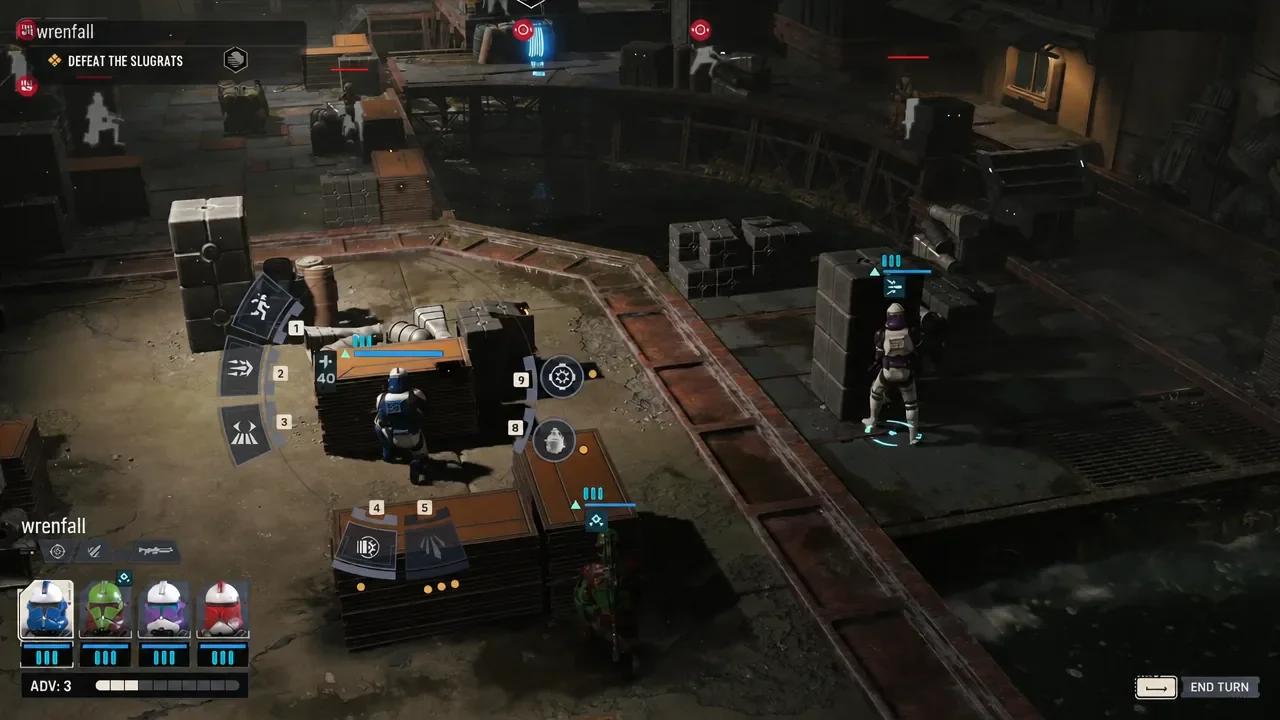
Once the flanks are quiet, the squad can creep forward, but only from cover to cover. The courtyard has explosive barrels scattered near enemy positions, and shooting one deals damage to everything beside it while wrecking the cover the Slugrats were relying on.
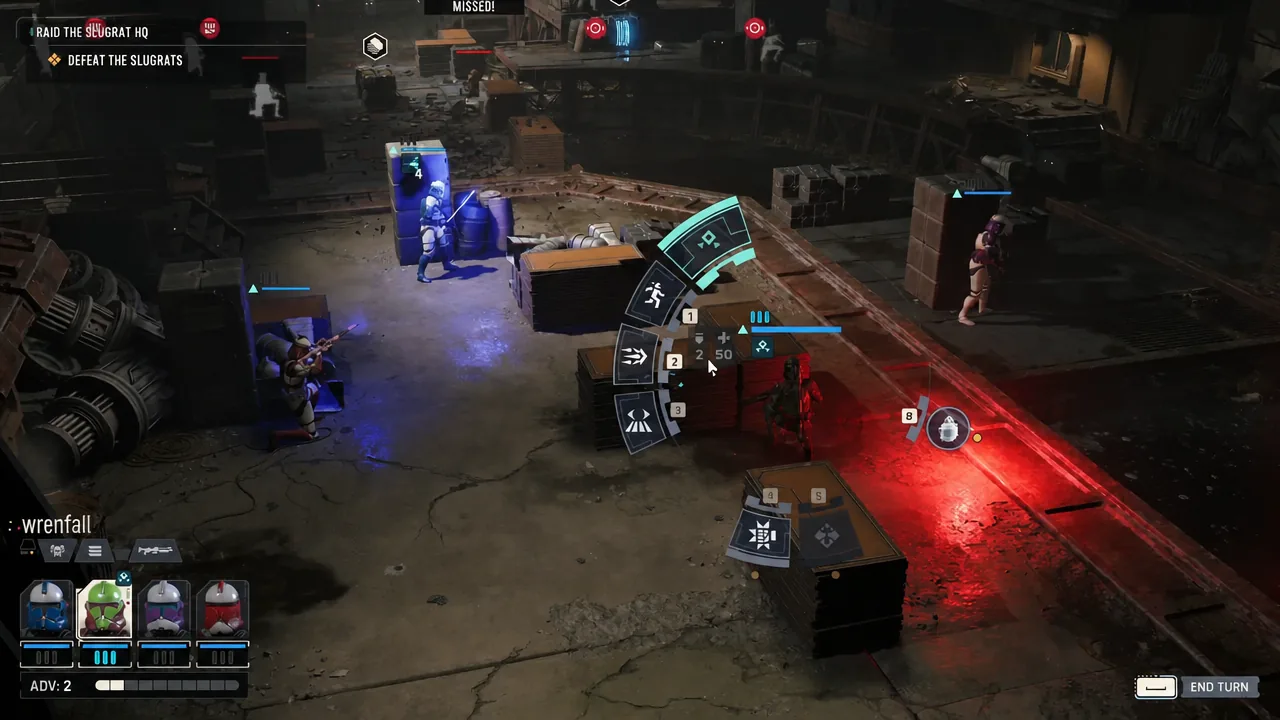
The Impact Bomb is worth holding until the Slugrats bunch up. It hits grouped targets hard, tears down their cover, and can interrupt Overwatch they have already set, which is what makes the follow-up blaster shots land. One well-placed throw usually softens three enemies at once and turns a stalled turn into three kills.
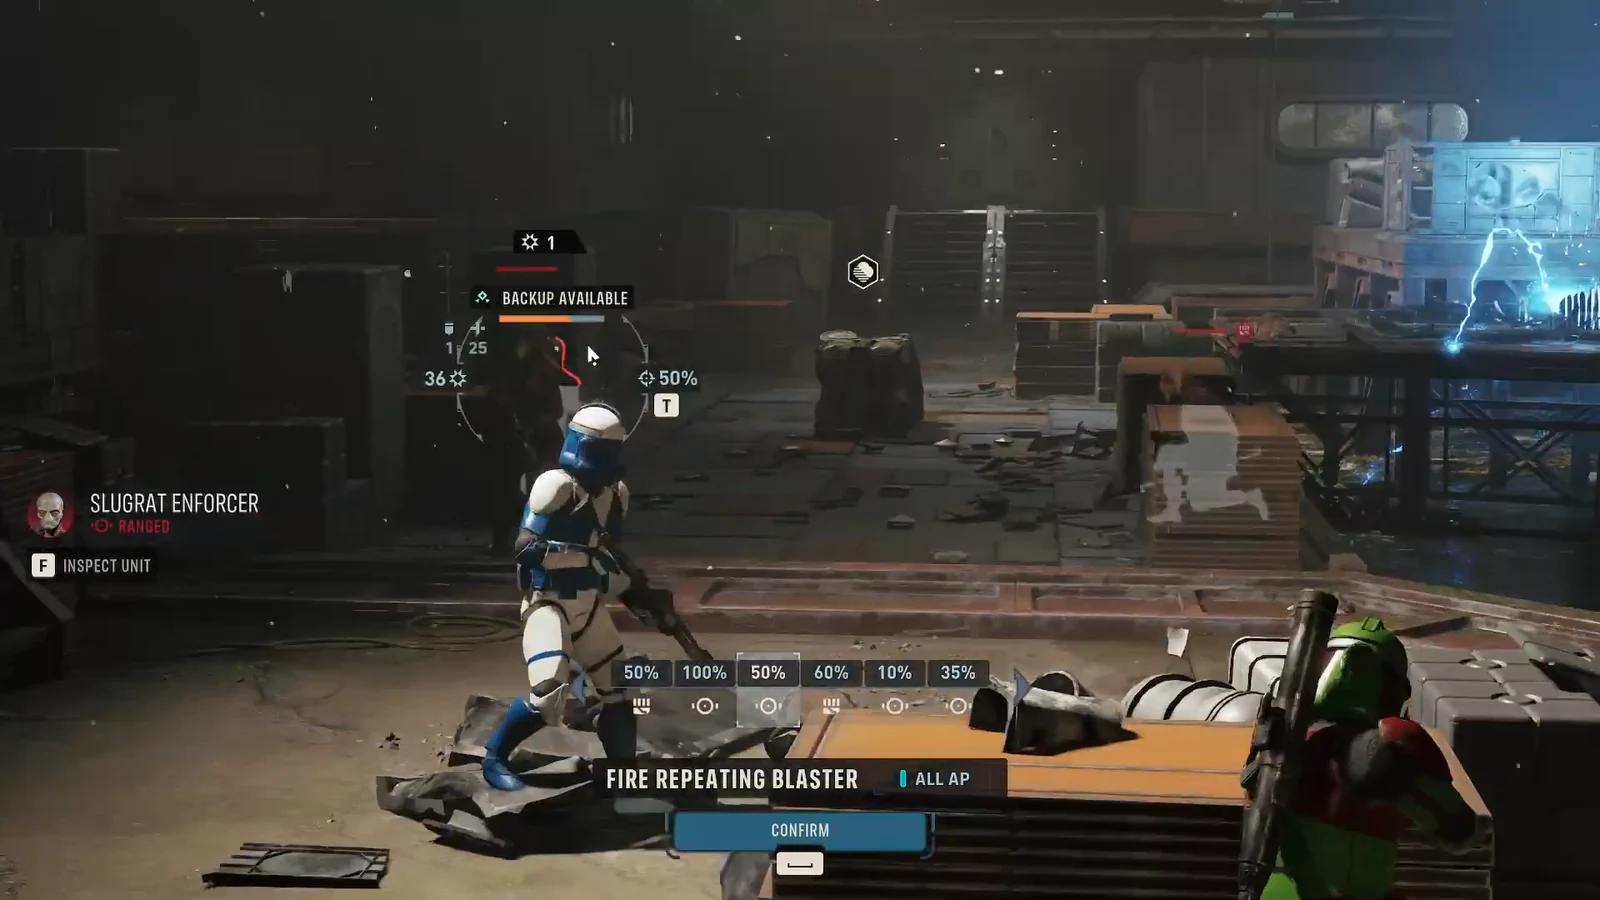
Note: never end a turn standing between two open lanes. Deflection and armour do nothing against a Striker that reaches you, and a single Down here costs an Injury that follows the Operator back to the Den.
Hold the choke point when reinforcements arrive
Partway through the fight a “REINFORCEMENTS INCOMING” warning appears and a fresh group of Slugrats enters the courtyard. This is the moment where the encounter is won or lost, and the correct response is to stop advancing entirely.
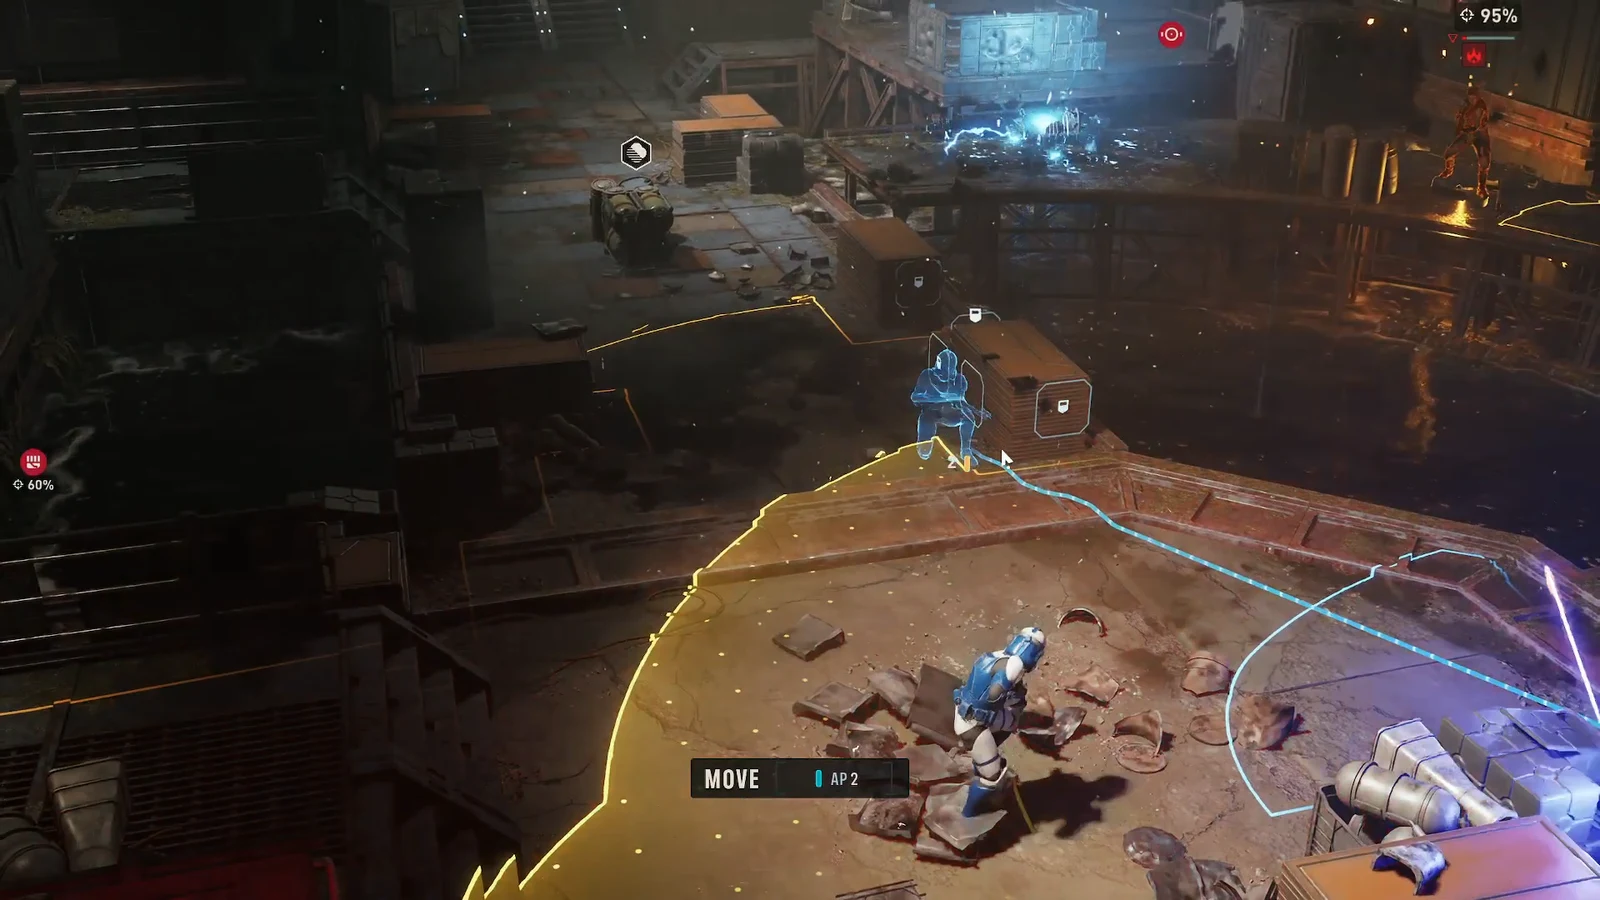
Finish the last Slugrat Enforcers
After the wave breaks, a handful of Enforcers are usually left holding cover at the far end of the courtyard. There is no timer pressure at this stage, so move one Operator at a time, keep the rest on Overwatch, and take only shots with a good hit chance. Stripping cover with a barrel or a grenade before committing is faster than trading low-percentage shots for several turns.
You will know the fight is over when the objective text changes from “DEFEAT THE SLUGRATS” to “EXPLORE THE WAREHOUSE” and control returns without an enemy turn. That transition is the confirmation that no further reinforcements are queued.
Common reasons the fight goes wrong
| Mistake | Result |
|---|---|
| Advancing before the flank Enforcers are dead | Your squad is shot from two directions at once with no cover |
| Spending the Impact Bomb on a single target | No answer left when the reinforcement group clusters together |
| Skipping Overwatch during the reinforcement wave | Strikers reach melee range untouched and start putting Operators Down |
| Ending a turn outside cover | Injuries stack up, and each one carries a Chance-to-Hit penalty into later missions |
Clearing the courtyard opens the warehouse, and the Slugrat headquarters run continues from there rather than ending on this objective. Get your squad through with everyone standing, because injuries taken here are still on the roster when the raid reaches its final encounter.