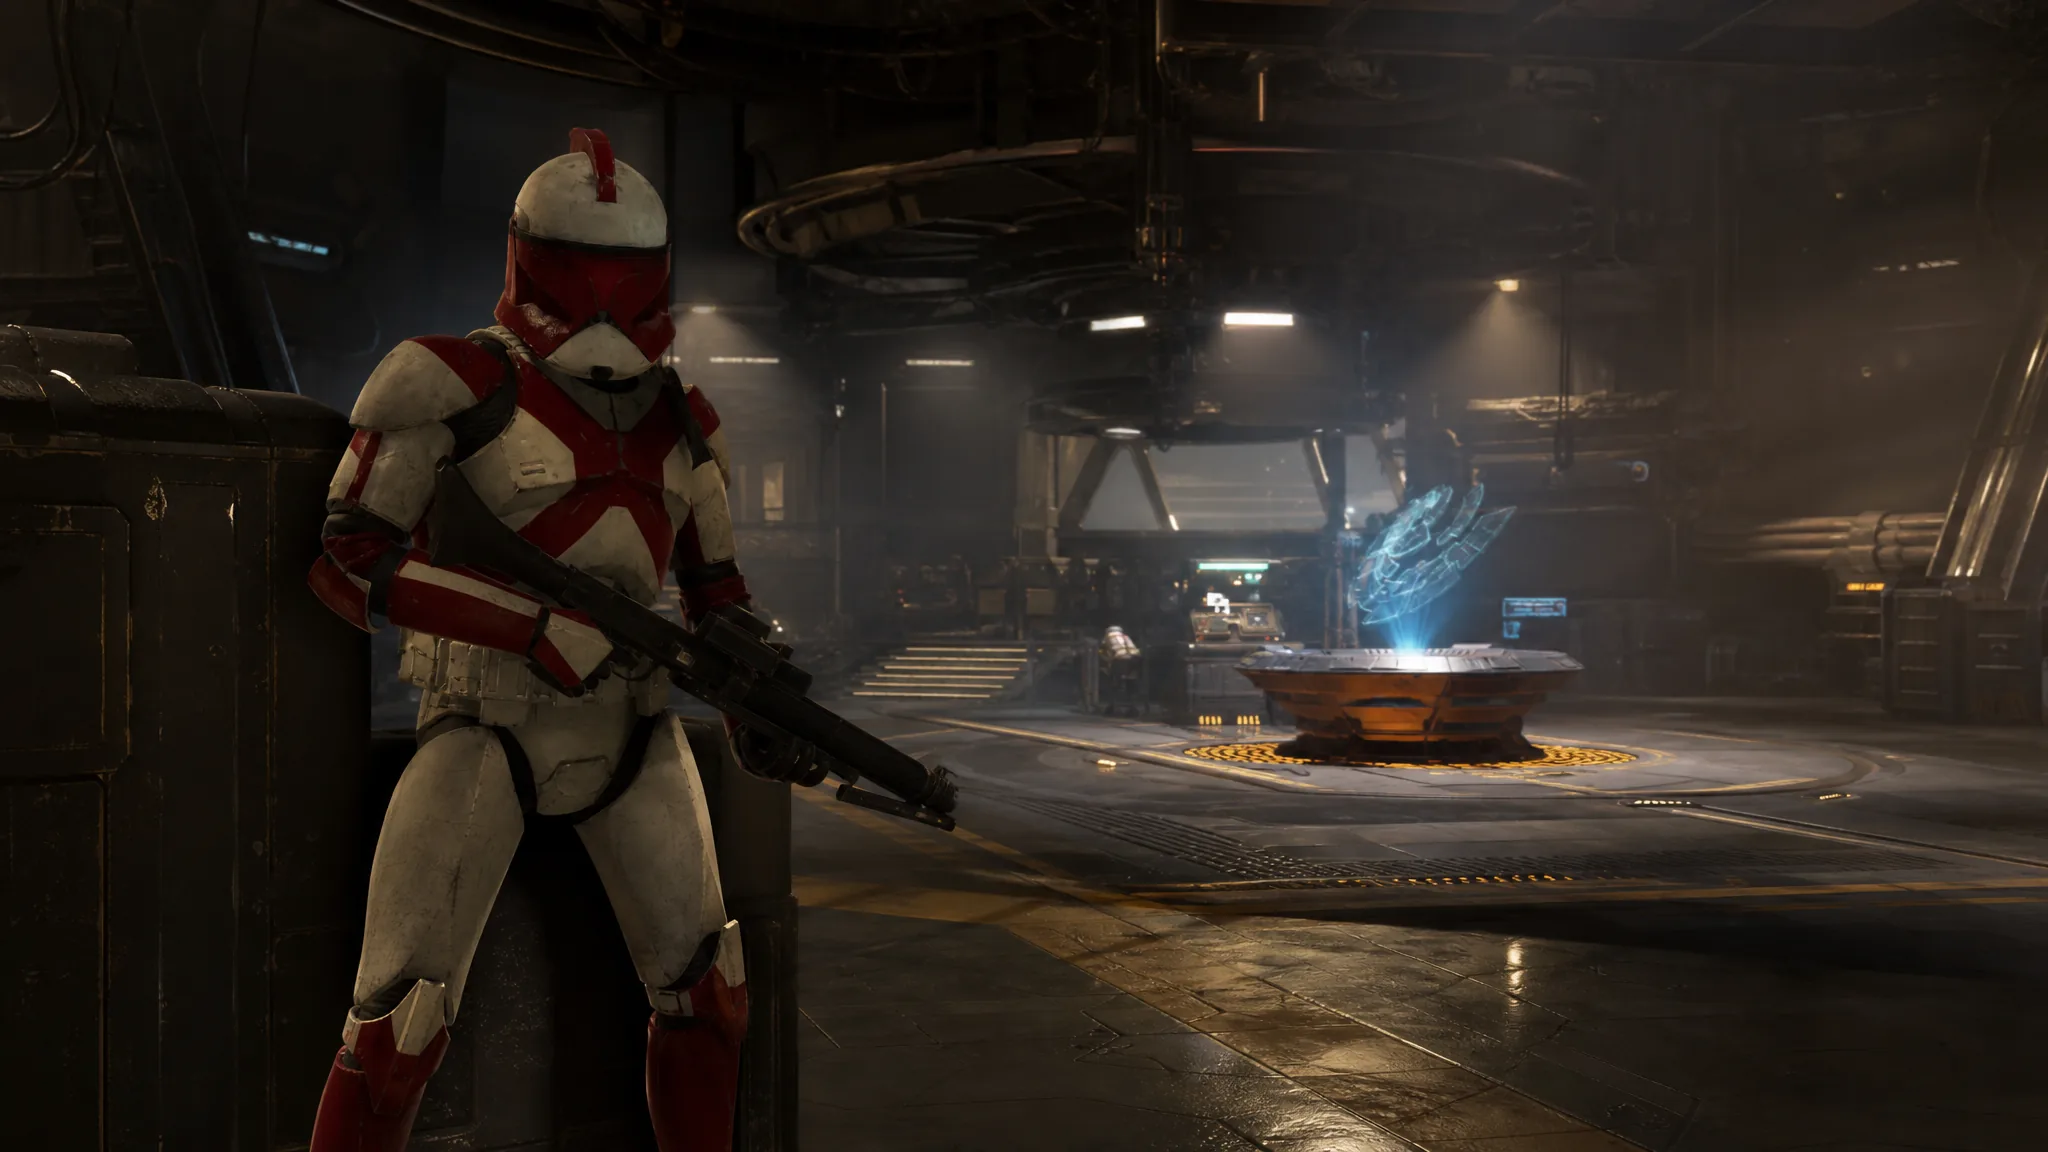
Dead Metal is a tactical mission in the Jedi Undercover chapter of Star Wars Zero Company, set on Serolonis. It is a straight elimination fight against a Separatist garrison built around rooftops, a central doorway, and one heavily shielded Droideka. There is no bomb to plant and no extraction timer to beat, so the only thing that ends the mission is an empty map.
Quick answer: Defeat every Separatist unit, including both reinforcement waves that spawn from the central doorway. The Droideka takes no meaningful damage until concentrated fire strips its shield, so stack attacks on it in a single round rather than chipping at it across several.
Dead Metal objective and squad roles
The objective banner reads “DEFEAT THE SEPARATIST FORCES” with the sub-objective “ELIMINATE ALL HOSTILES”. That wording matters, because most missions in the game let you ignore stragglers and walk to an exit. Here, every droid on the field counts, and the reinforcements that arrive later are added to that count.
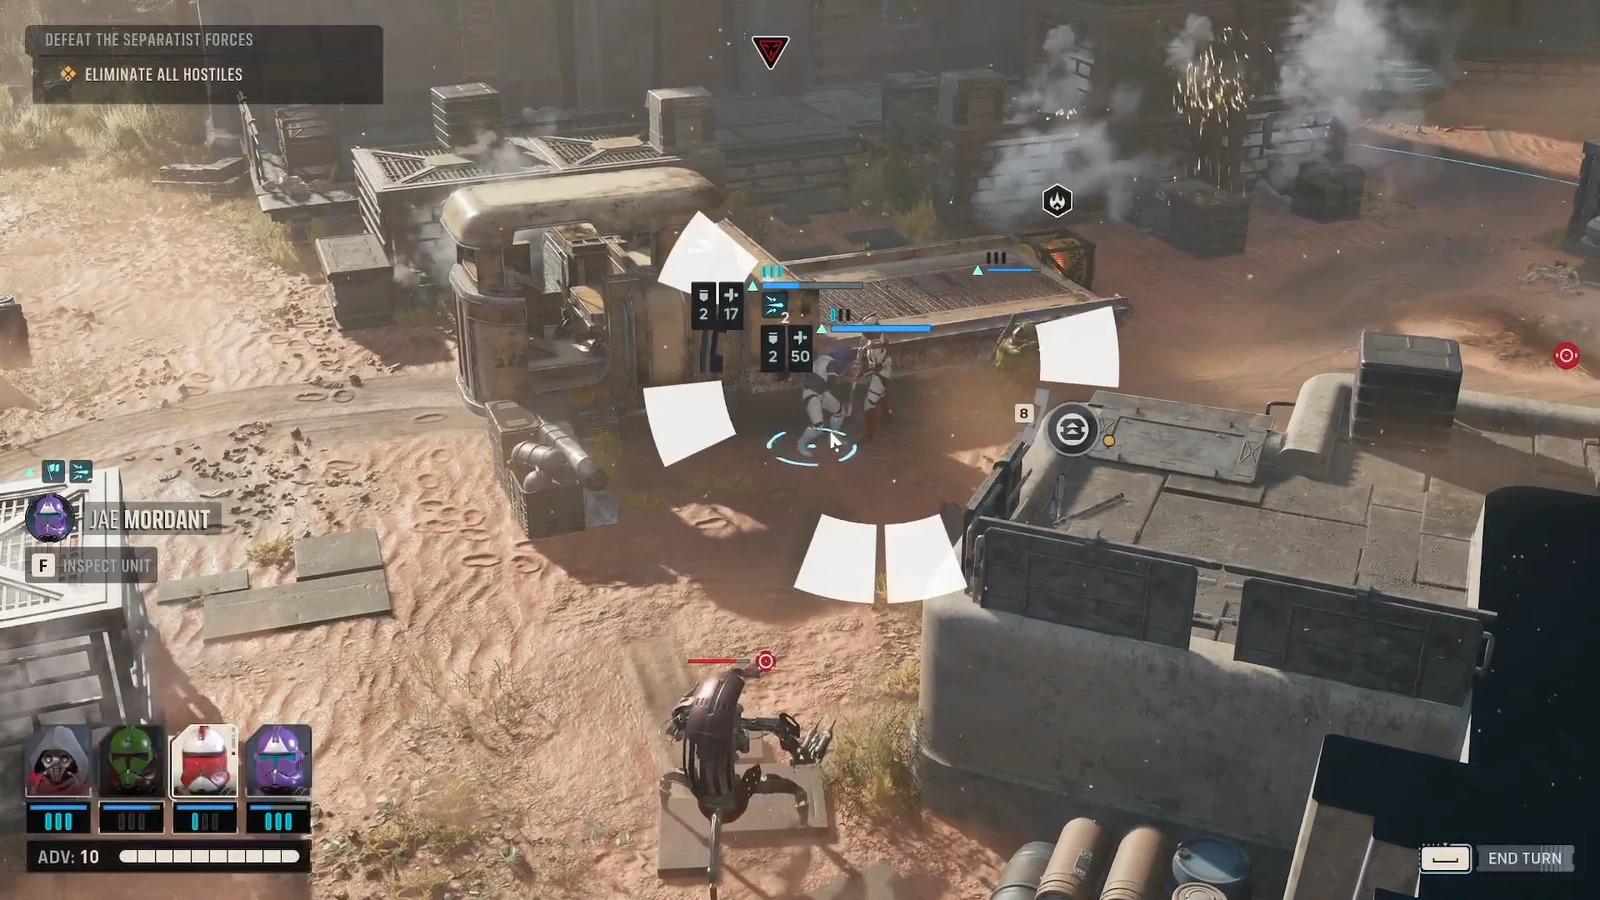
A four-operator squad of Jae Mordant, Tel-Rea Voxoss, Tesh Hawks, and Trick covers everything the map throws at you. Tel-Rea is the Jedi, and she carries most of the flanking and cleanup work.
| Operator | Job on this map |
|---|---|
| Tel-Rea Voxoss | Jedi flanker. Force Push, Lightsaber Strike, and Shockwave II for grouped enemies. Recovers health at the end of rounds, so she can hold exposed ground. |
| Jae Mordant | Impact Bomb for rooftop clusters, plus Ambush II for finishing wounded high-value targets like the Droideka. |
| Trick | Second source of area damage. Impact Bomb clears packed droids before switching to single-target fire. |
| Tesh Hawks | Steady blaster fire and backup assists to add damage onto whoever is being focused. |
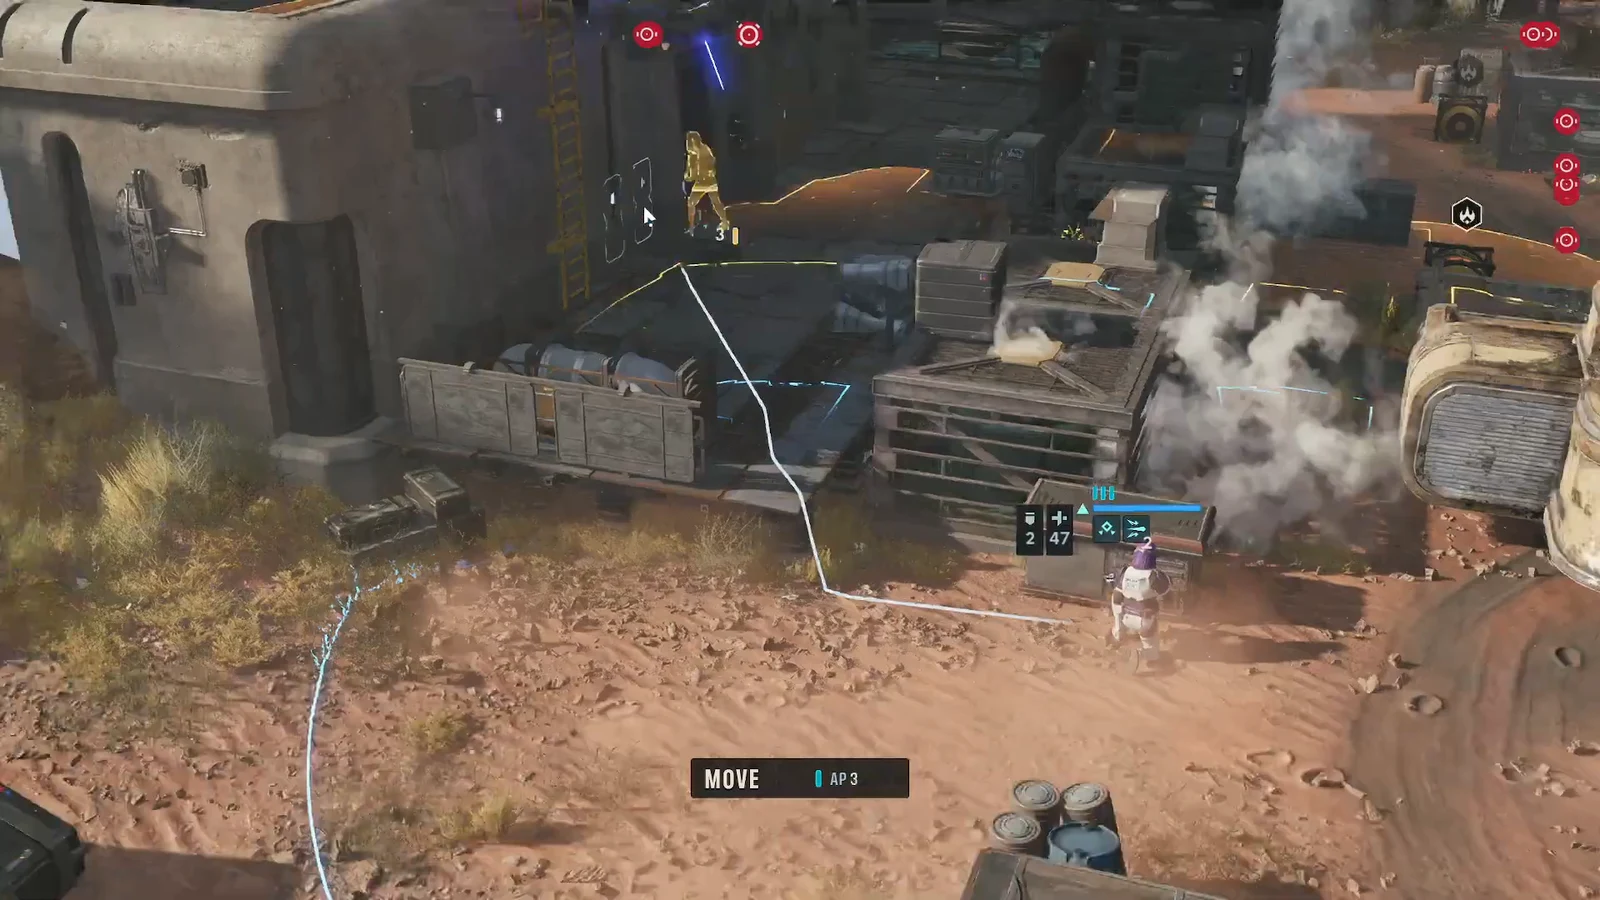
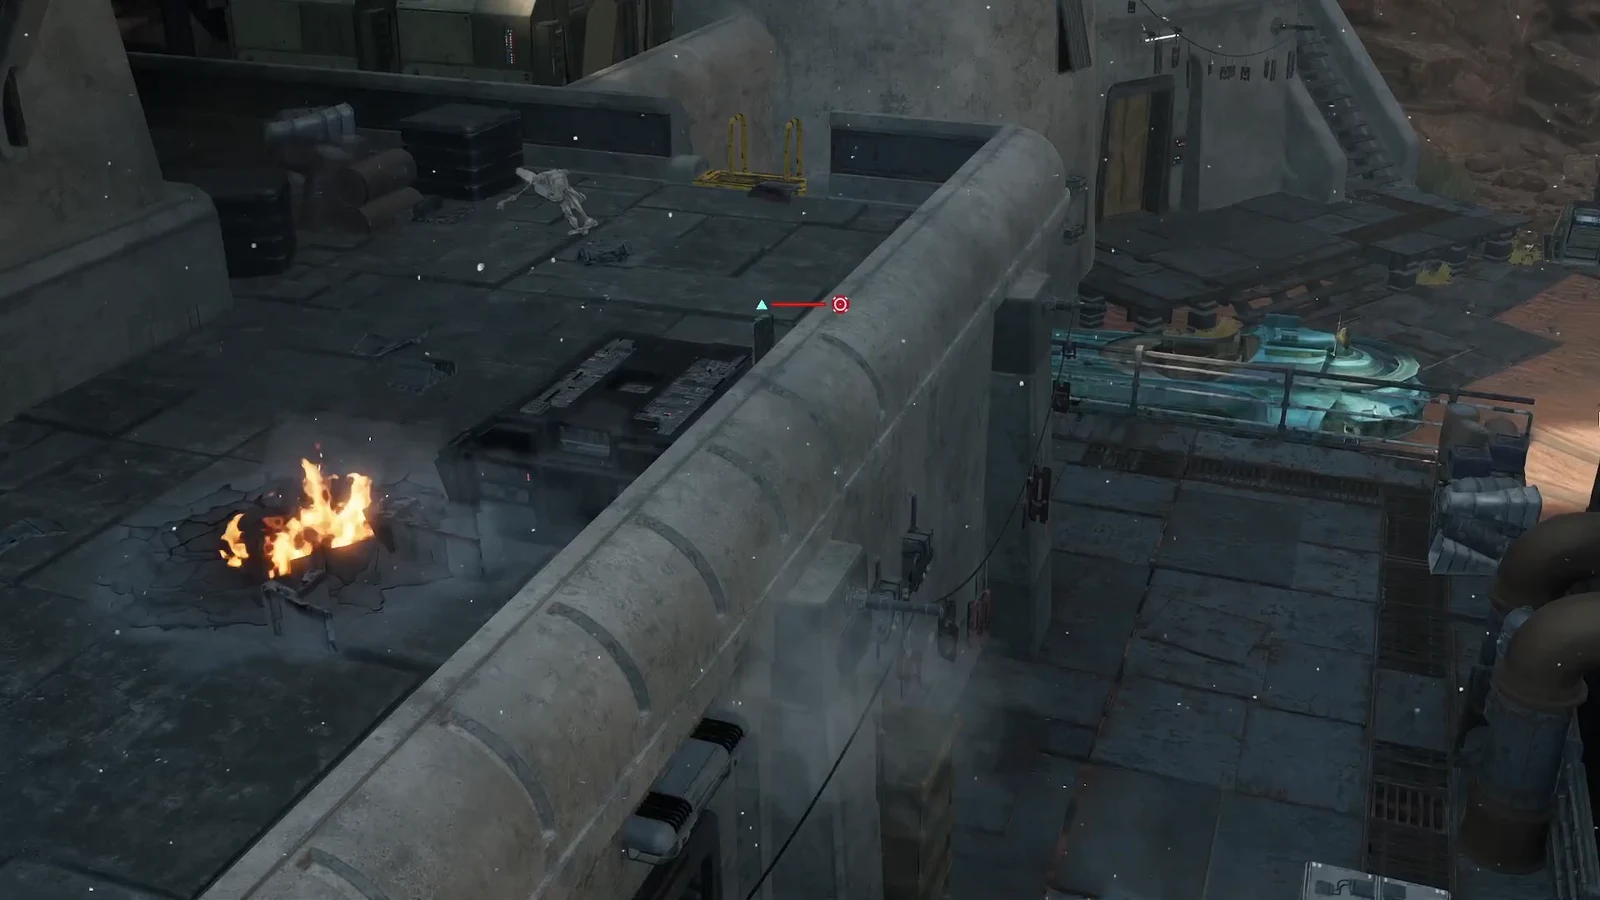
Opening rounds: clear the rooftops before anything else
How to break the Droideka’s shield
The Droideka is the one enemy that punishes patient, spread-out damage. Its shield has to be broken before the unit itself can be destroyed, which means everything you do to it in a round needs to land in the same round.
Deal with the BX Droid Sniper in the same window. Tel-Rea Voxoss can close the distance and combine a Lightsaber Strike with Shockwave II to remove it, and a second sniper can be cleaned up the same way immediately afterwards.
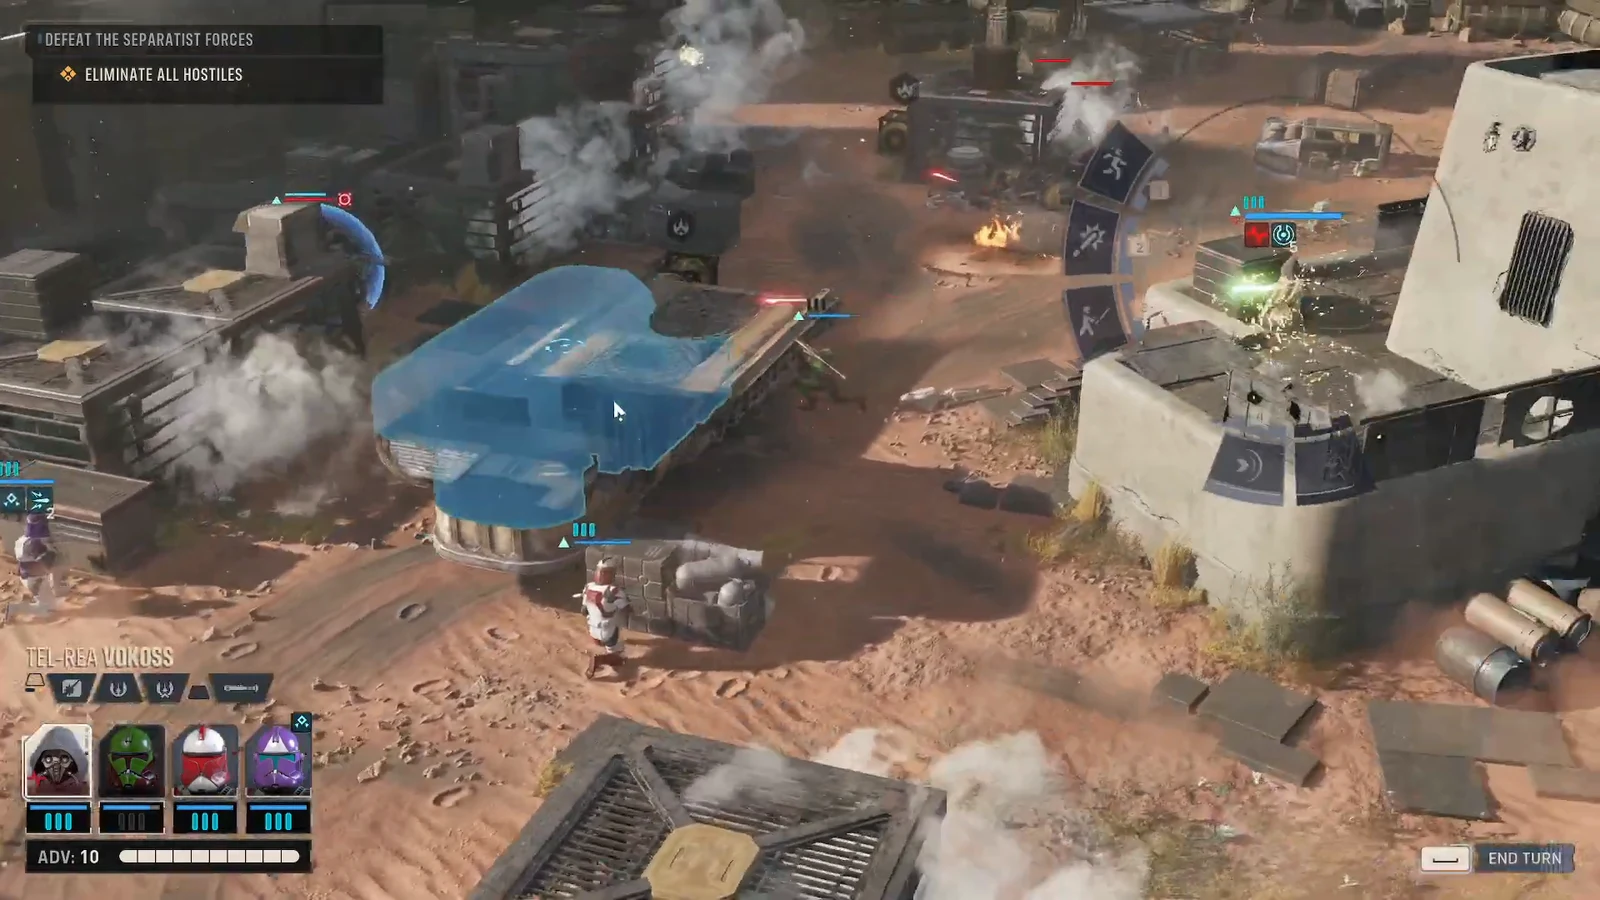
Doorway reinforcements: hold the chokepoint
Once the first group is dead, a fresh mix of B1 Battle Droids and B2 Super Battle Droids pours out of a central doorway. They arrive packed together and funnel through a narrow gap, which is the best thing that can happen to you on this map.
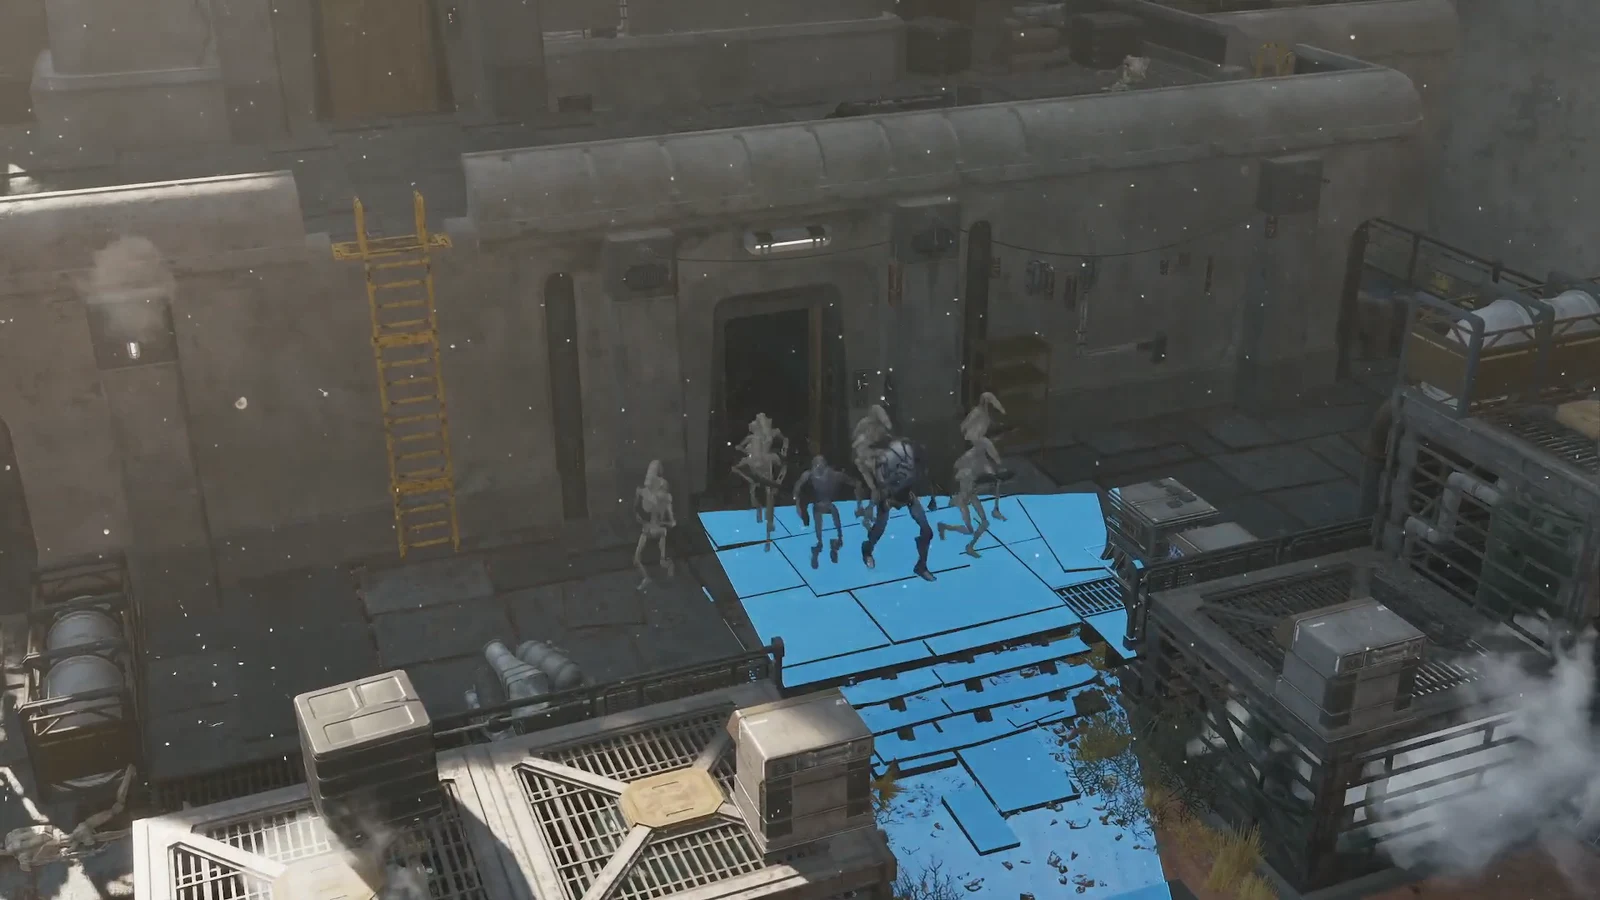
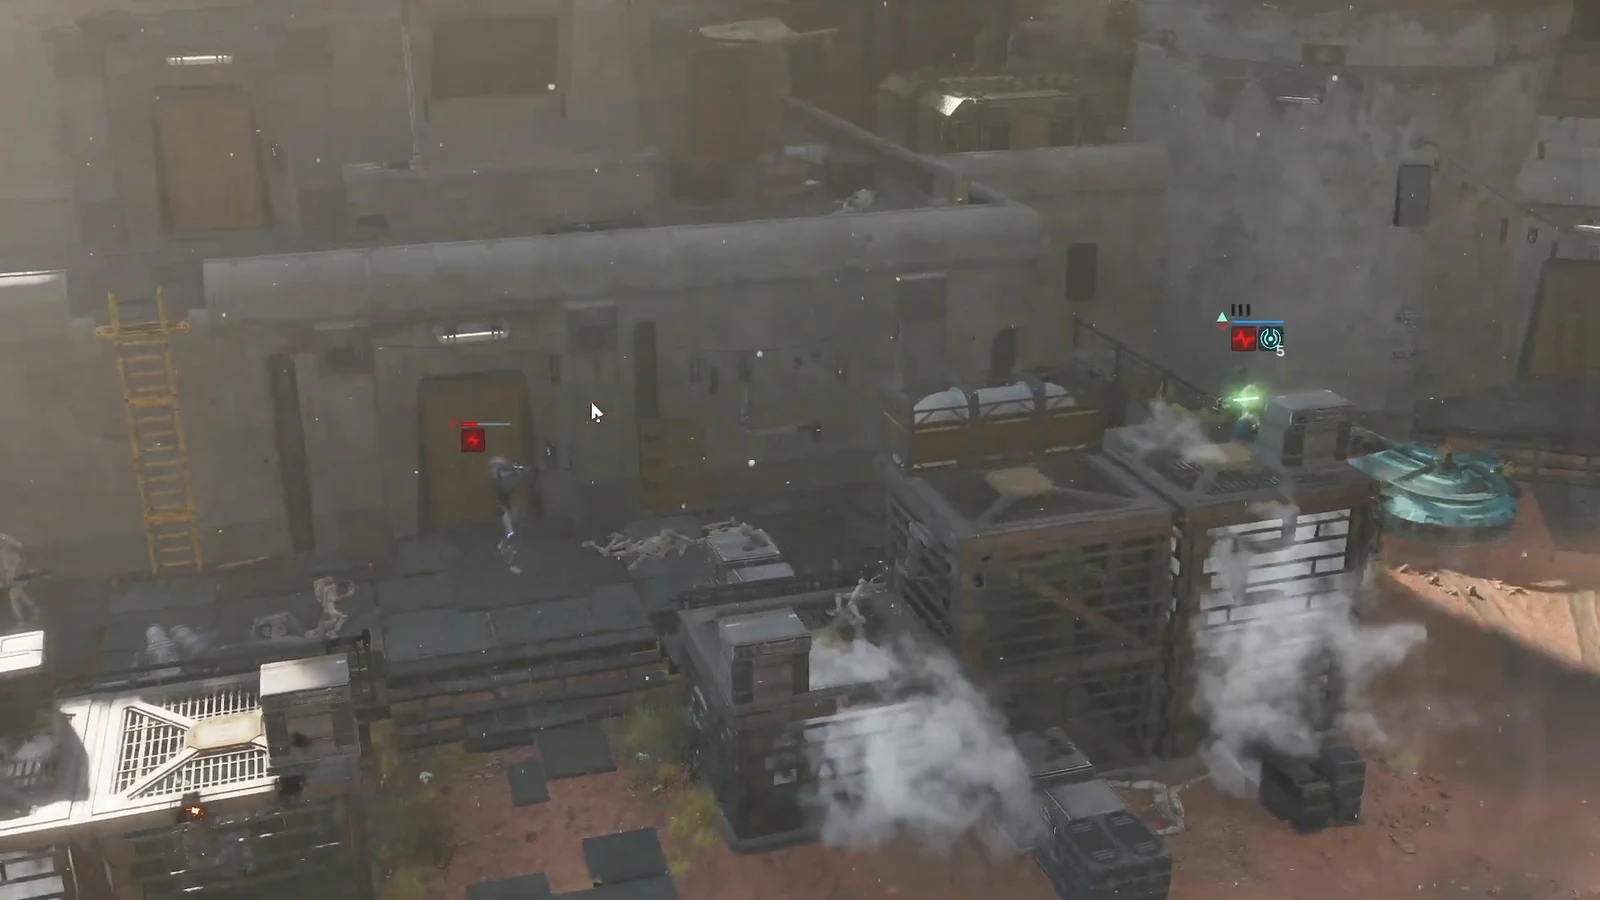
Note: Tel-Rea recovers health at the end of a round, so she is the safest operator to leave standing in the open next to the doorway. Use that instead of pushing a clone into a spot with no cover.
Confirming the Dead Metal clear
When the last droid falls, combat ends immediately and a MISSION SUCCESS screen replaces the tactical view with your performance summary. If the screen has not appeared, at least one hostile is still alive somewhere on the map, usually a straggler from the second doorway wave.
| Result stat | Clean run |
|---|---|
| Total Tactical Rounds | 5 |
| Enemies Defeated | 18 |
| Damage Dealt | 304 |
Two things usually stretch the fight past five rounds. Splitting fire across several targets leaves the Droideka’s shield intact into the following turn, and standing out of cover in the open ground below the rooftops hands the BX Droid Sniper free shots. Fix both and Dead Metal ends without a casualty, leaving the squad healthy for the rest of the Jedi Undercover chapter.