The Abyss sits at the bottom of Skunk Pond, and it is the deepest point of Grounded 2’s Into the Abyss update, which arrived on August 11th, 2026. Getting down there is two separate problems stacked on top of each other. First you have to satisfy an equipment check that will not budge. Then you have to find your way through a dark, sprawling facility with no map.
Quick answer: Unlock and equip all three Diving Suit pieces, pass the hand scanner at the Diving Station’s moon pool near Skunk Pond, then follow the pink cables, fixed lights and Ominent structures downward until you reach BURG.L’s replacement Robot Body.
What the Abyss route asks you to do
The Abyss has its own map, split into the Touchdown Zone, the Galleries, the Rocky Chamber and the Monitoring Station, among other areas. The mandatory story push runs through a set of objectives down there:
- Activate every Abyss Antenna installation
- Find Abyss Outpost 2
- Find the Abyss Monitoring Station
- Find the BURG.L body
- Find the Robot Body
- Find the fourth Koi Fish
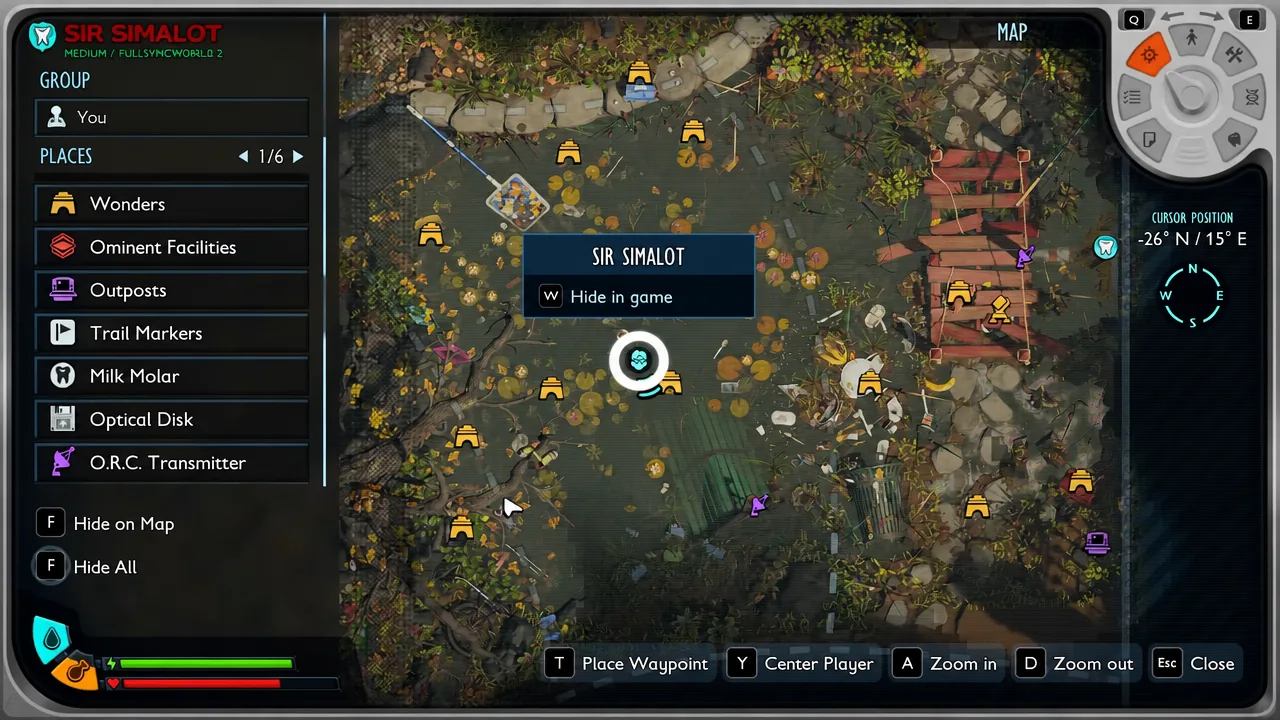
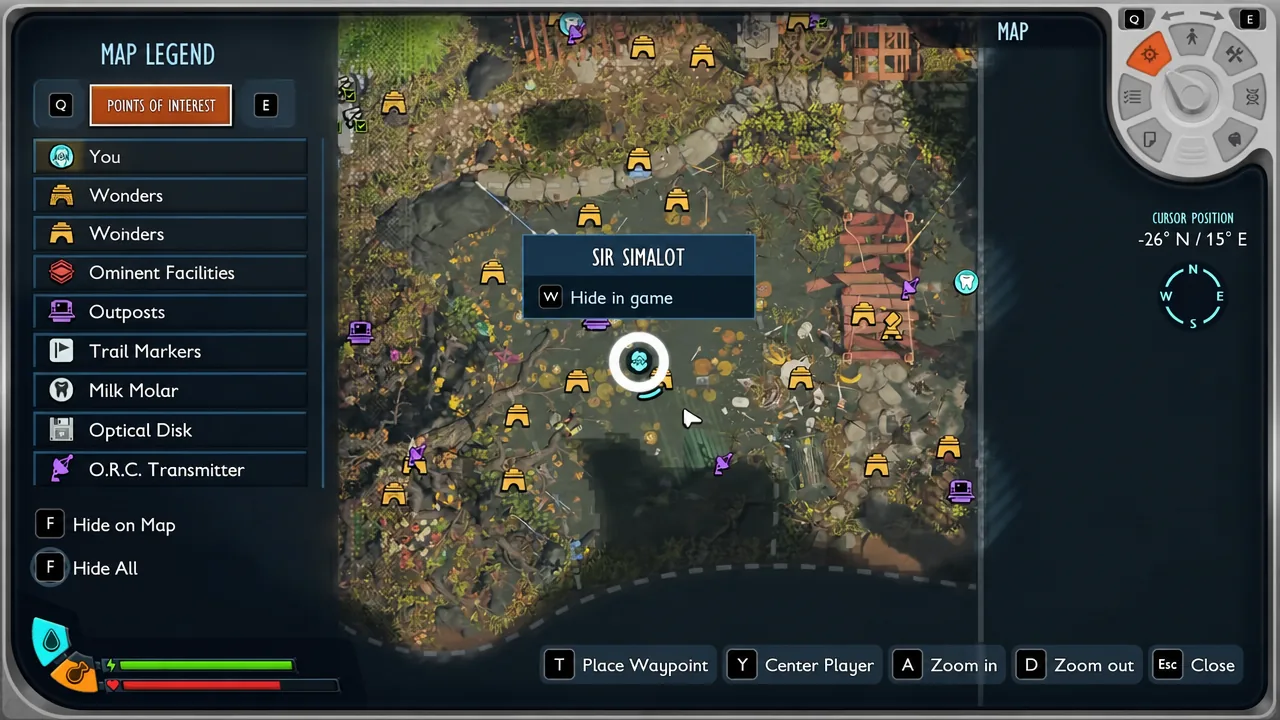
None of that is reachable without the suit, so the equipment chain comes first. It is also worth opening the map before you commit and checking which points of interest you have already logged around the pond, because the map goes dark the moment you head below the Diving Station.
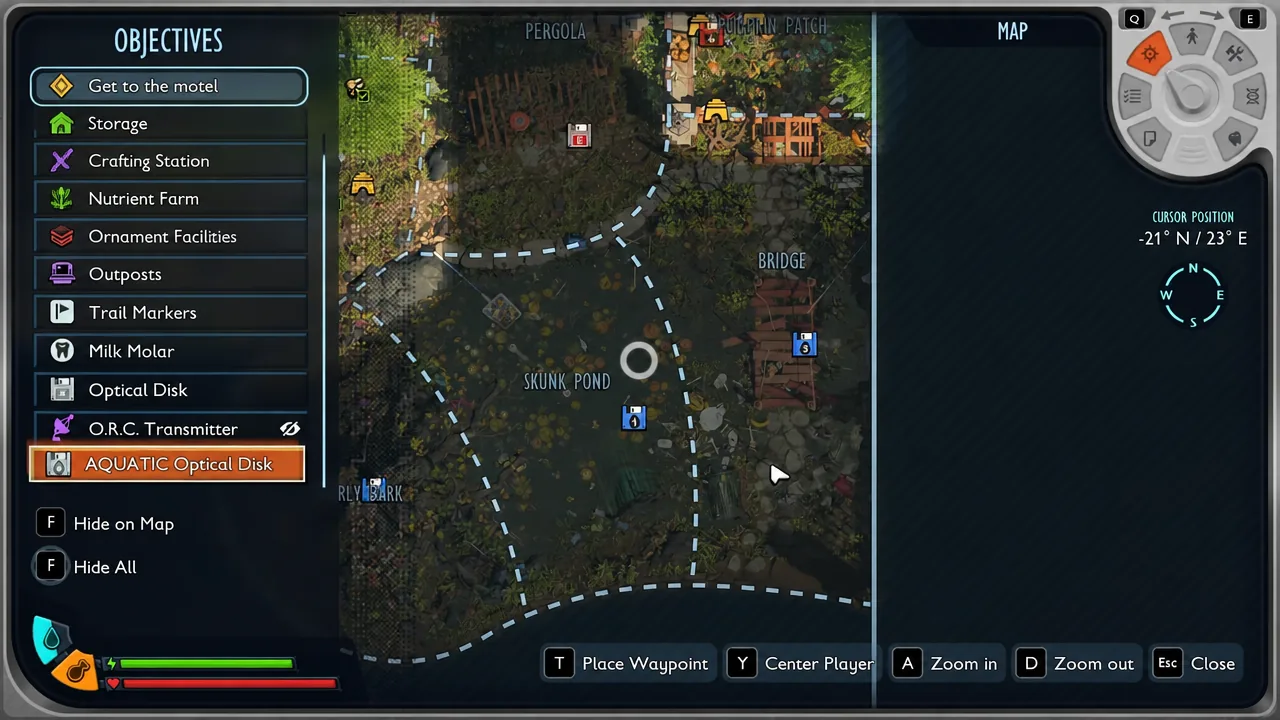
Unlock the Diving Suit recipes with the three Aquatic Optical Discs
Each Diving Suit piece is locked behind its own Aquatic Optical Disc. You pick the disc up, take it to a Ranger Station, and insert it through the Science Shop. Every piece costs 1,500 Raw Science, so budget 4,500 in total.
| Disc location | Unlocks | Raw Science |
|---|---|---|
| Top of the Gnarly Bark tree, inside a small cave opening on the outside of the trunk | Diving Boots | 1,500 |
| The Bridge section to the right of Skunk Pond, at the top of the planks | Diving Suit Chestplate | 1,500 |
| The Diving Station lab, south of the Skunk Pond label on the map | Diving Helmet | 1,500 |
For the Gnarly Bark climb, start near the memorial and head left. An Orb Weaver Buggy makes the terrain far easier, though you have to leave it behind at the cave entrance. Inside, go deeper, take a right, and climb the mushrooms higher. At the top, turn left and follow the mushrooms around the outside of the tree to the cave opening. The disc is on a body on the floor. Most of the bugs in there can simply be outrun.
The Bridge disc is guarded by a Mess Officer Funk, an A-type bug that behaves like a stinkbug. The Mantis Helmet is the strongest gas protection available and Gastro Goo helps if the Woozy meter climbs, but the disc is sitting on the ground and you can grab it and leave without fighting.
The third disc is inside the Diving Station itself. Bring a Gill Tube, and a Toe Biter Buggy makes the swim much safer, because a very large toe biter patrols the area. Dive from the lily pads, find the ladder entrance, and drop into the small lab below. The disc is straight ahead, and the Ranger Station behind it takes the insert.
Craft the Diving Suit at the Workbench
With all three recipes unlocked, everything is built at a Workbench. Two of the ingredients, Quartz Glass and Fire Bricks, need production stations you may not own yet.
| Piece | Materials |
|---|---|
| Diving Helmet | Quartz Glass x3, Toe Biter Shell x2, Cattail Fluff x2, Wax x1 |
| Diving Suit Chestplate | Chrysalis Leather x5, Quartz Glass x2, Cattail Fluff x5, Lint Rope x4 |
| Diving Boots | Chrysalis Leather x4, Fire Brick x2, Toe Biter Shell x4, Wax x3 |
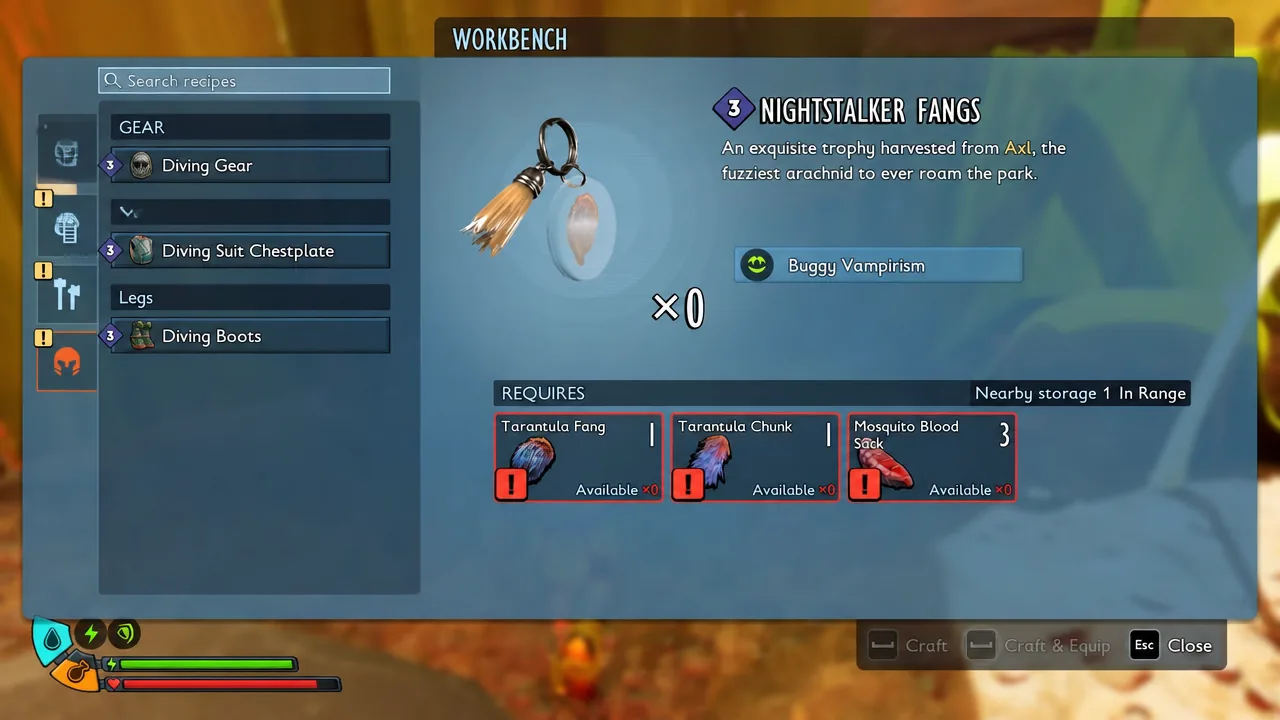
Toe Biter Shells drop from Toe Biters and Toe Biter Nymphs. Wax is on the underside of the floating lily pads in the Koi Pond, especially under the large flowering clusters. Cattail Fluff only grows in the Bridge Biome, along the marshy edges where cattails stand above patches of yellow plants. Chrysalis Leather hangs from the leaves above the potato and carrot beds in the veggie garden. Lint Rope comes from Lint Clumps harvested with a Tier 3 chopping tool off the Picnic Table tarp or the Teddy Bear crate, then spun at a Spinning Wheel.
Quartz Glass and Fire Bricks: the Quern and Kiln chain
Phantom Quartz is the base material. It is in the underground cave on the east side of the Gnarly Bark tree, where the pond meets the trunk. Mine plenty, since the full set eats a lot of it. Horsetail Stem is collected around the water with a Tier 2 snipper or Tier 2 axe, and gathering 10 to 20 stems is sensible.
| Output | Station | Inputs |
|---|---|---|
| Crushed Quartz | Quern | Phantom Quartz |
| Fire Brick | Oven | Clay x4, Crushed Quartz x1 |
| Quartz Glass | Kiln chain | Crushed Quartz x2, Horsetail Stem x1 |
The Quern needs Clay x4, Sturdy Quartzite Shard x3, Lint Rope x2, Pinecone Piece x3 and Striped Scorpion Chunk x2, that last one dropping in Gnarly Bark. The Kiln needs Fire Brick x8, EverChar Coal Chunk x5, Green Shield Bug Parts x3, Rust x4 and Horsetail Stem x3. Analyze Crushed Quartz once you have some, or the downstream recipes will not appear.
Pack for one long trip, not a quick dive
Once you go through the gate, returning to base is expensive. Repair the Diving Suit and your main weapons before you leave, carry healing and Repair Glue, bring your own light source, and clear out junk materials so you have free inventory slots on the way back up.
Underwater-friendly weapons matter more than your usual surface loadout. The Harpoon Gun with Harpoon Bolts, the Crystal Trident, and a shield all work well down there. None of them is mandatory, though. The suit is the only hard requirement, and there is no reason to stall the story because one optional weapon is still unfinished.
You do not need the Toe Biter Buggy or an underwater base with a Bubble Diffuser to enter. Both make repeat pond trips more comfortable, but neither is checked at the door.
Enter the Abyss through the Diving Station
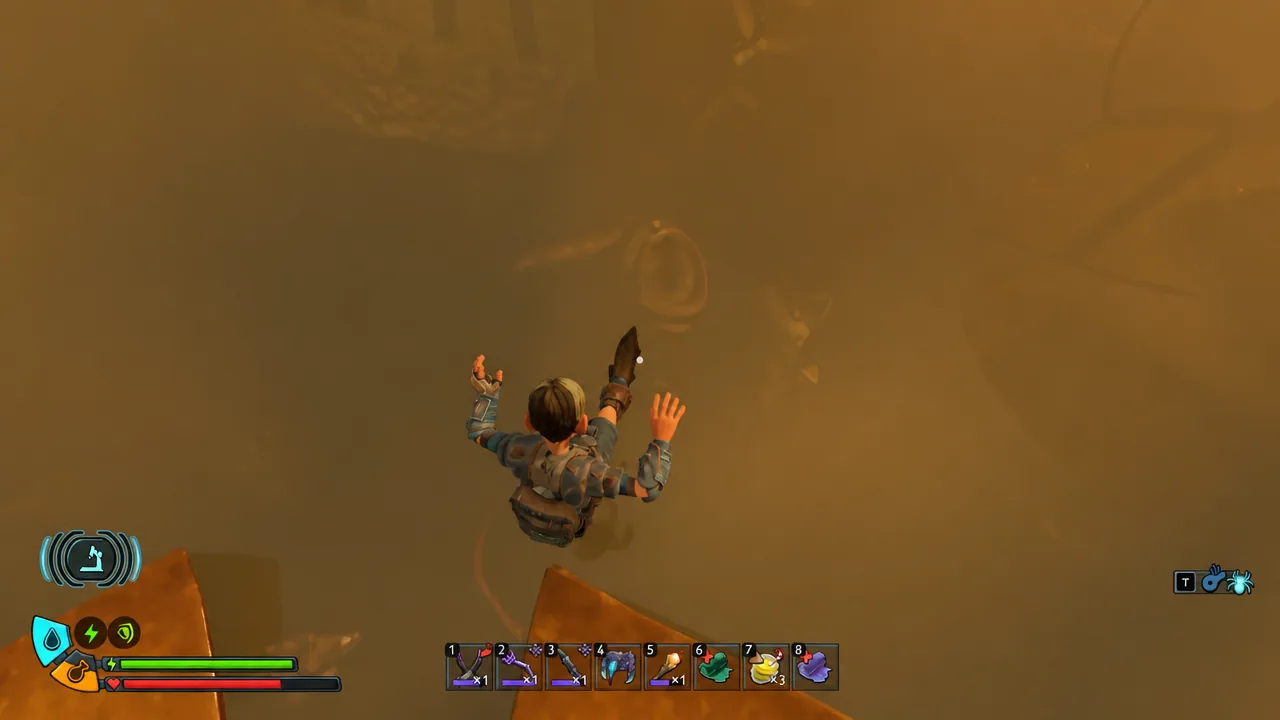
After that first trip, an elevator becomes available and skips the whole descent, so later runs are much quicker.
The Boots stop you from swimming, which makes ordinary pond exploration clumsy. Outside the Abyss, wearing only the Helmet and Chestplate is the more practical setup. Inside, the full set stays on.
Navigate the Abyss using pink cables and fixed lights
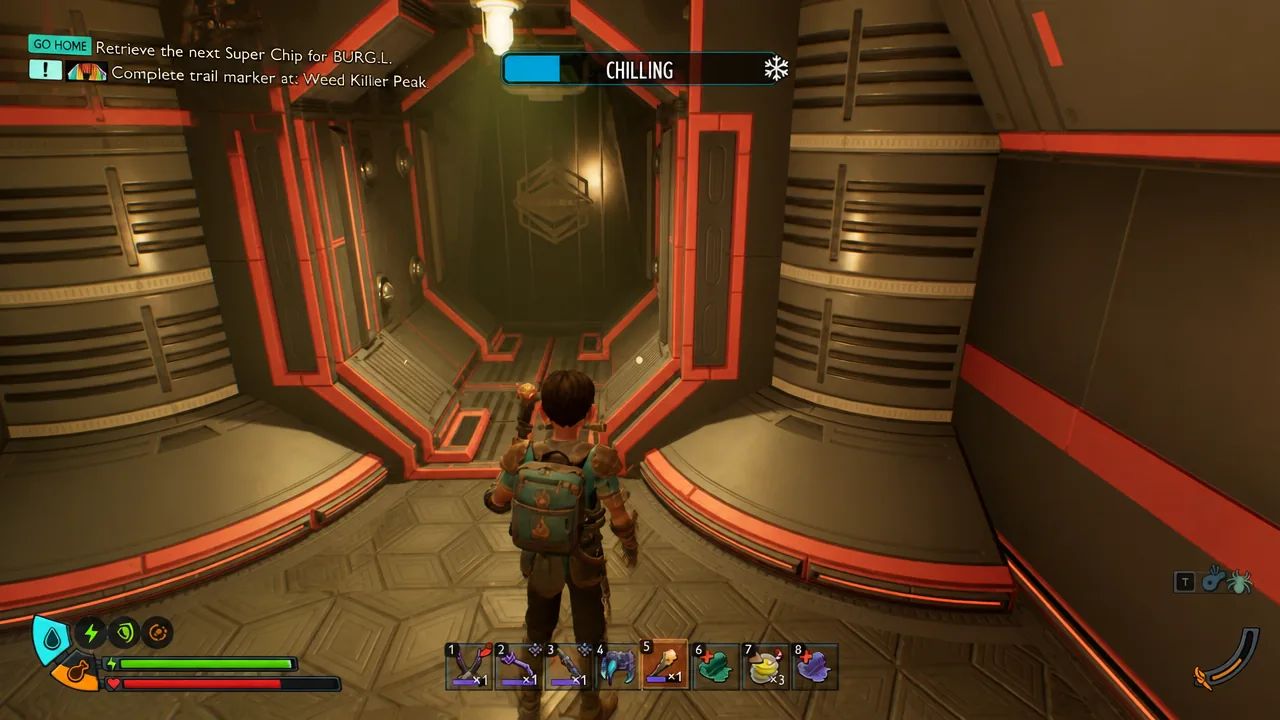
Down here, natural rock is a bad landmark. Everything artificial is a good one. The reliable chain to follow is Ominent structures, then fixed lights, then the large pink cables, then whatever deeper infrastructure they connect to. When a route shows a pink cable leading to lit sections and another built structure, that direction carries far more weight than an unlit side opening.
Bring your own light anyway. It shows you enemies, ledges and pickups directly around you. The fixed lights are for orientation, not visibility.
Treat the pink cables as anchors rather than arrows. Not every cable points at the objective, but finding a cable you recognise is a much faster way to recover than swimming deeper and hoping the next cavern looks familiar.
Check the way back before you drop
Vertical shortcuts are the biggest time sink in the Abyss. A lower ledge is often easy to reach and awkward to leave. Before any significant drop, work out how you would climb back if that level turns out to be wrong.
This matters most around the large breeze-block structure. Continuing under and through the structure works better than dropping to whichever platform you can see below you.
Fight only what blocks the path
Every fight costs health, healing items, weapon durability, suit durability, ammunition and time. Engage when something is jammed into a narrow corridor, chasing you across the route, or making a tricky traversal section unsafe. Otherwise, keep moving. The first run is about learning the route, not clearing the map.
The same applies to loot. Off-route resource pockets, side ledges with no obvious way back and structures that clearly lead away from the objective are all better handled on a later trip, once you know how to get in and out.
If you get lost
Stop moving. Swimming further while disoriented almost always makes it worse. Look for the last pink cable you recognise, then the fixed lights, then the last Ominent structure you know was on the route, and check whether you have dropped below the level you had been following. Backtrack to a known landmark rather than adding more unexplored space to the problem.
How you know the route is complete
The endpoint is BURG.L’s replacement Robot Body. Once you reach it and retrieve it, the mandatory story push through the Abyss is done. There is no second boss door or hidden final requirement waiting past it, so there is no reason to keep sweeping the deepest area for another trigger.
From that point the Abyss switches from progression to cleanup. The antenna installations, Outpost 2, the Monitoring Station, the fourth Koi Fish and everything you skipped on the way down are all still there, and the elevator makes going back for them cheap.
If the entrance still will not open
There are only a few reasons the gate refuses you, and none of them involve a secret alternate entrance under the platform.
| Symptom | Fix |
|---|---|
| The scanner rejects you at the moon pool | Confirm the Helmet, Chestplate and Boots are all equipped at once, not just crafted |
| A Diving Suit recipe never appeared | You are missing an Aquatic Optical Disc — collect it and insert it at a Ranger Station |
| The recipe exists but you cannot craft it | The Quartz Glass or Fire Brick chain is unfinished — build the Quern and Kiln and farm Phantom Quartz |
A missing recipe and a closed door are two different problems, and repeatedly walking back to the Diving Station will not solve the first one. Sort out the unlock, finish the suit, then make the descent once with everything repaired and enough free inventory space to bring the Robot Body home.