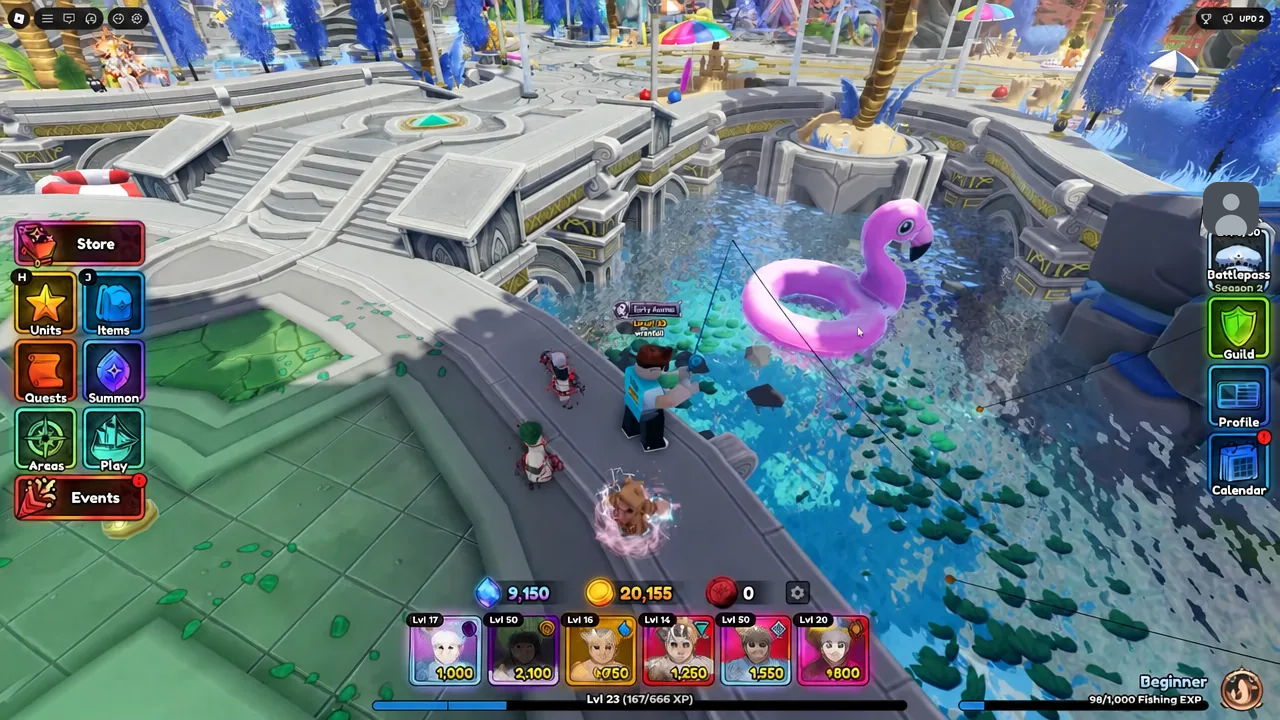
Fishing arrived in Anime Expeditions with the Summer Siege content, and the fish index is the part most players get stuck on. Casting randomly in the lobby will never fill it, because nine of the entries only exist on story maps and the event map. The fastest route is to clear one location at a time.
Quick answer: There are 18 unique fish. Three are lobby-only (Blue Tang, Derp Fish, Owl Fish), four appear in both the Lobby and Coral Kingdom (Prize Fish, Fusion Fish, Shellphone Snail, Coopfin), two are Coral Kingdom-only (Mirror Fish, Booster Fish), and the remaining nine are split evenly across School Grounds, Flower Forest, and East Town.
All 18 fish in Anime Expeditions and their locations
Add up the per-location listings and you get 22 entries, but four fish are shared between the Lobby and Coral Kingdom. That overlap is why the index tops out at 18 unique catches.
| Fish | Rarity | Where it spawns |
|---|---|---|
| Blue Tang | 1-star | Lobby |
| Derp Fish | 2-star | Lobby |
| Owl Fish | 3-star | Lobby |
| Prize Fish | 2-star | Lobby, Coral Kingdom |
| Fusion Fish | 3-star | Lobby, Coral Kingdom |
| Shellphone Snail | 4-star | Lobby, Coral Kingdom |
| Coopfin | 5-star | Lobby, Coral Kingdom |
| Mirror Fish | 3-star | Coral Kingdom |
| Booster Fish | 3-star | Coral Kingdom |
| Rock Fish | 1-star | School Grounds |
| Red Jewel Fish | 2-star | School Grounds |
| Tropical Fish | 3-star | School Grounds |
| Butterfly Fish | 1-star | Flower Forest |
| Green Tiger Barb | 2-star | Flower Forest |
| Rainbow Fish | 4-star | Flower Forest |
| Clown Fish | 1-star | East Town |
| Puffer Fish | 3-star | East Town |
| Sword Fish | 4-star | East Town |
Start with whichever map is missing the most entries. Coral Kingdom is usually the efficient first stop, since only Blue Tang, Derp Fish, and Owl Fish are truly locked to the lobby.
Lobby fishing spots for Blue Tang, Derp Fish, and Owl Fish
The lobby holds seven of the 22 entries, and it is the only place three of them exist. Casts only register in large, still bodies of water, so the fast-moving streams will not produce a bite no matter how long you wait.
Reliable water sits on either side of the Story mode hub, behind the Carrot Summer NPC, to the right of the AFK Chamber hub, and around the Guilds and Tower hub. The Summon hub, the Upgrades hub interior, both sides of the Leaderboards hub, and the Tournaments hub all have pools that work too.
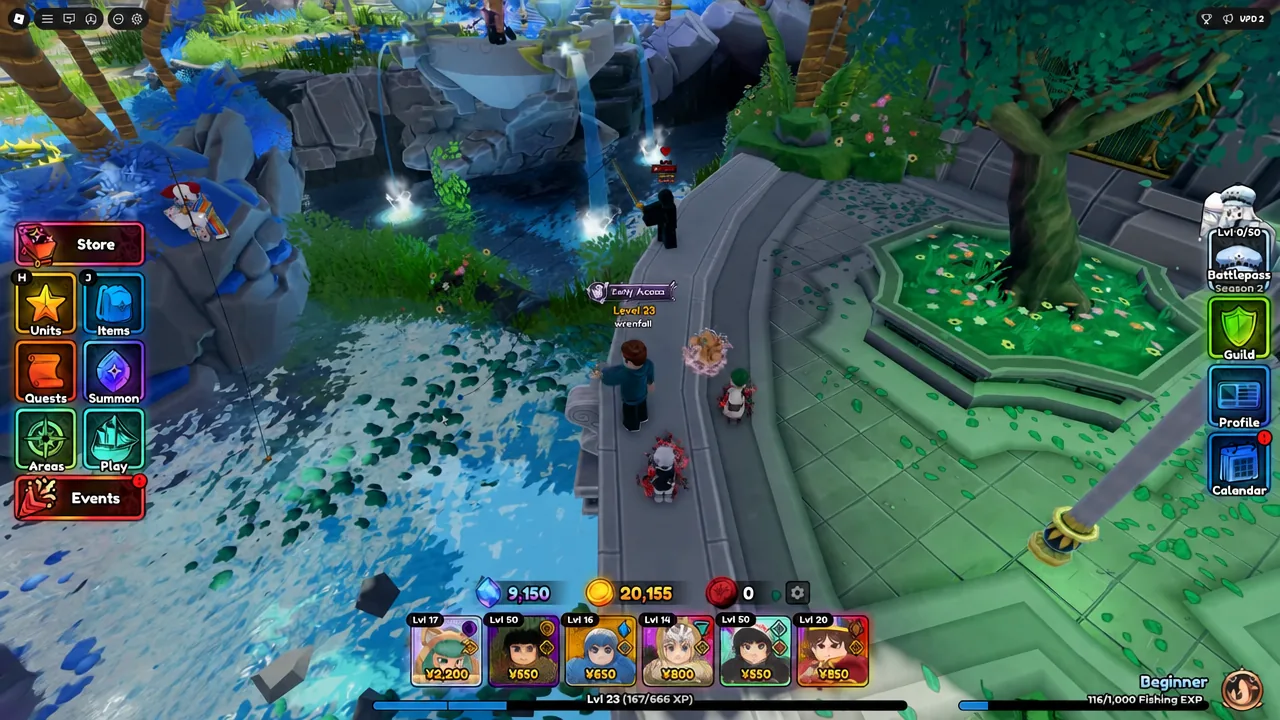
Tip: if the line will not cast while you are standing on the bank, jump down into the pool itself and cast from the water.
Coral Kingdom: Mirror Fish and Booster Fish
Coral Kingdom is the Tidal Siege event map, and the event tab is the only way in. It is also the least fussy location on the list, because every body of water on the map is fishable.
The two exclusives here are Mirror Fish and Booster Fish, both 3-star. Prize Fish, Fusion Fish, Shellphone Snail, and Coopfin also spawn here, so a single Coral Kingdom run can cover six of the 18 entries.
Story map fishing spots: School Grounds, Flower Forest, and East Town
Each of these three maps holds exactly three fish, none of which appear anywhere else. Infinite mode is the practical choice, since you are not racing a wave limit while you fish. One rule applies to all story maps: the rod does nothing until the round has actually begun, so press Start and let the waves roll in before you cast.
School Grounds: Rock Fish, Red Jewel Fish, Tropical Fish
Flower Forest: Butterfly Fish, Green Tiger Barb, Rainbow Fish
East Town: Clown Fish, Puffer Fish, Sword Fish
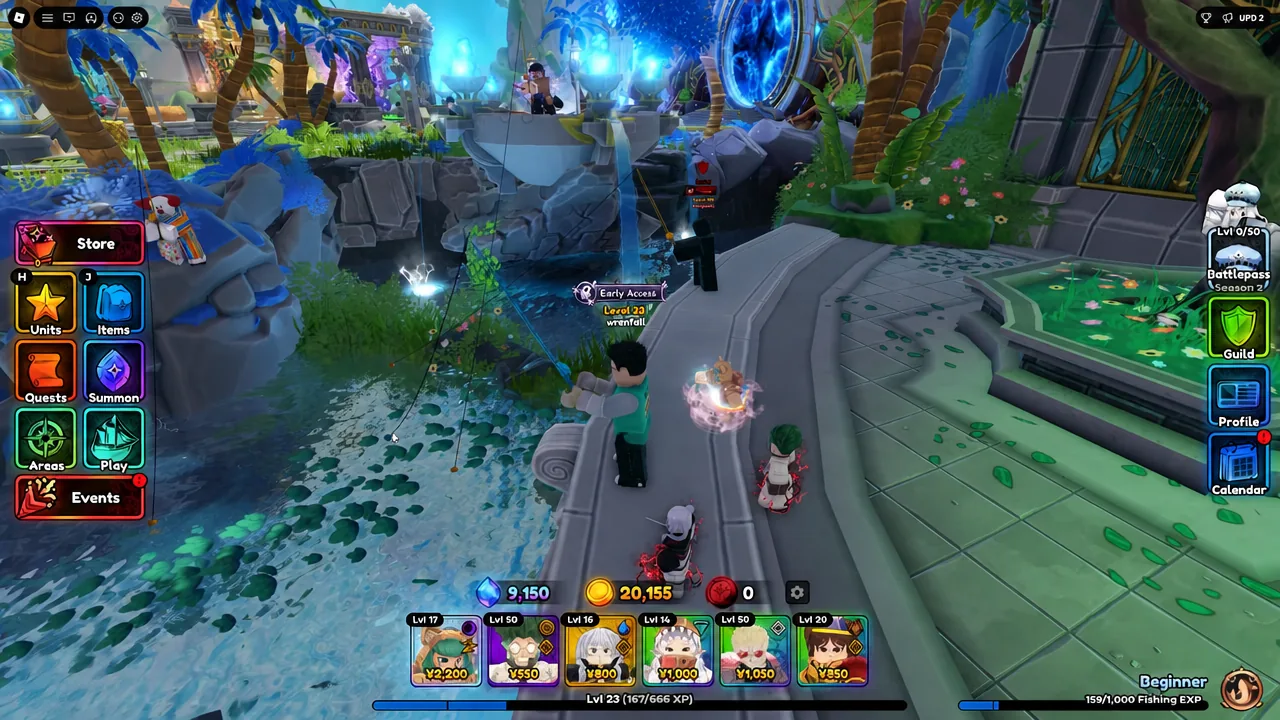
Rods for the four hardest fish to catch
Most of the index falls to the Normal Rod. Four fish move erratically enough in the minigame that the Lucky Rod or Advanced Rod is the practical answer, since both give you more control over the bar.
| Fish | Location | Rod to use |
|---|---|---|
| Shellphone Snail | Lobby, Coral Kingdom | Lucky Rod or Advanced Rod |
| Coopfin | Lobby, Coral Kingdom | Lucky Rod or Advanced Rod |
| Butterfly Fish | Flower Forest | Lucky Rod or Advanced Rod |
| Puffer Fish | East Town | Lucky Rod or Advanced Rod |
Getting hold of those rods is its own small grind, and each one comes from a different place.
| Rod | How to get it |
|---|---|
| Normal Rod | In your inventory from the start |
| Lucky Rod | 1% chance to drop after any catch |
| Recycling Rod | Fish 100 times |
| Advanced Rod | 750 Sand Dollars in the Summer Shop |
| Auto Rod | Reach wave 150 in Tidal Siege |
Skip the Auto Rod while you are hunting specific entries. It clears the minigame for you but pulls random fish, which makes it useless for targeting a missing index slot.
How to confirm a catch registered, and why fishing sometimes won’t start
A successful reel-in throws up a catch notification with the fish name and quality, plus the Sand Dollars, Fishing Rank EXP, and Fishing Milestone EXP it awarded. Open the fish index from the fish icon at the bottom left and the entry will now be filled instead of greyed out.
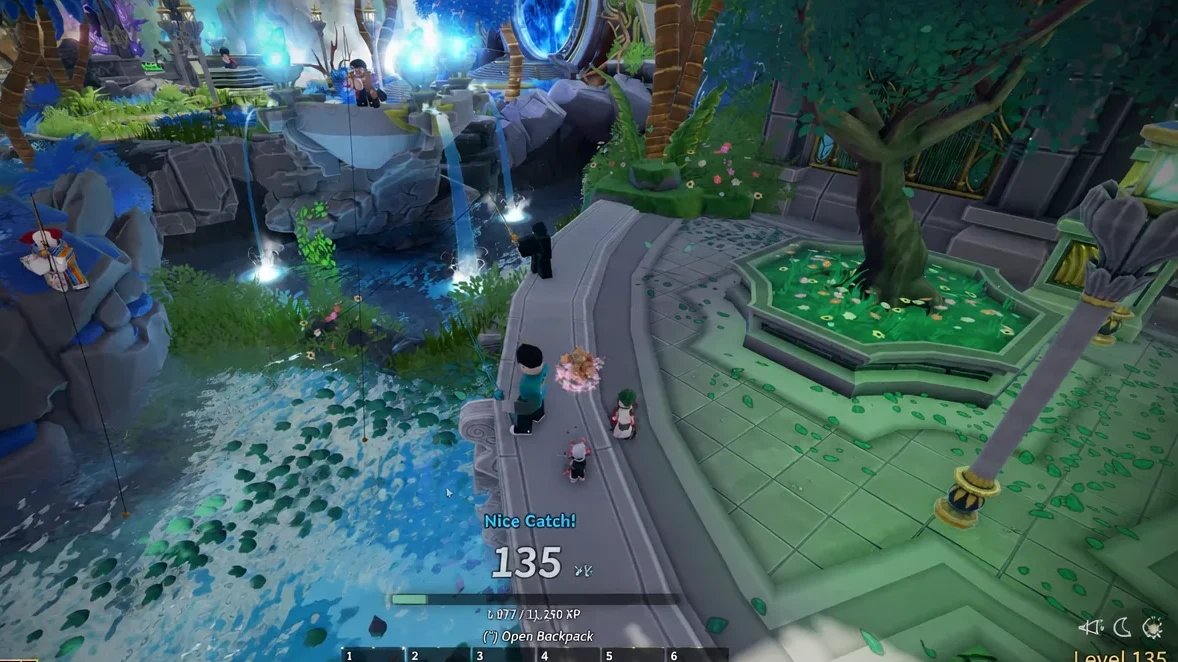
If nothing happens when you click, there are only a few likely causes. You are casting into fast-moving water in the lobby, you are standing on land instead of in the pool, or you are on a story map and have not pressed Start yet.
Filling out the index is worth more than the checkmarks. Higher-tier catches pay out more Fishing EXP, which pushes your event rank up through Novice, Experienced, Veteran, Master, and Grandmaster, each adding a bigger currency bonus on top of everything you earn. Work through one map at a time and the last few 4-star and 5-star entries are the only real obstacle left.