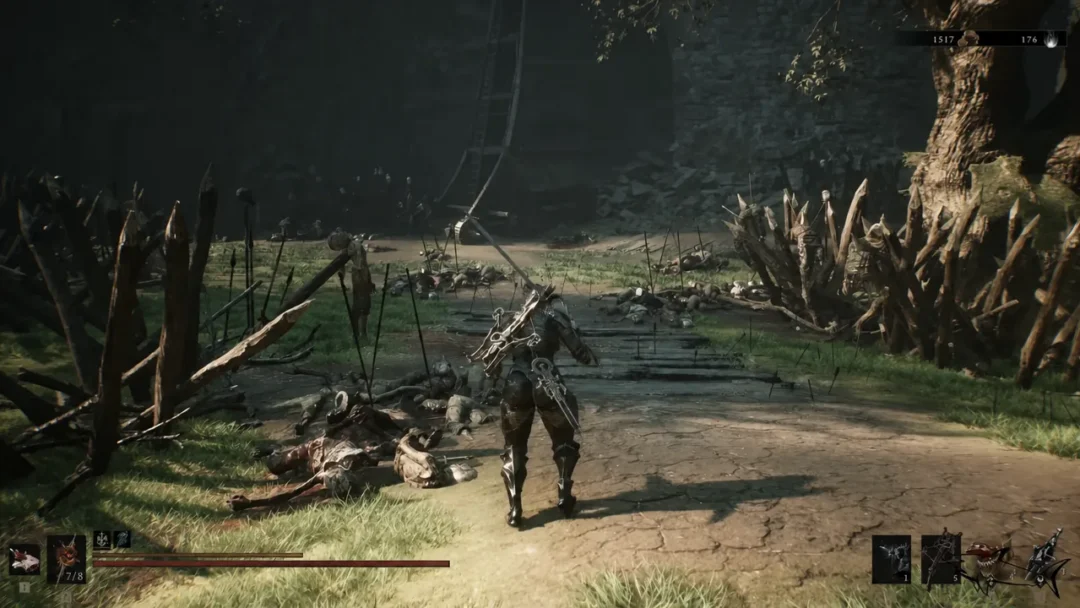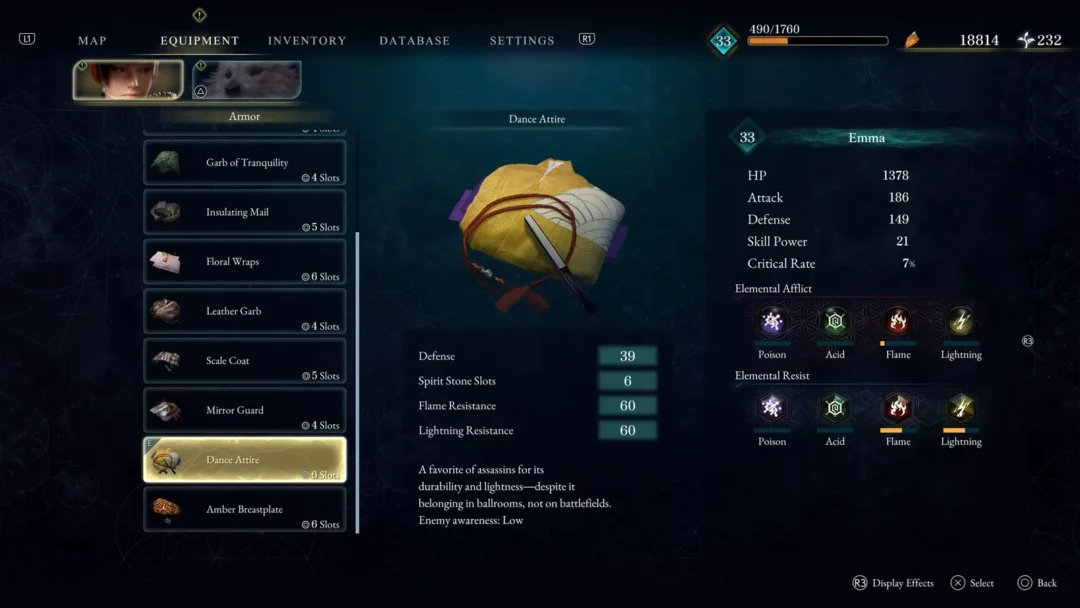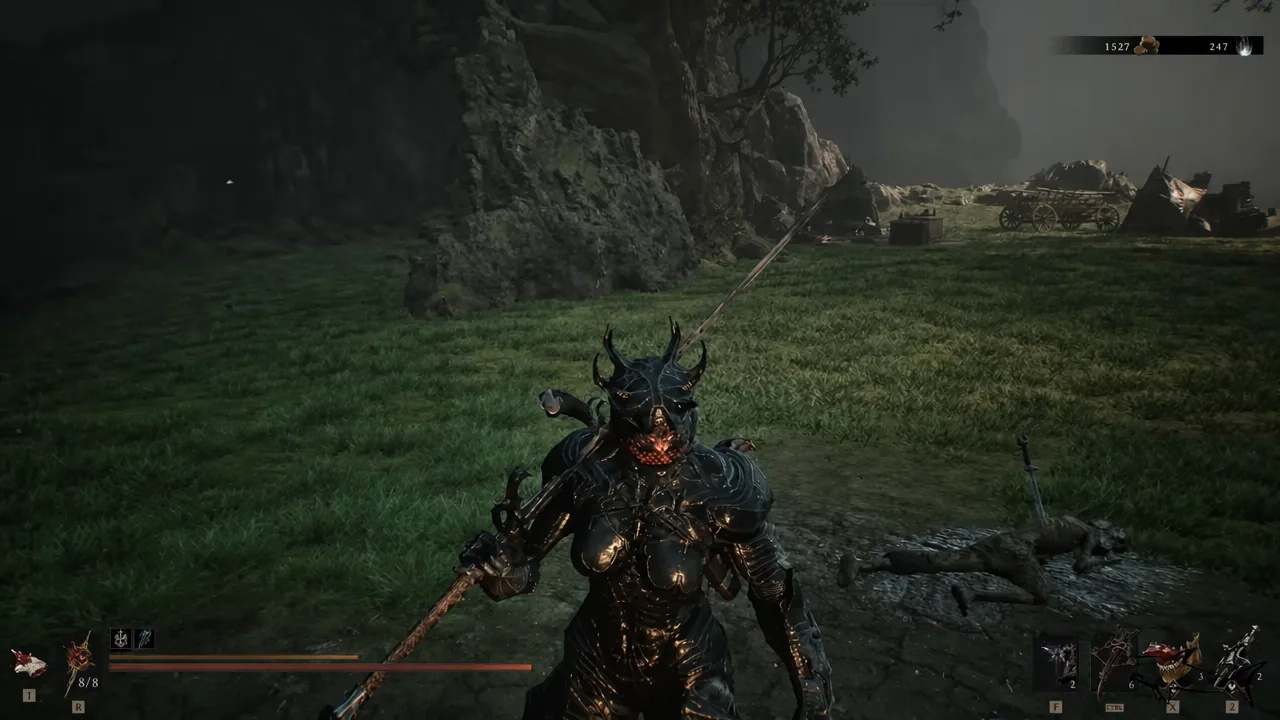
The Tyrant’s Stone is a Combat Tarstone that slots into your Primary Weapon and adds a dedicated Heavy Combo Finisher to the end of your heavy attack string. That finisher applies Weak, a status that lowers the damage output of anything it lands on. It can be picked up long before most of the map opens up, which makes it one of the more useful early additions to a melee setup.
Quick answer: From the Outskirts of Mammon beacon, take the cliffside portal between two large spikes to the isolated eastern cliffside, clear the tomb, then break the marked wall above the stairs and loot the chest inside.
Tyrant’s Stone effects and Weak stacks
Weak is a debuff, not a damage boost. Targets carrying Weak stacks deal less damage, so the Tarstone is defensive value delivered through an offensive combo. The finisher only triggers at the end of a heavy attack chain, which means you need the space to commit to a full string before it pays off.
| Level | Effect |
|---|---|
| 1 | Grants access to a special Heavy Combo Finisher |
| 2 | The heavy finisher inflicts 4 Weak stacks |
| 3 | The heavy finisher inflicts 5 Weak stacks |
| 4 | The heavy finisher inflicts 6 Weak stacks |
Because it is a Combat Tarstone, it competes for one of your two Combat slots and can only be infused into a Primary Weapon, not a Sidearm or a shell.
How to reach the tomb from Outskirts of Mammon
The whole run is short, and none of it requires a boss kill. Rest at the Outskirts of Mammon beacon first so you have a clean respawn point if the tomb guards catch you out.
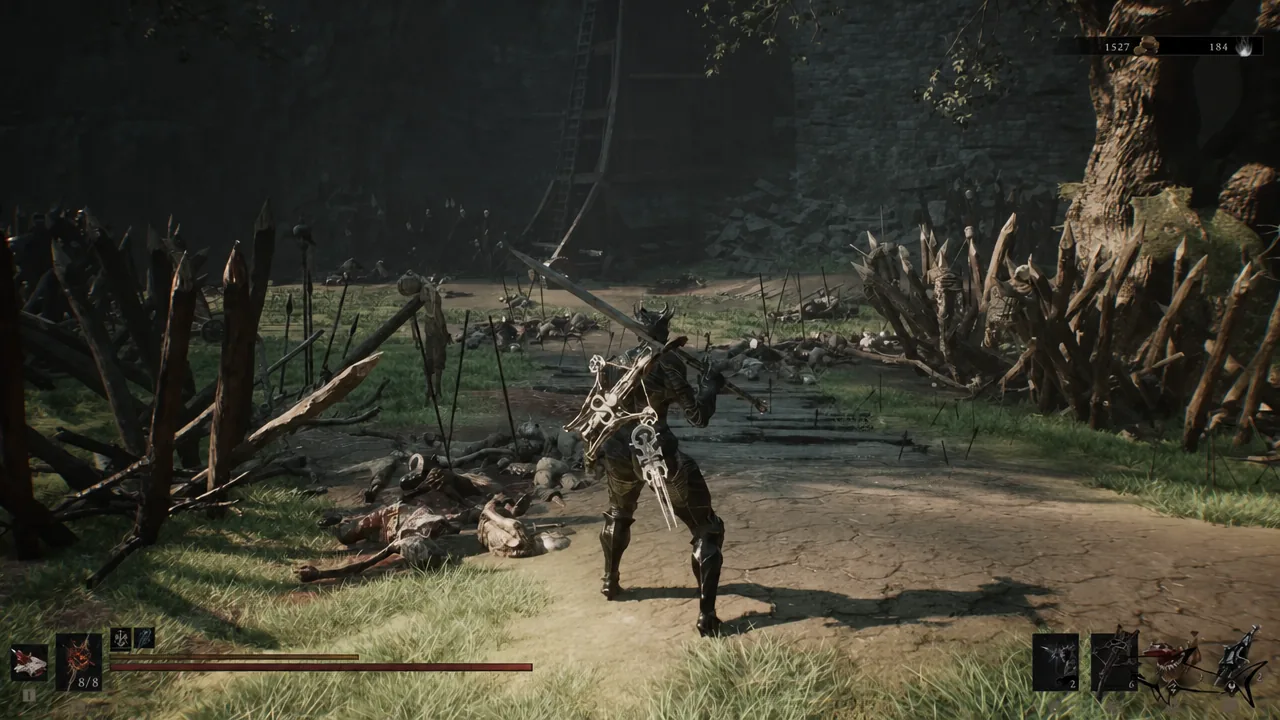
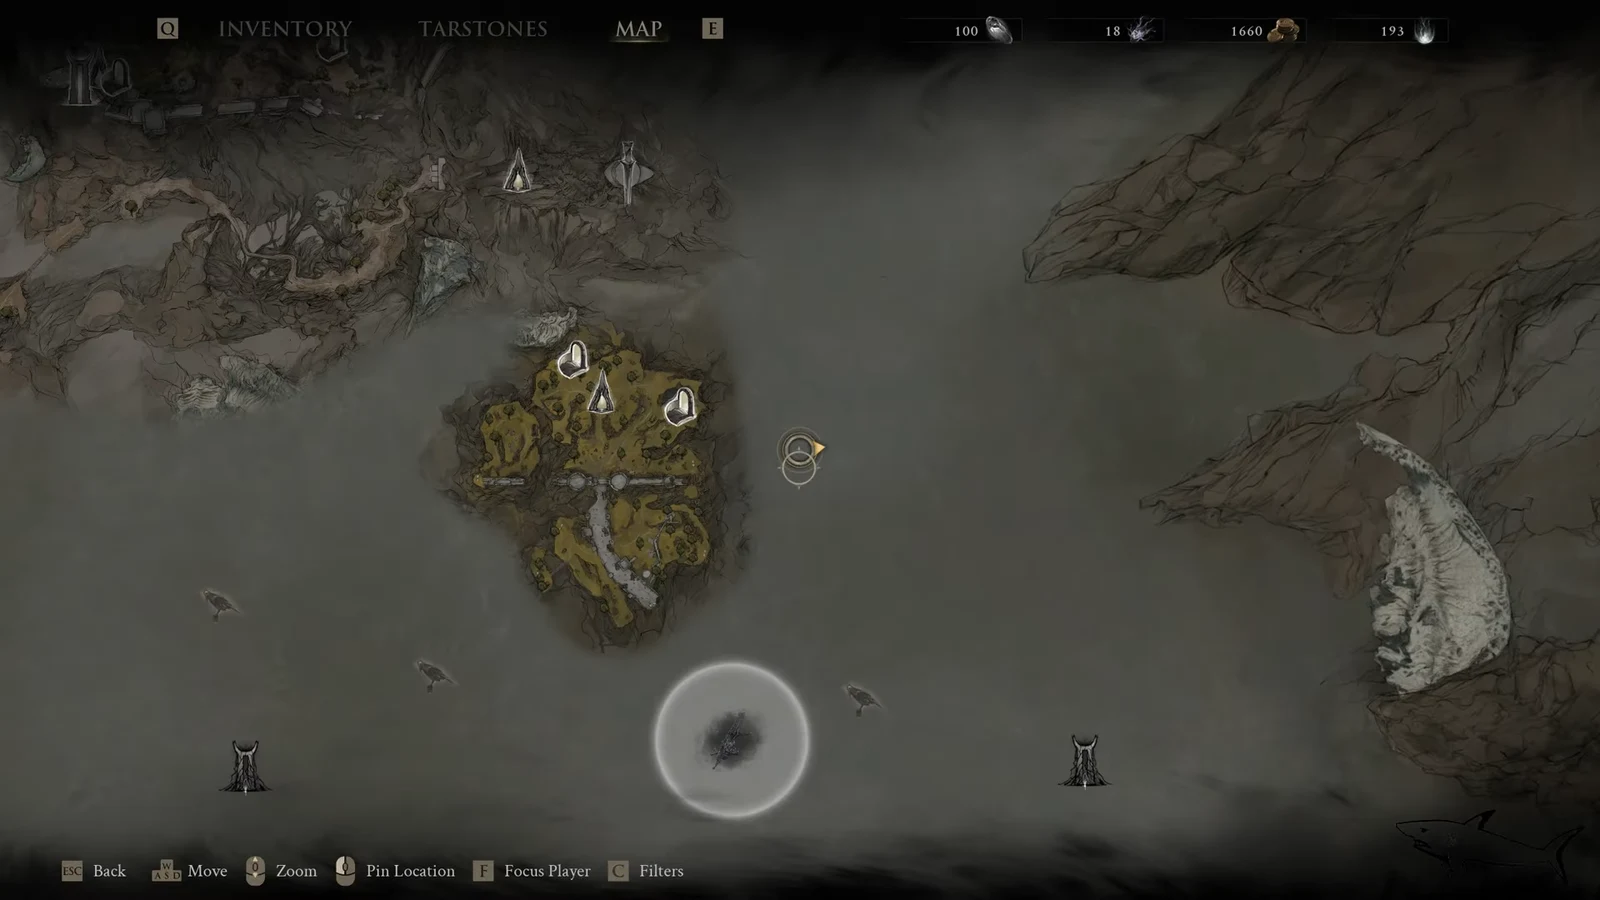
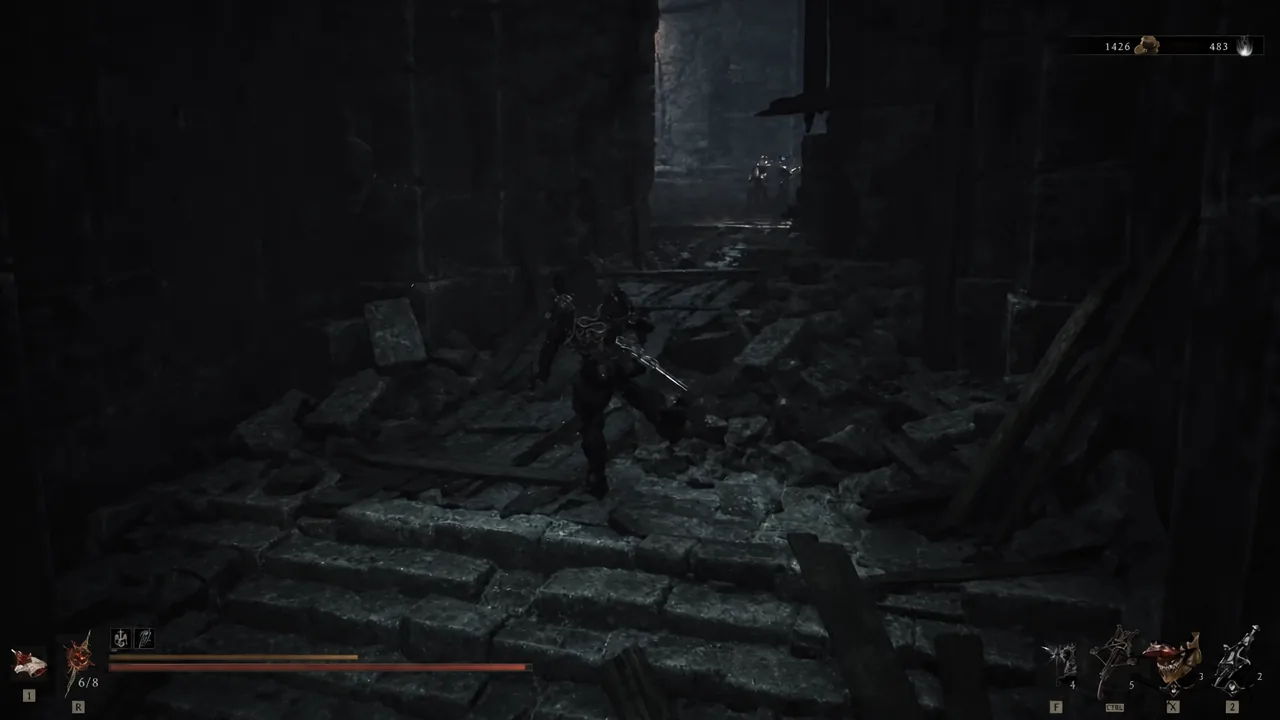
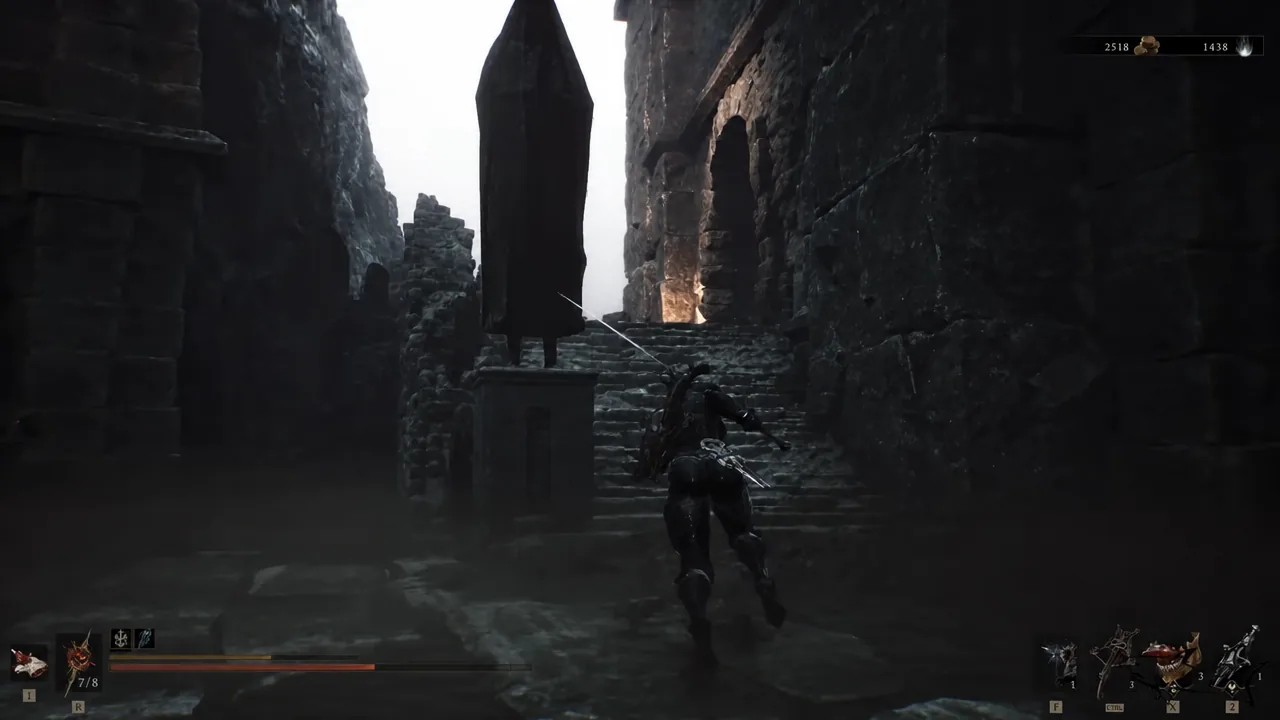
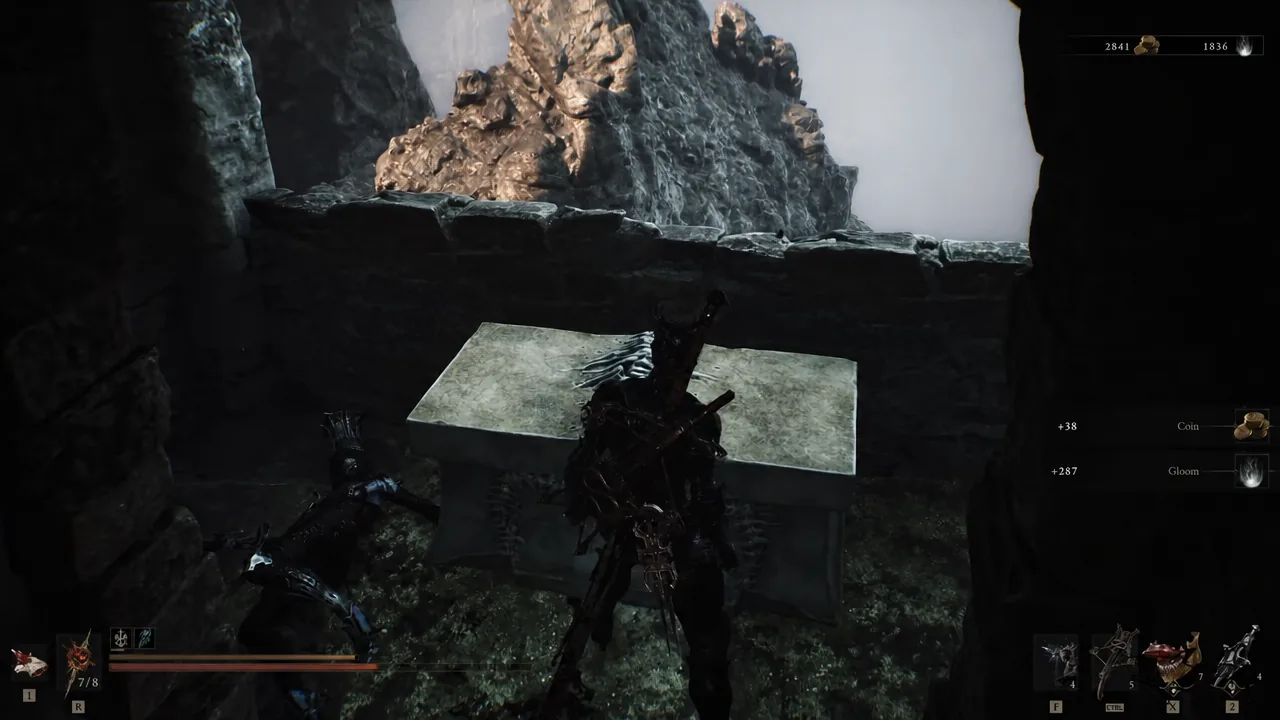
Confirming the pickup and equipping it
Open your inventory and check the Tarstones list. The Tyrant’s Stone appears there at Level 1 with the Heavy Combo Finisher line in its description, and the Weak entry explains that affected targets deal less damage.
Owning it is not the same as using it. Infuse it into your Primary Weapon from the Tarstone menu, then run a full heavy attack chain in combat. If the finisher animation never appears, the stone is almost certainly still sitting unequipped, or you are stopping the combo short before the final heavy swing lands.
Upgrading the Tyrant’s Stone at the Tarforge
Levels 2 through 4 are what actually turn on the Weak stacks, and they are gated behind a quest item rather than currency alone. The Etching Needle expands what the Tarforge in Marrow Keep can do, and it has to be handed to Franz before any upgrade option shows up.
Note: Tarstone experience does not accumulate passively. If the bar has not moved after a long session, check that the stone is still infused into the weapon you are actually fighting with.
Picked up this early, the Tyrant’s Stone is mostly a convenience at Level 1 since the Weak application scales in later. It becomes far more meaningful once the Tarforge is unlocked and the finisher starts stacking Weak on tougher enemies, which is a strong argument for slotting it in and letting it earn experience during normal play rather than shelving it until later.