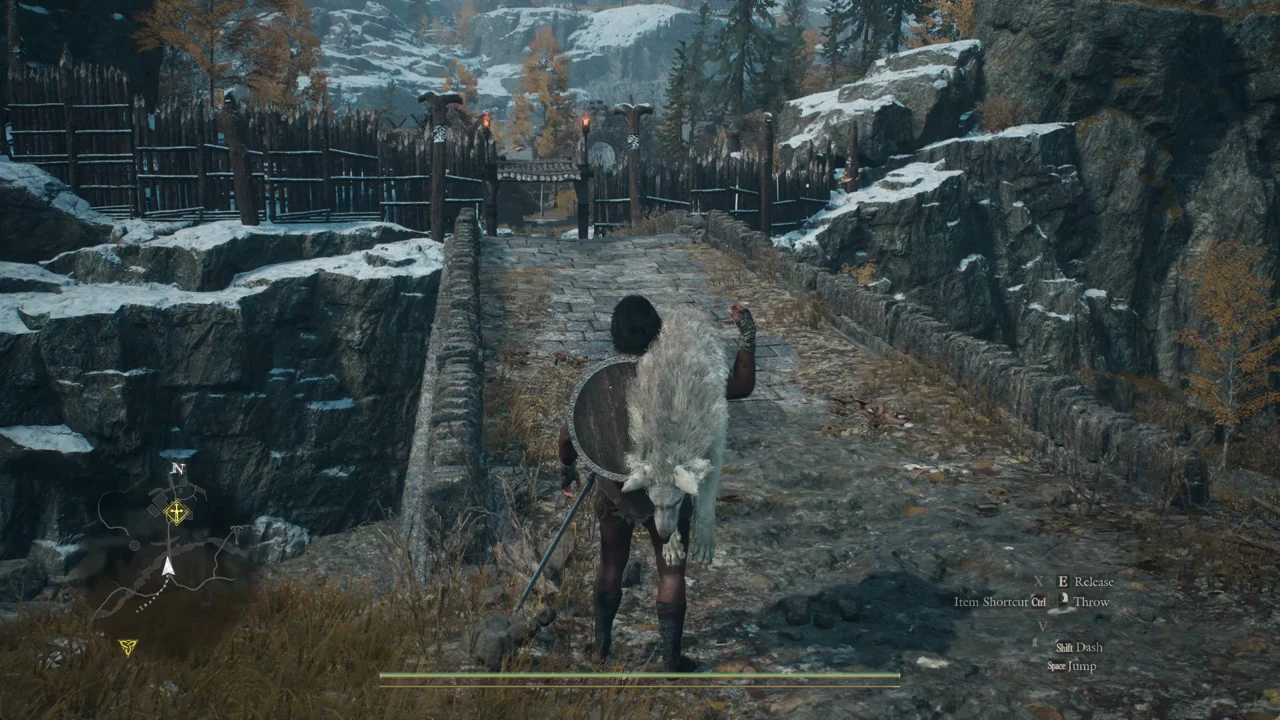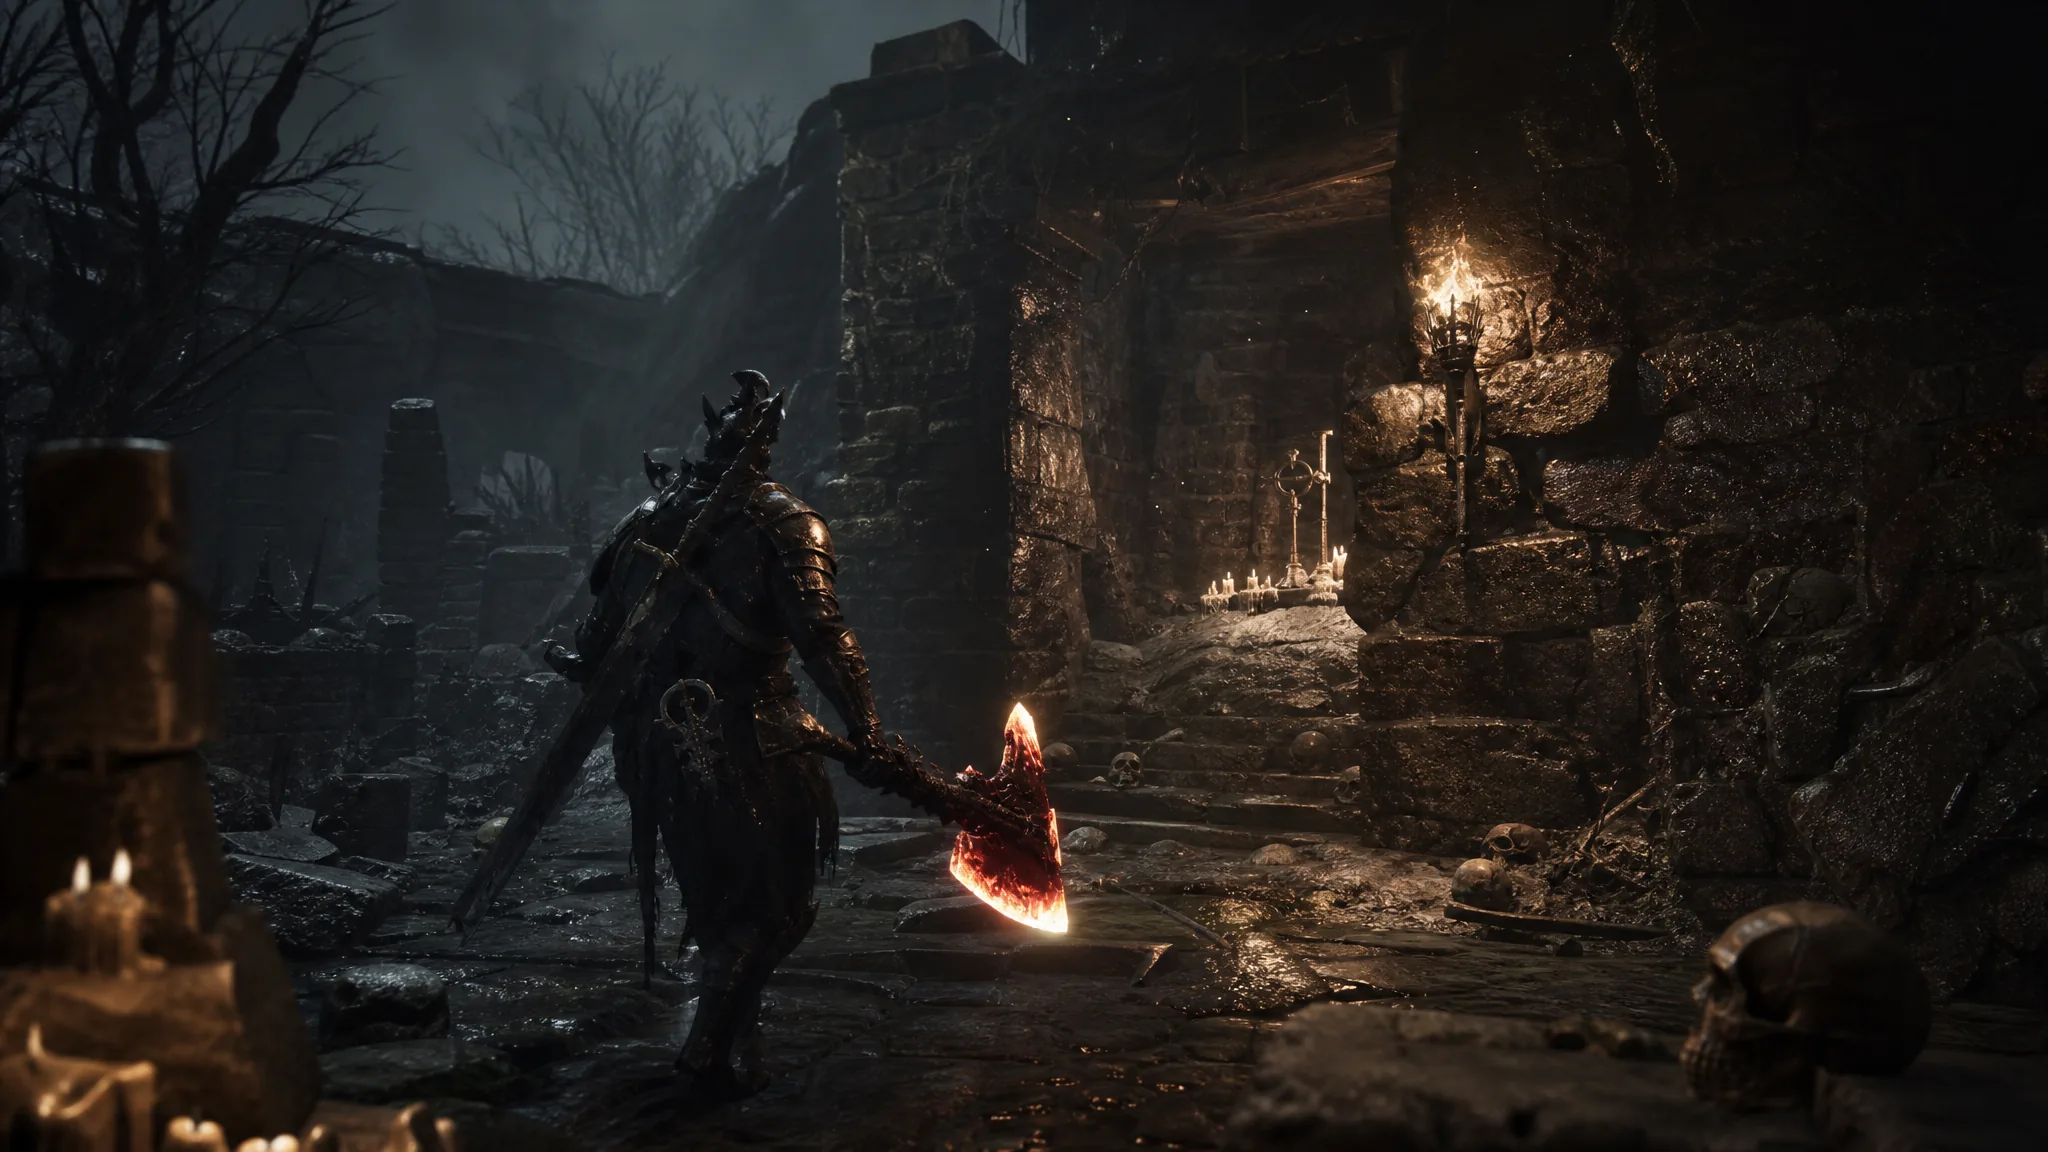
The Tyrant’s Stone is a Combat Tarstone in Mortal Shell 2 that sits behind a breakable wall in the Revenant Graves, an area most players walk straight past. There is no chest puzzle and no offering to light for this one. You need to reach the graves through a traverse point, clear a stone chamber, and then break the wall that hides the sarcophagus holding the stone.
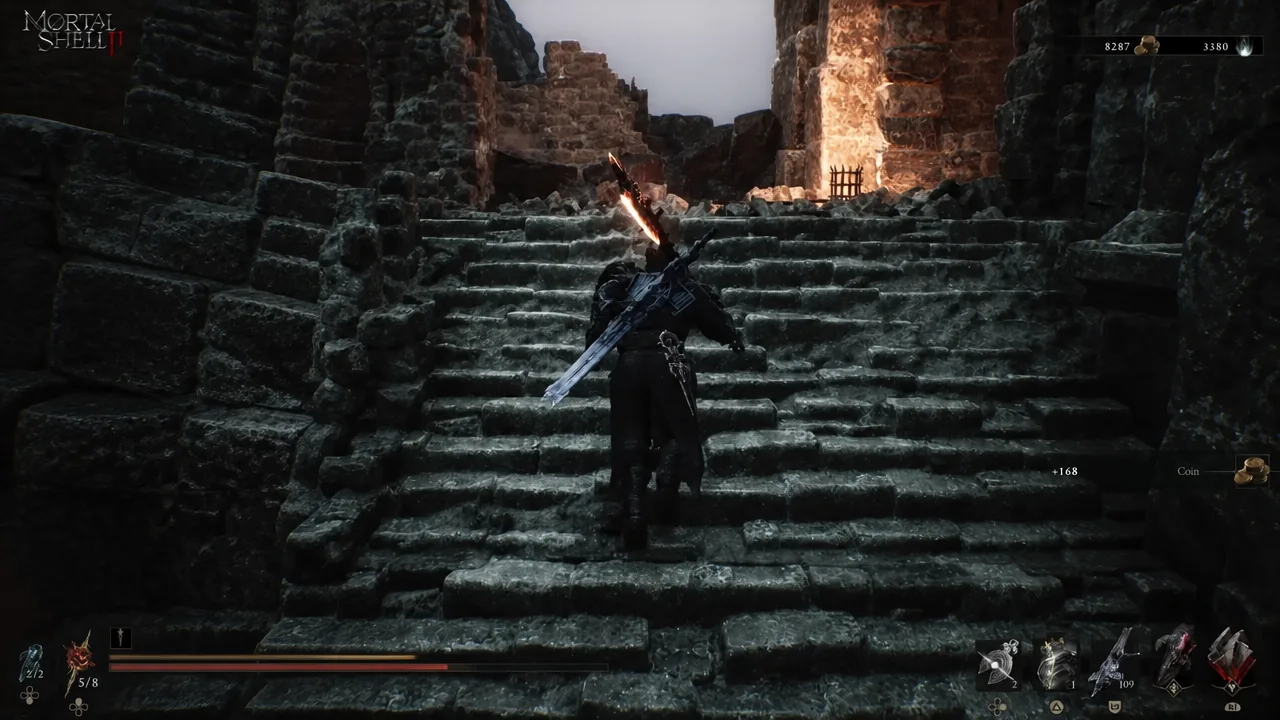
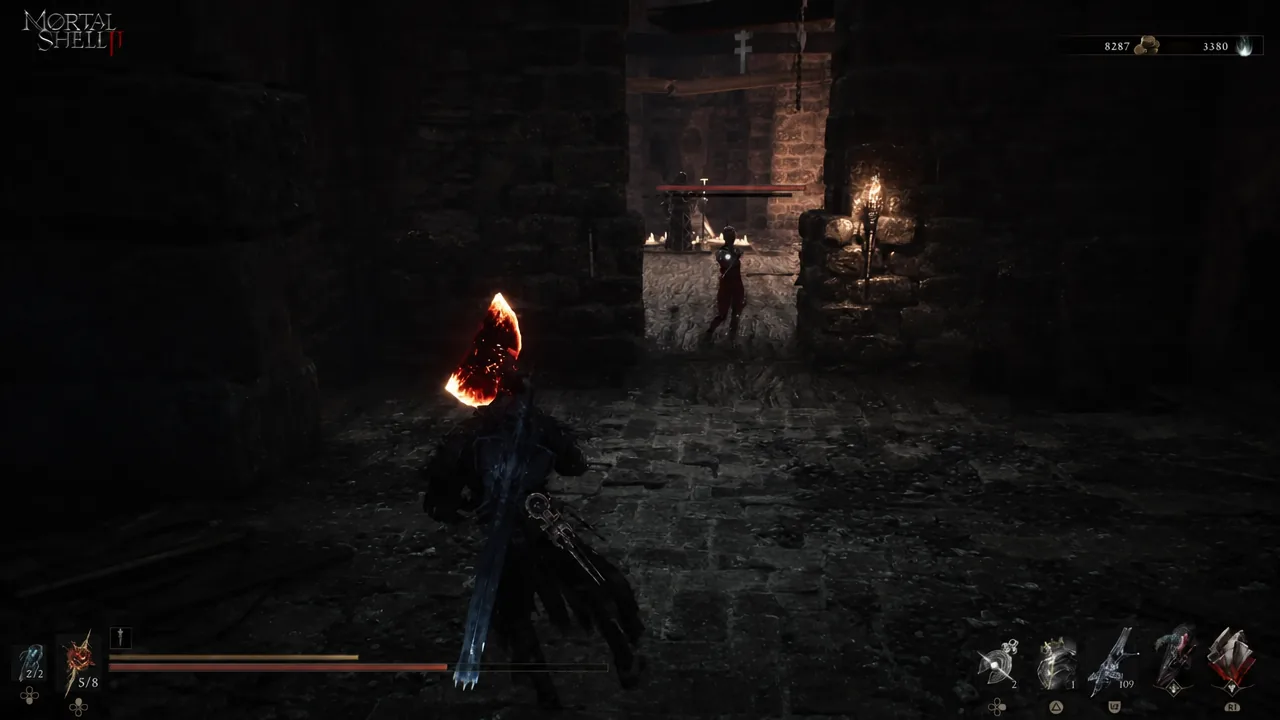
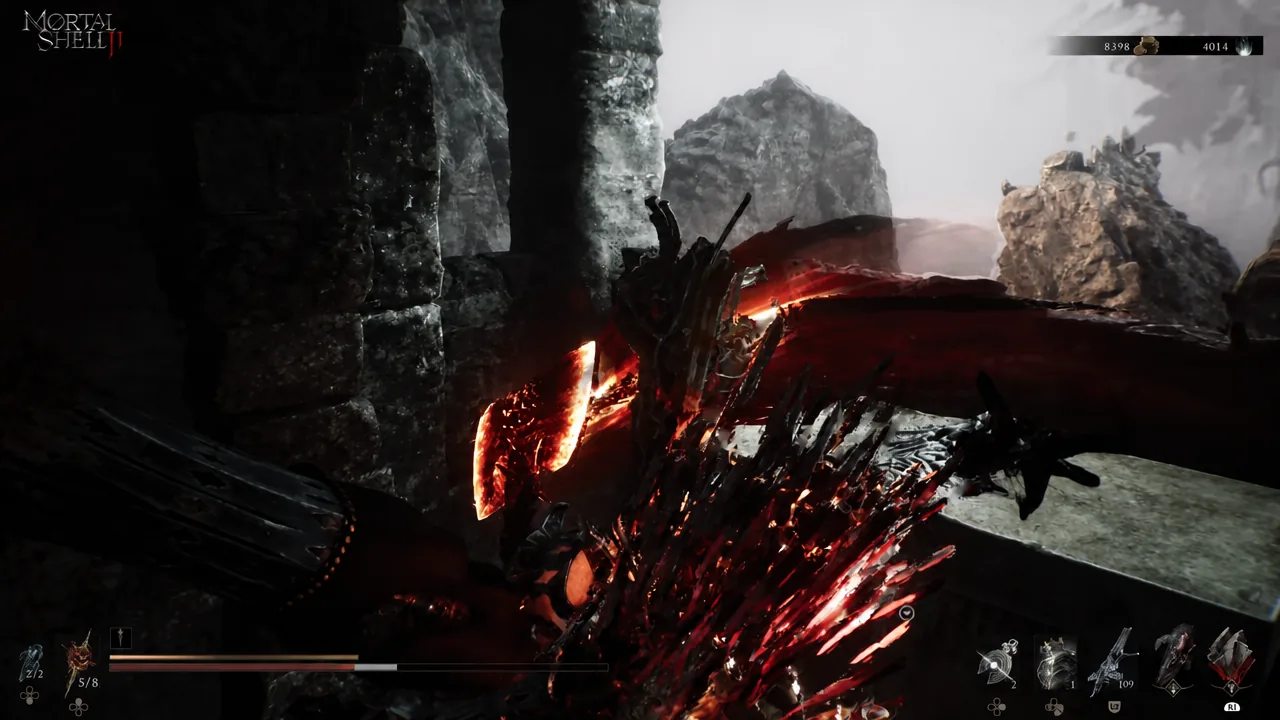
Quick answer: From the Outskirts of Mammon Beacon, take the southeastern traverse point to the Revenant Graves, climb the stairs into the stone ruins, clear the chamber, then break the hidden wall on the left side. The Tyrant’s Stone is inside the sarcophagus in that room.
What the Tyrant’s Stone does
The Tyrant’s Stone attaches to your Primary Weapon and unlocks a special Heavy Combo Finisher. Every level after the first adds Weak stacks to that finisher, which makes it a straightforward damage-amplification pick rather than a passive buff.
| Level | Effect |
|---|---|
| 1 | Grants access to a special Heavy Combo Finisher |
| 2 | The heavy finisher inflicts 4 Weak stacks |
| 3 | The heavy finisher inflicts 5 Weak stacks |
| 4 | The heavy finisher inflicts 6 Weak stacks |
It slots into six weapons only: the Black Needle, Clockwork Scythe, Great Martyr’s Blade, Obsidian Hammer, The Iconoclast, and the Veteran’s Battle Axe. If none of those are in your loadout, the Tarstone will sit unused in your menu.
Getting to the Revenant Graves
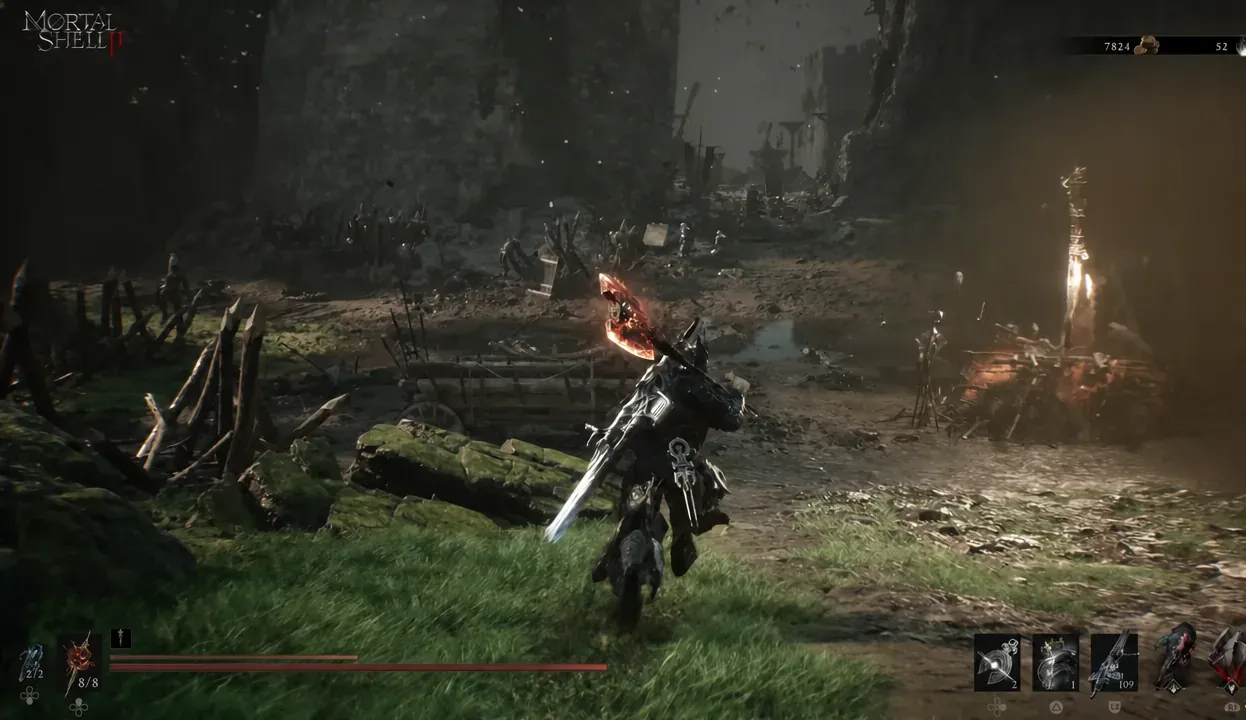
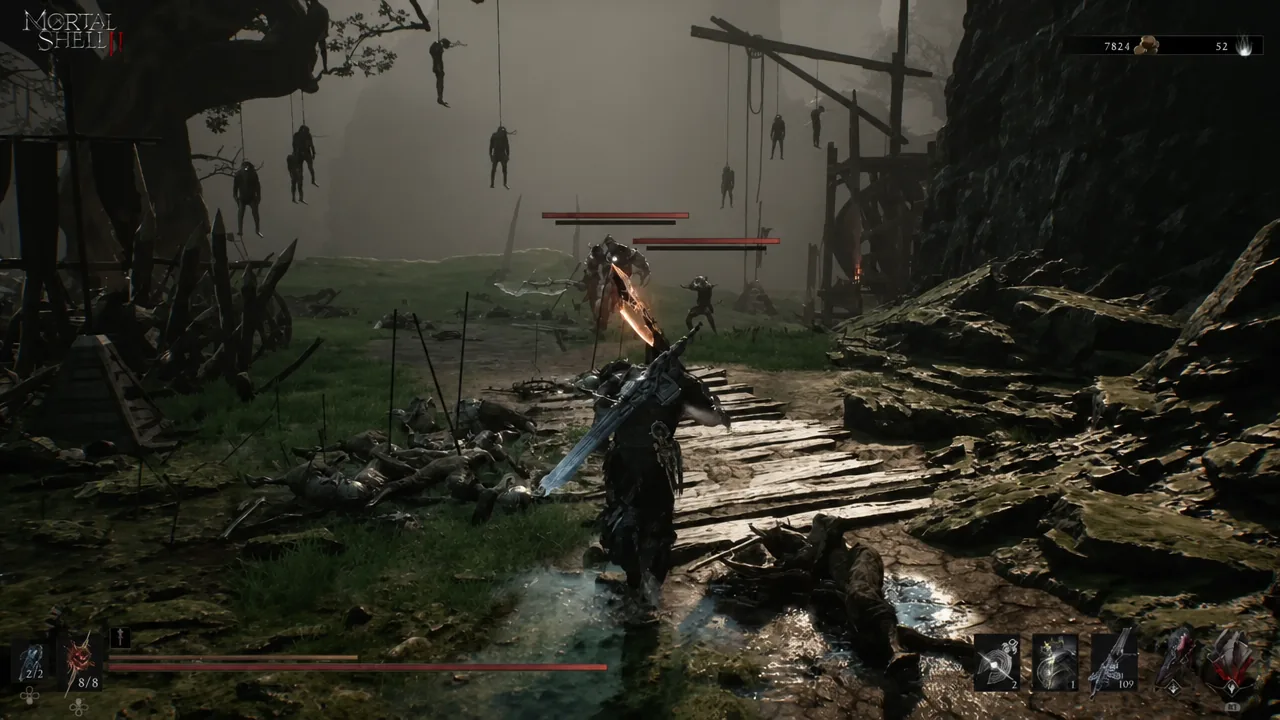
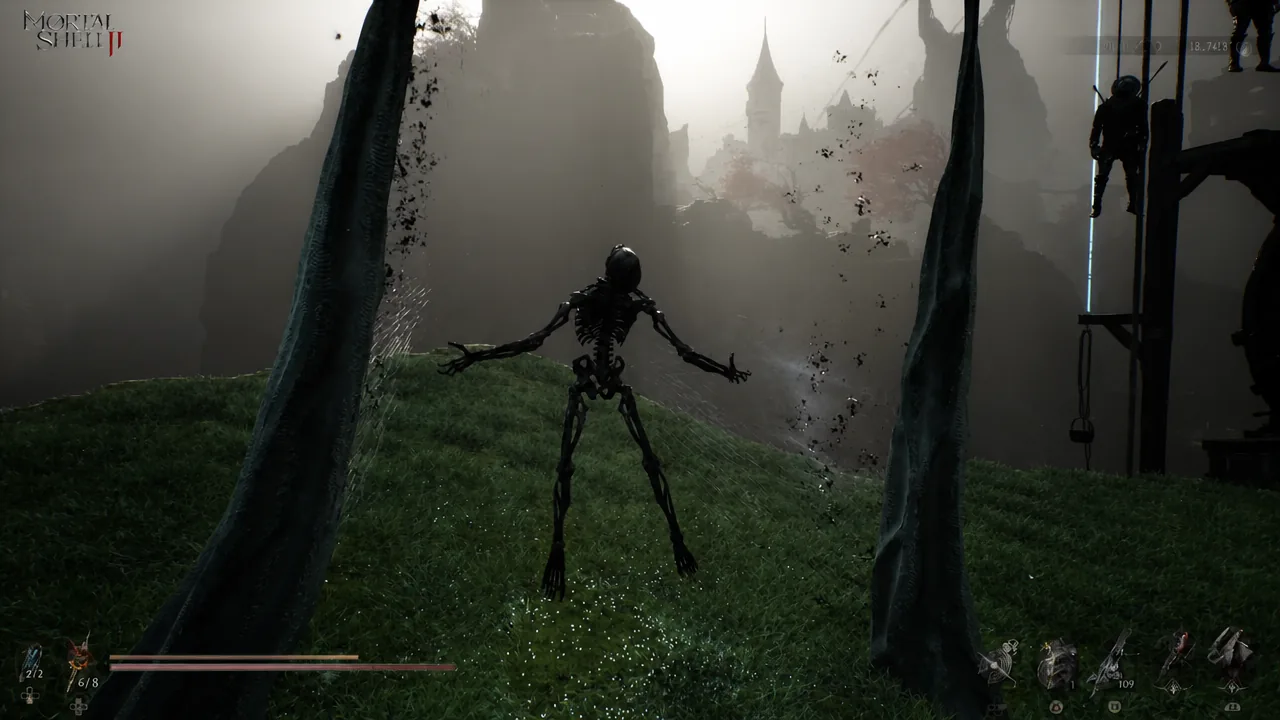
The Revenant Graves is a red-treed pocket of the map that hangs off the eastern Ruins of Mammon. You cannot walk into it directly. The entrance is a traverse point southeast of the Outskirts of Mammon Beacon, and finding that jump is the only real obstacle here.
Reaching the secret wall inside the ruins
From the landing point, the route is a single climb. Stairs lead up past a row of stone coffins and into a dark chamber, and the hidden room branches off that chamber.
Confirming you have the Tarstone
Open the Tarstones menu and look under Combat. The Tyrant’s Stone appears there with its description reading that it grants access to a special Heavy Combo Finisher. If the sarcophagus gave you nothing, you either opened a regular stone coffin on the stairs instead, or you broke into the room and left without interacting with the sarcophagus itself.
Note: the wall does not glow or show a prompt. It only reacts to being hit, so if you swing at the left side of the chamber and nothing chips away, you are on the wrong wall.
Raising the Weak stacks on the heavy finisher
At level 1 the Tarstone only unlocks the finisher. The Weak stacks come from upgrading it at the Tarforge in Marrow Keep, and Franz needs the Etching Needle before those upgrade options exist.
The Etching Needle is in a bone chest just before the Magdalena, the Lady of the Woods boss fight. When you reach Ruk past the bridge, drop through the opening and turn right before the tunnel to find the small alcove holding it. Hand it to Franz, then equip the Tyrant’s Stone and kill enemies until its experience bar fills. Each upgrade costs Coin.
The Tyrant’s Stone is not missable. Only the Berserker’s Stone can be permanently lost, and every other Tarstone remains reachable in free roam after the final boss, so you can come back for this one at any point before entering New Game+.