

+1 Drain Water Per Click is an incremental simulator from Wrestling Elephant Studio where a single click adds one water. That number has to grow into the quadrillions, because the final area in the game, Stage 18, will not open until you are carrying at least 3.2 Qd water. Everything else in the game exists to multiply that click.
Quick answer: Water per click is a stacked multiplier. Buy the best pump you can afford, rebirth as often as the menu allows, equip your highest-rarity pet, add an aura, then stand inside the strongest training pool while clicking. Stage 18 unlocks the moment your water total passes 3.2 Qd.
How water per click scales
Water is not currency. It is your drain power, and it decides how deep a pool you can empty before you hit the bottom and start collecting fish. Cash is separate, and it comes from the fish you pull out. So the loop runs in one direction. Click to raise water, drain a pool, grab the fish, sell them, spend the cash on things that raise water faster.
Five things multiply your click, and they all apply at once.
| Source | Effect | How you get it |
|---|---|---|
| Pumps | Largest single multiplier on water per click | Bought with cash from the Pumps stand or HUD button |
| Rebirths | Permanent boost to water and cash rates | Rebirth menu, resets current water |
| Pets | Multiplier while equipped in an active slot | Hatched from eggs, merged for higher tiers |
| Auras | Smaller flat multiplier, from x1.4 up to x4 | Bought with cash at the aura stand |
| Training pools | x1.5 up to x25 on water gained while standing inside | Pads in the hub and play areas |
Pumps outrank pets. If you are choosing between saving for a better pump or opening more eggs, the pump wins almost every time. Auras are the last layer you should worry about, since their bonus is small next to a pump jump.
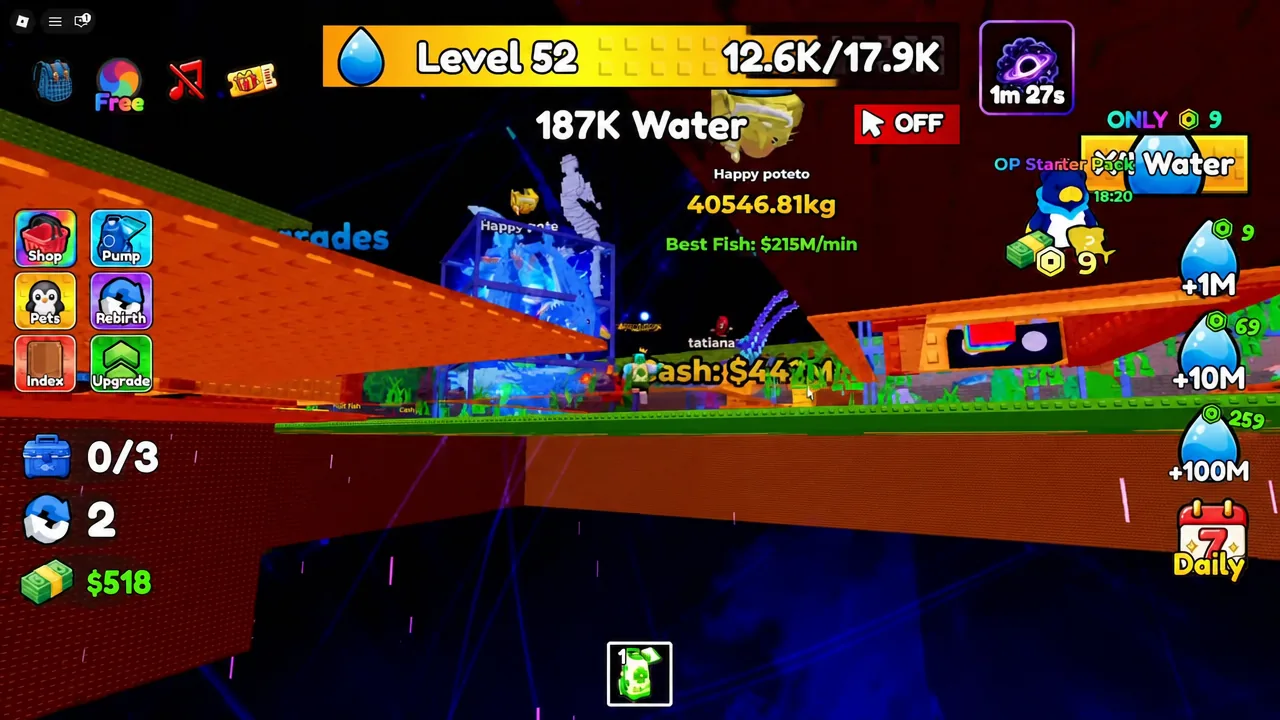
Pump upgrade path and prices
Your first purchase should be the Lucky Clover pump. It costs 300 cash, which is roughly one trip to the bottom of the Stage 1 pool with a handful of Tropical Fish. After that, every pump tier is a multiple-of-ten jump in price and a matching jump in click power.
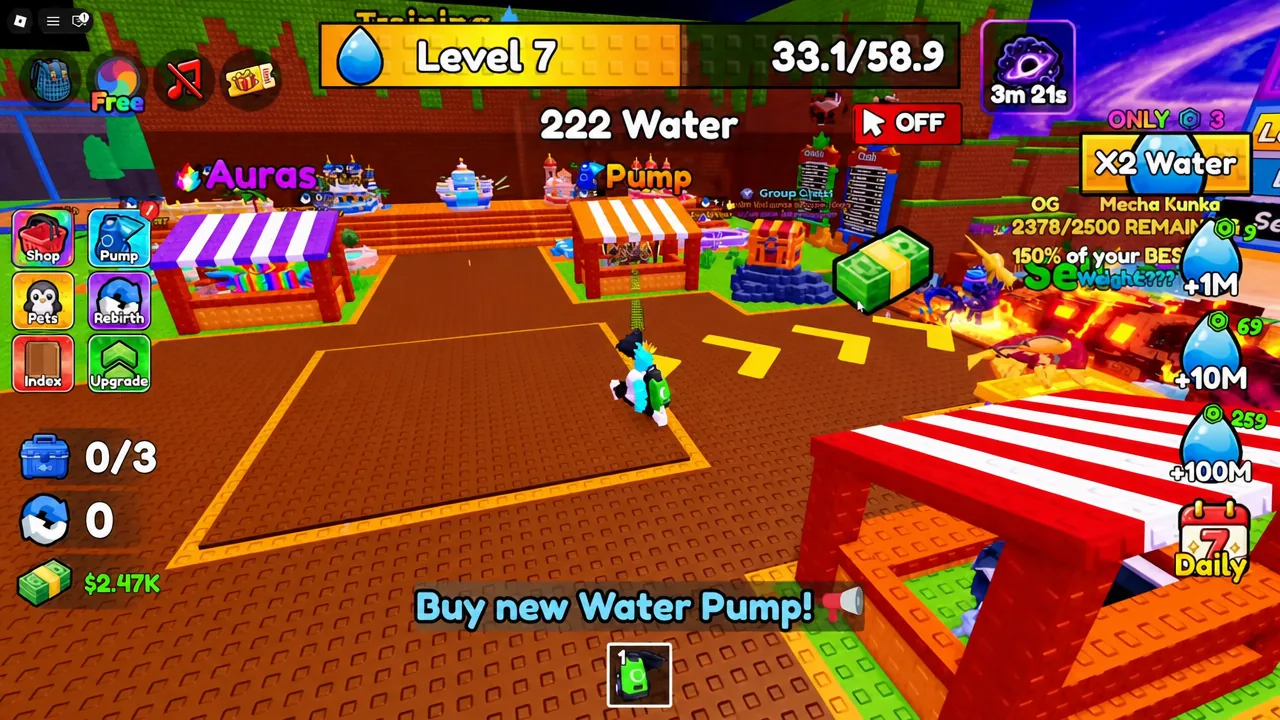
| Pump | Cost |
|---|---|
| Lucky Clover | 300 cash |
| Ocean | 15K cash |
| Demon (Mythic) | 10M cash |
| Amethyst (Exclusive) | 300M cash |
| Saber | 35B cash |
| UFO | 120B cash |
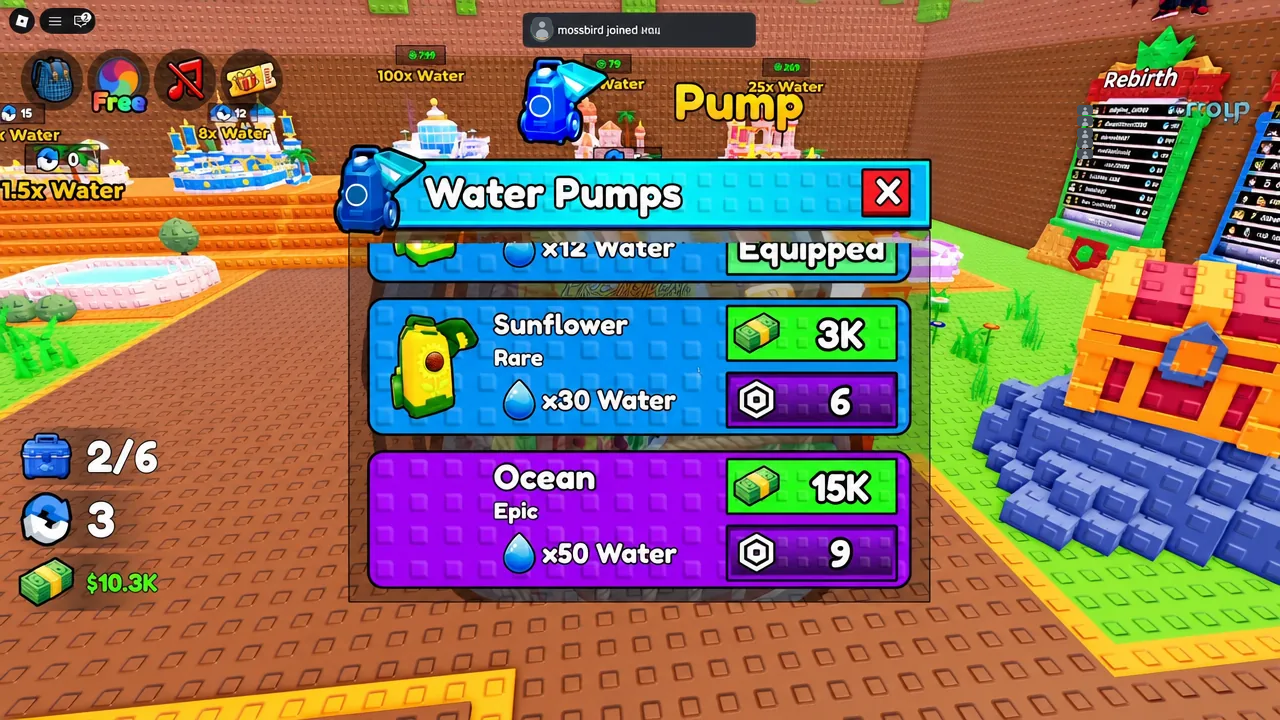
The Amethyst pump is the point where the numbers stop being readable. With rebirth multipliers behind it, a 300M-cash Amethyst can push water per click to around 16B, which is enough to start clearing the deep stages without idling for long stretches.
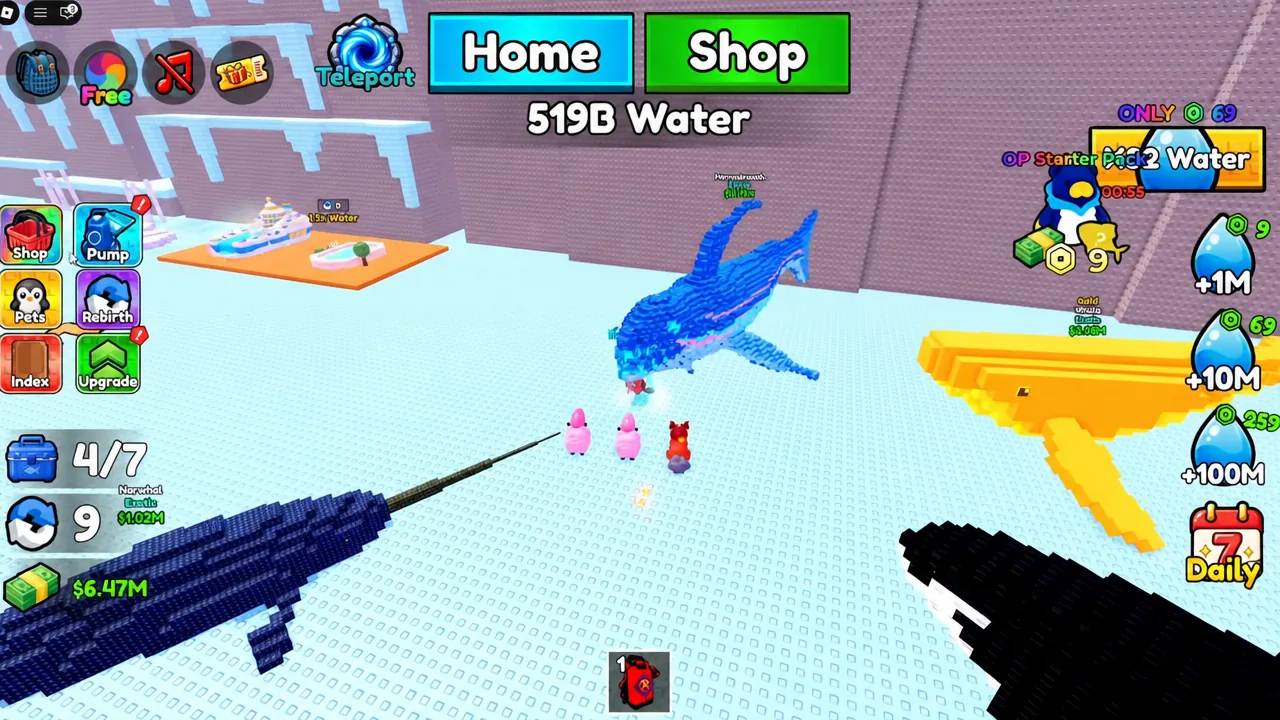
What a rebirth resets
A rebirth wipes your current water back to zero. It does not touch your cash, pumps, pets, or fish index. In exchange, you get a permanent multiplier on both water gain and cash gain, and those multipliers stack with every rebirth you take.
Because the multiplier is permanent and the water loss is temporary, there is no reason to sit on an available rebirth. Rebuilding your water bar after a reset takes a fraction of the time it took the first go, and by the tenth or eleventh rebirth you can teleport straight to Stage 14 to farm high-value fish.
Rebirth immediately before a long idle session in a training pool. The new multiplier applies to everything you gain while you are away.
Training pools and idle gains
Training pads sit in the hub and inside parts of the play area. Standing on one makes your character train automatically, and the pad applies its own multiplier on top of your pump, pets, and aura. The weakest pad is x1.5 and the strongest reaches x25.
Manual clicking still works while you are inside, and it adds to the automatic gains rather than replacing them. That makes pools the only sensible place to click. The practical routine is simple. Move to the highest-multiplier pool you have unlocked, click while you are watching the screen, and leave the character standing there when you are not.
Aura prices and water multipliers
Auras are bought for cash at a dedicated stand. Green is cheap enough to grab early, but the two big ones cost more than a mid-tier pump, so buy them only after your pump and rebirth count are already where you want them.
| Aura | Cost | Water multiplier |
|---|---|---|
| Green | 1M cash | x1.4 |
| Red | 15B cash | x3.5 |
| Black | 35B cash | x4 |
Pet eggs, rarities, and merging
Pets multiply your water gain for as long as they sit in an active slot, and the multiplier scales with rarity. Eggs come in cash and Robux versions, and the Robux ones are where celestial pets like the Fire Deer come from.
| Egg | Cost |
|---|---|
| Basic Egg | 1K cash |
| Grass Egg | 15K cash |
| Water Egg | 250K cash |
| Electric Egg | 4.5M cash |
| Fire Egg | 79 Robux |
| Super Egg | 159 Robux |
Duplicates are not wasted. Merge three identical pets and you get a starred version of the same pet with a stronger multiplier. Electric Eggs are the usual merge target, since 4.5M cash per hatch is cheap once your fish sales are running and you will roll the same pet often enough to build stars quickly.
Cash from fish sales and the aquarium
Fish sit at the bottom of every drained pool. Pick them up until your backpack is full, then use the Shop button to warp back to the hub and sell. What a fish is worth depends on its rarity and its mutation, so a single celestial catch from a deep stage can outweigh a full bag from Stage 2.
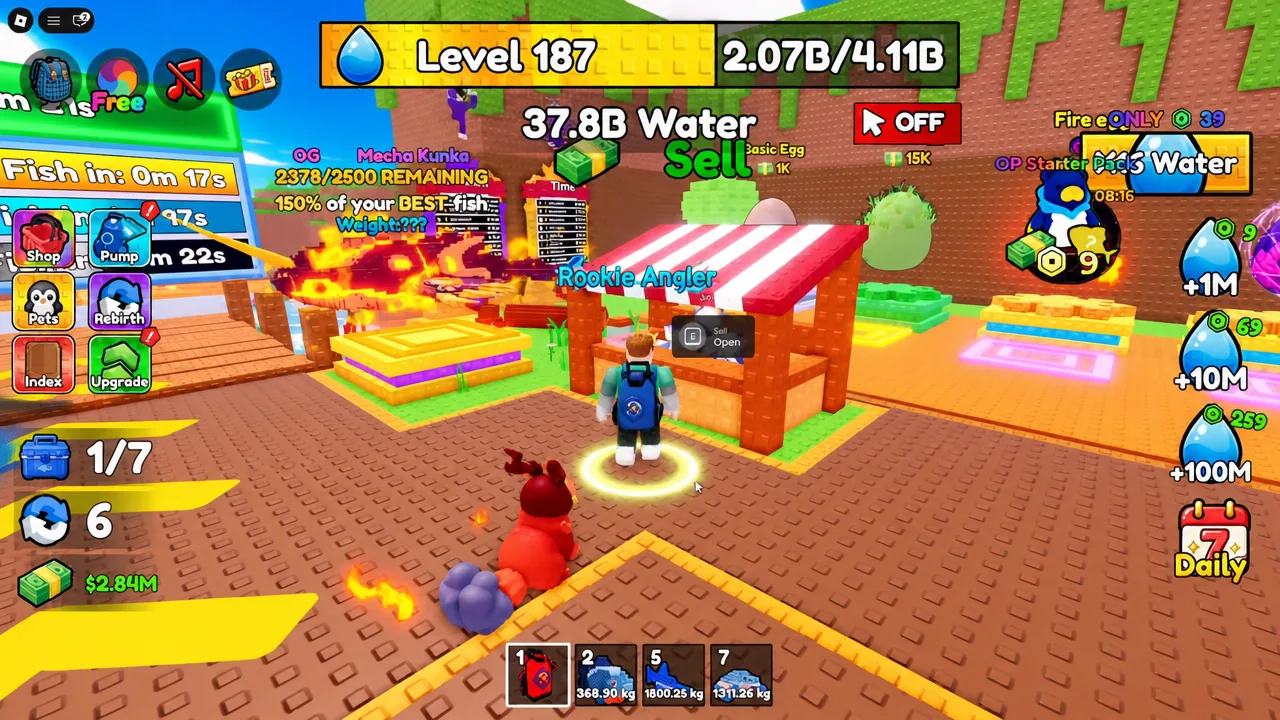
Do not sell everything. Placing fish on your aquarium display stands generates cash every minute with no input from you, which is what funds the jump from the 10M Demon pump to the 300M Amethyst. Keep your best catches on display and sell the rest.
The cheap cash upgrades for backpack space, walk speed, and display stand slots each go up one level per purchase. They are quality-of-life rather than progression, but the extra backpack and stand slots pay for themselves fast.
Active codes for free pets
Codes hand out pets, fish, and event items, which is the fastest way to skip the slowest part of the early grind. They are case-sensitive, so type them exactly as written.
| Code | Reward |
|---|---|
| CCoins | Cthulhu Coins |
| CDraw | Cthulhu draw tickets |
| Fixed1 | Pet |
| Fixed2 | Random rare pet |
| Cthulhu | Fish and a Cthulhu ticket |
| AdminAquarium | Lava Aquarium |
| WaterHappy | Random rare pet |
| MythicFish | Exotic Mosasaurus fish |
Stage 18 requirement and the Collector fish
Stage 18 is the last area in the game and the only hard gate worth planning around. You need a minimum of 3.2 Qd water before the teleport will let you in. There is no alternative route, no item that skips it, and no partial access. The number is the requirement.
You will know it worked when the Stage 18 teleport accepts you instead of blocking the entry. From there, the catch to look for is the Collector, an exclusive-rarity fish. Hatching it plays its own music track and gives a large passive income boost once it is on display.
The celestial fish, including Drasyn, Gelepid, Voltrax, Tralok, Phosray, Spireel, Oparion, and Kevrin, fill out the index alongside it. They are also your best aquarium stock, since display income scales with rarity.
Getting to 3.2 Qd is not a single push. It is the sum of a UFO-class pump, a stack of rebirths, a starred pet, a Black aura, and time spent in a x25 pool. Skip any one of those layers and the last few stages take considerably longer than they need to.





