

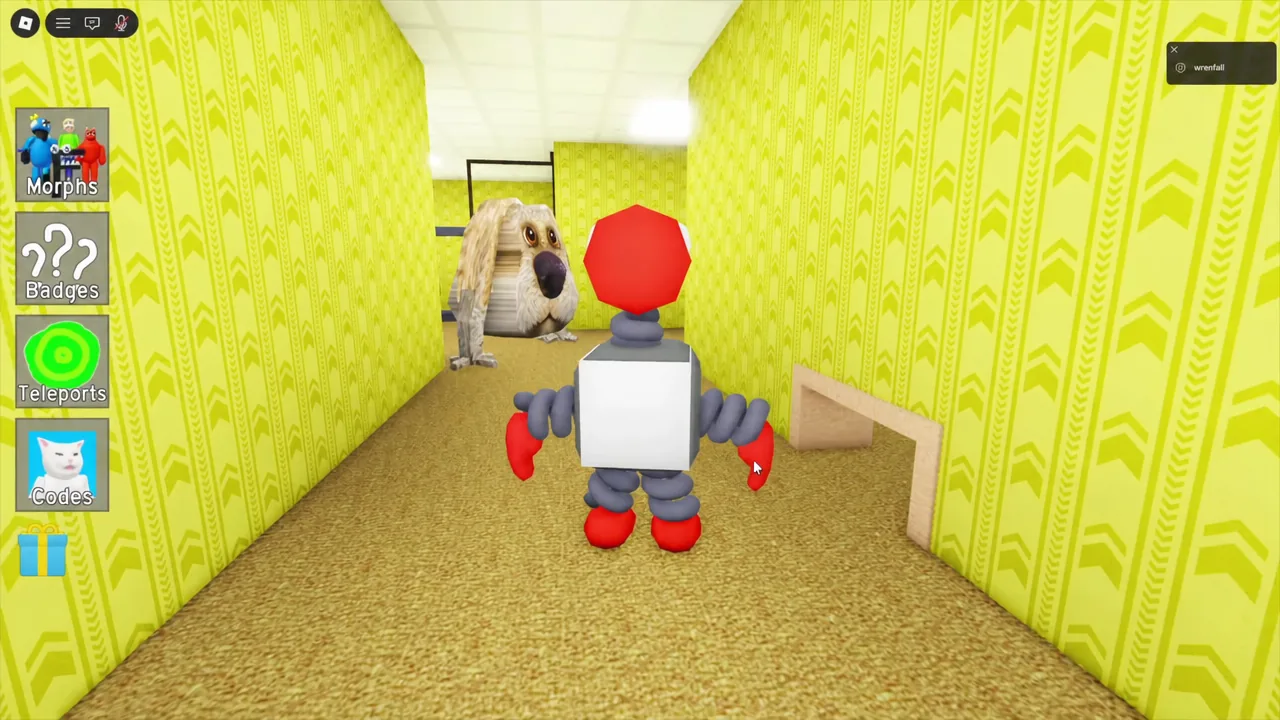
The latest batch of morphs in Backrooms Morphs 2 is spread across four teleport destinations, and most of them sit behind a small physical puzzle rather than a long parkour run. Three tools do almost all the work, and once you know which area each collectible sits in, the whole set takes one uninterrupted session.
Quick answer: Grab the Plank in Level 2, the YellowKey from the table near the giant rat in the Garden, and the Hammer in Theater. Those three unlock Green Real Mutant, Larva Yellow, and Green Box Creature; the remaining morphs are floor and wall pickups in Destroyed Backrooms, the Garden, and Game Madness.
All new morph locations in Backrooms Morphs 2
Every unlock in this batch is a single pickup. Touching the collectible awards the badge and adds the skin to your morph list, and the badge menu groups them under UPDATE 1.2.9 alongside the earlier 1.2.8 entries.
| Morph | Area | Trigger |
|---|---|---|
| Teal creature morph | Destroyed Backrooms | Floor pickup through the broken wall behind Doge |
| Green Real Mutant | Level 2 | Plank over the gap, fix the red button, drop down the hole |
| Red Box Creature | Garden | Yellow collectible on the floor past Ben |
| Purple spider morph | Garden | Second floor collectible further down the same hallway |
| Larva Red | Garden (via wall shortcut) | Fix the red and yellow door buttons |
| Larva Yellow | Cheese room | Open the locked door with the YellowKey |
| Blue Box Creature | Game Madness | Crawl under the low wall gap, take the yellow wall item |
| Green Box Creature | Shrek’s area | Smash the wooden crate with the Hammer |
| Purple Box Creature | Game Madness | Trapdoor under the stairs past the scary pig |
Tools you need: Plank, YellowKey, and Hammer
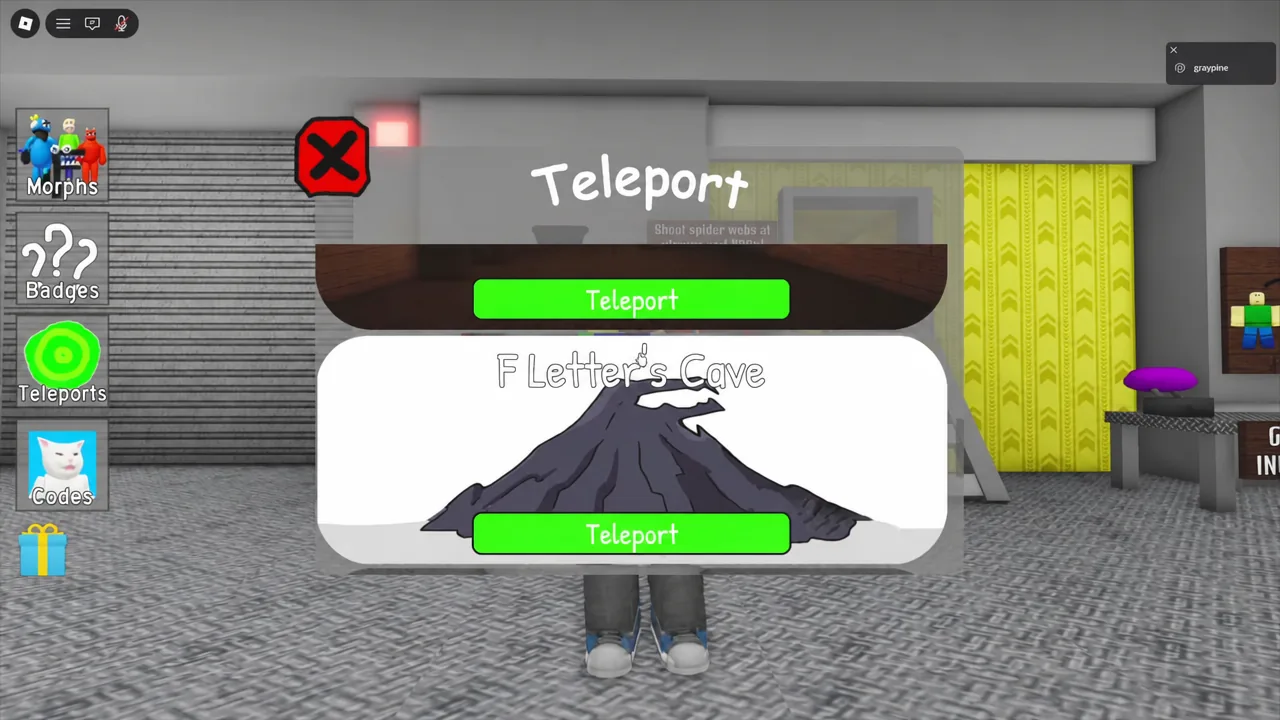
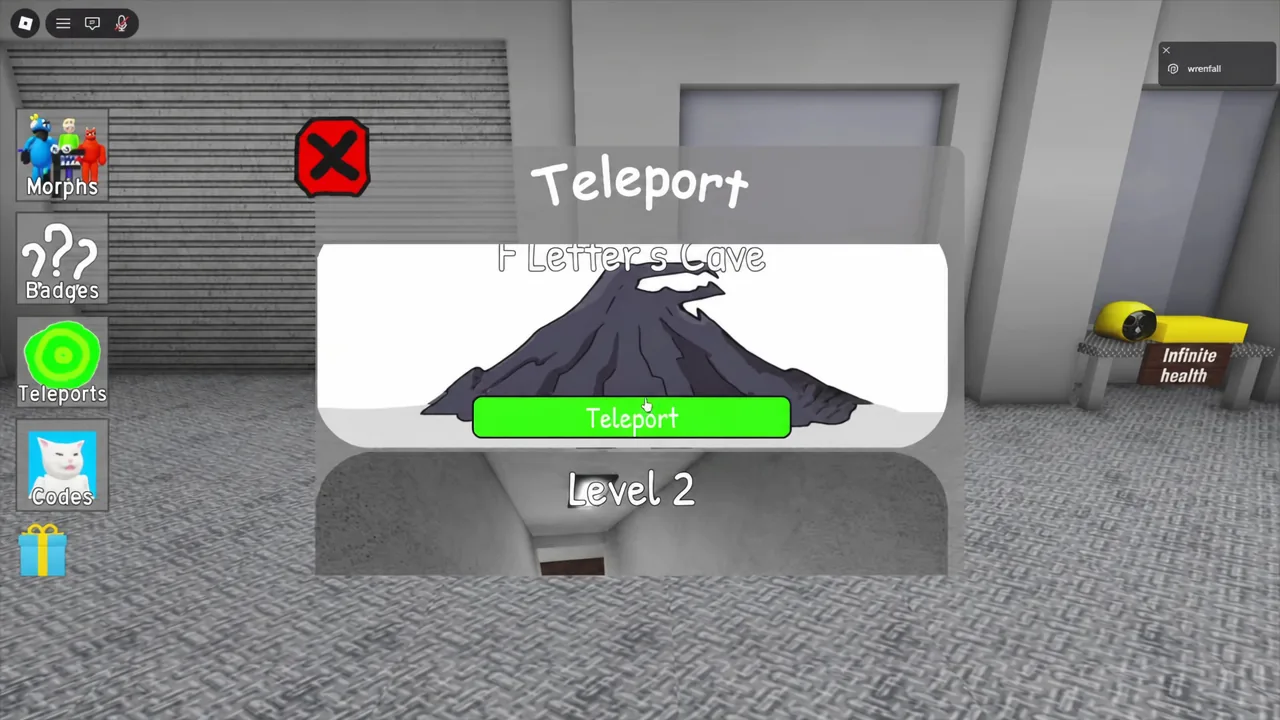
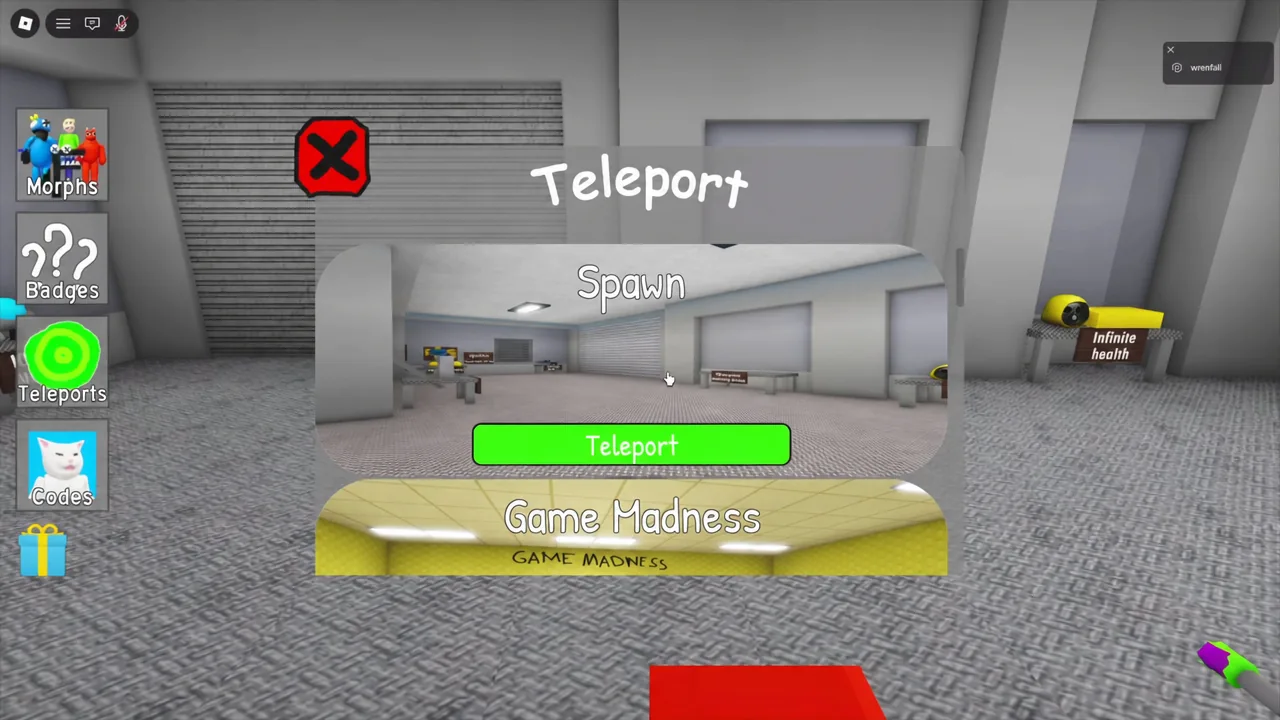
Tools stay in your hands when you use the Teleport menu, which is what makes the Green Box Creature run possible at all. That means you can pick something up in one area and carry it straight into another without dropping it.
The Plank is down the stairs in Level 2 and exists purely to bridge a gap. The YellowKey sits on a table near the giant rat in the Garden. The Hammer is in Theater and is only used to break a wooden crate. Nothing else in this batch requires an item.
Destroyed Backrooms: teal morph and Larva Red
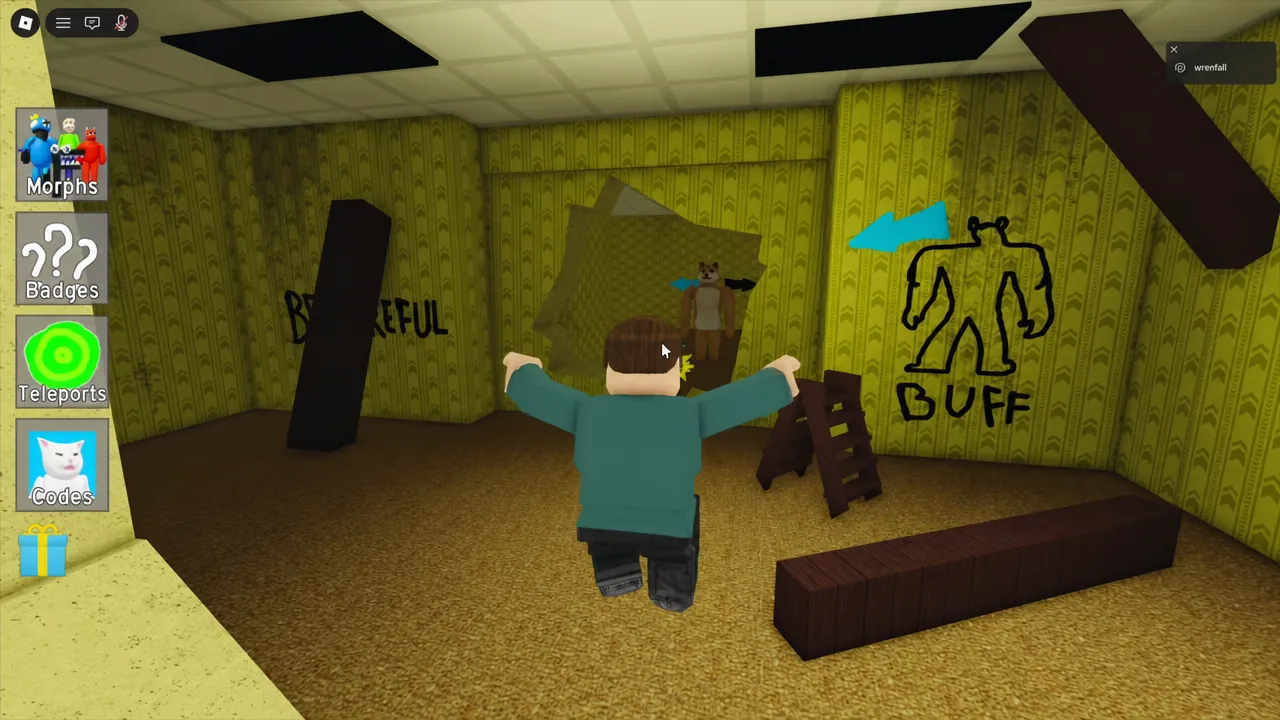
Green Box Creature: the Shrek’s area crate and the Theater hammer
This is the only unlock in the batch that needs two teleports, because the tool and the target sit in different areas.
Garden: Red Box Creature, purple spider morph, and Larva Yellow
Note: the cheese room door will not open without the YellowKey in hand, so grab it before making the trip.
Level 2: the Green Real Mutant plank puzzle
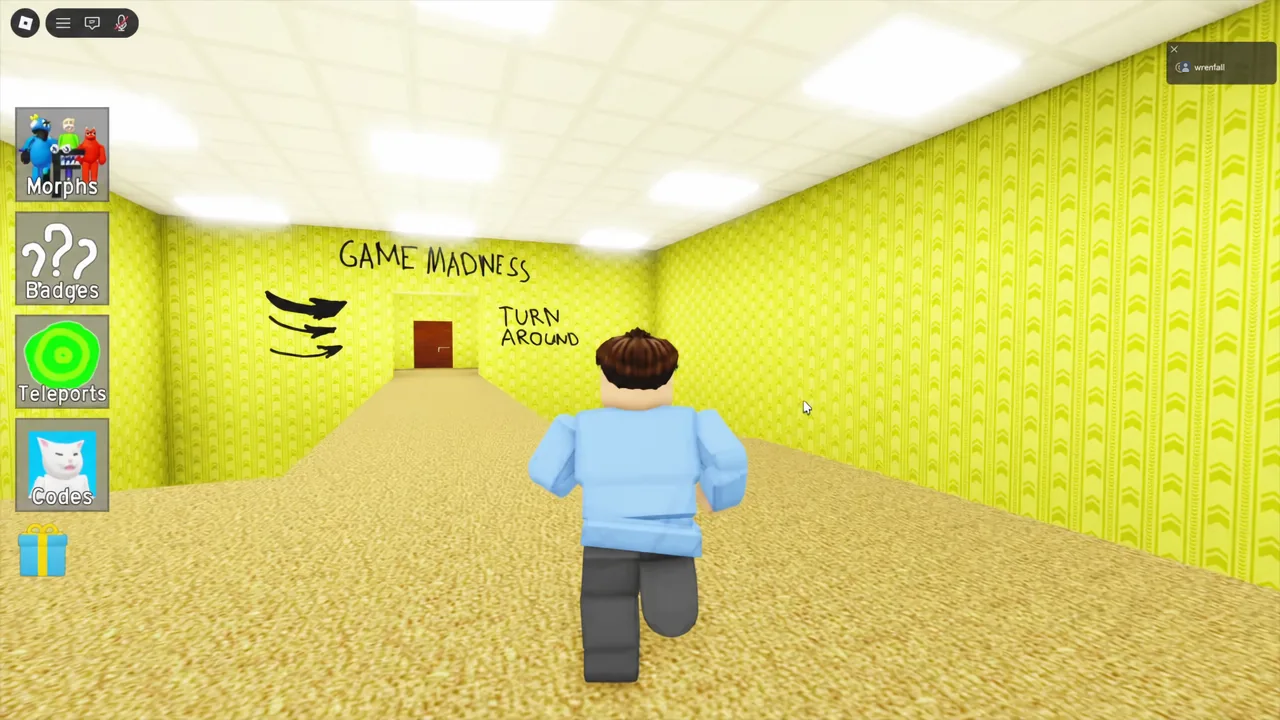
Game Madness: Blue Box Creature and Purple Box Creature
How to confirm a badge unlocked
A badge award notification appears on screen the moment you touch a collectible, and the matching skin is added to your morph list so you can equip it immediately. If the notification does not appear, the pickup did not register and you can walk over it again.
Only a few things stop these from triggering. The Level 2 gap cannot be crossed without the Plank, the crate in Shrek’s area will not break without the Hammer, and the cheese room stays locked without the YellowKey. The Larva Red door needs both the red and yellow buttons fixed, not just one.
Working area by area rather than following a strict order saves a lot of backtracking. Clear everything in Destroyed Backrooms and the Garden in one pass, then handle Level 2 and Game Madness, and save the Theater hammer trip for last since it is the only stop that exists purely to fetch a tool.





