

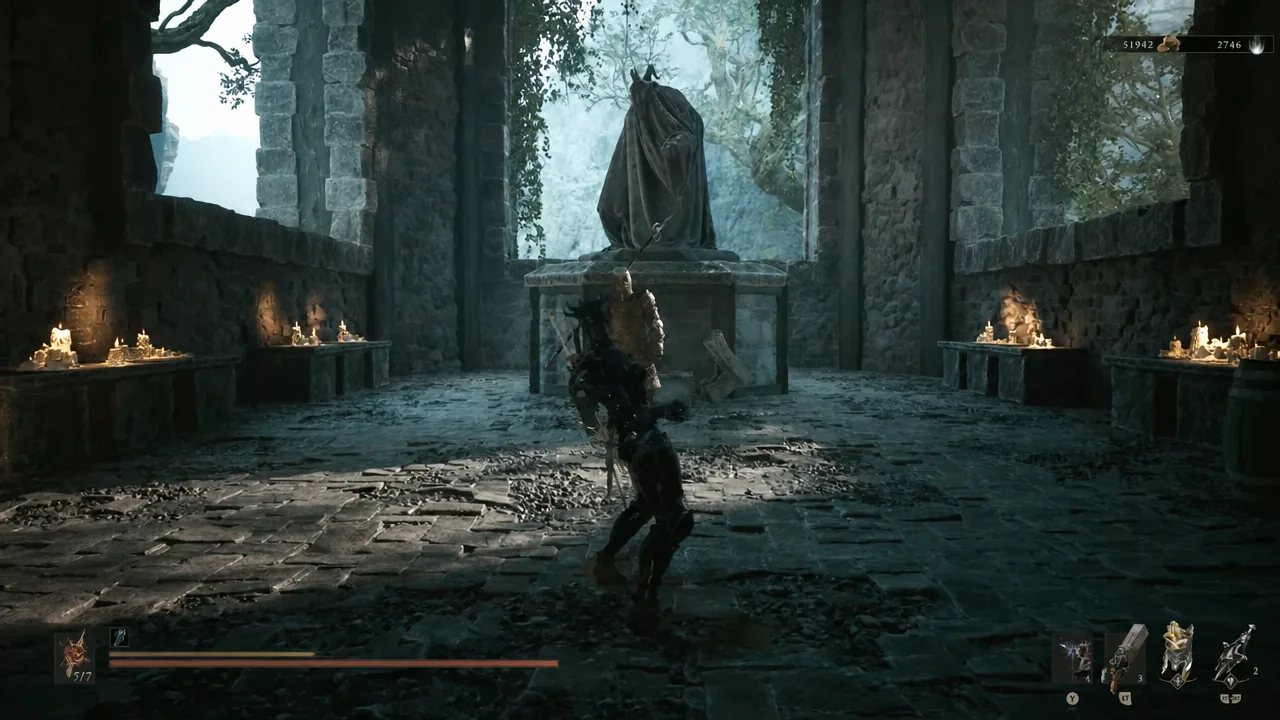
Mortal Shell 2 tucks some of its strongest rewards behind illusory walls, world puzzles, and a merchant who only appears after dark. The hidden content covered here includes two secret dungeons, a night-only vendor, a sealed endgame door, and the Seedbearer’s Scripture, an item that weakens the final boss. Each one has an exact trigger, so you can unlock them without guesswork.
Quick answer: Break the illusory wall behind the bookcase in Castigator’s Keep for the Alchemist’s Workshop; take the Slayer Seal from Marrow Keep’s throne (do not equip it) and break four chains in the training room to reach Desolate Keep; light the Gloombound Flame at Marrow Keep to enable Night Mode and find the Collector at the Abandoned Outpost; and collect three glands, then offer them at the Forgotten Tower for the Seedbearer’s Scripture.
Alchemist’s Workshop and the Clockwork Shardstone
This dungeon sits on the wooden platforms below Castigator’s Keep. The fastest route is to fast travel to the Castigator’s Keep beacon and work your way down toward the southwest platforms, clearing enemies as you cross the bridges.
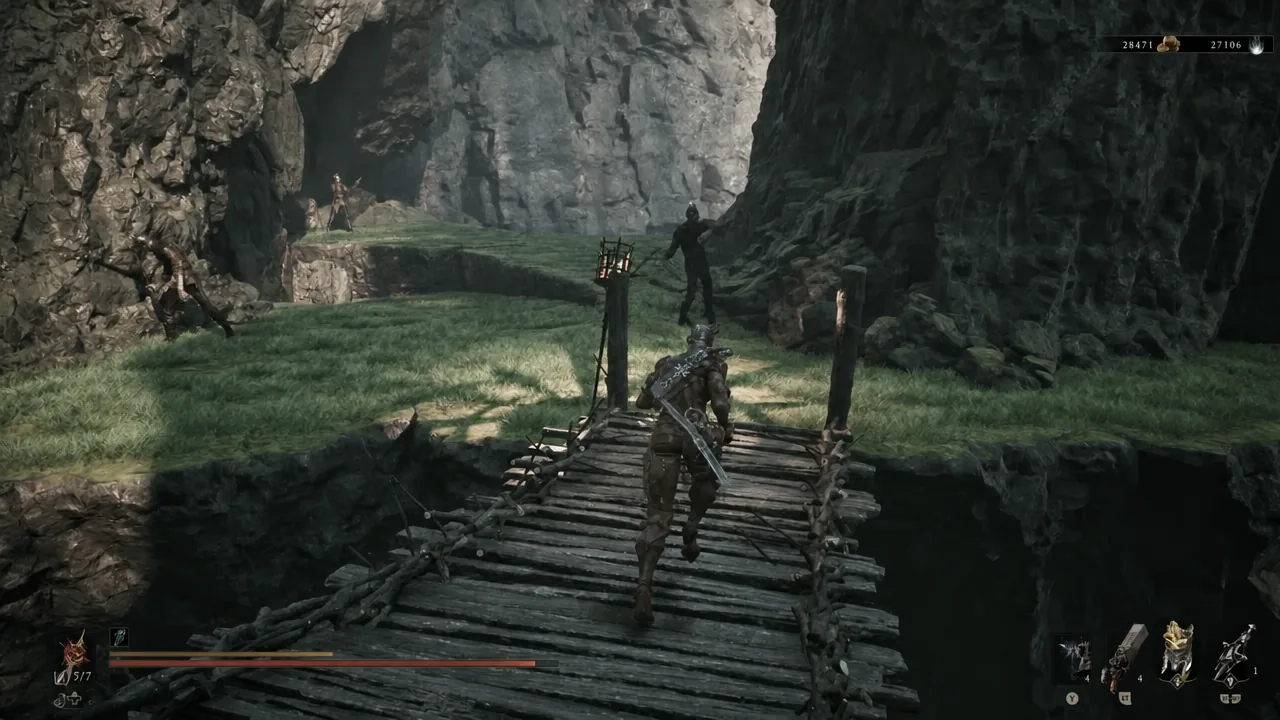
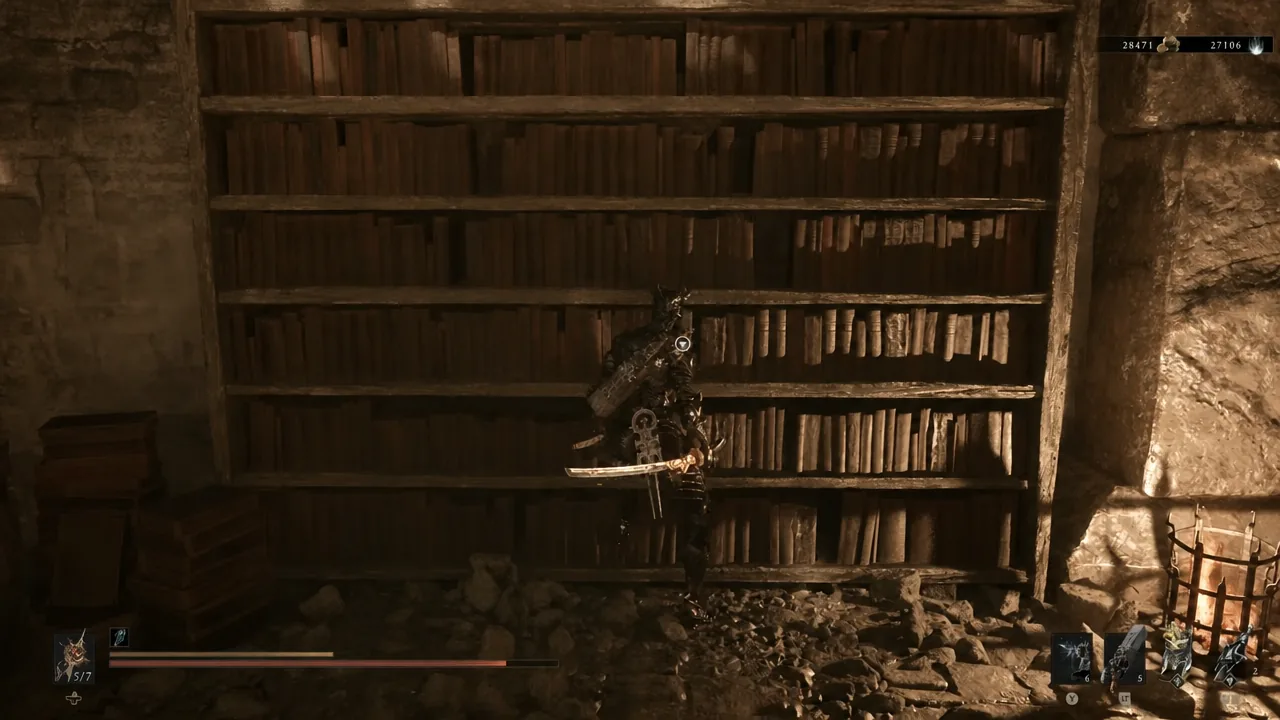
If you prefer not to hunt for the wall, the entrance can also be exposed through the Makeshift Projectile puzzle nearby, which achieves the same result.
Desolate Keep and the Blackmarrow Key
Desolate Keep is a hidden dungeon reached from Marrow Keep. It rewards you with a Grisha Remnant from its boss and a Blackmarrow Key from the chest at the end. There are two ways in, and both start with the Slayer Seal.
Take the Slayer Seal from the throne, but do not equip it. Equipping the seal disables achievements for that playthrough.
There is also a second, more direct entrance. Cross from Sester Genessa in Marrow Keep, reveal the illusory wall on the opposite side, and you will find the same dungeon route. A hidden chamber near Genessa holds a chalice bound by chains. Break the chains, use the Commune with Chaos interaction on the chalice, and it teleports you into the keep as well.
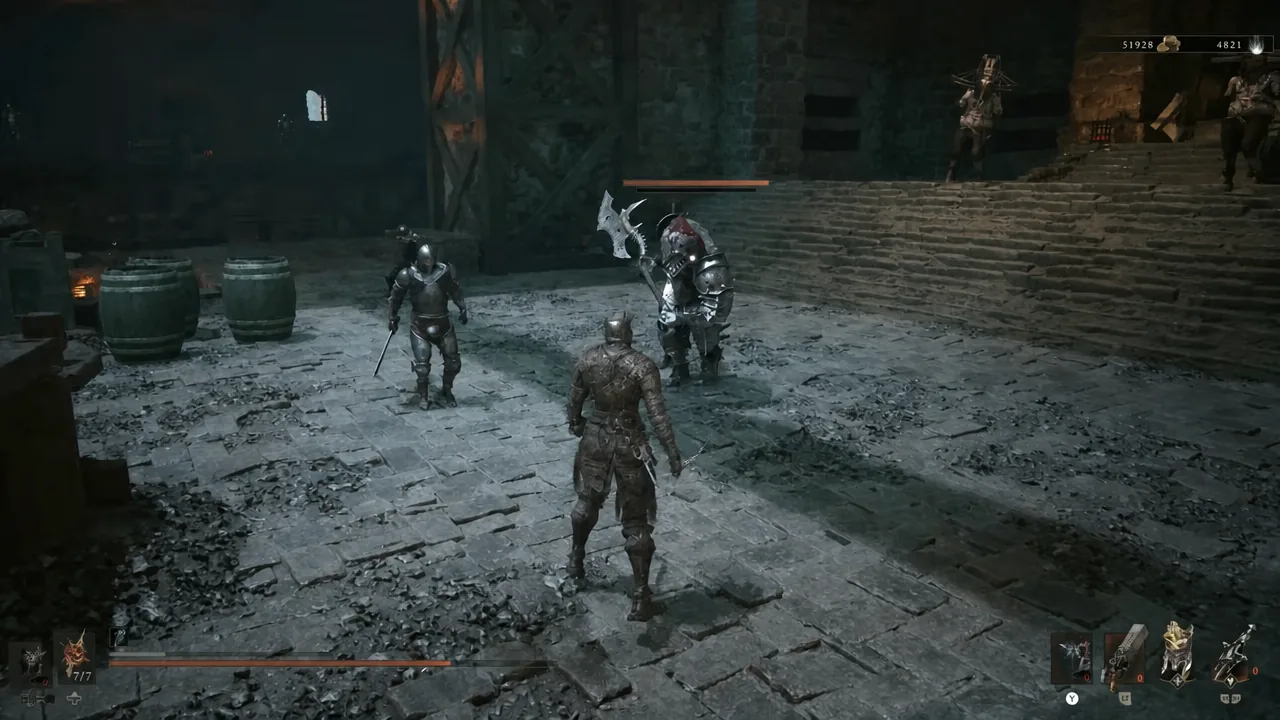
The Blackmarrow Key opens the recessed chests in Marrow Keep’s elevator room. Each chest costs one key and unlocks a color variant for a shell’s clothing, which then appears in a shade menu at any beacon. Several Blackmarrow Keys exist across the world, and the Collector sells one as well.
The Collector: the night-only vendor
The Collector is a merchant who only appears at night at the Abandoned Outpost. He sells Glimpses, Thoracium, a Blackmarrow Key, and four Tarstones, making him a priority stop for collectors. To reach him, you first need to unlock Night Mode.
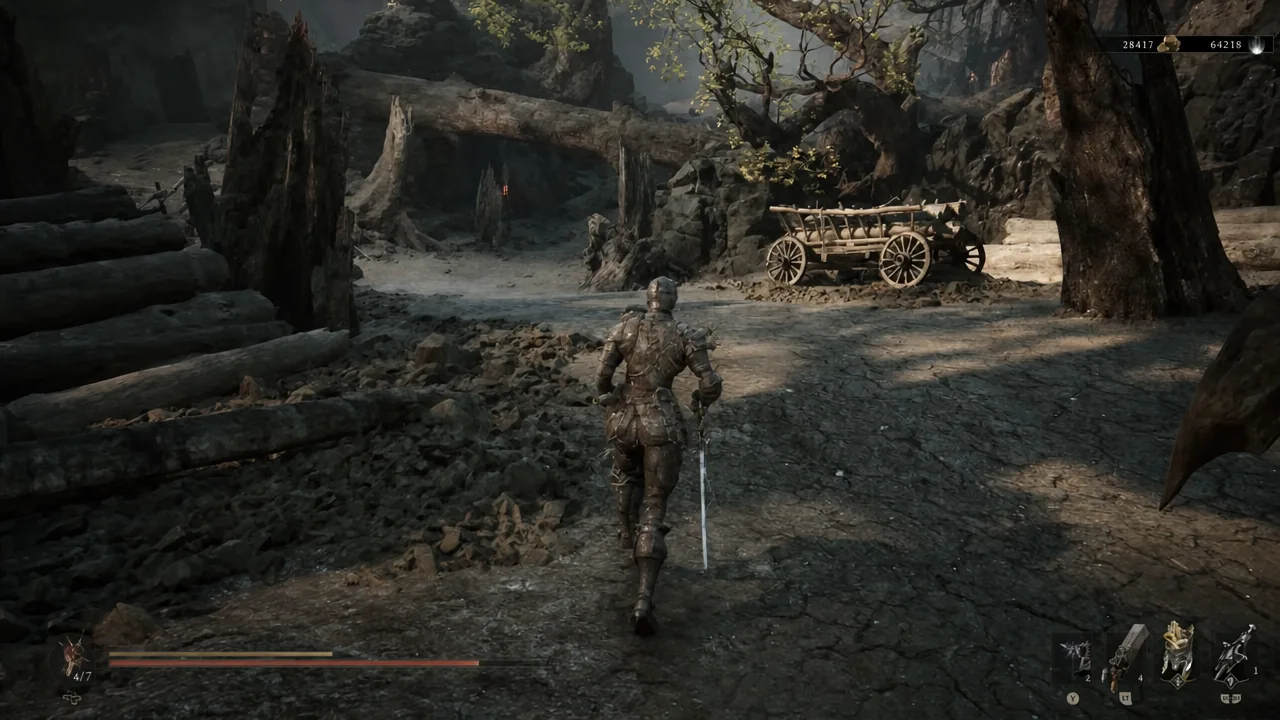
You can turn Night Mode off again through Thestus, so there is no need to stay in the harder setting once you have finished your night shopping. Night Mode also opens the Shrine of Sorrows and the Forgotten Tower, which is needed for the Seedbearer’s Scripture below.
The Unfound Path secret door
The Unfound Path is the endgame area, and it hides a sealed door with a chest behind it. Access to the area itself is gated behind submitting 168 eggs in Marrow Keep. Once inside, the door opens only after three offerings are made.
Seedbearer’s Scripture and the final boss
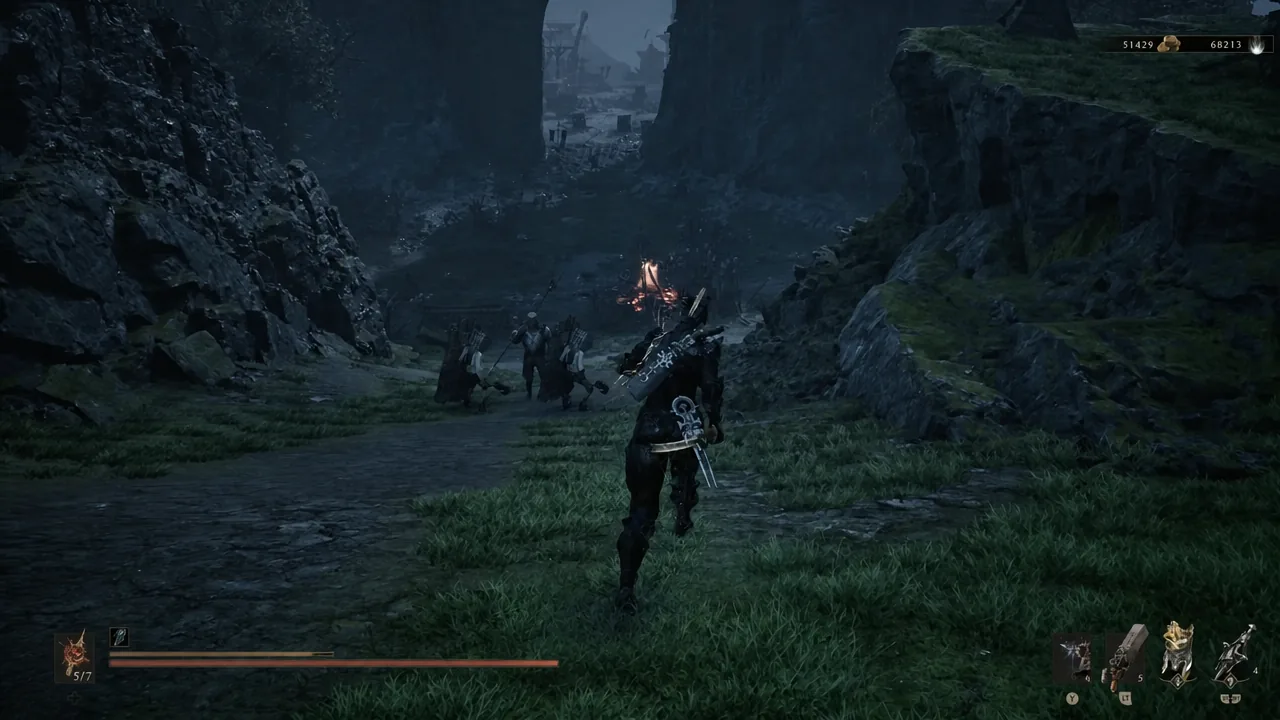
The Seedbearer’s Scripture is worth the effort because it significantly weakens the final boss’s main attacks. You earn it by gathering three glands from their corrupted gates and handing them over at the Forgotten Tower, which is a Night Mode location.
| Required item | Source |
|---|---|
| Faded Gland | Its respective corrupted gate |
| Inflamed Gland | Its respective corrupted gate |
| Depleted Gland | Its respective corrupted gate |
Keep the Scripture active for the fight against Zmey, the Unbidden. Its passive reduces the damage from the final boss’s strongest attacks, which pairs well with resistance planning for that fight’s later phases.
Common reasons a secret won’t trigger
| Problem | Cause and fix |
|---|---|
| Collector is missing | You are in daytime. Light the Gloombound Flame and switch to Night Mode through Thestus first. |
| Achievements stopped unlocking | You equipped the Slayer Seal. Take it to open Desolate Keep, but never equip it. |
| Unfound Path door stays sealed | You have not completed all three temple offerings at Obscenity, Finality, and Rebirth. |
| Forgotten Tower gives nothing | You are missing one of the three glands, or you have not enabled Night Mode. |
| Merrick’s prices doubled | You killed Merrick in Marrow Keep. Buy everything you need before attacking him. |
Work through these in dependency order and each reward falls into place: reveal the illusory walls for the Alchemist’s Workshop and Desolate Keep, take the Slayer Seal without equipping it, light the Gloombound Flame for the Collector, clear the three temple offerings, and finish with the glands at the Forgotten Tower for the Seedbearer’s Scripture before you face Zmey.





