

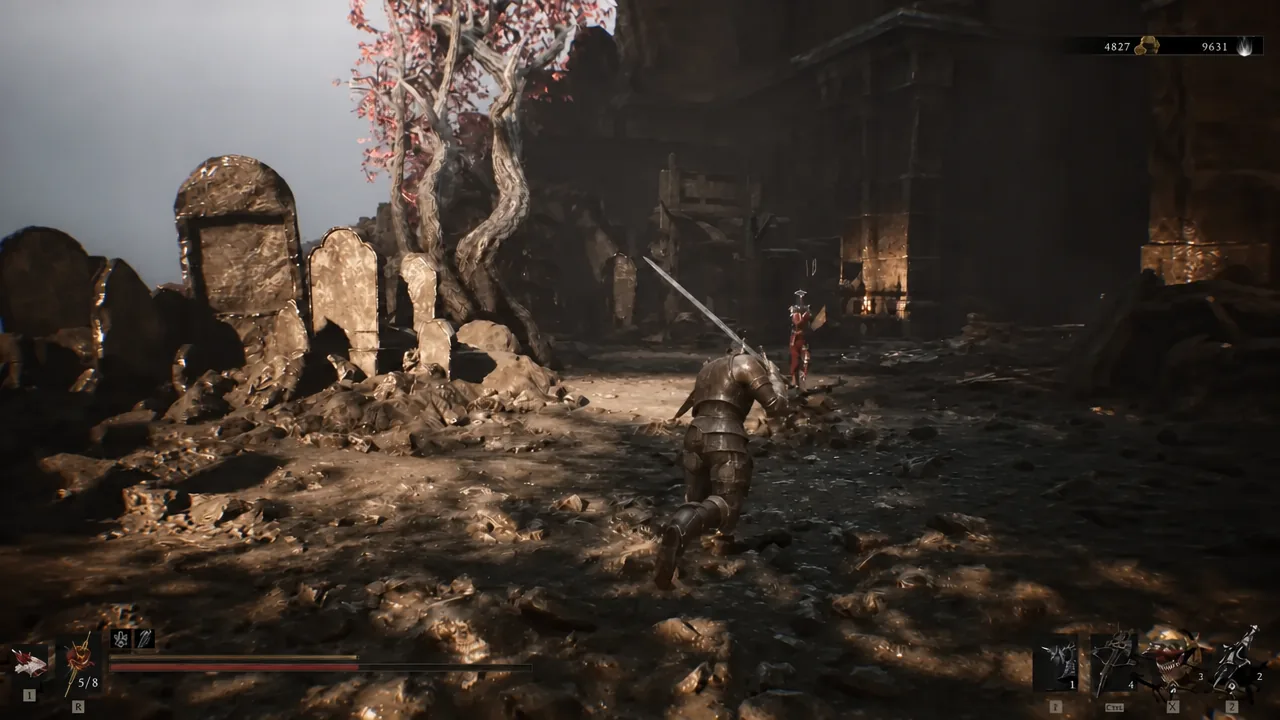
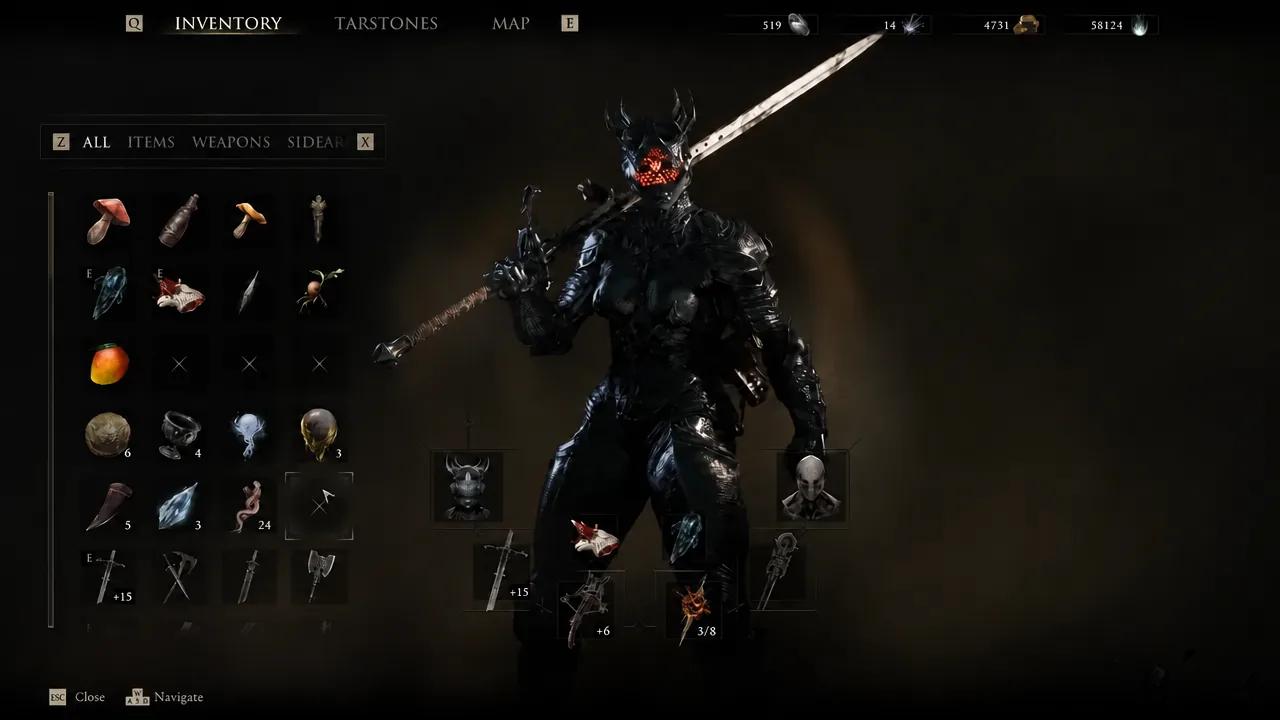
Sester’s Refuge and the Forgotten Tower sit in the Ruins of Mammon and hold some of the strongest early gear in Mortal Shell 2, including the Axatana weapon, the Cursed Child sidearm, and the Black Needle spear. Clearing both areas fully also cleanses the Sester’s Gate beacon, which opens the Corrupted Gate into the snowy region beyond.
Quick answer: Enter from the left of the Outskirts of Mammon through the Bone Gate, smash the three glowing stones to reach the first Revered Gland, cleanse the Sester’s Gate beacon, then use the crossbow to extend bridges toward the Forgotten Tower. Grab the Axatana, clear the Revered Beacon dungeon for the Cursed Child, defeat the Twin Sisters in Sester’s Bastion for the Black Needle and Sester’s Crest, then cleanse the corruption to open the Corrupted Gate.
How to reach Sester’s Refuge
From the Outskirts of Mammon beacon, head left past the wartorn area until you reach a Bone Gate. That gate drops you into Sester’s Refuge. Activate the Abbey Entrance beacon first so you have a nearby respawn and fast-travel point before you push deeper.
Glowing stone puzzle and the first Revered Gland
Inside the caverns, three stones marked with a yellow glowing symbol control a locked gate on the opposite end of the room. Break all three to open it. You may also face a white creature here before the gate unlocks.
Cleanse the Sester’s Gate beacon
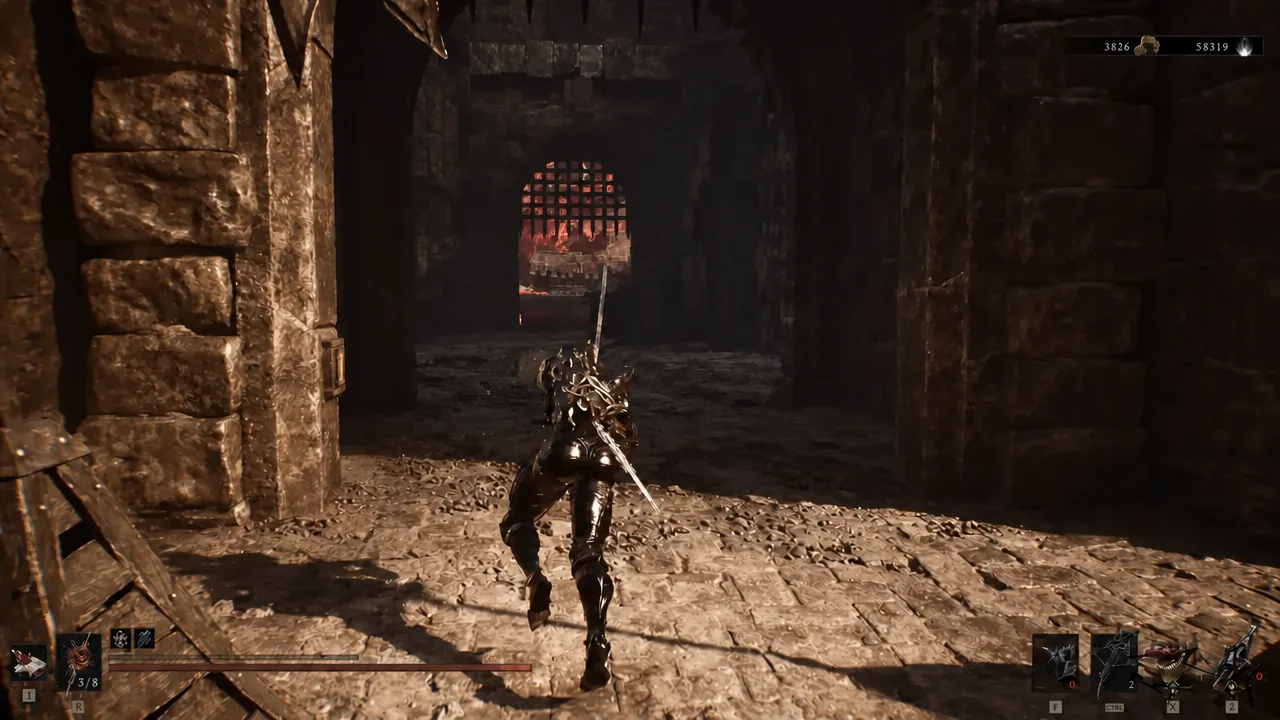
Cleansing the Sester’s Gate beacon is the key progress step for both regions. It sets your respawn point deeper in the area and unlocks access to the Corrupted Gate later on. Do this before you start the dungeon runs.
While backtracking near the beacon, open the side gate to collect the Devout Stone. This stone generates 7 Resolve whenever you kill an enemy with your sidearm, which speeds up ability use in longer fights.
Revered Beacon dungeon and the Cursed Child sidearm
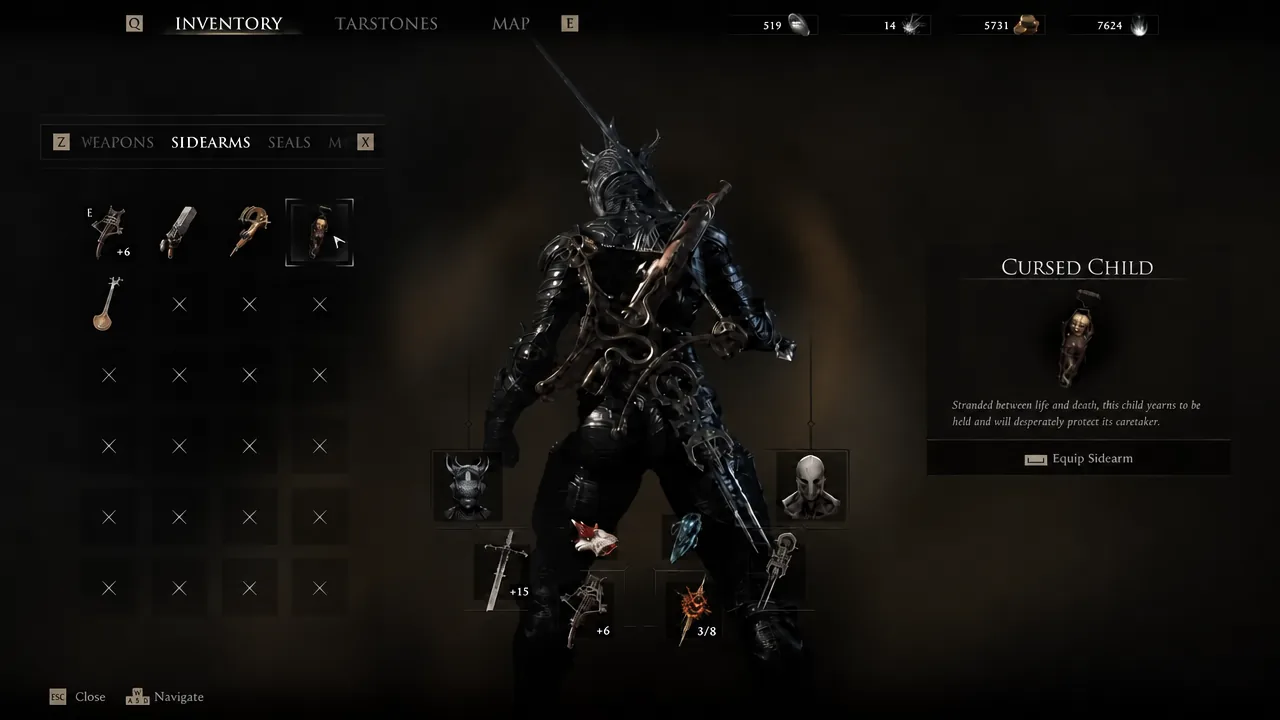
The Revered Beacon dungeon holds the Cursed Child lantern sidearm along with a Bloodseed and other pickups. The tower light in this area deals environmental damage, so the run centers on destroying the light source.
Cross to the Forgotten Tower with the crossbow bells
The Forgotten Tower sits on isolated land in south-eastern Mammon. Stone bridges to it only extend when you shoot the distant bells with your crossbow. You will use this same bell mechanic again later in Sester’s Bastion.
Where to find the Axatana
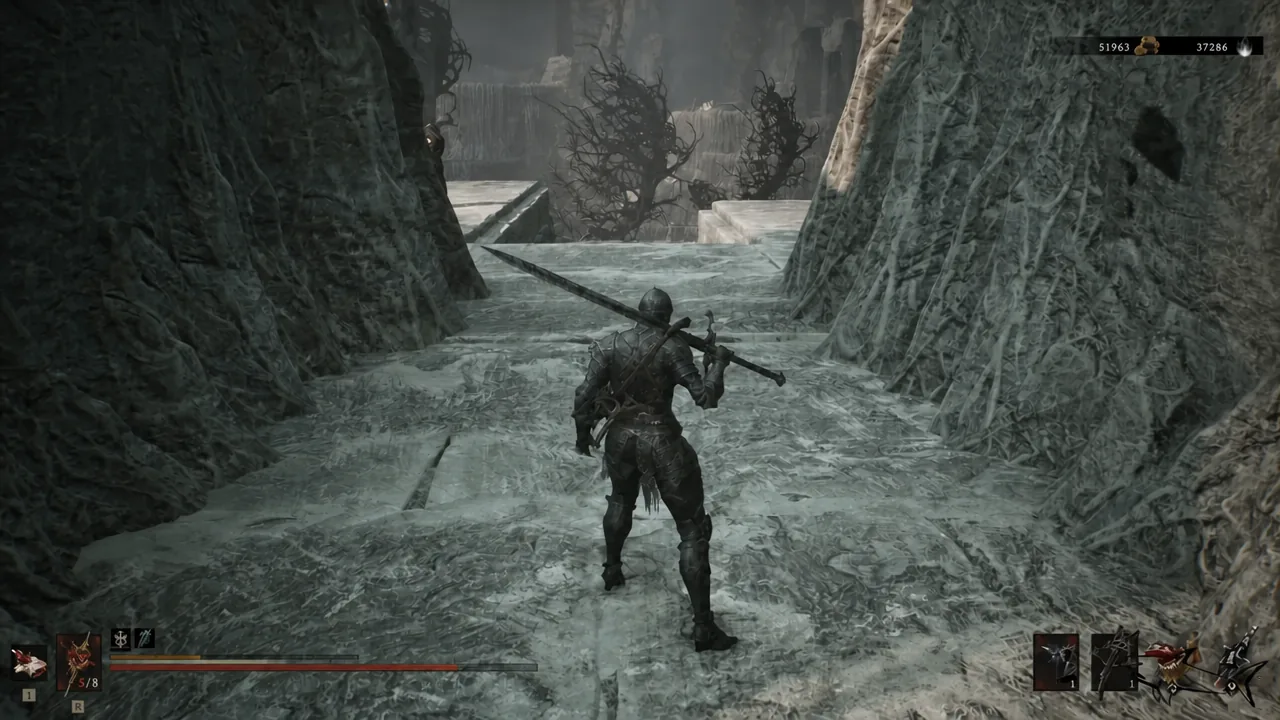
The Axatana is locked inside a small building at the base of the Forgotten Tower cliffs. A single Gloom Seeker guards it.
Sester’s Bastion, the Twin Sisters, and the Black Needle
Returning to the Sester’s Gate beacon lets you cleanse it and enter Sester’s Bastion. Inside, more bell shots build bridges across the area, and a mini-boss fight against the Twin Sisters (also called the Stray Sister) awaits.
Cleanse the corruption and open the Corrupted Gate
After the mini-boss, cleanse the corruption to collect three Ova eggs and unlock the Corrupted Gate. The gate leads into the snowy region and toward the Conqueror’s Temple. Once the gate opens, the region’s main progress is complete.
If you have the Synaptic Vessel, use it at a beacon to upgrade the efficiency of Mother’s Pulse. This is optional but worth doing while you are already at the beacon.
Forgotten Tower Gland offering and the Seedbearer’s Scripture
The giant skeletal bird figure inside the Forgotten Tower accepts an offering of three special Glands, but only in Night Mode. Completing this offering rewards the Seedbearer’s Scripture, an equippable item that heals Cosmic Disease, a status effect used by the final boss, Zmey, the Unbidden. There is only one Seedbearer’s Scripture in the game.
You need all three Glands before the offering will work, and each is tied to a later region. Here is where each one sits.
| Gland | Location |
|---|---|
| Thawed Gland | Conqueror’s Temple, on a candle-lit altar in the room of large stone hands, before the Droeg fight. |
| Depleted Gland | Withered Shoals, right before the Hexapod boss. Turn back from the arena toward the cave to find it. |
| Faded Gland | Faded Citadel, on a cliff across from the beacon near the final dungeon. Drop from the ledge and harden to avoid fall damage. |
With the Axatana, Cursed Child, and Black Needle collected, the Corrupted Gate open, and the Seedbearer’s Scripture in hand, both Sester’s Refuge and the Forgotten Tower are fully cleared. From the Sester’s Gate you can move straight into the Conqueror’s Temple to continue through the Ruins of Mammon.





