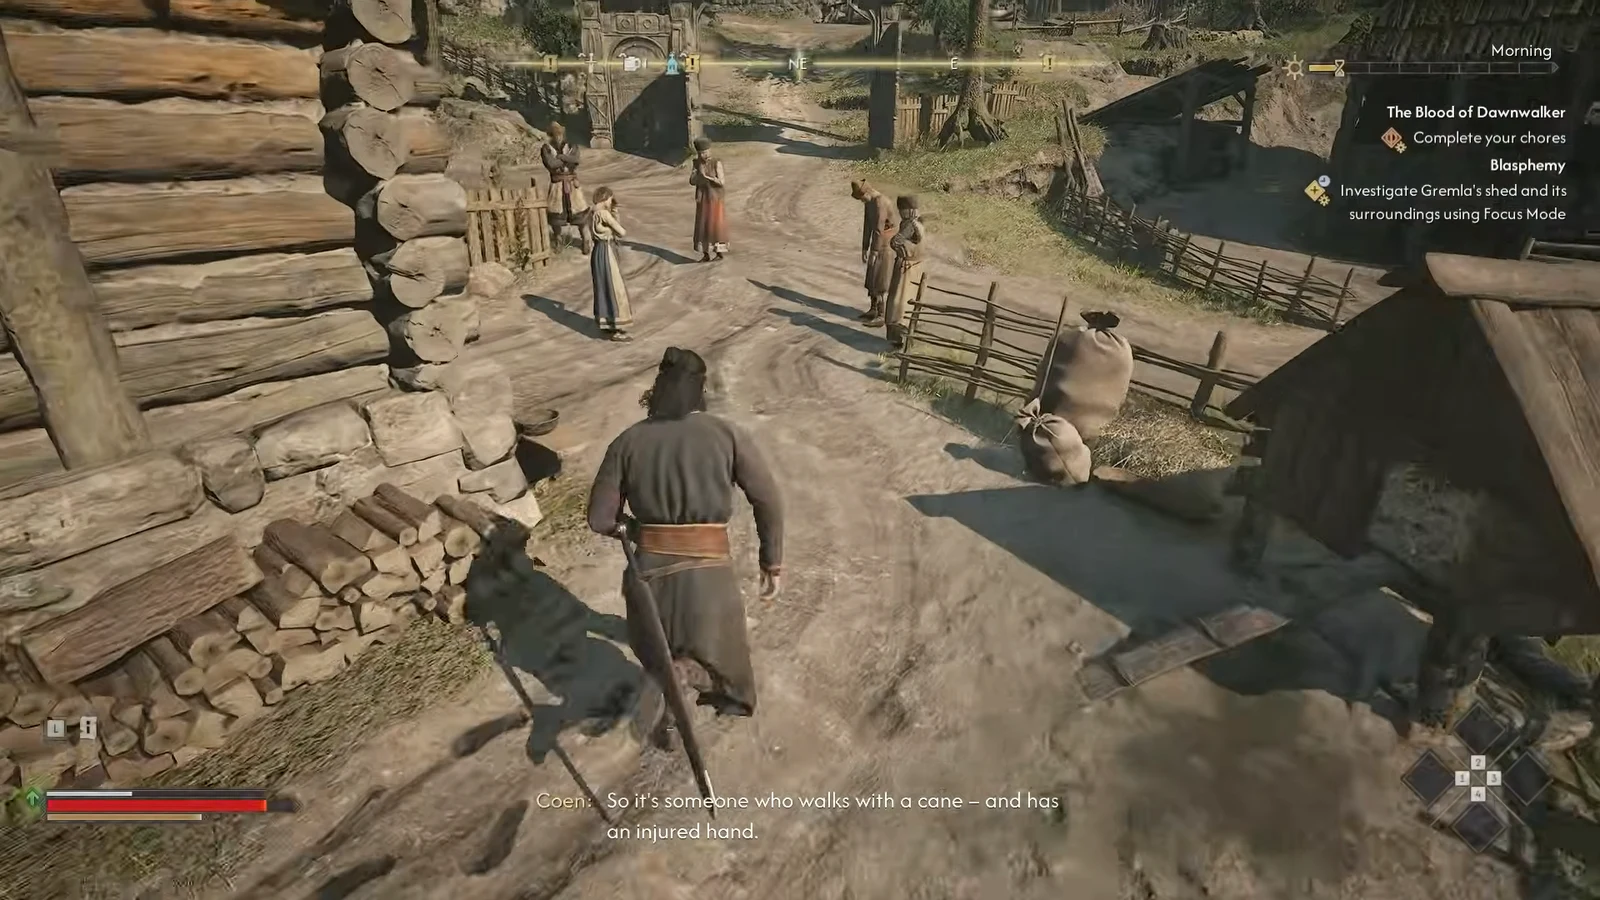
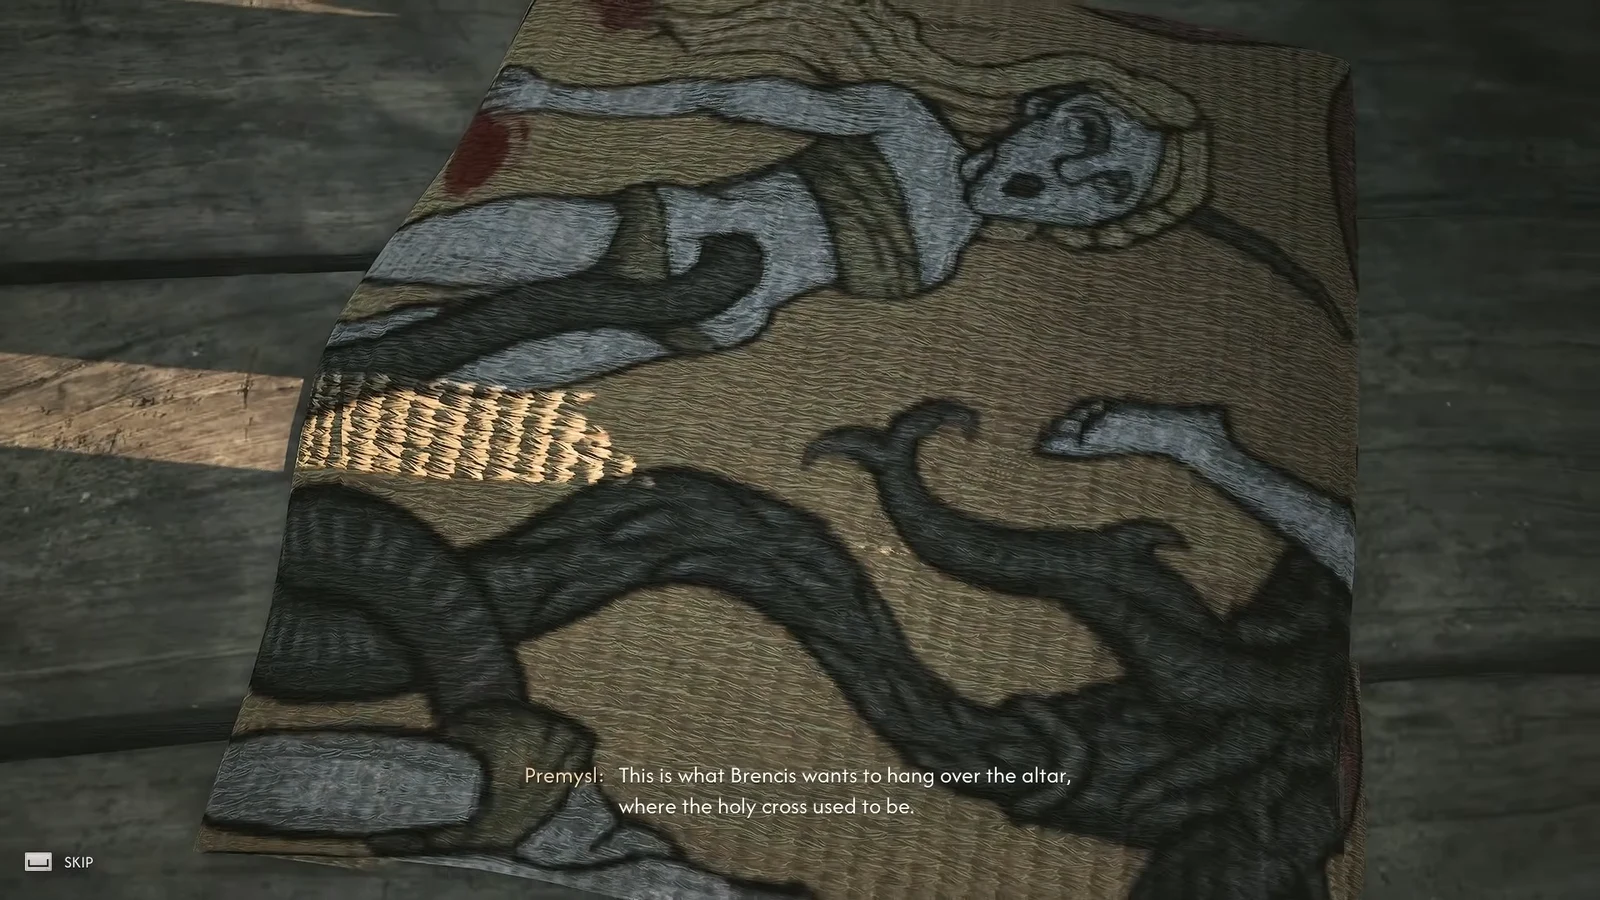
Blasphemy is a side quest in The Blood of Dawnwalker that starts with a crying weaver and ends with a decision about whether an old woman lives through Mass. Gremla has had a church banner stolen off her loom, the banner was commissioned by Brencis, and she is certain the vrakhiri will kill her if it is not delivered. The investigation itself is short, but the payout and the outcome swing hard on two dialogue choices.
Quick answer: Talk to Gremla, examine her loom and the tracks beside the shed in Focus Mode, then go straight to Premysl’s house and say “I know you stole the banner, Premysl.” Answer “Maybe you’re right…” for the Daylight Amulet and 500 XP, then return to Gremla and pick “Premysl has it.” for another 325 XP and 25 Denarius. That combination is the highest reward and the only one where nobody dies.
Blasphemy quest requirements, deadline and time cost
Blasphemy unlocks after the quest “All Good Things” and has a hard deadline. It has to be wrapped up before you start “Sacred Covenant,” or it is gone. Only one part of the quest costs you anything on the clock.
| Detail | Value |
|---|---|
| Quest giver | Gremla, outside her shed |
| Starting location | Laslea Glen, on the main road toward the southern gate |
| Prerequisite | Complete “All Good Things” |
| Fail state | Must be finished before “Sacred Covenant” |
| Time cost | 1 time segment, spent only when you accuse Premysl |
| Possible XP total | 500, 575 or 825 EXP depending on choices |
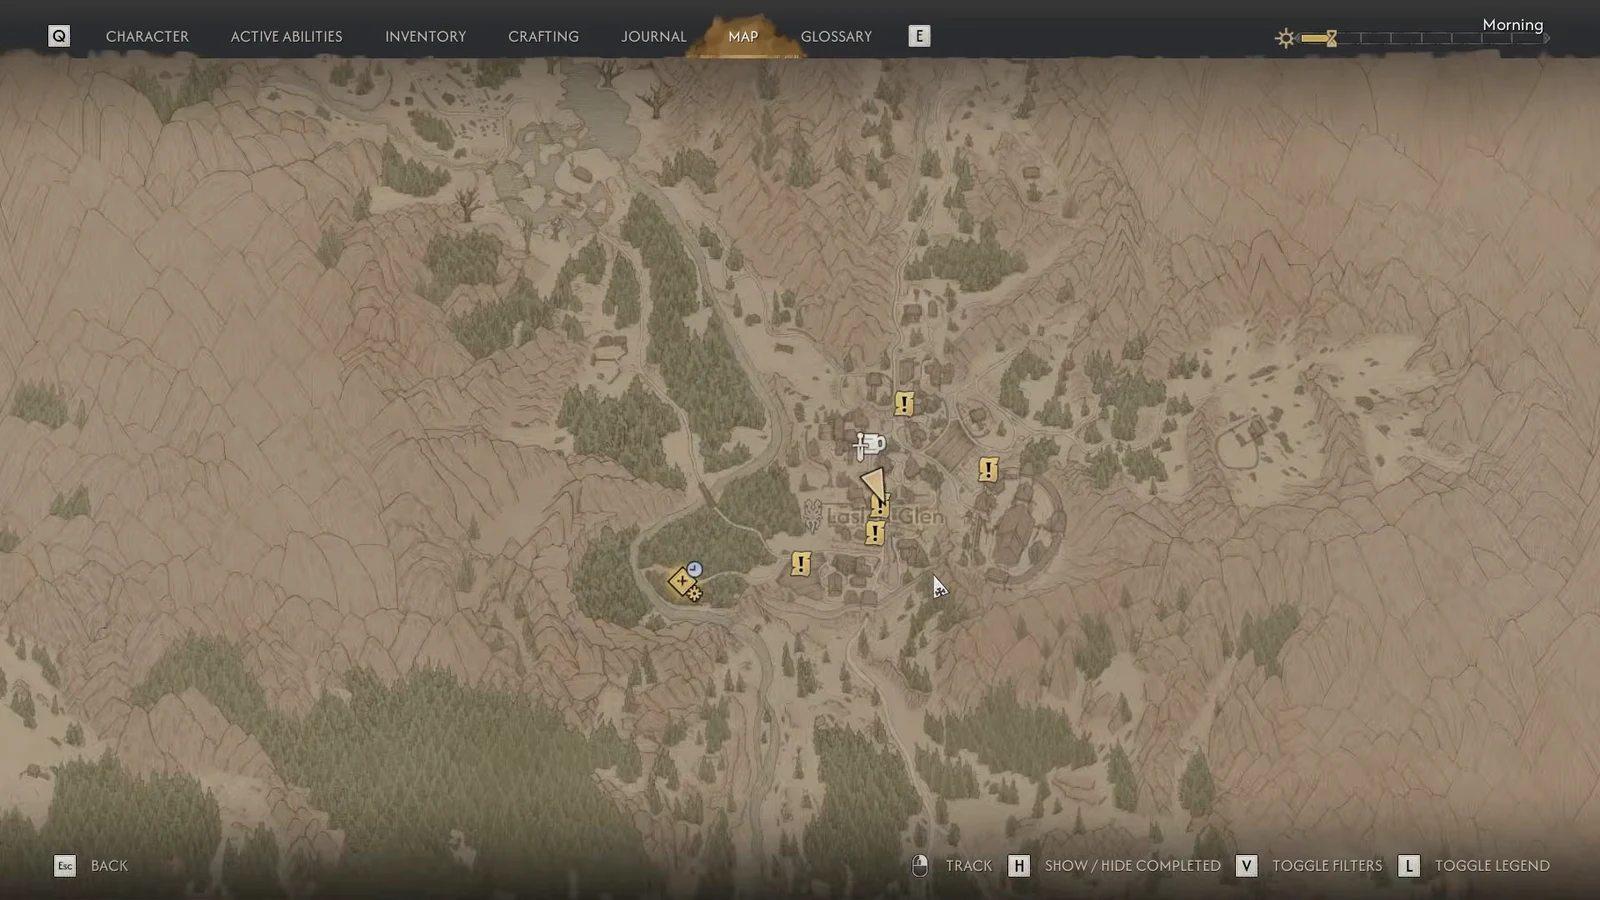
On the world map the quest is flagged with the description “A new story starts here.” Track it before you set out so the marker points you at the crowd of villagers gathered outside Gremla’s house.
Investigate Gremla’s shed with Focus Mode
| Clue | What it proves |
|---|---|
| Broken loom peg | The banner was ripped off the loom by force |
| Wide footprint | The thief is larger than Gremla, so she did not stage it |
| Deep hole in the dirt | The thief walks with a cane |
| Blood on the torn banner scrap | The thief cut a hand, likely on the snapped peg |
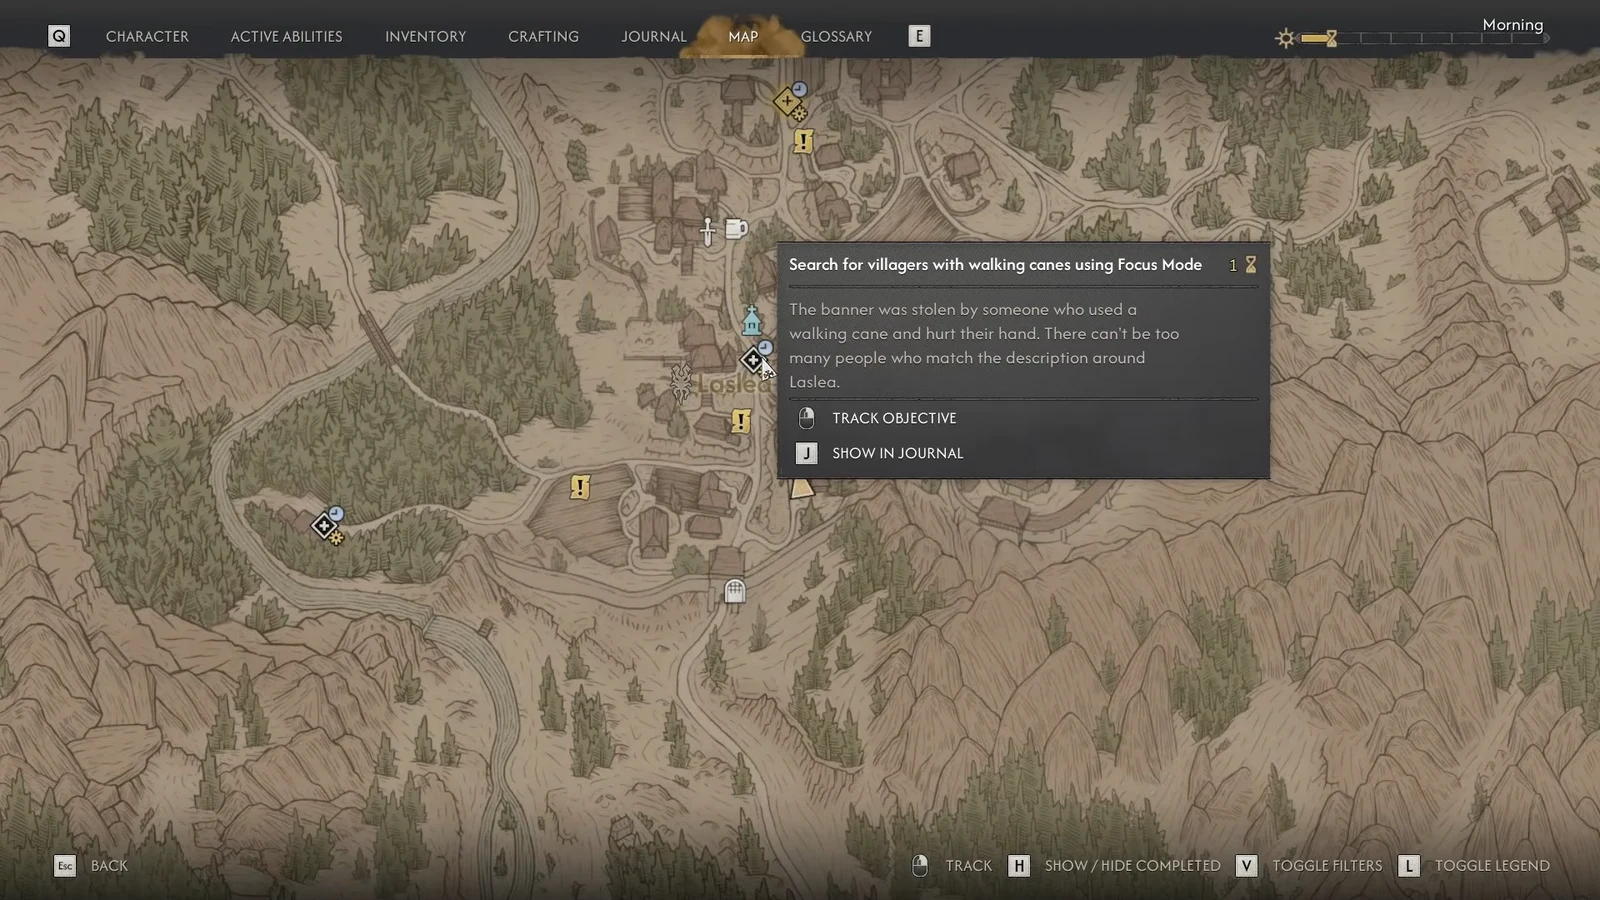
The objective then flips to “Search for villagers with walking canes using Focus Mode,” and the search zone covers most of the village.
Go straight to Premysl and skip the suspect chain
Alois, Otokar and Dana are all optional. As soon as the “walking canes” objective appears you can walk to Premysl and confront him, which saves a lap of the village.
What the optional villagers actually tell you
If you want the full trail, characters connected to the quest glow yellow in Focus Mode. Each one clears themselves and hands you the next name.
| Villager | Where they are | What you learn |
|---|---|---|
| Alois | In the crowd near Gremla | Shows you clean, uninjured hands and points at Otokar |
| Otokar | Southeast of Gremla’s shed, planing a beam | Injured hand, but no cane, and he hurt it two days before the theft. Sends you to Dana |
| Dana | On a bench northwest of the shed | Has a walking stick but no injury. Heard Premysl raging about the vrakhiri desecrating the church |
All Blasphemy choices and rewards
The quest resolves in two stages. First you respond to Premysl’s justification, then you decide what to tell Gremla. Only the reply to Premysl can produce an item.
| Reply to Premysl | Result |
|---|---|
| “Maybe you’re right…” | 500 EXP and the Daylight Amulet |
| “Angering Brencis will put my family at risk.” then “This is just an empty gesture. Return the banner.” | 250 EXP, and Premysl agrees to hand the banner back |
| “You haven’t convinced me.” | 250 EXP, same outcome with different lines |
| Report to Gremla | Result |
|---|---|
| “Premysl has it.” (or you already convinced him to return it) | 325 EXP and 25 Denarius |
| “No, I’m sorry.” (or simply ignore the quest until sunset) | 75 EXP |
Siding with Premysl and then naming him to Gremla stacks both payouts for 825 EXP, the Daylight Amulet and 25 Denarius. The Daylight Amulet is a Superior Amulet at Level 2 that grants +6% Maximum Human Health.
Gremla’s fate if you keep Premysl’s secret
Naming Premysl does not get him executed. Gremla is furious, but she says she will handle him herself with a severe dressing down instead of dragging the vrakhiri into it, and the banner reaches the church in time.
Stay quiet and Gremla pays for it. When Mass is held she is the thing hanging inside the church, with Premysl sitting in the pews, shocked and far too late to fix it. It is a choice between a grotesque banner and a corpse, and the prologue plays out slightly differently afterwards either way.
How to confirm Blasphemy is complete
The quest closes out the moment your conversation with Gremla ends. You will see the Blasphemy entry clear from the tracker and the reward summary appear on screen with the XP and Denarius amounts listed above. If you took the amulet from Premysl, check your inventory for the Daylight Amulet before you move on.
There are only two reasons it will not resolve. Either you have not yet raised both the injured hand and the cane with Premysl, which leaves the accusation line locked, or you have already moved into “Sacred Covenant,” at which point the quest can no longer be finished. Keep an eye on the time segment cost as well, since accusing Premysl advances the clock and there are more quests in the game than segments to spend on them.