The map objective in Castlevania: Belmont’s Curse stays “Find Dracula and defeat him” across this stretch. The steps below trace one route from the first Hall of Mirrors shrine to the Double Jump ability inside Notre-Dame, and they leave aside side rooms and secrets that sit off that path.
Quick answer: Step through a Hall of Mirrors shrine, enter the Notre-Dame painting with The Artist equipped, clear the organ with three Melody Sheets, beat Joan and Death, then collect the Vampire Killer and Double Jump.
Hall of Mirrors: reach the hub and the Notre-Dame painting
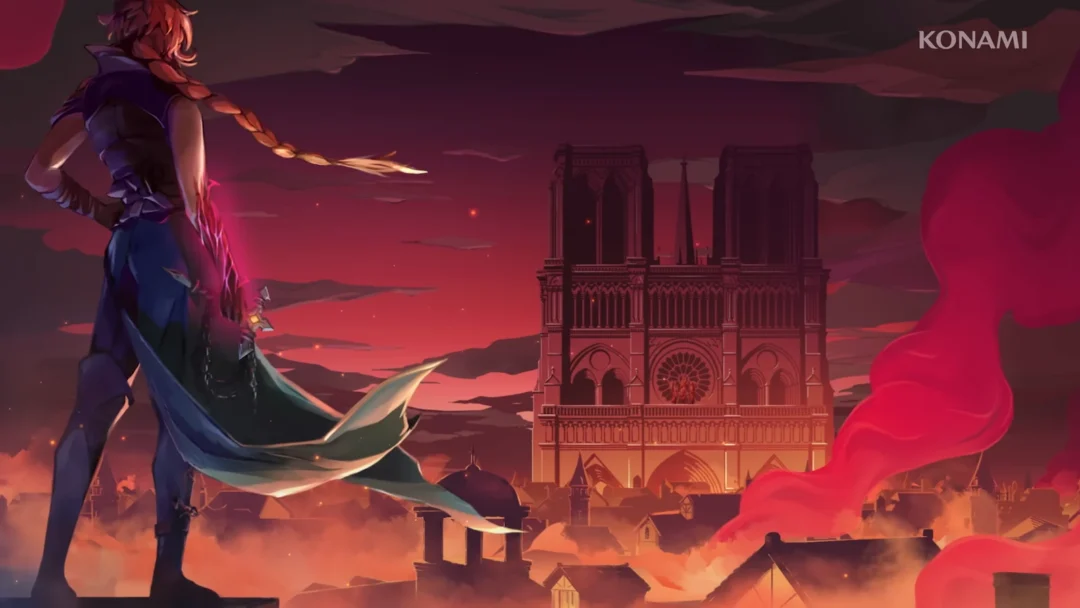
Enter Notre-Dame through the painting
A tutorial line appears at the bottom of the screen in the Gallery of Eternal Night: “Arcanic Resonances are hidden interactions that activate when the appropriate Arcana is equipped. Rose’s Tarot will react when it is near an Arcanic Resonance.”
One way that works is to equip the Arcana The Artist (spell Masterpiece), which you get in Brauner’s Atelier. To change Arcana, go to the Equipment menu and choose your equipped Arcana, then replace it with a different spell. Once The Artist is equipped, stand before the painting and use the “INTERACT [R1]” prompt. A conversation takes place within the painting before you appear at the cathedral doors.
From there, the banners run in order: “NOTRE-DAME”, then “NARTHEX” (whip-grapple up the wall), then “NAVE”. The Transept follows, where glowing purple corrupted organ pipes block the way forward.
Clear the corrupted organ with three Melody Sheets
Go down through the Notre-Dame Undercroft below the Transept to reach the Great Organ Room. A giant organ stands above a row of floor keys marked with zodiac symbols. A Spirit kneeling under the stairs hands over the first sheet, “MELODY SHEET FOR THE FUGUE OF NOTRE-DAME”, with the line “Find the melodies of Music Masters of Notre-Dame, and you shall clear this corruption.”
Three Melody Sheets feed the Great Organ. Collect them from these spots:
| Melody Sheet | Where to collect it |
|---|---|
| Fugue of Notre-Dame | A Spirit under the stairs in the Great Organ Room |
| Sonata | A Spirit under the zodiac windows in the Sealed Scriptorium |
| Concerto | A Spirit at the open spire atop La Flèche |
Bring each sheet to the Great Organ Room and play the piece. The Notre-Dame organ puzzle solution lists the complete key sequences for all three pieces.
Chests on the route: Beelzebub’s Seal, Arondight, and Joyeuse
Beelzebub’s Seal sits in an ornate chest on the high left balcony of the Chapel of Patience, reached past two shielded knights. Its text reads “Rose deals 30% more damage, but her maximum life is reduced by 50%.” The path then opens onto the Path of the Penitent.
Arondight and Lancelot’s Shield is a Masterpiece card with ATK 75. Find it in a chest on the Tower Entrance’s bottom floor.
Joyeuse, also ATK 75, waits in a secluded chest in the Notre-Dame Undercroft past an electric-beam corridor.
Joan’s rematch in the Gallery of the Four Virtues
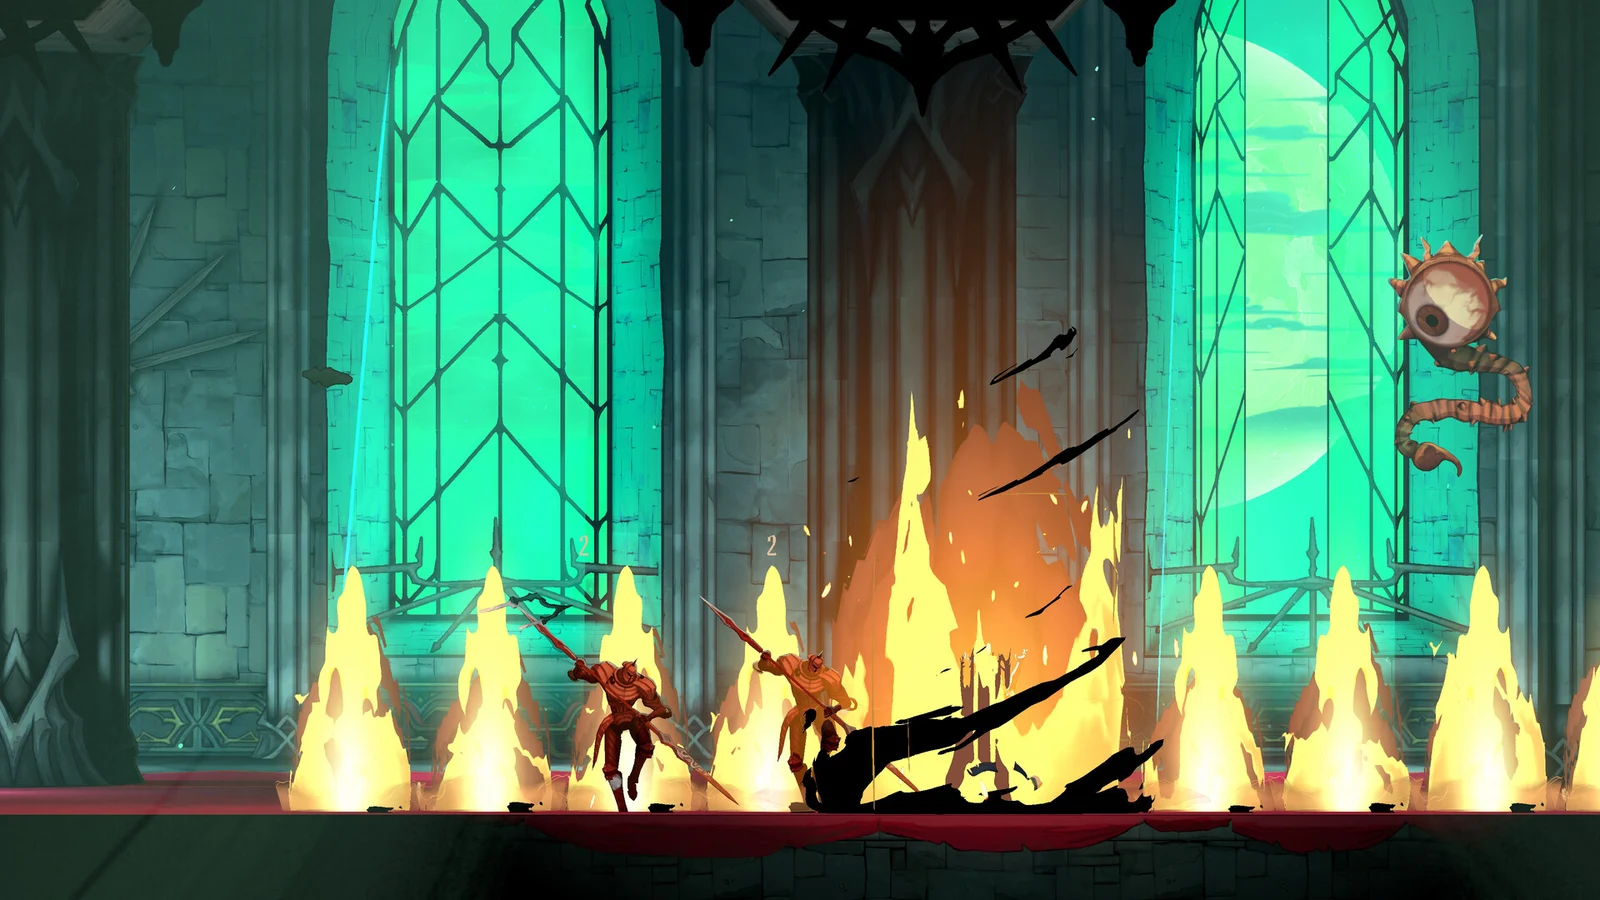
A carved inscription under the red Warrior window in the Gallery of the Four Virtues reads: “Hear the bell of Courage ring, Mark the Warrior it hails. Their sword shines before the bells, The bells of Notre-Dame.” Interact with the Courage window (R1) to enter the trial.
The burning hall is where Joan awaits, with “JOAN” displayed on her bar. Defeat her to receive her blessing of Courage. The guide to beating Joan of Arc in both fights covers each encounter.
The golden tablet in the same gallery, THE PROPHECY, reads: “Only when the Bells of Virtue ring and humanity overcomes its Self will cursed darkness lift and restore the blessed light.” The other windows here are Temperance, Justice, and Prudence, which feed into the true ending steps.
Death in the Transept
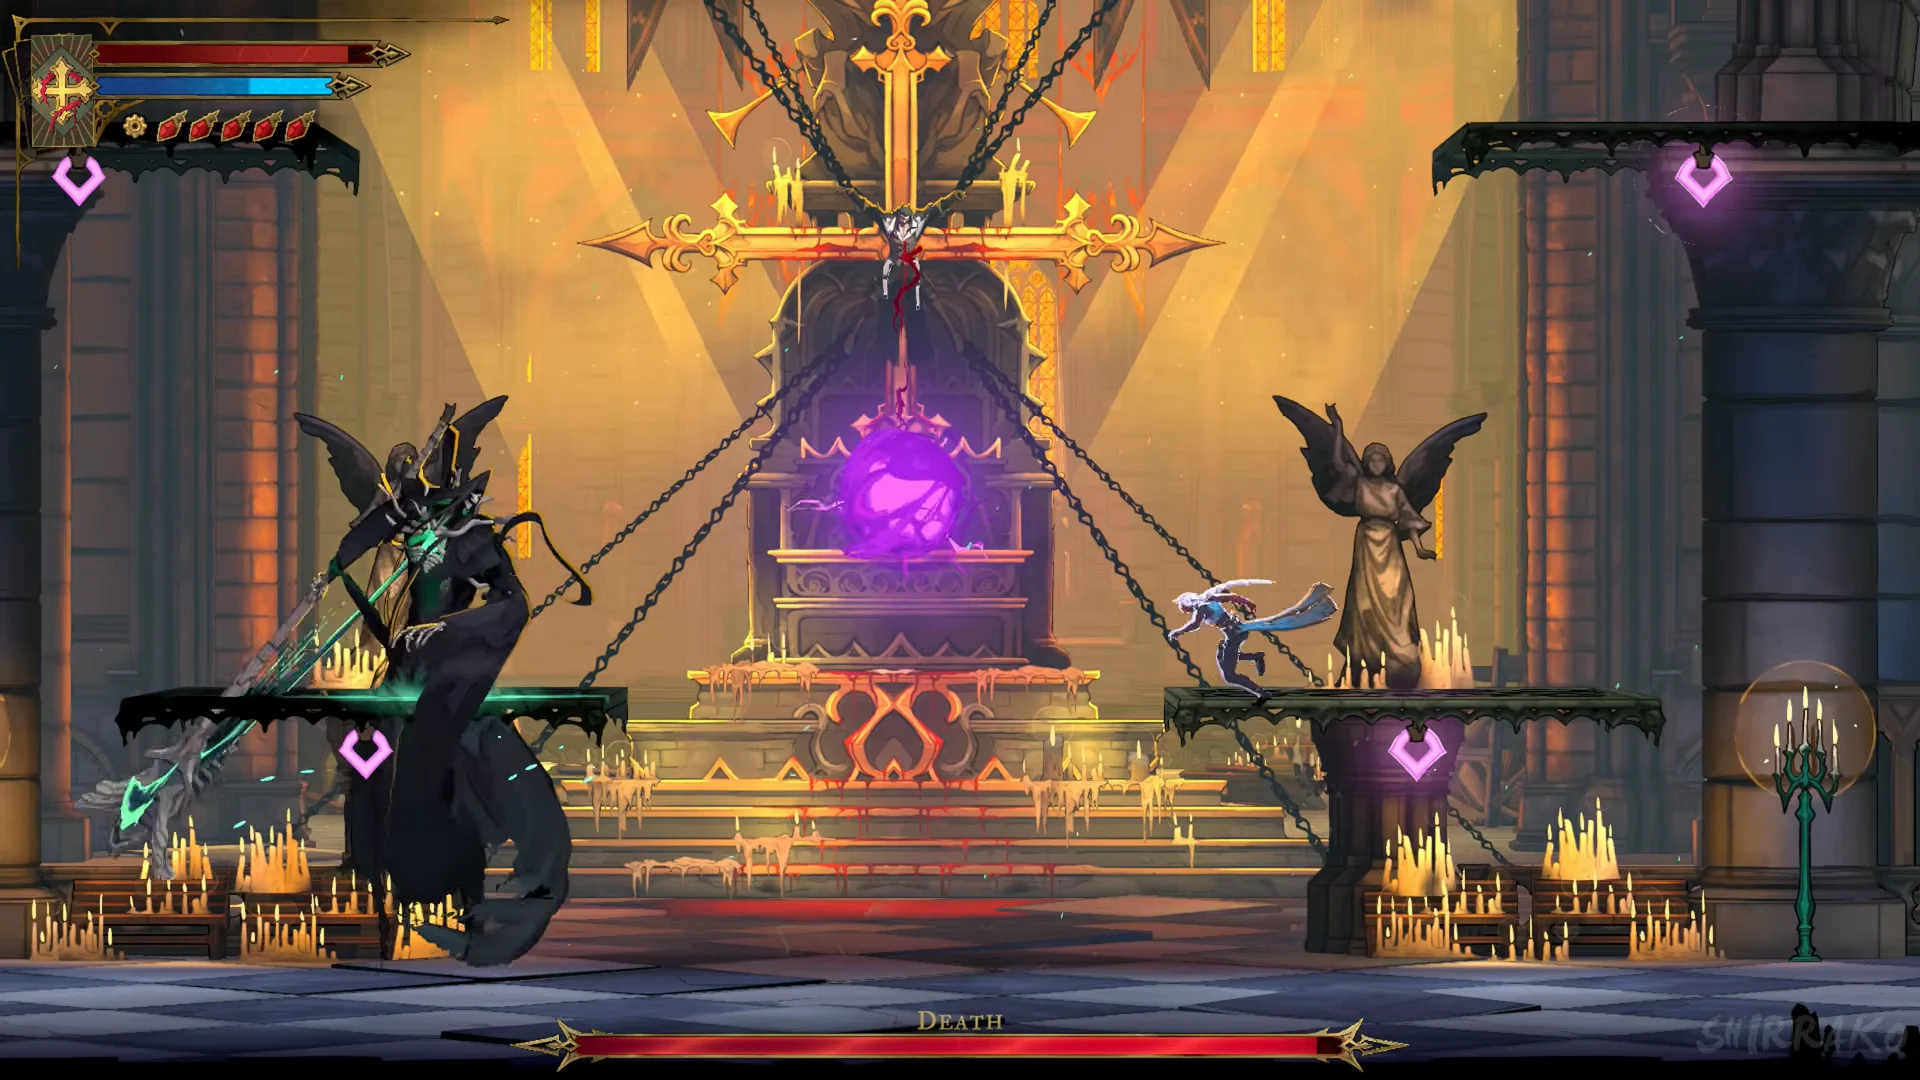
Once the organ corruption clears, a scene in the Transept shows Trevor held above a dark sphere, and Death appears with a bar reading “Death”. Winning the fight pops the trophy “Death… killed?”. A prompt then reads “DURING THE ABSORPTION PHASE, HOLD DOWN R1 TO ABSORB THE POWER OF THE ARCANA.”, and you take the Arcana card The Shadow (spell Soul Harvest). The fight and its tells are covered in the guide to beating Death in the Catacombs and Transept.
The Vampire Killer in the infirmary
When Death falls, Trevor calls out; make your way to the Notre-Dame infirmary. A scene unfolds without an interact prompt, and you receive the Vampire Killer card, marked LEGENDARY with ATK 100, as well as the “Stuff of Legends” trophy. Press and hold the button displayed on the card to equip it. For the full process, see the guide to getting the Vampire Killer legendary whip.
Double Jump in the Choir
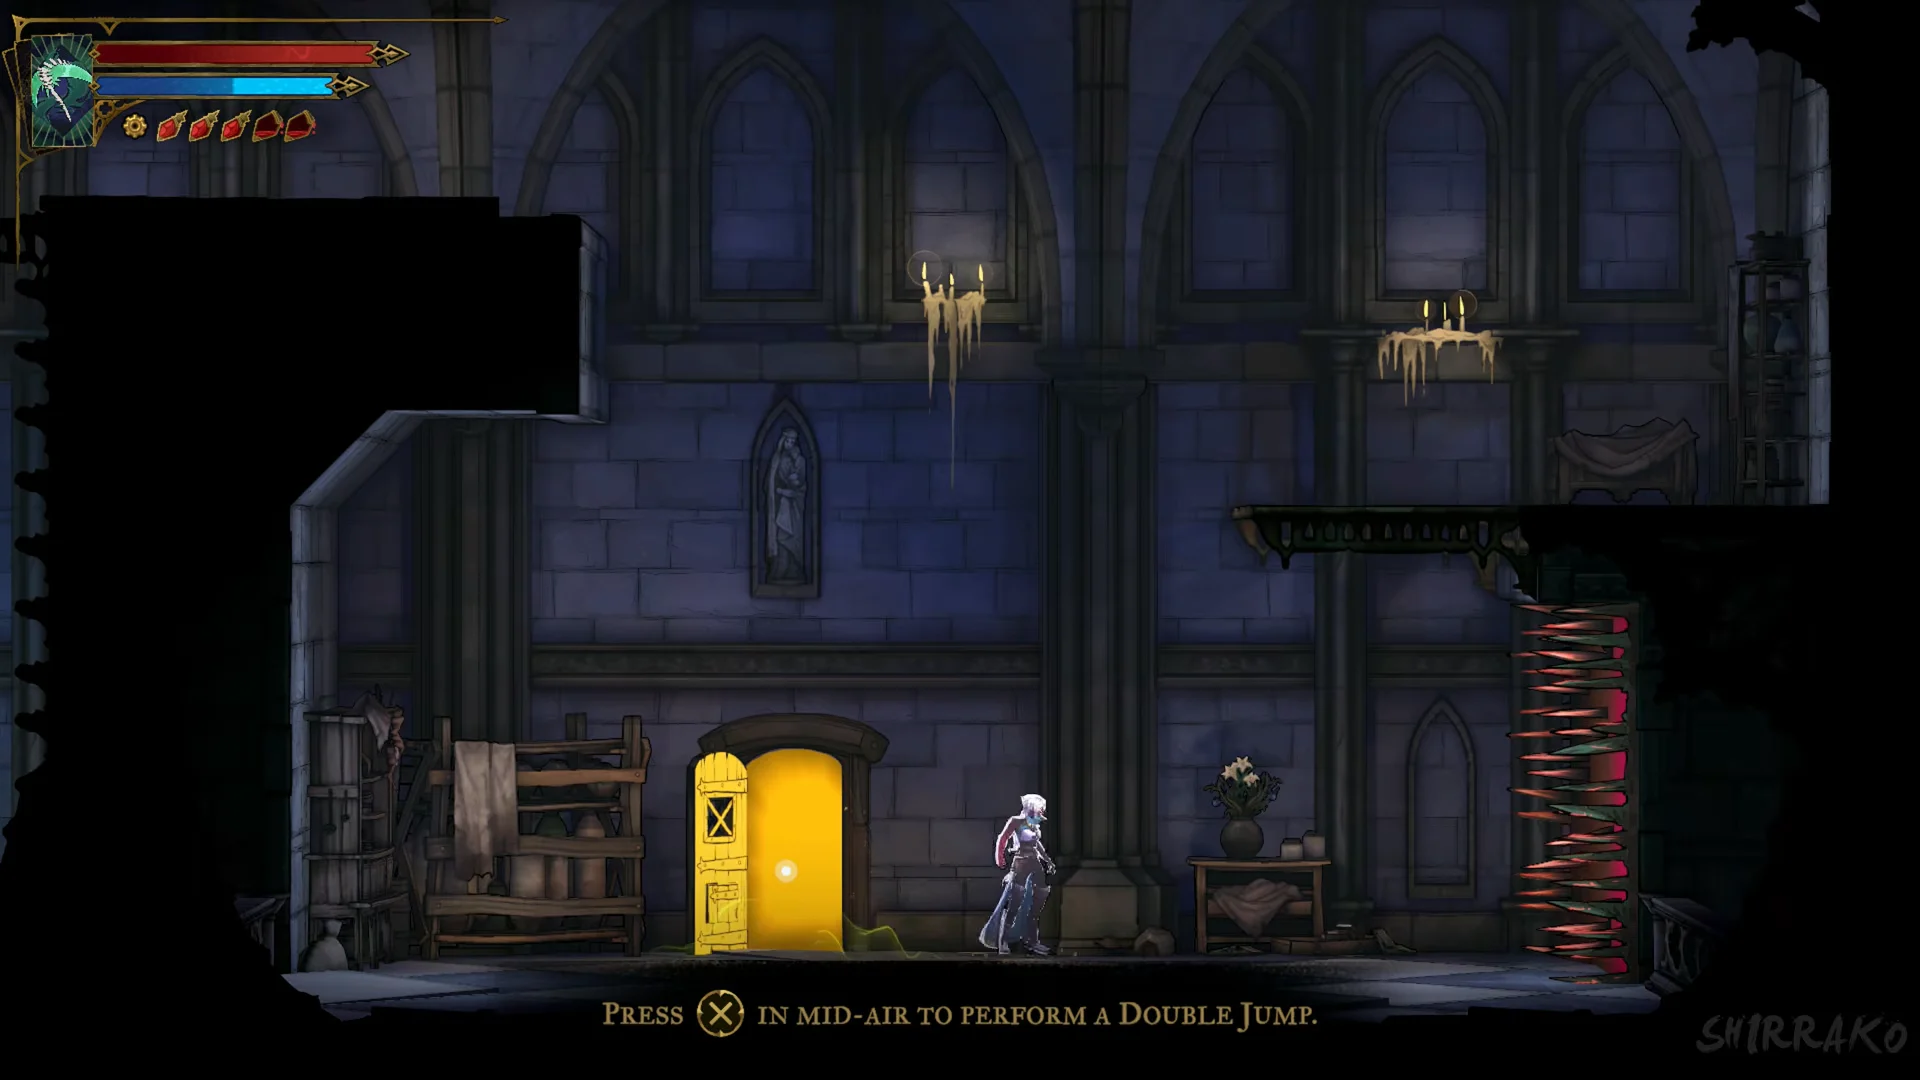
At a glowing yellow door in front of a wide gap in the Choir, Leon talks you through the next move. A box reads “DOUBLE JUMP / You can jump a SECOND TIME by pressing cross when Rose is in the air.” Use it to clear the gap and reach the ledge above the spike pit. More on the ability sits in the guide to getting Double Jump and the movement abilities before it.
Walkthrough series: Previous: Part 6: Clock Tower to Mammon | Next: Part 8: Saint Louis to Dracula