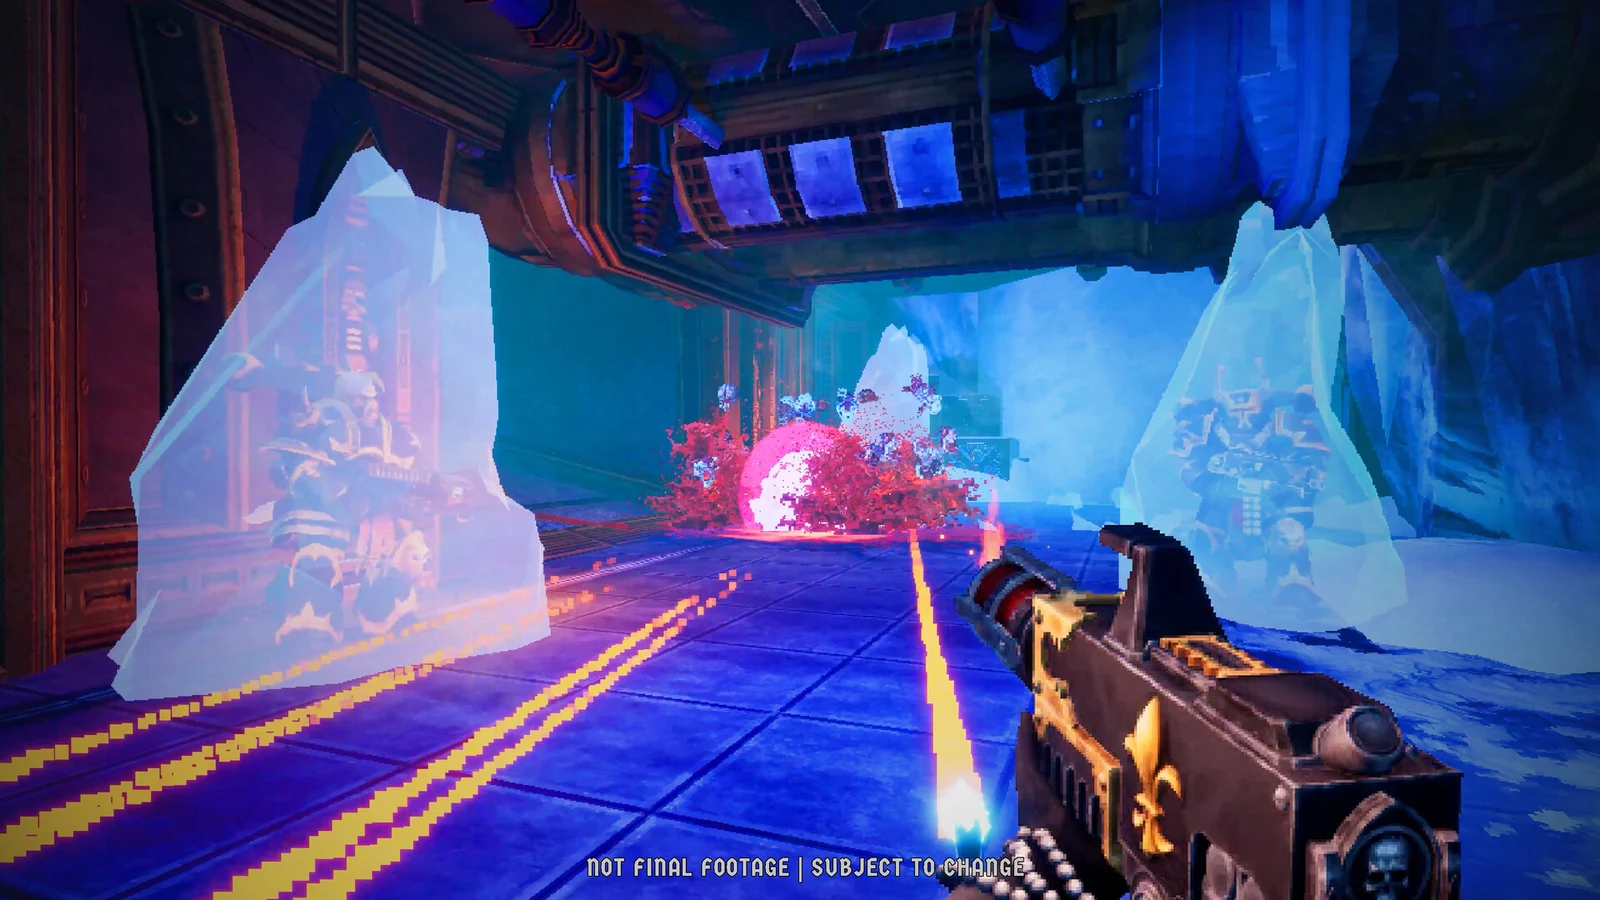
The Dauntless level in Warhammer 40,000: Boltgun 2 hides six collectibles across its walkways, elevators, and the final Purge room. Five of them register as Secrets, and one is a Purity Seal. Each one sits just off the critical path, usually behind a jump, a hidden switch, or a short detour you take after reaching a key milestone in the level.
Quick answer: Dauntless holds 5 Secrets and 1 Purity Seal. They unlock after grabbing the red key, crossing the big gap, riding the first elevator, riding the second elevator, opening the yellow door, and reaching the Purge room.
All Dauntless collectibles and their triggers
Use the milestone column to keep your bearings. Each collectible becomes reachable once you hit the matching point in the level, so the order below follows your natural progress through Dauntless.
| Collectible | When it unlocks | Reward |
|---|---|---|
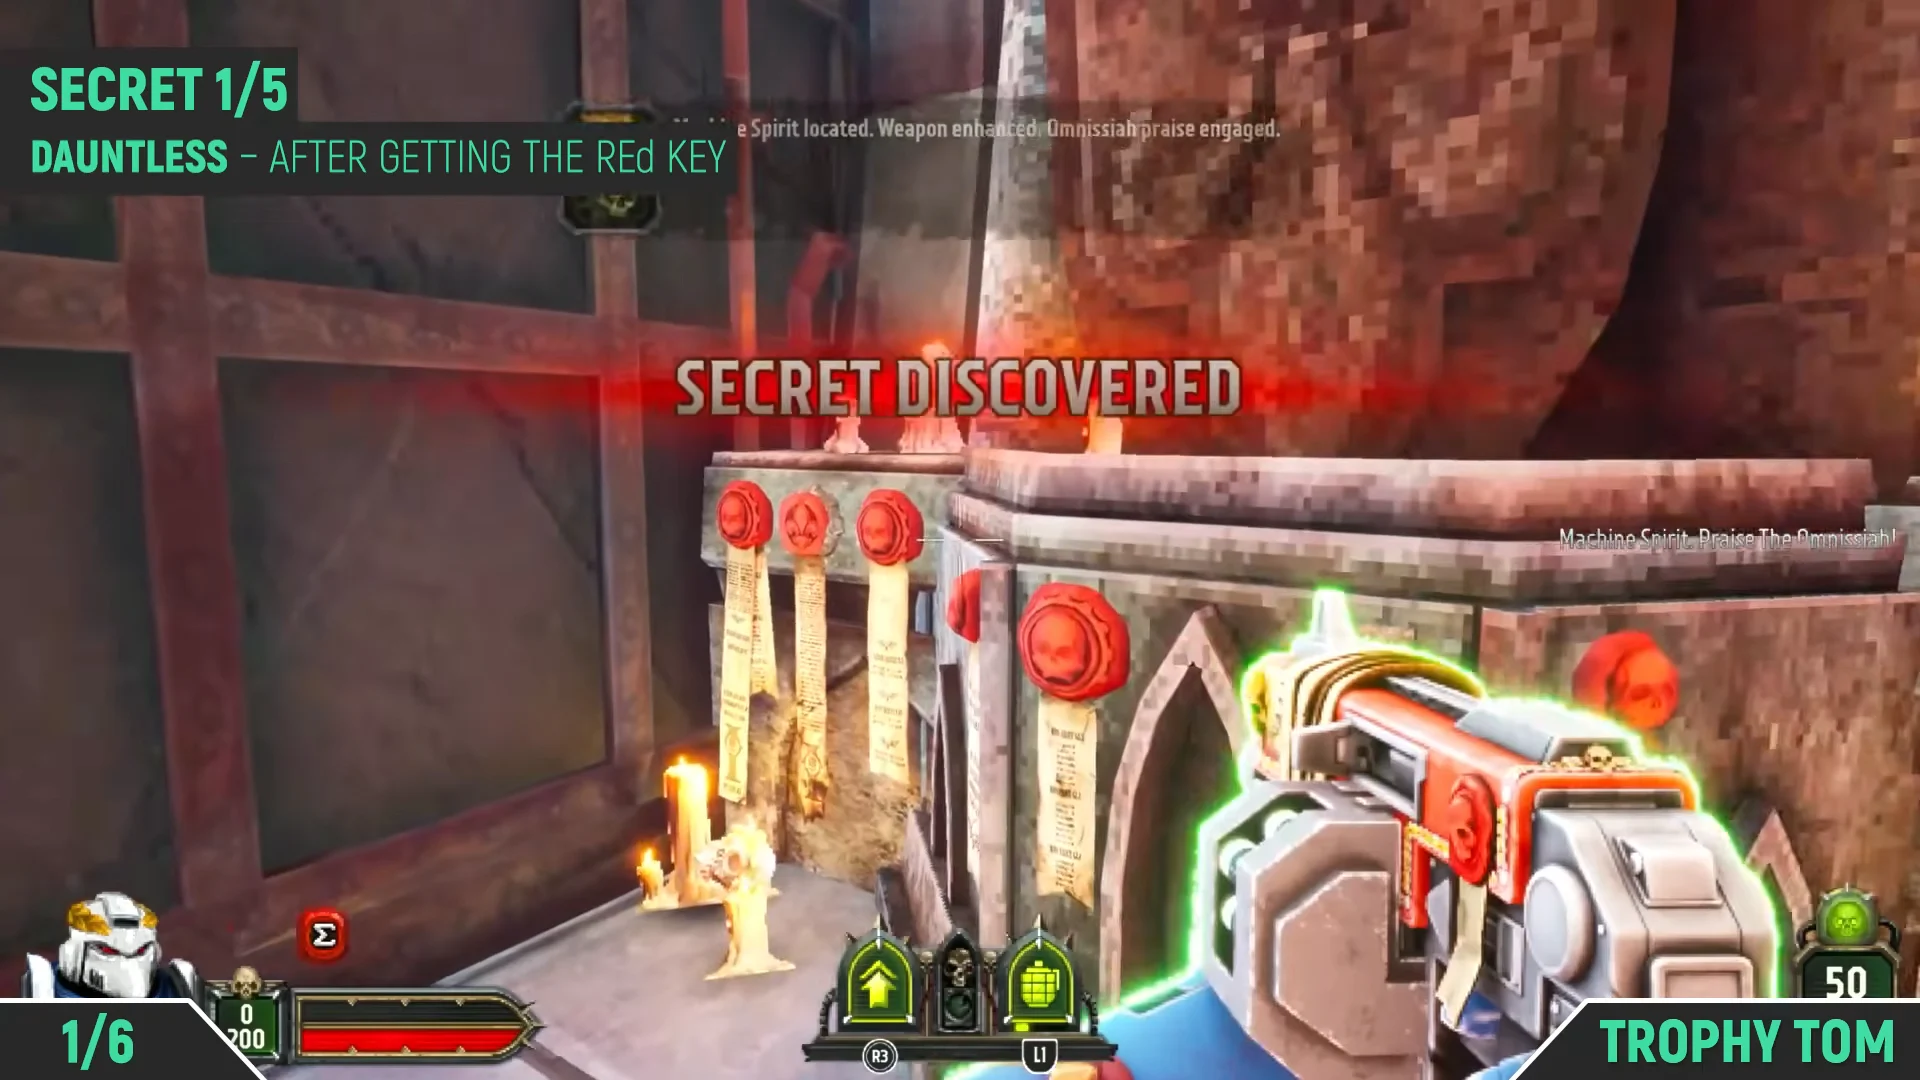
| Secret 1/5 | After getting the red key | Machine Spirit weapon upgrade |
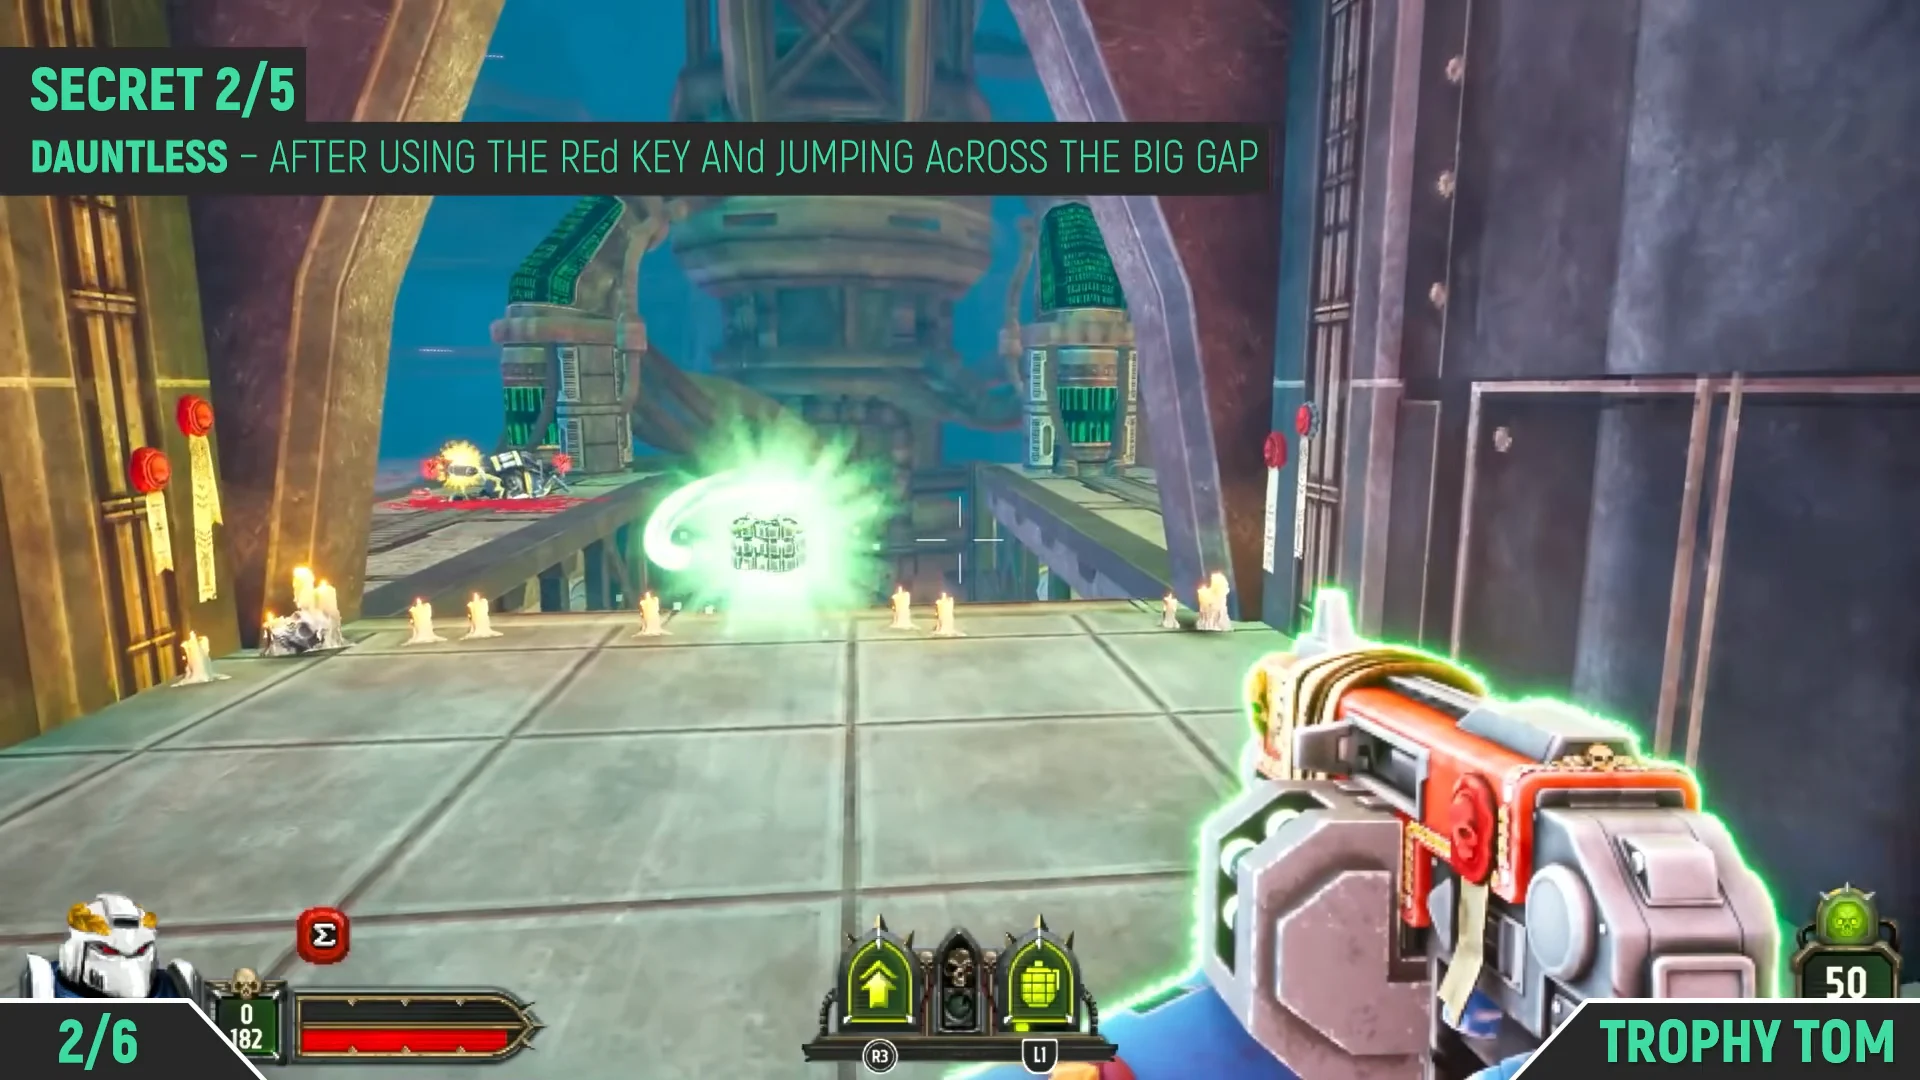
| Secret 2/5 | After using the red key and crossing the big gap | Secret item |
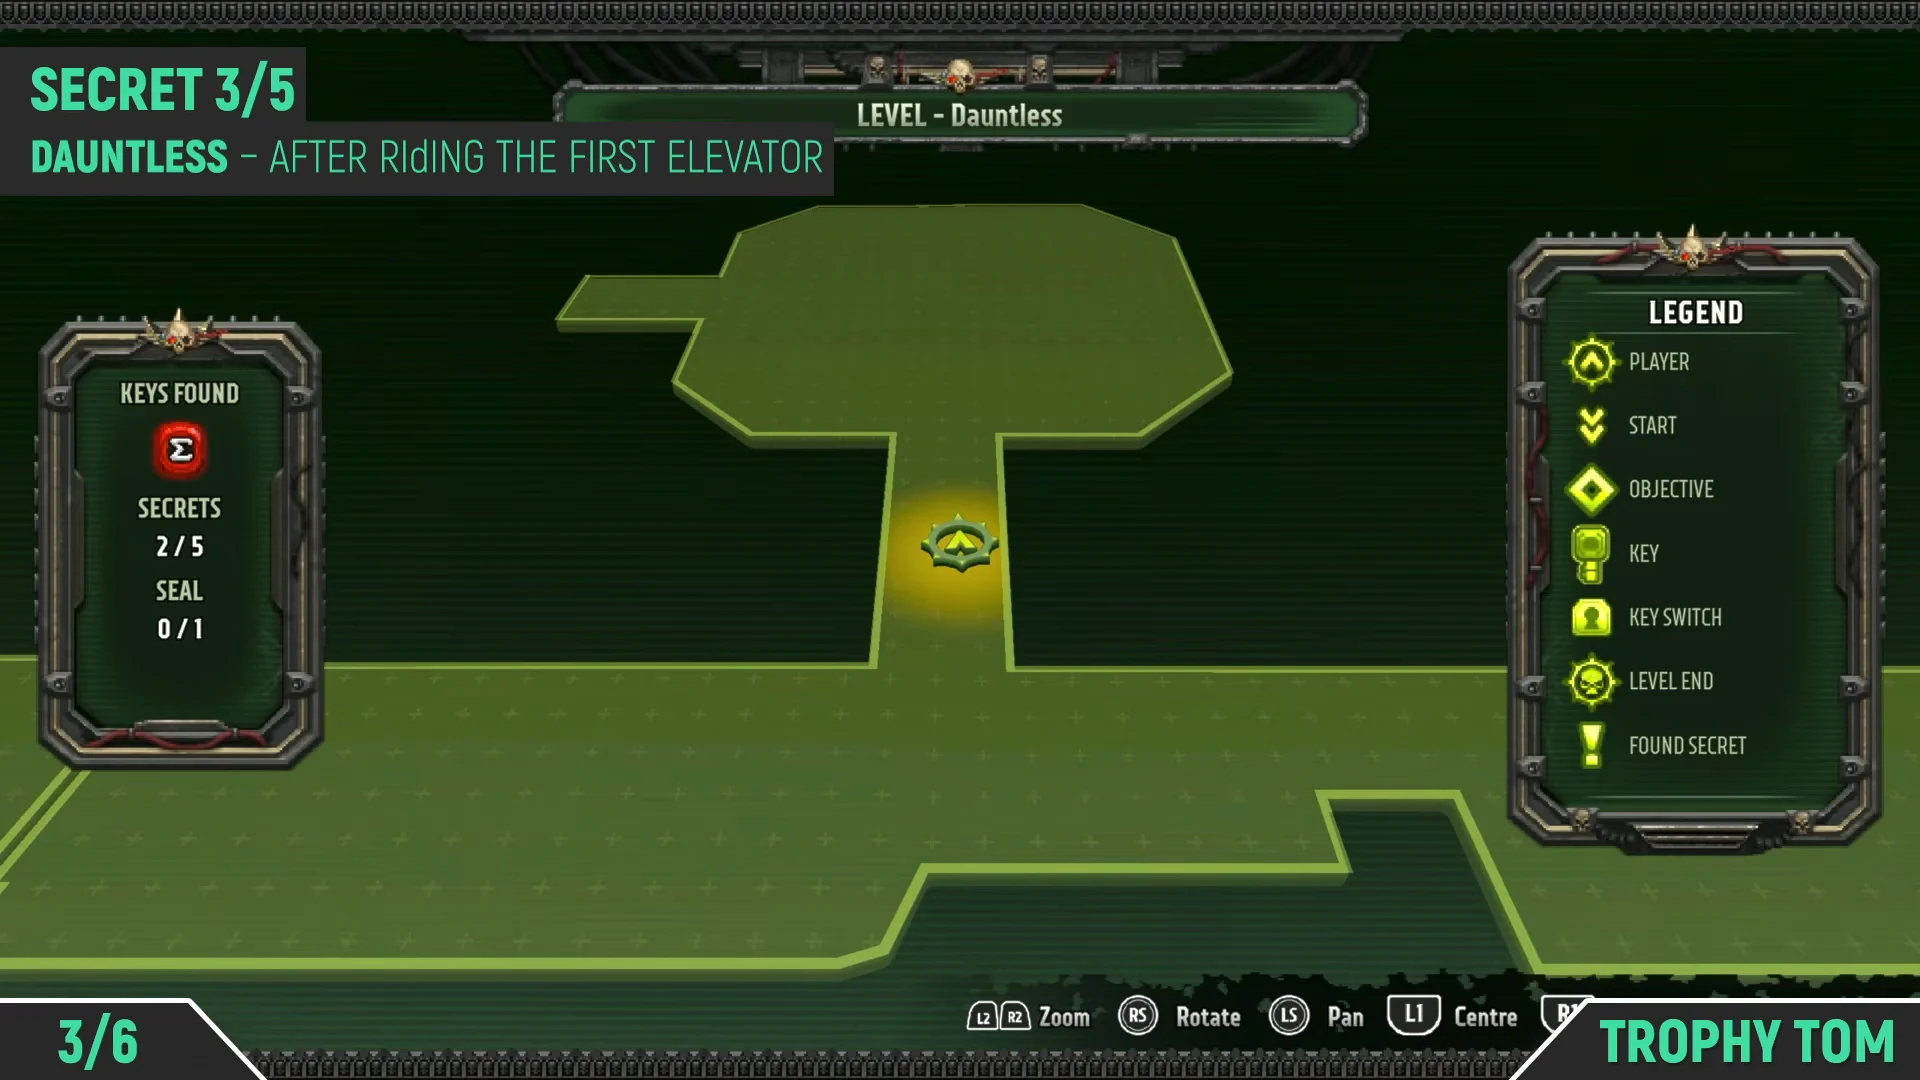
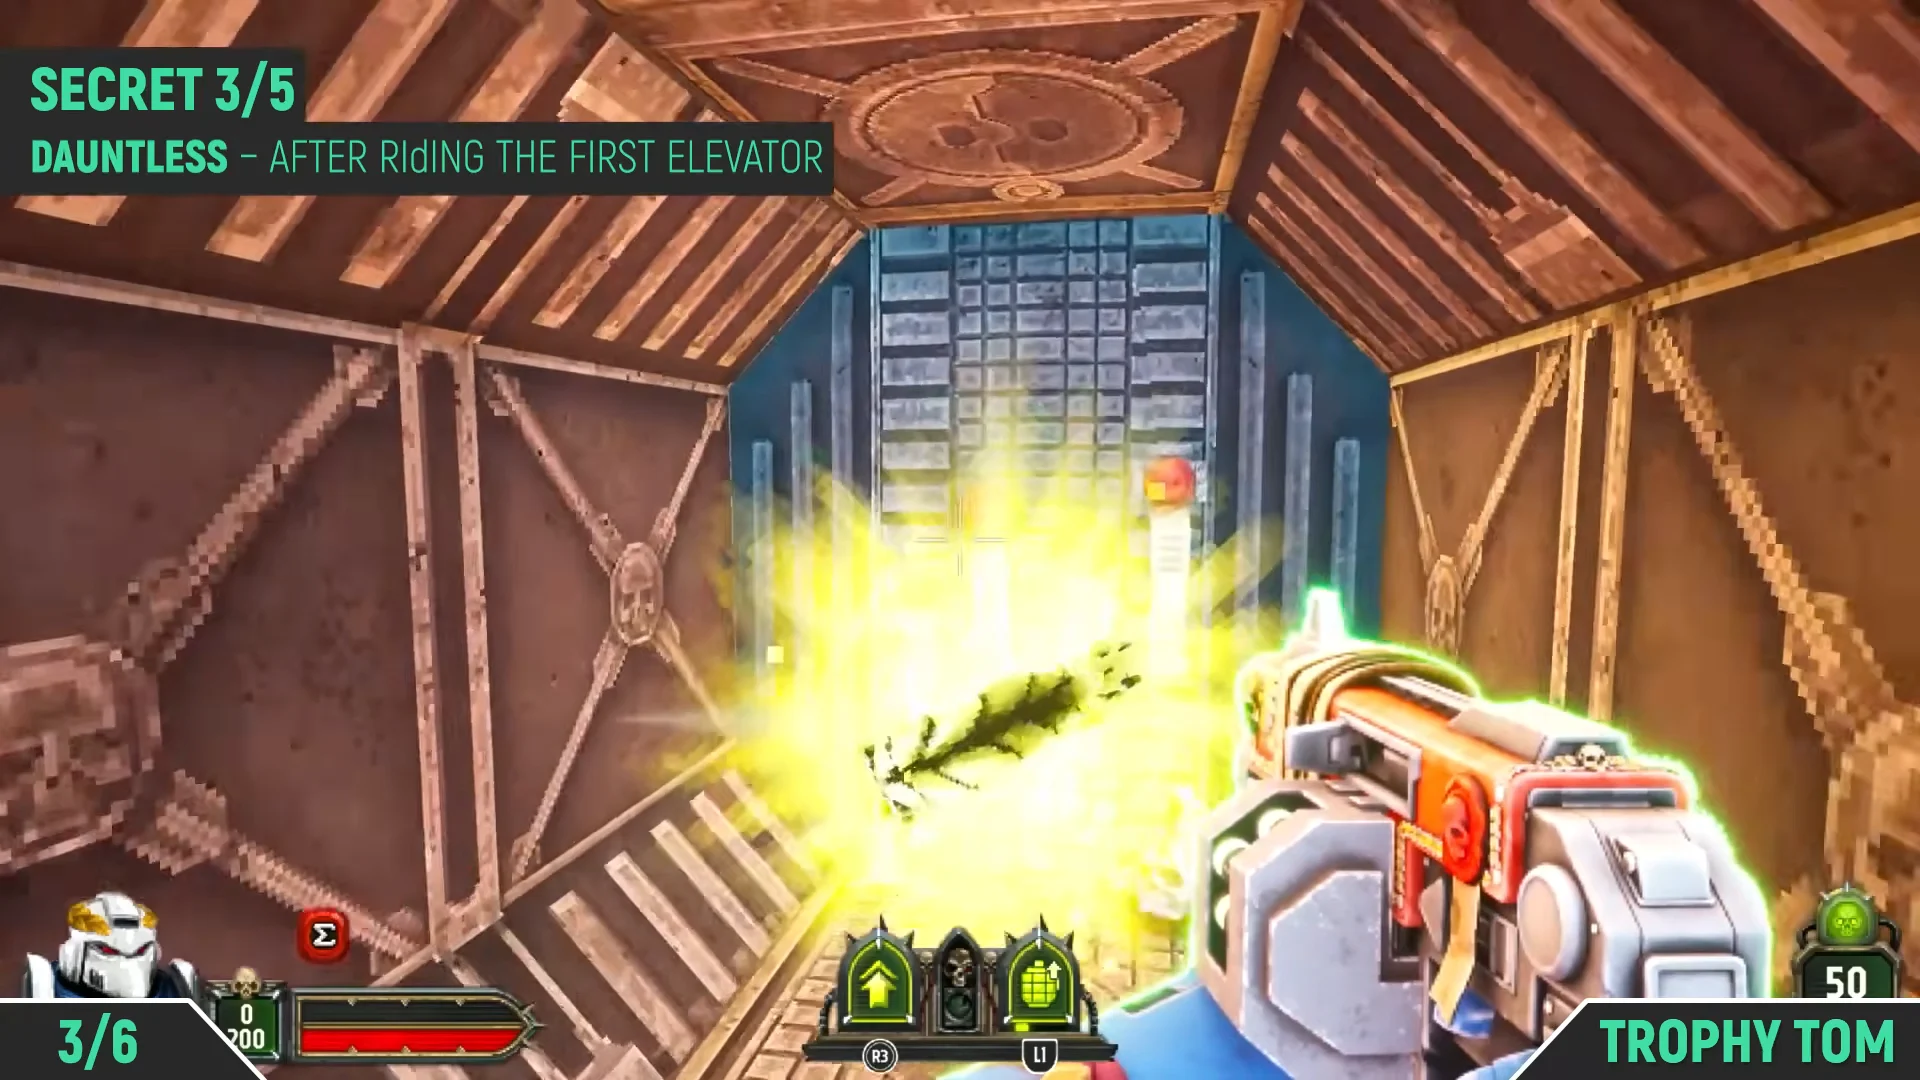
| Secret 3/5 | After the first elevator | Secret item |
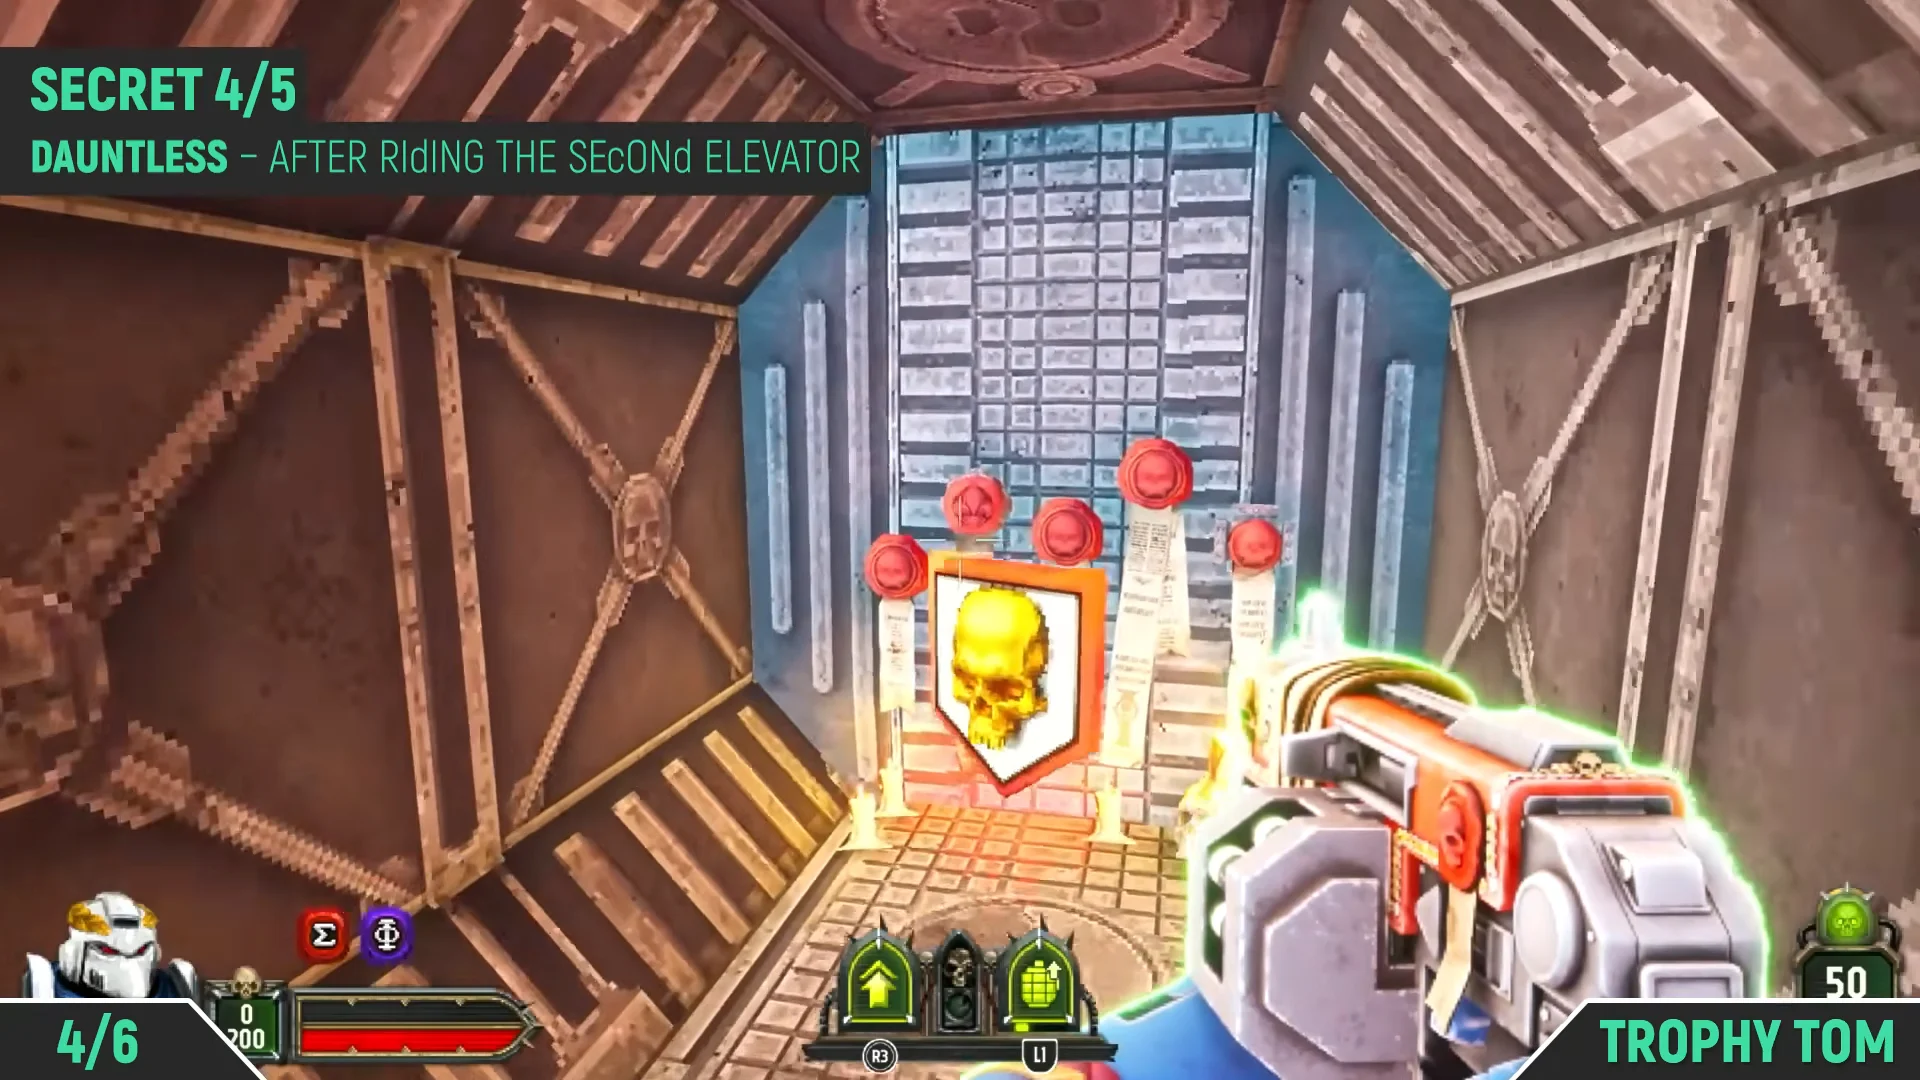
| Secret 4/5 | After the second elevator | Secret item |
| Purity Seal 1/1 | After opening the yellow door | Purity Seal |
| Secret 5/5 | In the big Purge room | Heavy Bolter magazine |
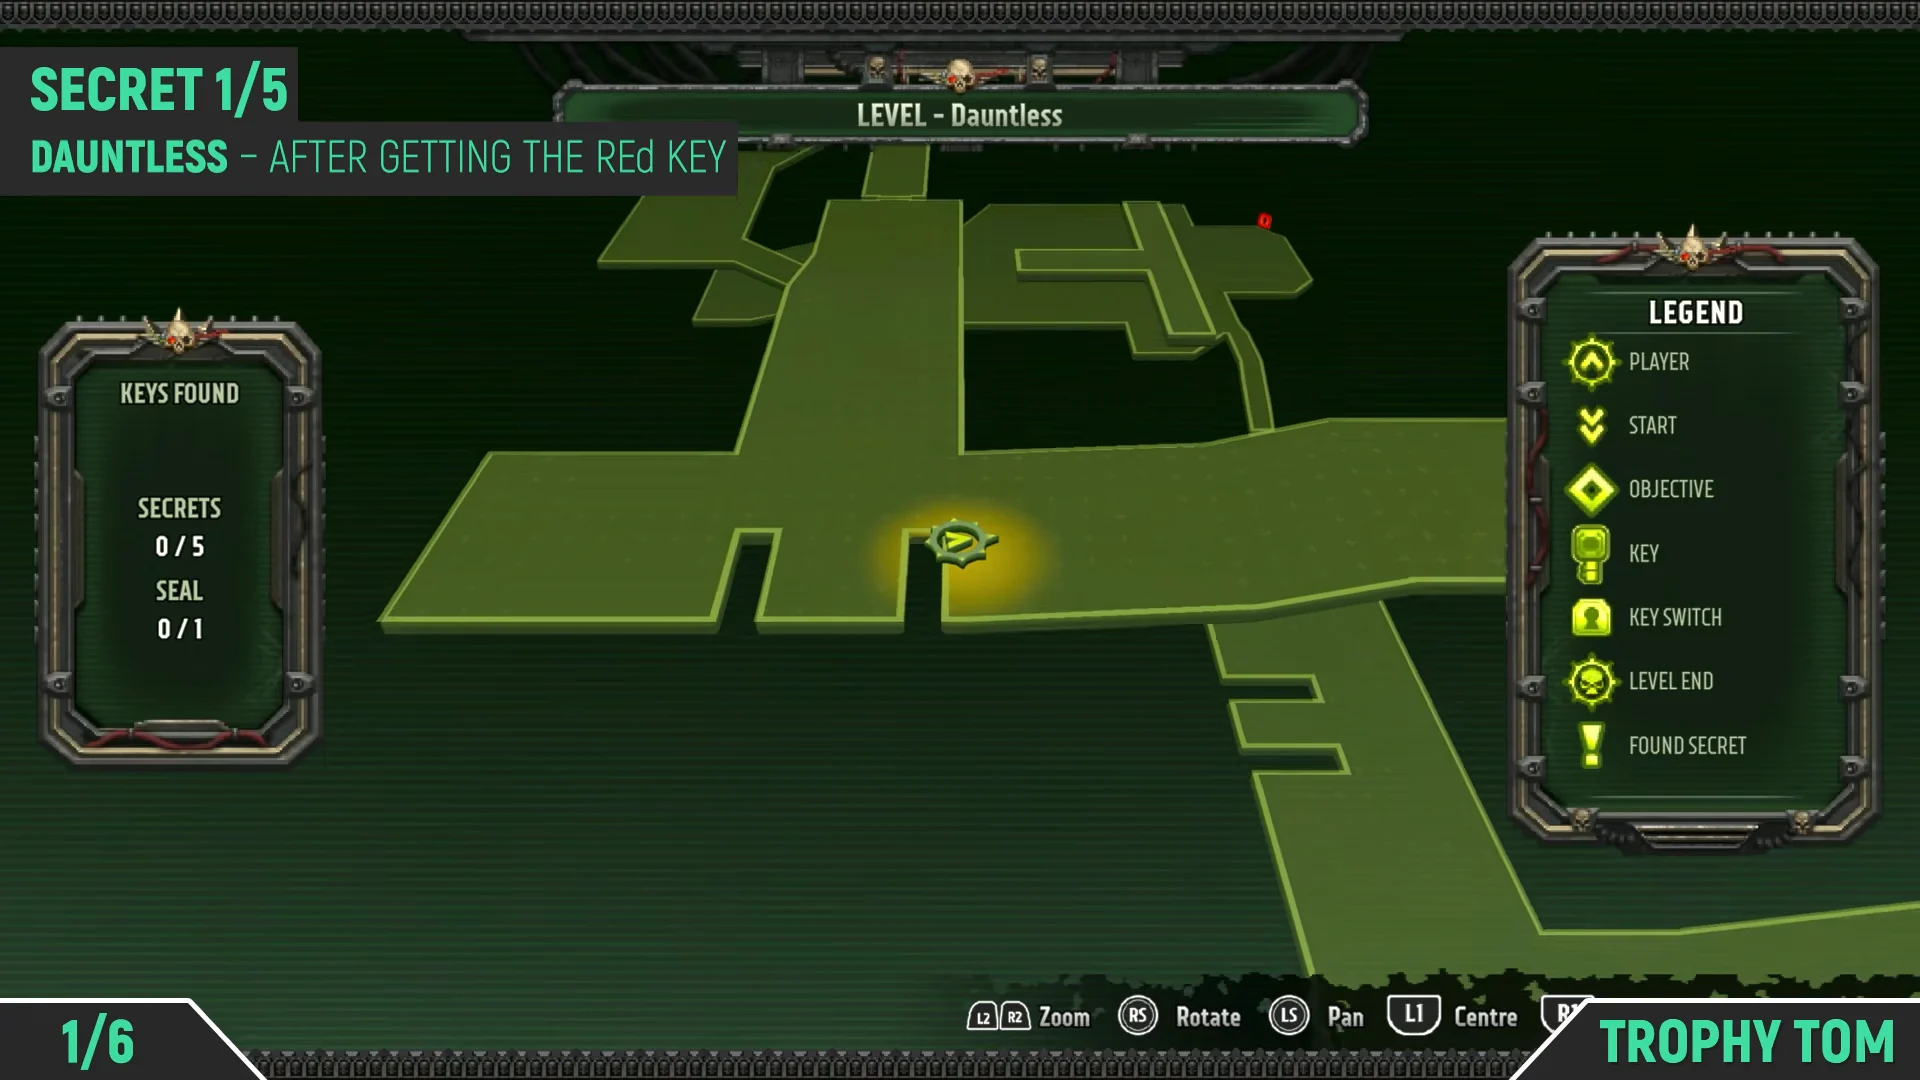
Secret 1/5: the Machine Spirit upgrade near the red key
Your first Secret sits right below the red key platform, so you can grab it the moment you pick up the key.
Secret 2/5: the hidden switch past the big gap
After you use the red key, the path opens into a combat arena across a wide gap. The Secret here is hidden behind a shootable switch on the far wall.
Secret 3/5: the tunnel past the cargo containers
Once you ride the first elevator up, this Secret is a short detour in the courtyard at the top.
Secret 4/5: the corridor opposite the gunship
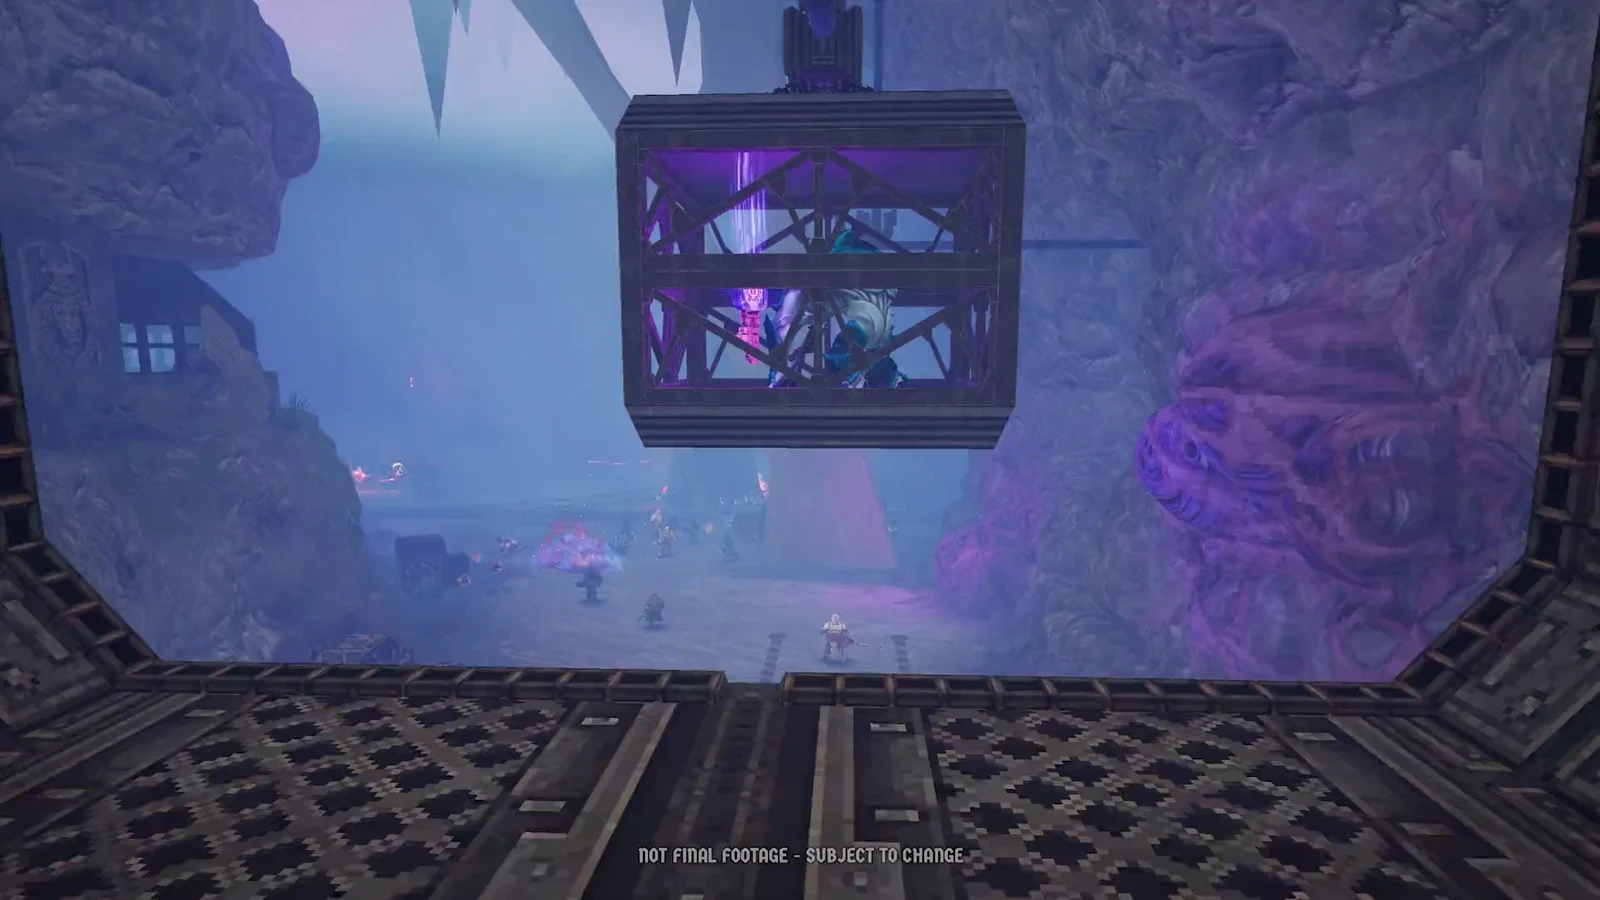
The second elevator drops you onto a landing pad with a parked gunship. The Secret is in the metal corridor directly across from it.
Take the second elevator upward to the platform where the aircraft is parked.
On the right, enter the metal tunnel corridor facing the gunship; the secret is tucked against the rear wall.
Purity Seal 1/1: drop below the yellow door
The level’s single Purity Seal waits below the yellow Psi door, reached by a careful drop onto the structure beneath the walkway.
This is a drop onto external pillars and girders, so line up the landing before you jump to avoid falling past the strut.
Secret 5/5: the alcove in the big Purge room
The final Secret lies in the expansive, cathedral-like Purge room, whose checkered floor surrounds a Heavy Bolter magazine.
Walk past the central machinery and head toward the far-left side of the room.
Step into the opened side corridor alcove and grab the item. You will see “Found Munitions: Heavy Bolter magazine” and the counter ticks over to 5/5.
Confirming you cleared everything
You have everything in Dauntless once the on-screen Secrets counter reads 5/5 and the Seal counter reads 1/1. Each pickup gives you its own confirmation along the way, from the “SECRET DISCOVERED” banner to the “YOU DISCOVERED A PURITY SEAL!” prompt, so you can verify each one at the moment you collect it rather than waiting for the end-of-level screen.
After Dauntless, the story path splits. One route continues into Nurgle Nightmare – Welcome to the Wilds, set in the rainforests of Nuvaza, where clearing a Nurgle infestation aids Imperial troops and may weaken Vashtorr’s daemonic machine. Choosing to deploy there forges the There Is Only War path.