

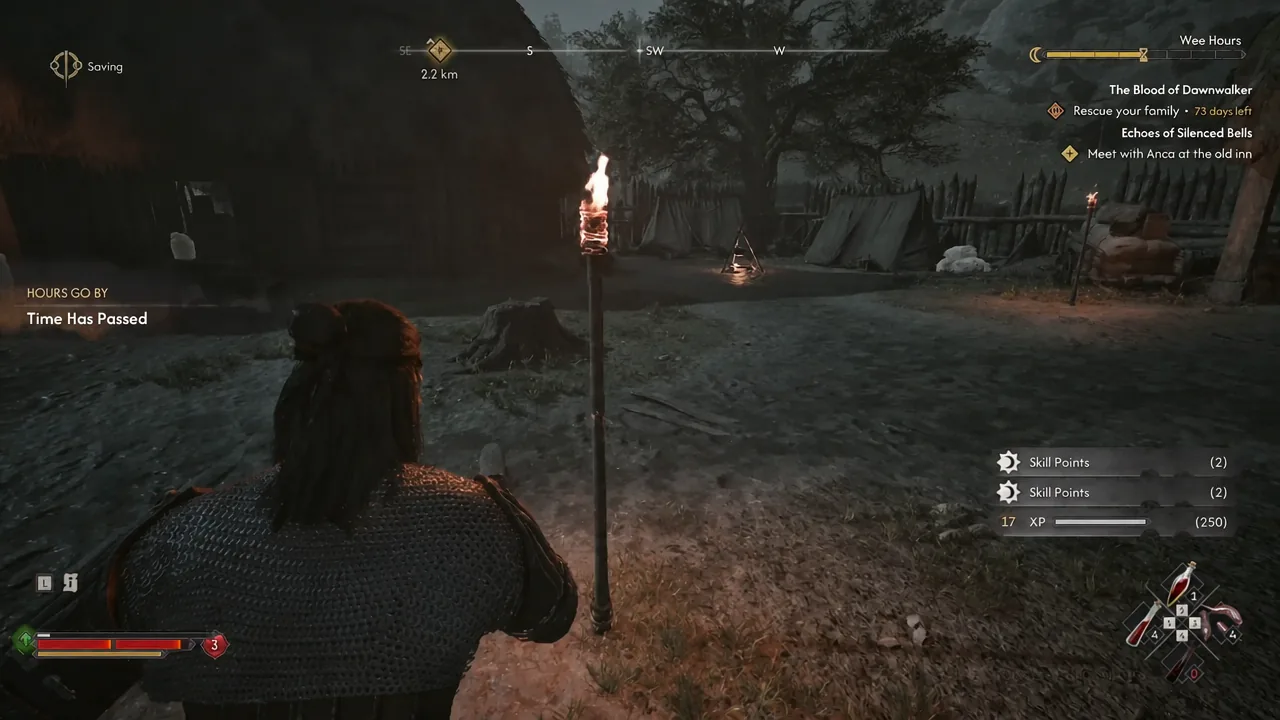
Ambrus’s Dungeons: Evil and Convenience is one of three Draining Dungeon activities in Ambrus’s Court in The Blood of Dawnwalker. It drops you into a blood-draining outpost where the soldiers were packing up carts and preparing to torch the place, and the whole activity hinges on one objective — Investigate the camp — that will not tick over until you have swept the area properly in Focus Mode.
Quick answer: Kill the four soldiers, use Focus Mode to inspect the wagons, the corpse pit, the torn banner, the hay piles, and the instrument of torture, then take the Brass Key from the barn table and unlock the building opposite it. Deal with the Chief Jailor however you like, then either read the Ledger on his desk or dig up the stash by the fallen tree outside the palisade to end the quest.
Camp location and the best time to go
The outpost sits on the western edge of Ambrus’s domain in Briar Sloughs, just north of the Borescu Commons Shrine. Fast travel to that shrine and head north and you will run straight into the palisade. Court Activities are not pinned on your map until you stumble onto them, so the shrine is the reliable anchor point.
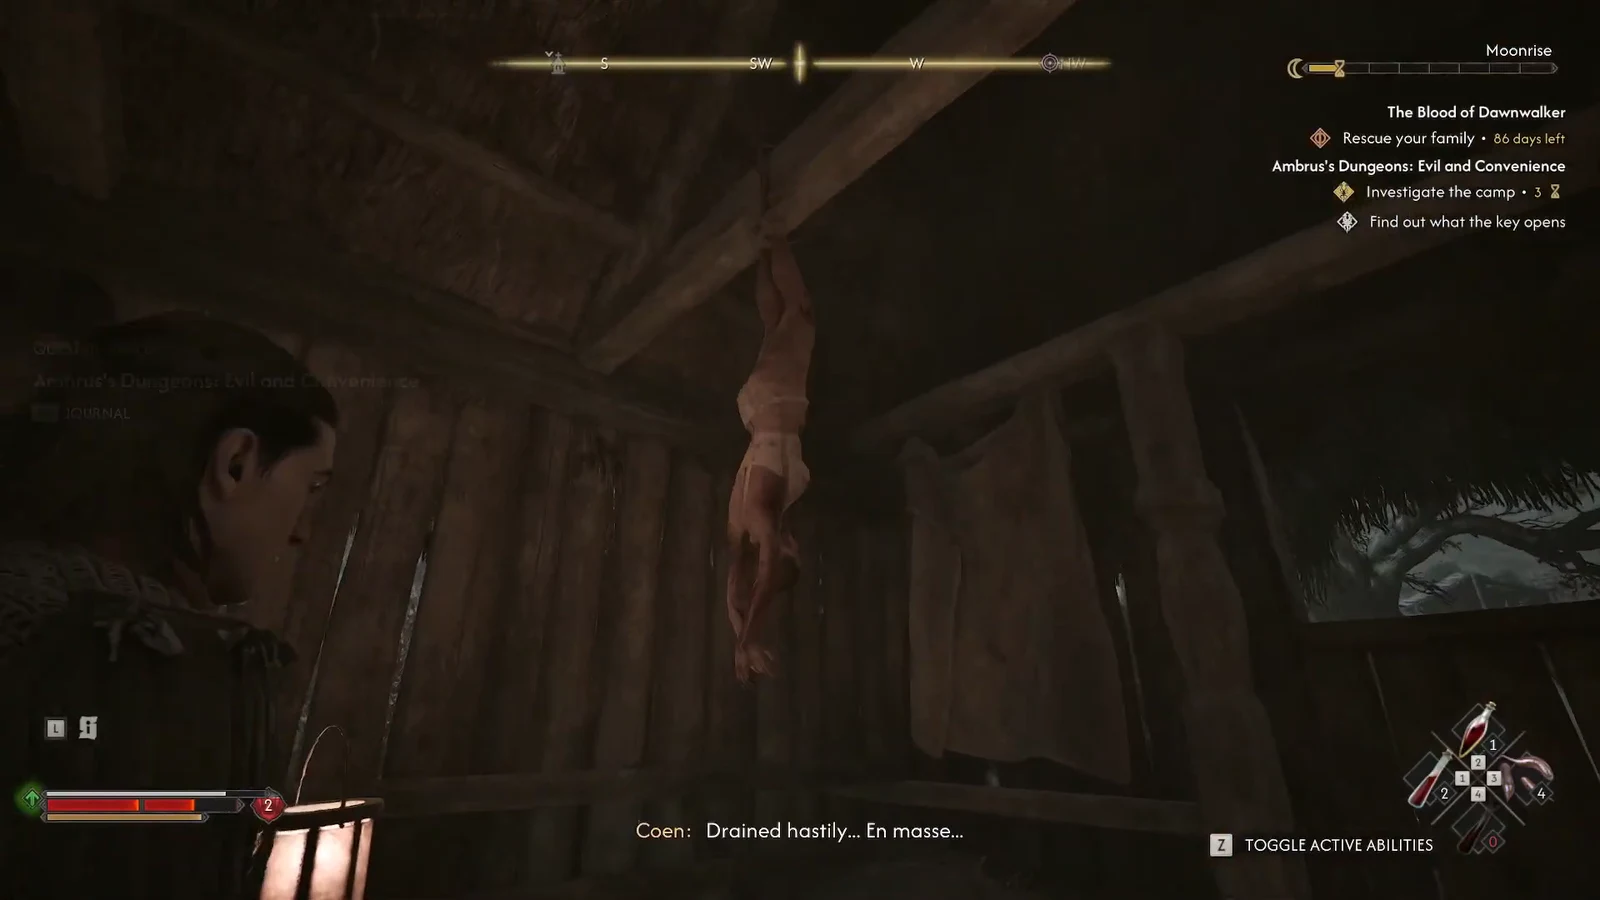
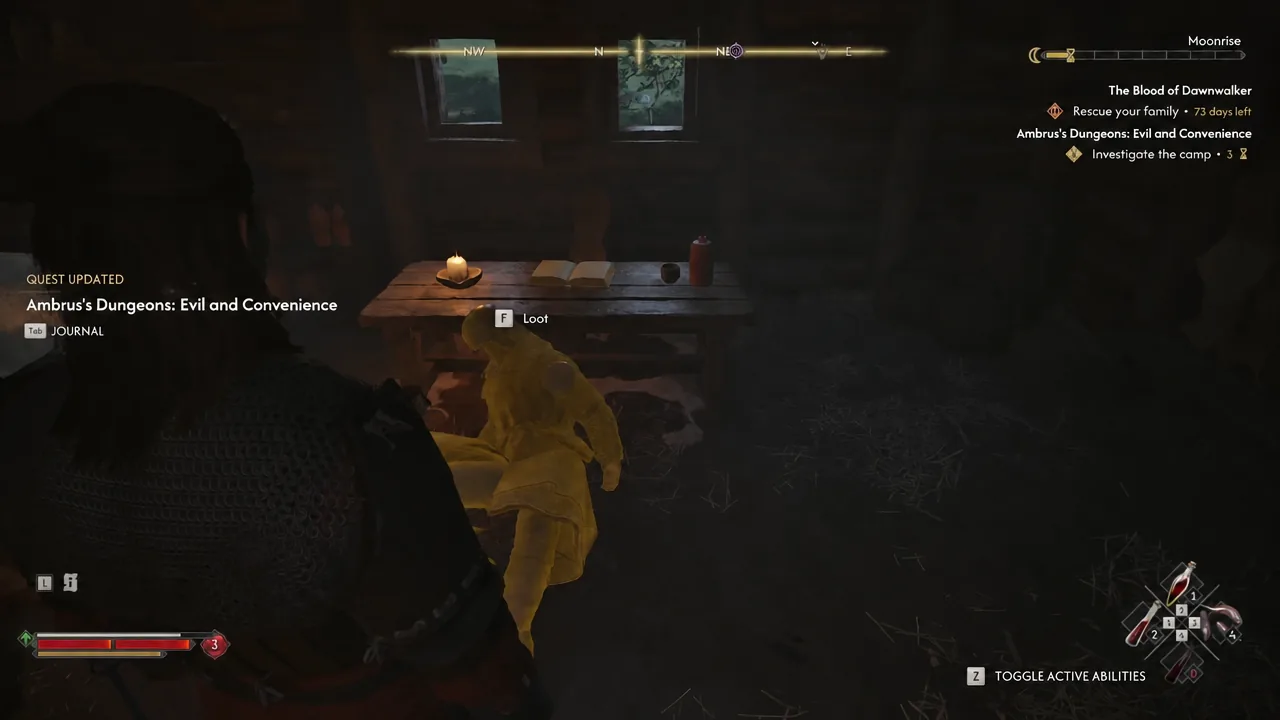
Day or night both work, but morning is the better window. There is a dead guard in the torture chamber whose soul you can compel with the items you pick up on site, and Coen’s compel options are easier to use in daylight before your Vampirism abilities are built out. It changes nothing about the quest outcome — it only adds context about what the soldiers were doing here.
Clearing the guards and completing “Investigate the camp”
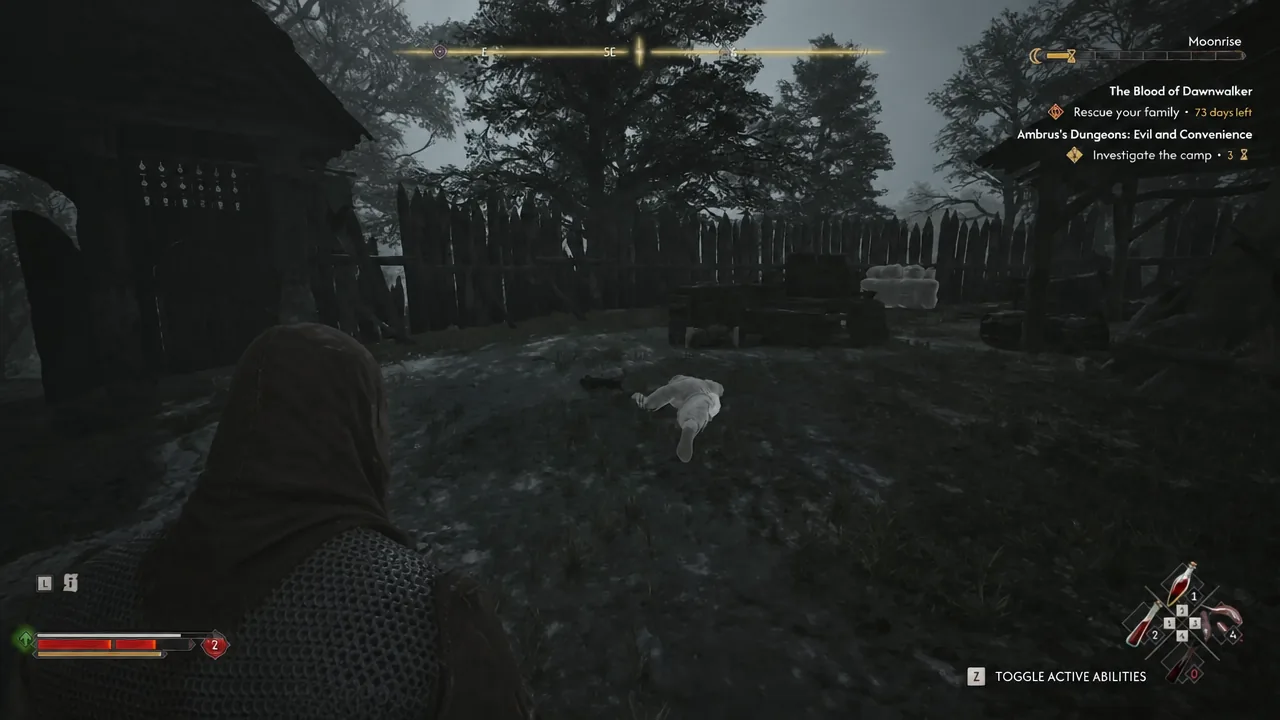
| Clue | Where it is |
|---|---|
| Wagons with blood cargo | Inside the palisade walls |
| Pit full of corpses | To the right of the gate |
| Torn Banner | Beside the corpse pit — pick it up |
| Hay piles | Stacked against the buildings |
| Instrument of Torture | In the shack opposite the gate, to the northwest |
| Dead guard’s body | Torture chamber at the end of the blood trail |
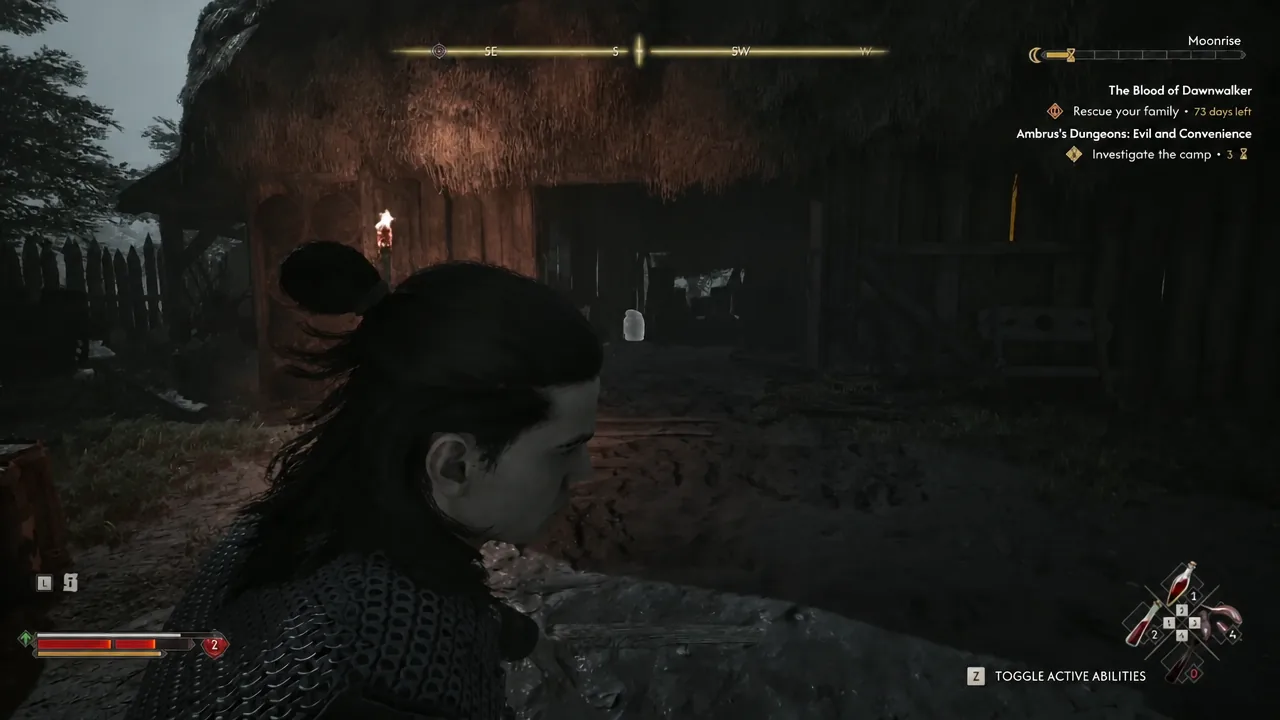
Brass Key location and the locked door
Kill or spare the Chief Jailor: What each option gives you
The Chief Jailor begs for his life and claims he was only following orders. You get three replies, and the important item — Treasure Map: Hidden Stash — reaches you in every case.
| Dialogue option | Result |
|---|---|
| “You’re not going anywhere.” | Starts a miniboss duel. He throws projectiles if you hang back. Loot his body for the Treasure Map: Hidden Stash and random drops, plus a little combat XP. |
| “Pay me and you walk.” | No fight. He tells you where his treasure is hidden, which gives you the same information as the map. He then walks away. |
| “[give in to the hunger]” | Coen feeds on him, killing him without a fight. No combat XP and you gain some Corruption, but his body can still be looted for the map and random gear. |
Killing him is the marginally richer option because his corpse carries loot you cannot get otherwise, such as an Amulet of Regeneration. Sparing him skips a fight entirely. Neither branch changes the quest reward or the time cost.
Either way, read the Ledger on the desk in that room. It spells out the betrayal at the heart of the outpost — Ambrus’s own men have been diverting blood shipments to Bakir.
Two ways to finish the quest and where the hidden stash is
How you close out the activity depends on whether you learned about the treasure. If you never picked up the map or heard the Jailor’s offer, looting the Ledger on the desk is enough to end it on the spot.
If you do have the treasure lead, the objective becomes “Look for the fallen tree,” and the location gets marked on your map automatically while the quest is tracked. Leave through the palisade gate, turn left, and follow the walls northwest until a fallen tree comes into view. The stash is buried beside it and holds an amulet, a handful of Denarius, and a Letter from Bakir confirming the stolen barrels were shipped to him.
Note: The order does not matter. If you complete the quest by reading the Ledger first, the buried chest is still there to dig up afterwards.
Rewards, time cost, and how to confirm it completed
| Detail | Value |
|---|---|
| Reward | 250 XP and 1 Skill Point |
| Time cost | 3 Time Segments |
| Category | Draining Dungeons (Ambrus’s Court) |
| Bonus item | Treasure Map: Hidden Stash |
You will see a QUEST ENDED notification along with the XP and Skill Point award once the final objective resolves. The activity also feeds Ambrus’s Anger meter, which needs to sit at roughly 75 percent — about 10 to 11 of his 14 Court Activities — before The Gilded Gauntlet boss quest unlocks.
If the quest is stuck, it is almost always one of two things. Either a highlighted clue in the camp has not been interacted with, in which case sweep the grounds again in Focus Mode with particular attention to the shack opposite the gate and the hay piles. Or you have the treasure map and the game is waiting on the fallen tree — track the quest so the marker appears, or loot the Ledger instead to close it out.
Evil and Convenience is worth doing early in Ambrus’s set. It is a short 3-segment activity that hands over the same Anger progress as the rest of his dungeons, plus a treasure map and a letter that quietly sets up the friction between the boyars.





