Ambrus’s Draining Dungeons are three of the 14 Court Activities tied to Ambrus in The Blood of Dawnwalker, and they run into each other more than most. Two of them open from the same pile of loot, one hides a choice that decides whether you walk away with a unique ring, and the last one ends with a jailor begging for his life and a treasure map either way. Here is how all three resolve.
Quick answer: Clear the soldier outpost in Maragir Wealds and loot the bodies for Orders from Ambrus — that starts both Twists and Turns and Evil and Convenience. Then steal the Letter of Admonishment from the tent in the same camp to start Judge and Executioner. Each of the three costs 3 time segments.
| Activity | What completes it | Notable reward |
|---|---|---|
| Twists and Turns | Clear the outpost, enter the cellar cave, loot the cell key and free the prisoners | XP and skill points |
| Judge and Executioner | Clear the St. Tyna’s Grove outpost, take the Keeper’s Keys, decide the prisoners’ fate | Beastmaster’s Ring and a Thank You Note |
| Evil and Convenience | Clear the camp, investigate in Focus Mode, take the Brass Key, deal with the Chief Jailor | Treasure Map: Hidden Stash, leading to the Amulet of Endurance |
How all three Ambrus’s Dungeons quests start
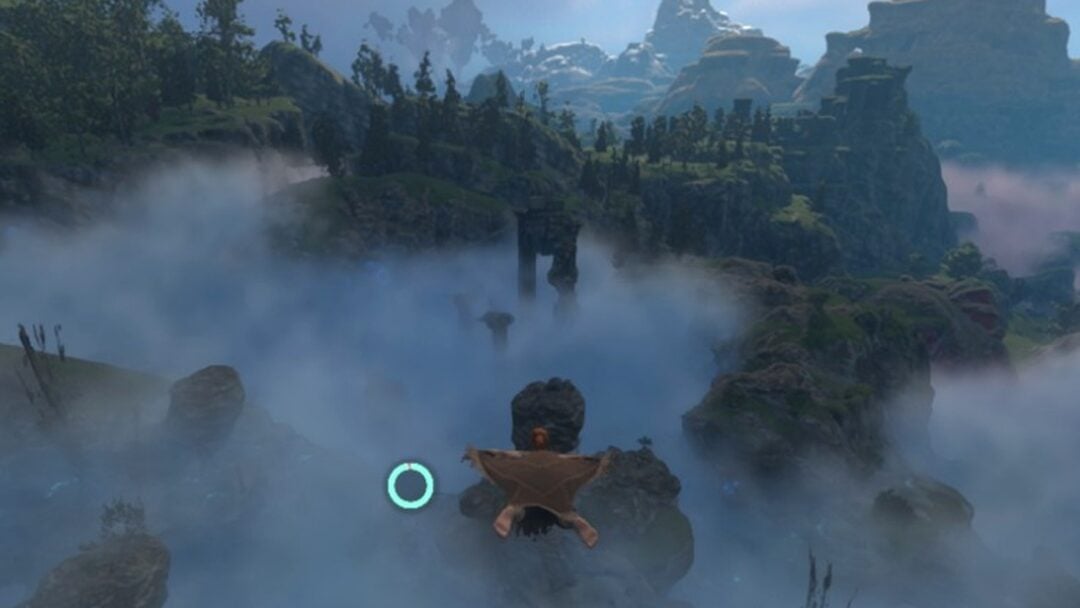
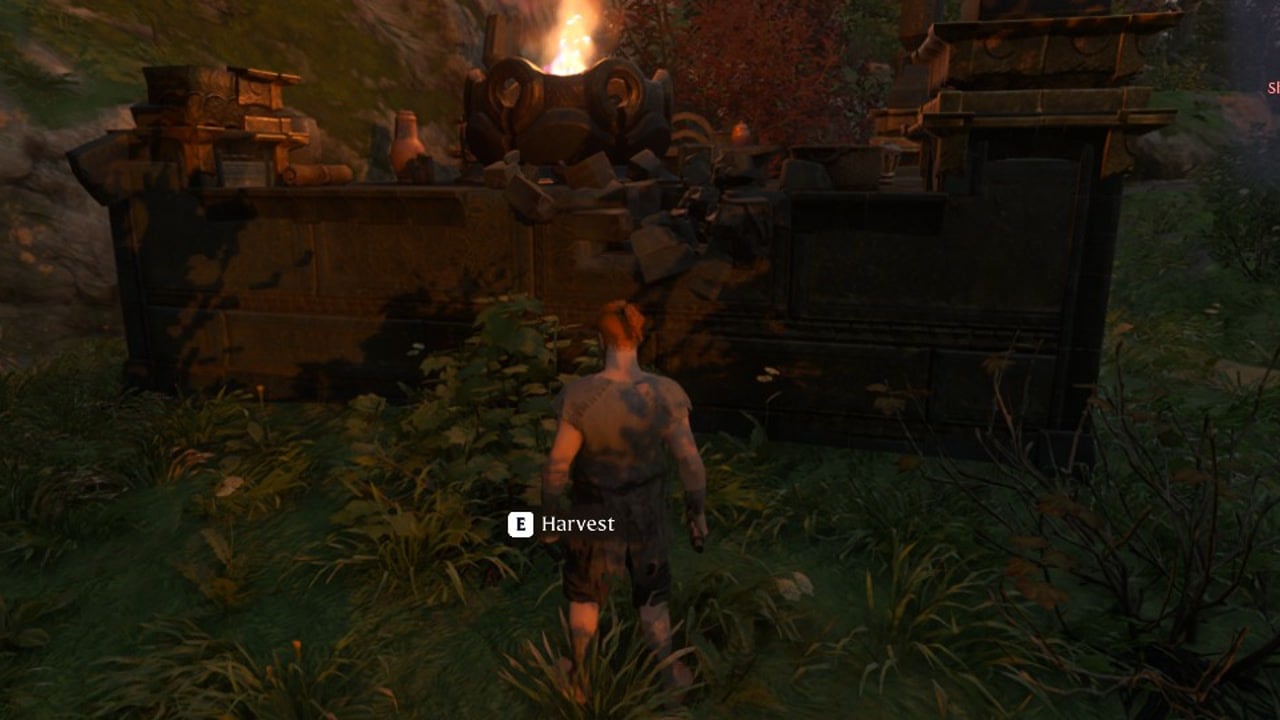
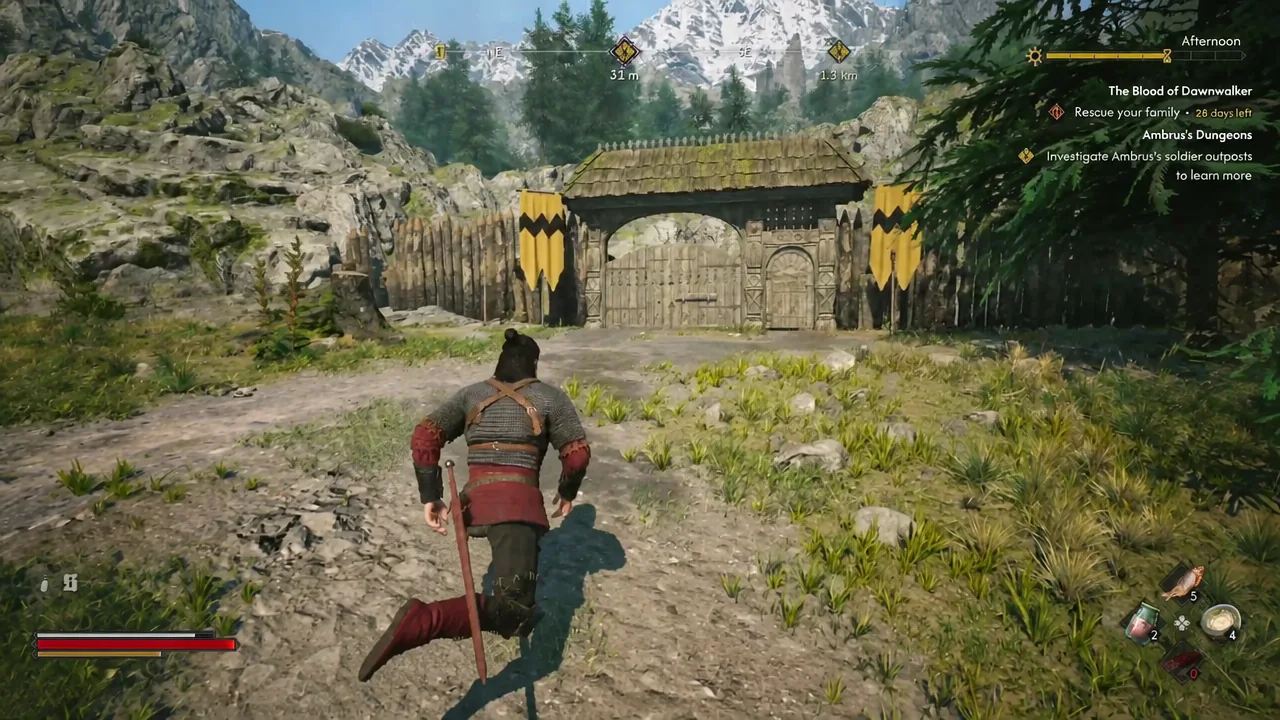
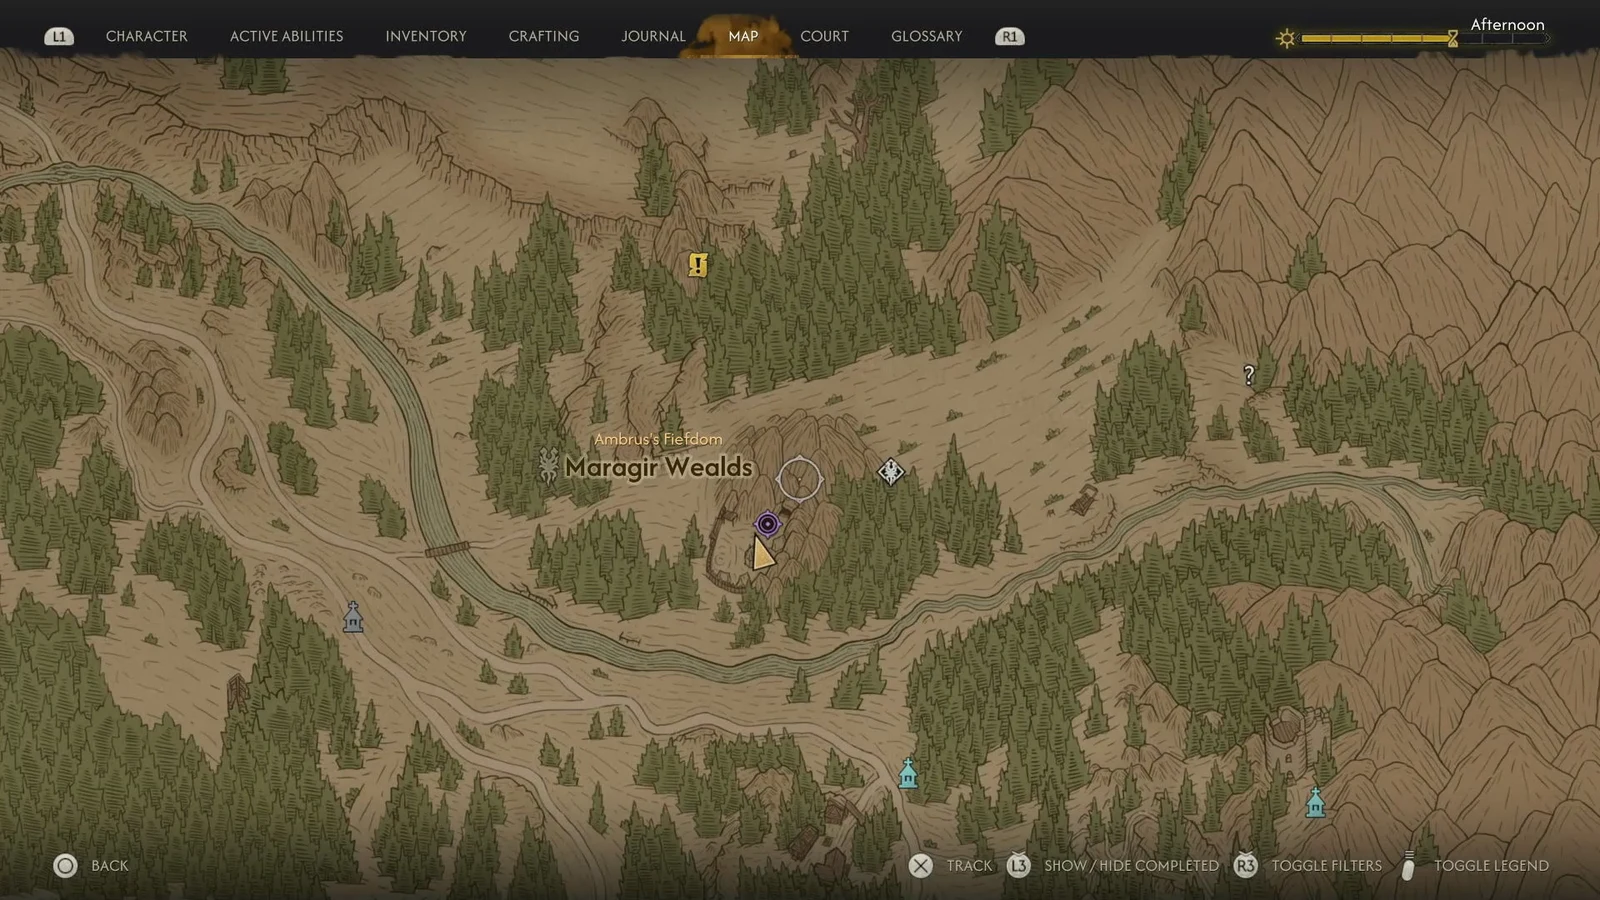
The chain begins with the objective to investigate Ambrus’s soldier outposts. Track it and head to Maragir Wealds, where a gated outpost sits with guards in yellow-and-black checkered tabards patrolling inside. They turn hostile the moment Coen steps through the gate.
Ambrus’s Dungeons: Twists and Turns (cellar prisoners)
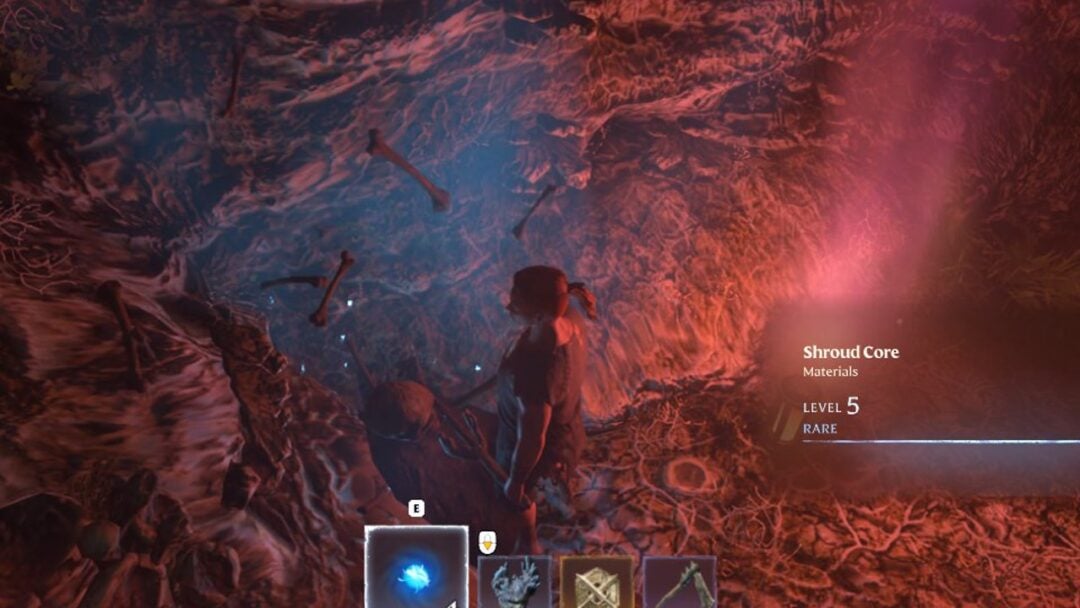
Twists and Turns is the shortest of the three and asks for almost nothing beyond a fight. The objective sends you into a cellar built into a cave, and the walkway in is lined with hanging bodies that have already been drained.
Ambrus’s Dungeons: Judge and Executioner and the Branko decision
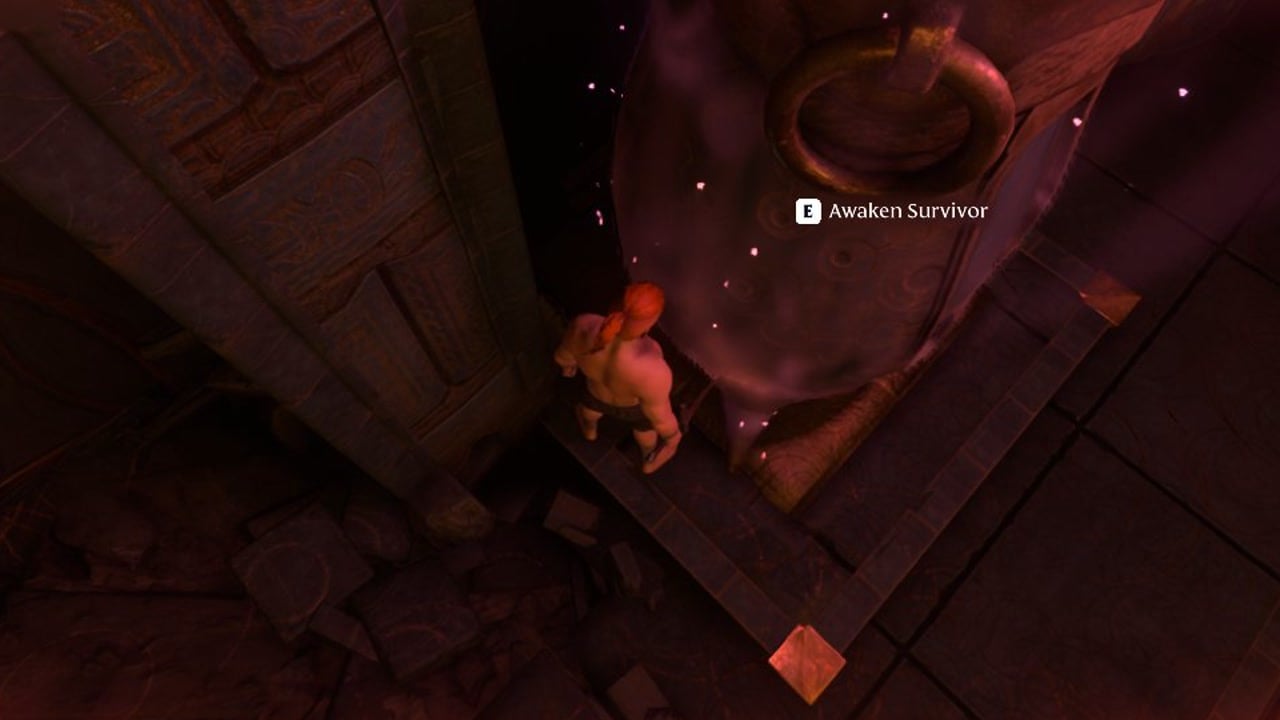
Open the radial menu and track Judge and Executioner from the journal. It points to a ruined stone outpost in St. Tyna’s Grove, with guards posted outside and more inside the walls.
The follow-up at the logger’s camp
After a time skip, the journal points you to a woodcutter’s camp. Clear the guards there and loot the Military Report, a prison break write-up that confirms Branko really was informing. Inside the cabin you get a Thank You Note from the freed woodcutters along with the Beastmaster’s Ring, which closes out the activity.
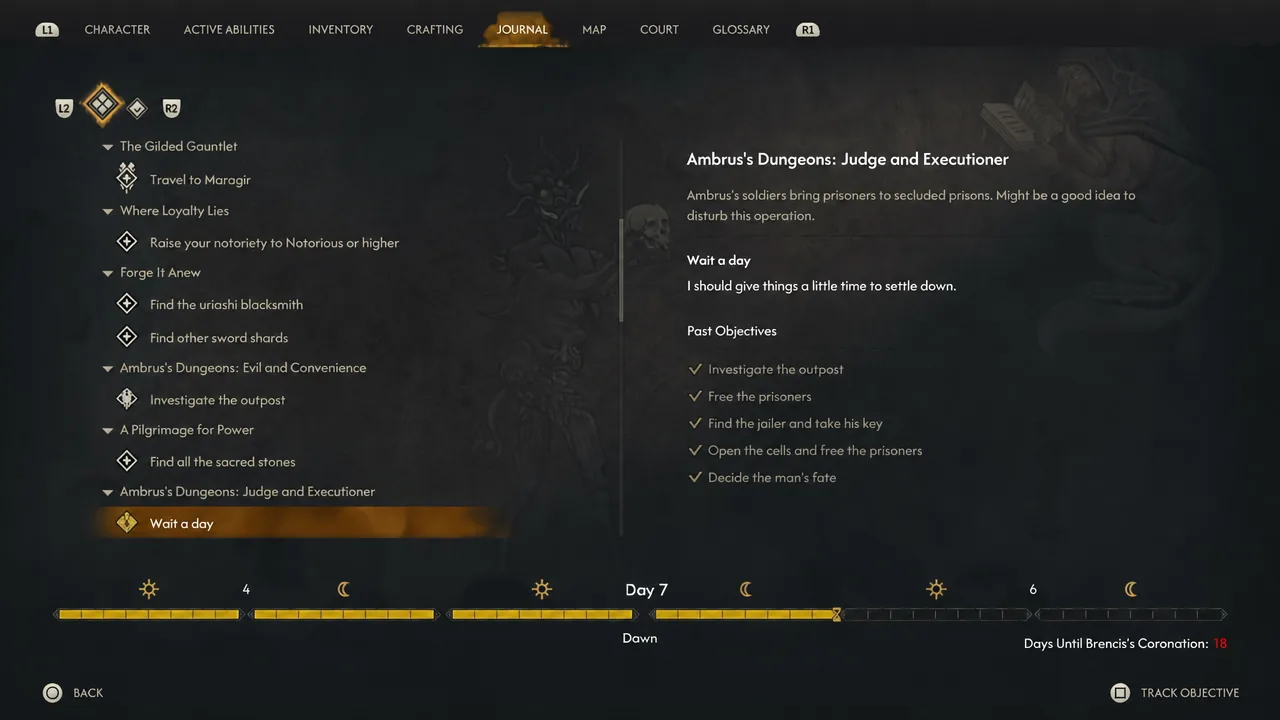
If you free both prisoners instead, wait a day and you can visit them at their own camp afterward. Either route counts toward Ambrus’s Anger, but only leaving Branko behind lines up with the report you find later.
Ambrus’s Dungeons: Evil and Convenience walkthrough
This is the longest of the three and the only one built around investigation rather than a straight clear. The blood-draining camp sits in Briar Sloughs, just north of the Borescu Commons Shrine. Doing it in the morning is easier, because a soul in the torture chamber can be compelled for extra detail without needing developed night abilities.
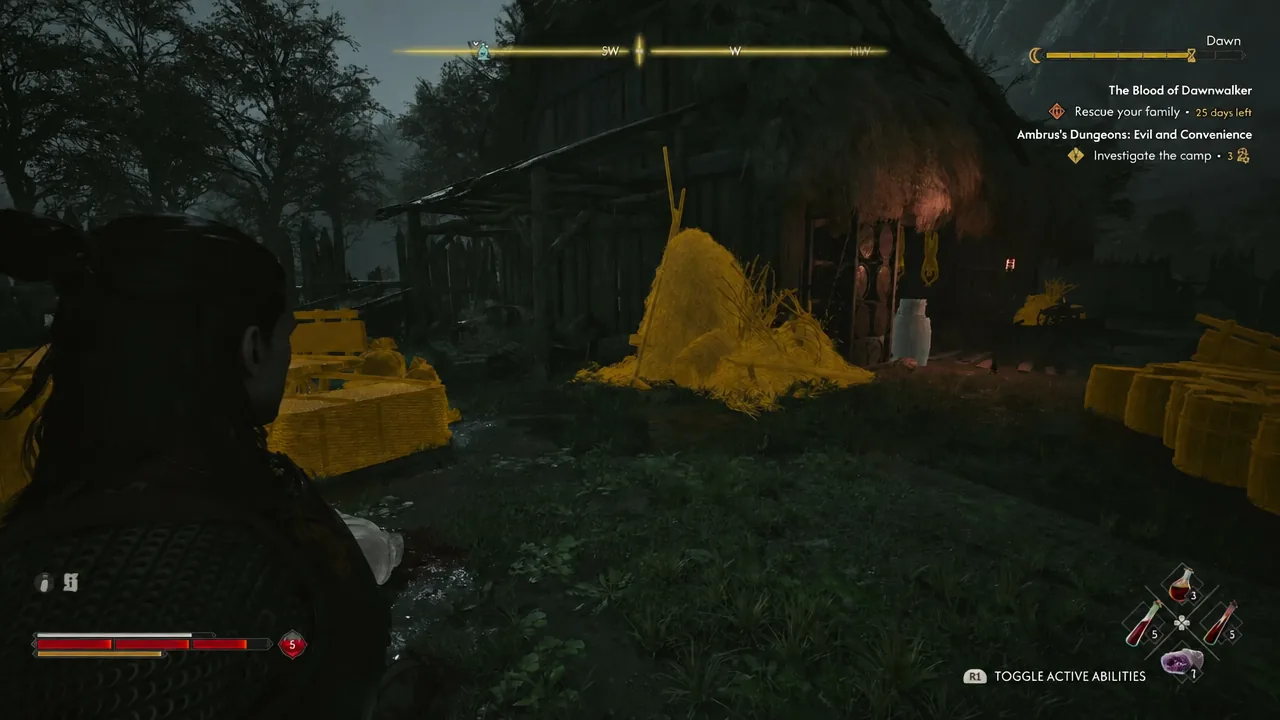
Kill or spare the Chief Jailor
He begs for mercy and tells you Ambrus has lost his mind and started impaling people on stakes in Maragir. The outcome is the same either way. Kill him and the Treasure Map: Hidden Stash is on his body; spare him and he hands the map over before walking off. Killing him means a little extra loot from the corpse, sparing him skips the fight.
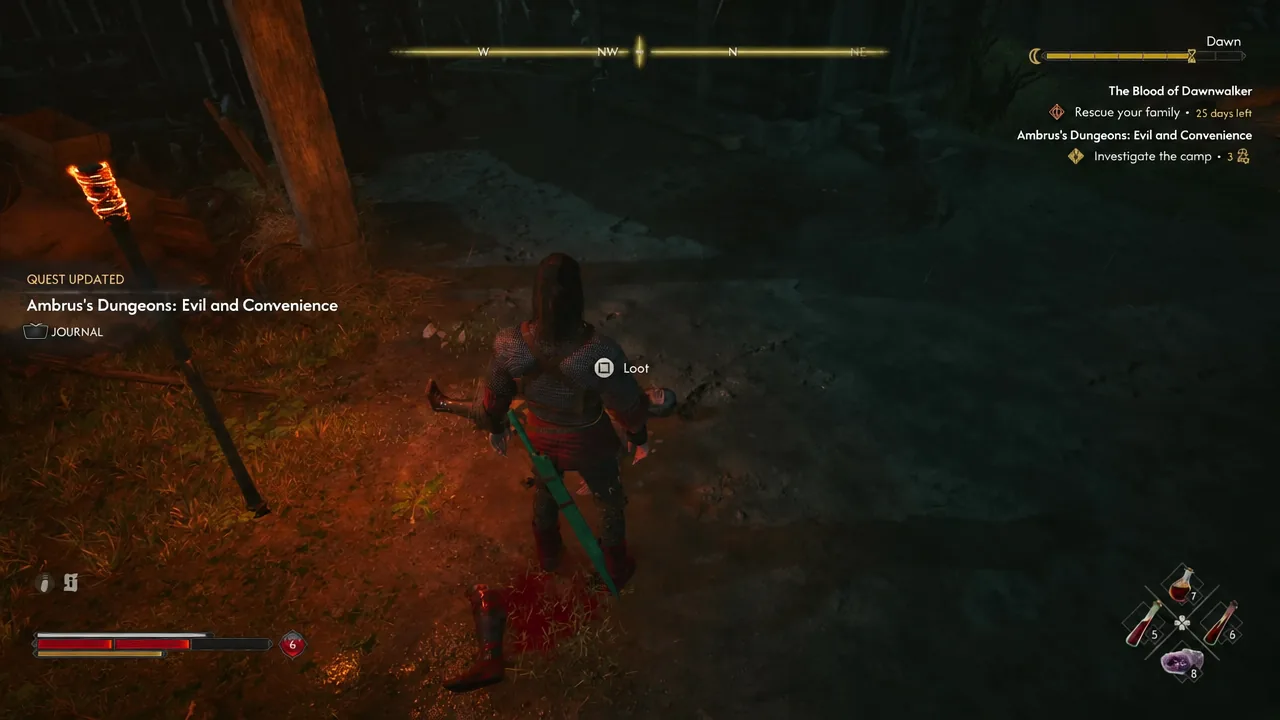
Before you leave the cabin, read the ledger on the table. It shows Ambrus’s own men diverting blood shipments to Bakir behind his back.
Hidden stash location
With the map in your inventory, the dig site is marked automatically while the quest is tracked. Leave camp and head northwest to a fallen tree. The chest there holds the Amulet of Endurance, some coin, and a Letter from Bakir confirming he received the stolen barrels.
Time cost and Ambrus’s Anger meter
Each Draining Dungeon burns 3 time segments, which matters against the 30 in-game days you have before the main story runs out of room. Ambrus has 14 Court Activities in total, and you need roughly 75 percent of them — about 10 or 11 — to fill his Anger meter and unlock The Gilded Gauntlet. All three dungeons count, so none of them are wasted time.
Note: if you only need a small amount of Anger to cross the threshold, the Blood Cellars activities cost a single time segment each and are far cheaper than a dungeon.
How to confirm each dungeon is finished
Completion shows up as a quest update on the HUD followed by XP, skill points and, for two of the three, a piece of unique gear. Open the Court menu afterward and check Ambrus’s portrait — his Anger progress should have moved. If it has not, the activity is still open.
Three things commonly leave one of these hanging. Skipping the tent in the first Maragir Wealds outpost means Judge and Executioner never starts. Leaving the cellar prisoners in Twists and Turns locked up leaves the objective unresolved, since freeing them is what closes it. And in Evil and Convenience, missing the Brass Key in the southern barn leaves the cabin sealed, so the Chief Jailor encounter never happens.
Cleared back to back, the three dungeons run roughly nine time segments and pay out a ring, an amulet and a fairly clear picture of a vassal whose own soldiers are already robbing him. That last part is not just flavor — it is the crack the rest of Ambrus’s questline widens.