The Knightly Ring is one of the few Legendary items in The Blood of Dawnwalker that sits in a fixed spot from the moment you enter the open world. No boss, no questline, no anger meter. It is buried in a dirt mound in the swamp, and the only real barrier is owning a shovel.
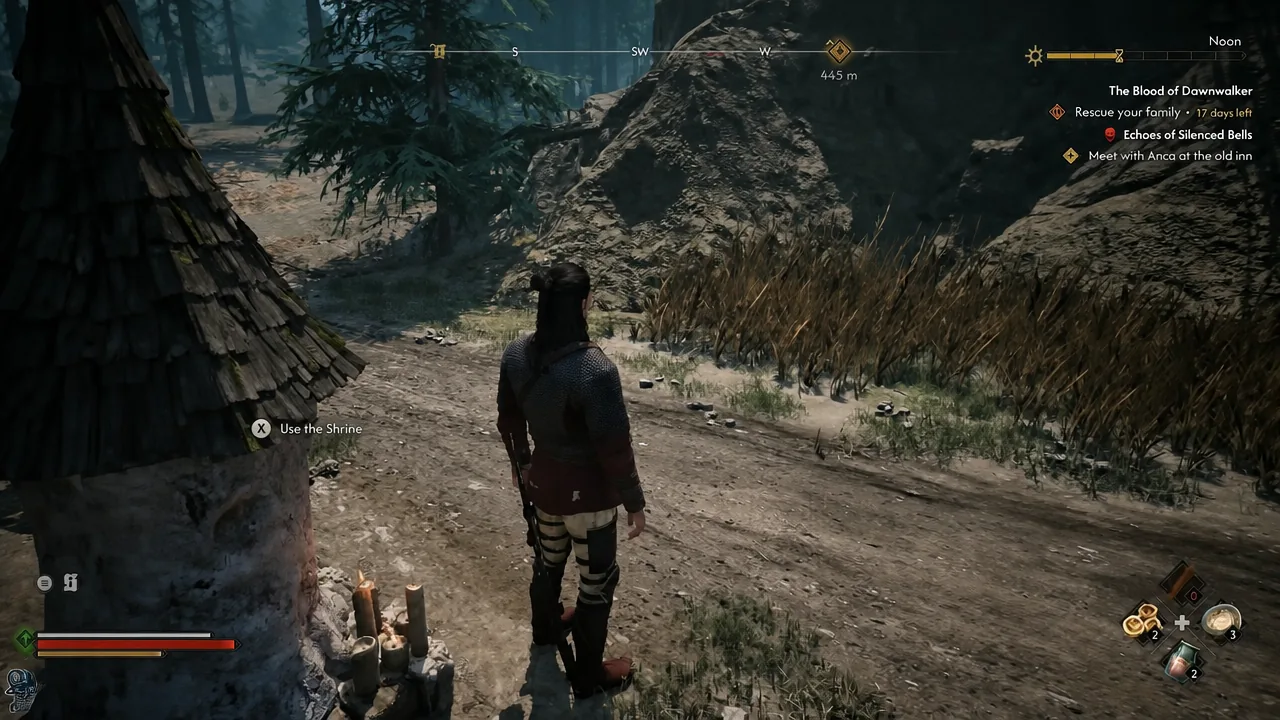
Quick answer: Steal the shovel leaning against the wooden shed in Parlita, fast travel to the Tantari Bog shrine, head east across the small wooden bridge, and dig the mound on the patch of land just beyond it.
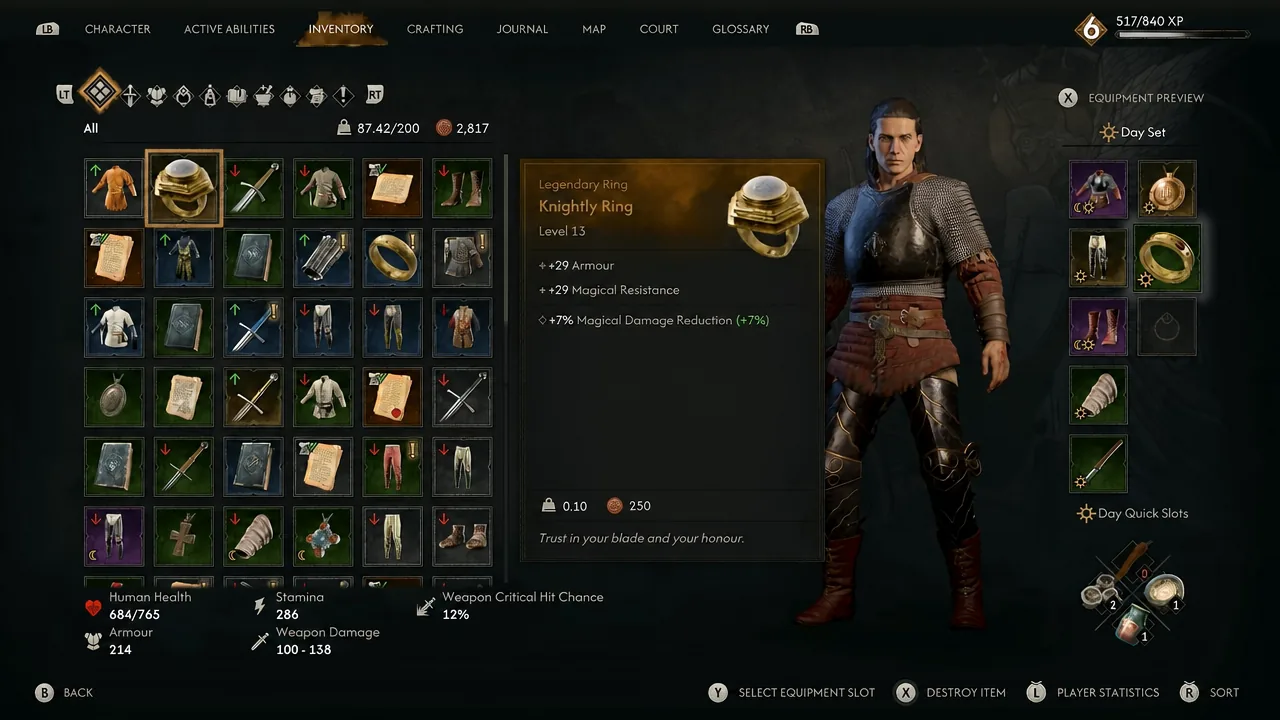
Knightly Ring stats and level requirement
You can dig up and carry the ring at any level, but you cannot equip it until Coen hits Level 9. That is the only gate on it. If you grab it during the first few hours, it sits in your inventory as dead weight for a short while, which is fine at a listed weight of 0.10.
| Property | Value |
|---|---|
| Rarity | Legendary Ring |
| Item level | 13 |
| Required Level | 9 |
| Swordmastery Ability Cooldown | -7% |
| Activation Charge Restoration from Attack | +21% |
| Magical Damage Reduction | +7% |
| Physical Damage Reduction | +4.2% |
| Damage against Supernatural Enemies | +3.2% |
| Weight / Value | 0.10 / 250 |
The cooldown reduction and the activation charge return are what make it worth the detour. Both feed directly into sword-side combat, which is the form you are stuck in during daylight hours. Level 9 arrives quickly once you start clearing Court activities, and shrines are where you spend the points you earn.
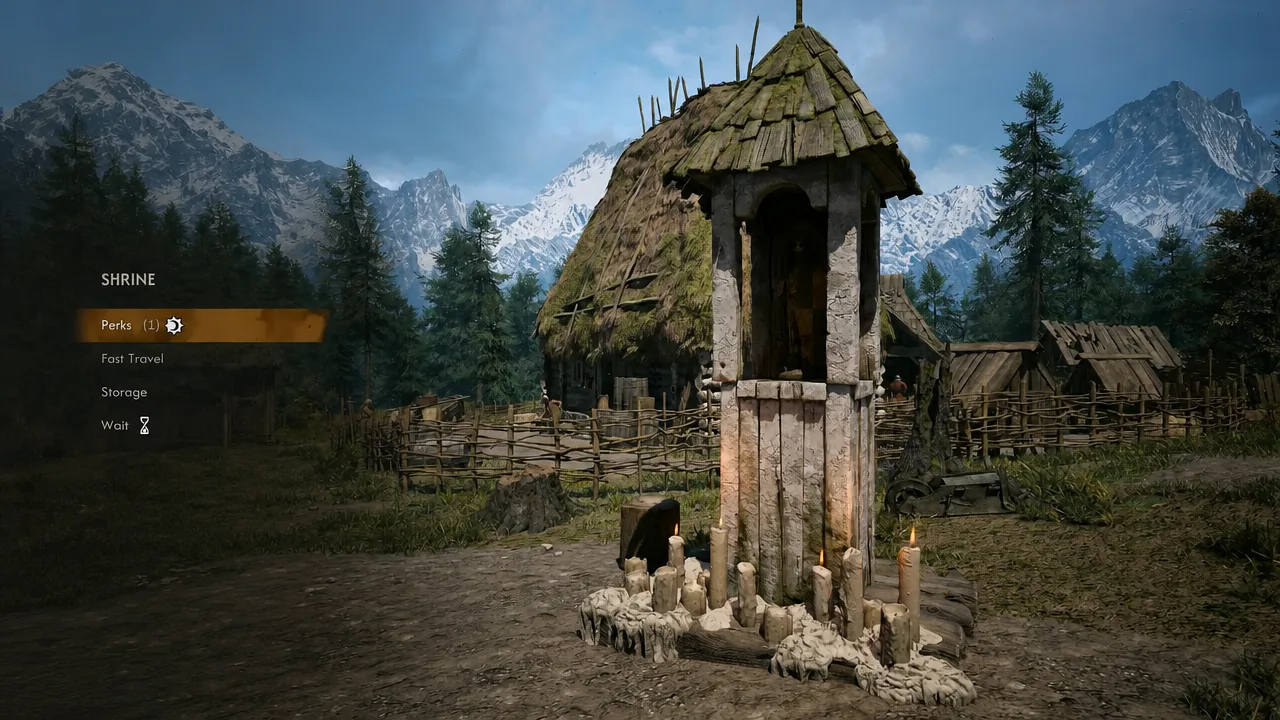
Get a free shovel in Parlita village
Buried treasure in Vale Sangora needs a shovel in your inventory, and you do not have to buy one. There is a spare propped up in Parlita, a village that appears on the world map spelled as Porlita. Grabbing it counts as theft, so expect villagers and guards to react.
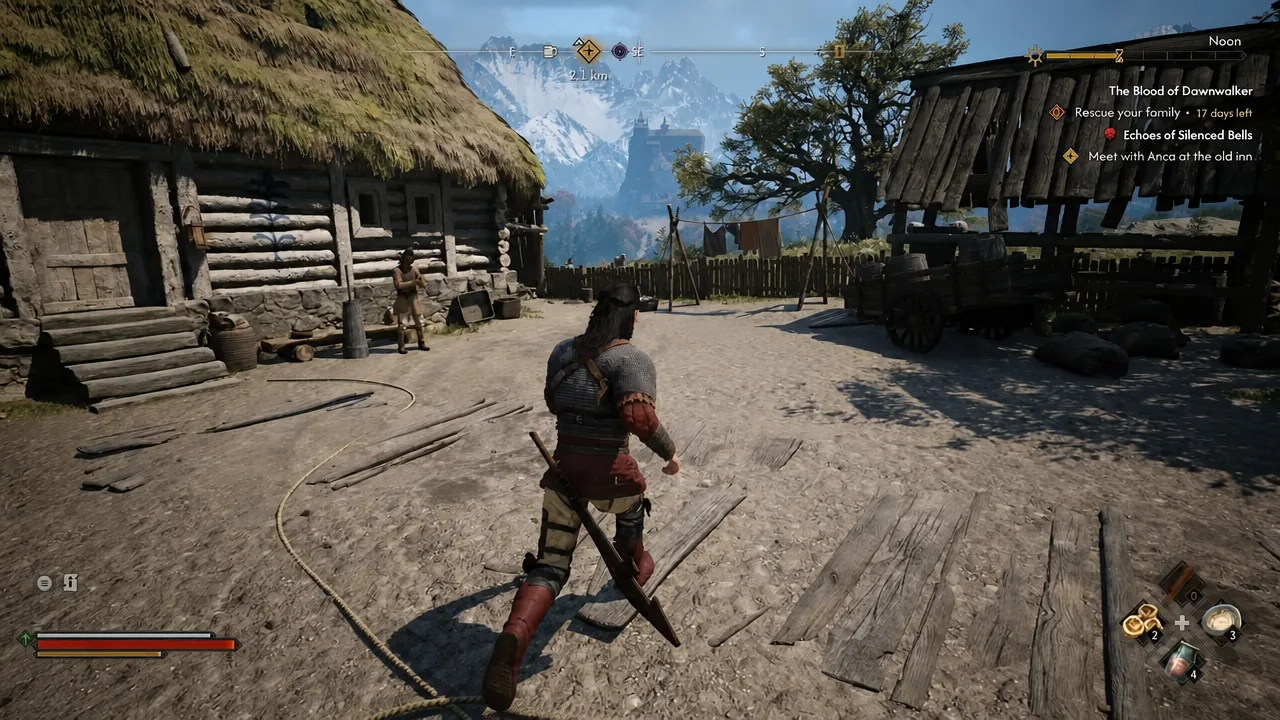
Note: the shovel is a permanent inventory item. Once it is yours, every other buried treasure in the world opens up too, so this trip pays for itself several times over.
Dig site location: east of the Tantari Bog shrine
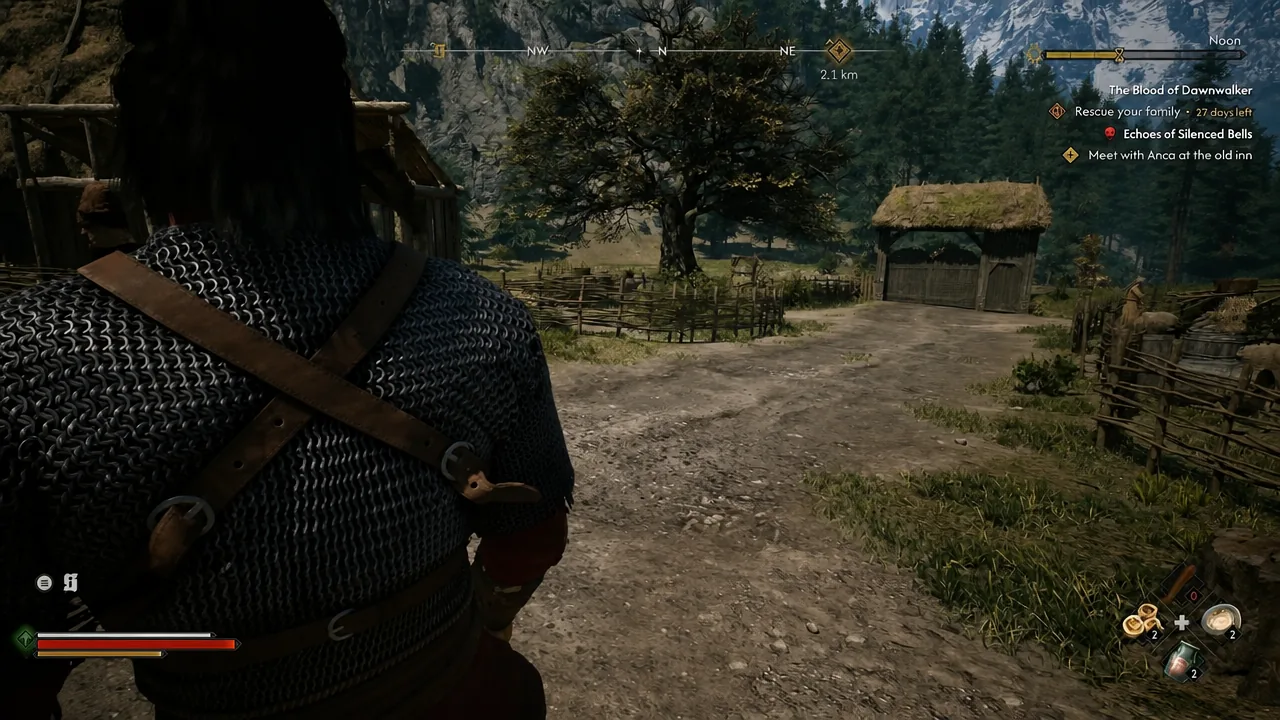
The chest is in the swamp of Tantari Woods, on a scrap of dry land ringed by water. The shrine near Tantari Bog is the closest fast travel anchor, and once you have synchronized it the whole trip takes about a minute.
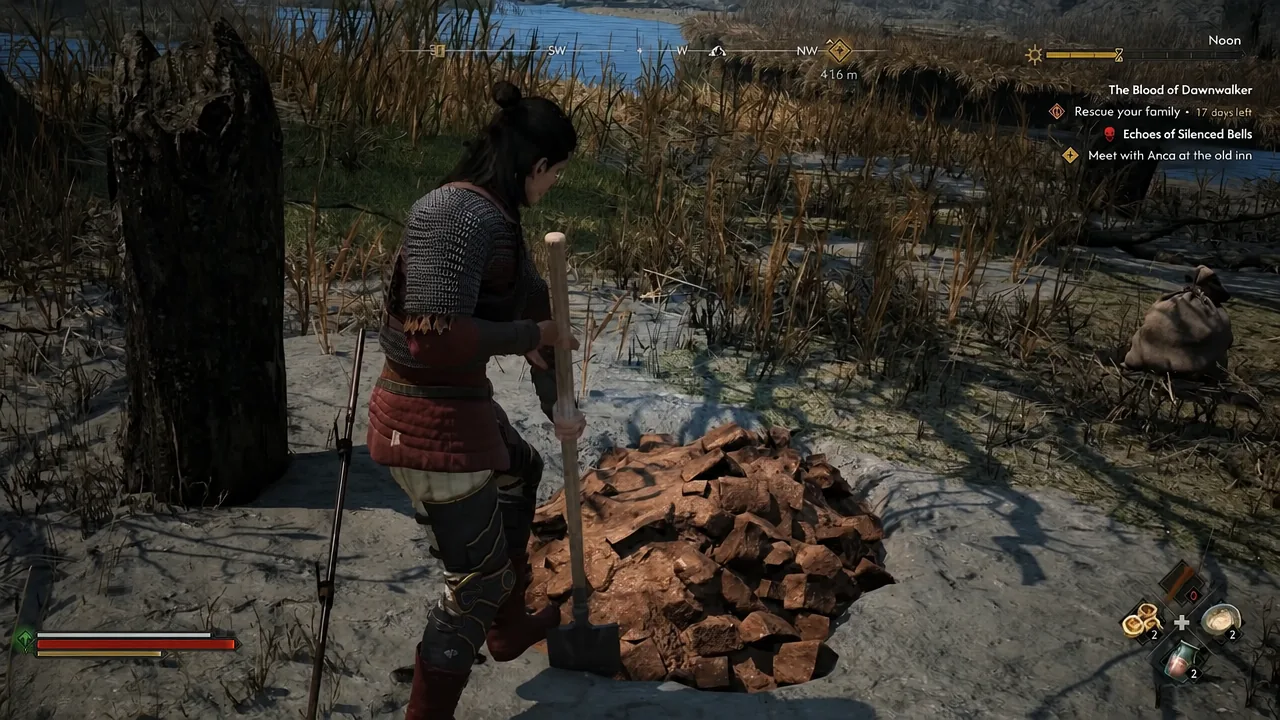
What the buried chest contains
Opening the chest gives you the Knightly Ring alongside a handful of extras. The Denarius alone covers a decent early purchase from a vendor, and the whole haul lands in one interaction.
| Item | Notes |
|---|---|
| Knightly Ring | Legendary, equippable at Level 9 |
| 167 Denarius | Currency |
| Red Coat | Armour |
| Torsey | Miscellaneous loot |
You will know it worked when the Legendary rarity banner appears in the loot window and the ring shows up under rings in your inventory with the line “Trust in your blade and your honour” at the bottom of its stat card.
You do not need the Tantari Woods treasure map
The dig site is tied to Bandit’s Treasure Map: Tantari Woods, but owning that map is optional. The mound exists in the world whether or not you have picked up the map, and the shovel prompt works the same either way. Skipping the map hunt is the reason this ring can be yours long before you are anywhere near Level 9.
If the dig prompt does not appear
- No shovel in your inventory. Check the tools section before making the trip, because the mound gives no prompt at all without one.
- Wrong side of the bridge. The mound is on the small island past the crossing, not on the shrine-side bank.
- You are standing beside the mound rather than on it. Step directly onto the loose dirt until the interact icon shows.
Once the ring is in the bag, the rest of the early Legendary route runs through the same corner of the map. The waterfall cave southeast of Parlita holds the Arbiter’s Medallion on a skeleton, and the chest at Kobold Nest holds Isbrand’s Greaves. None of those require a boss fight either, which makes them a sensible next stop while you close the gap to Level 9.