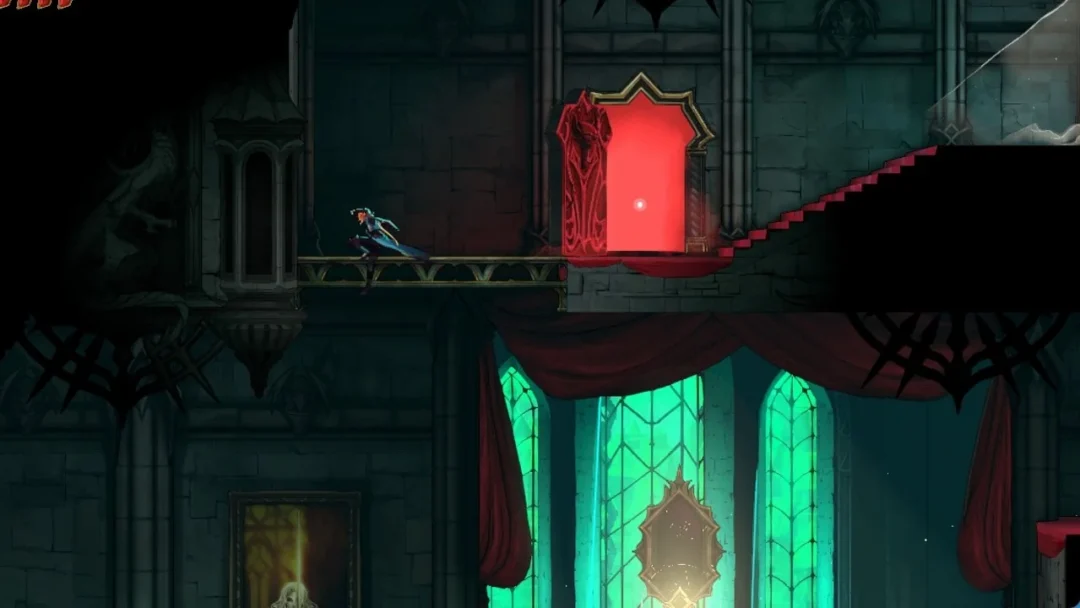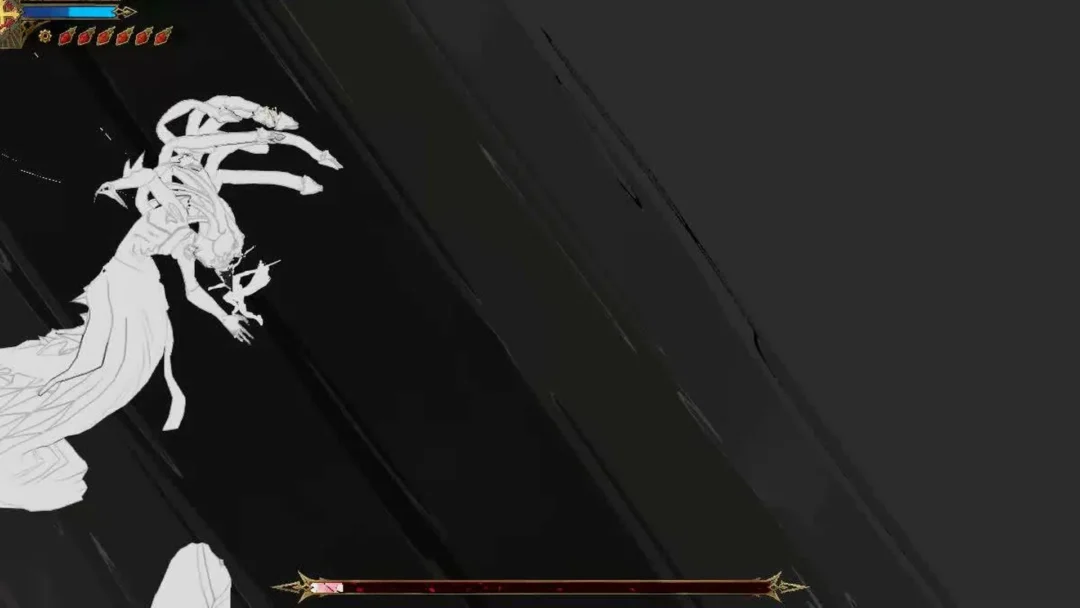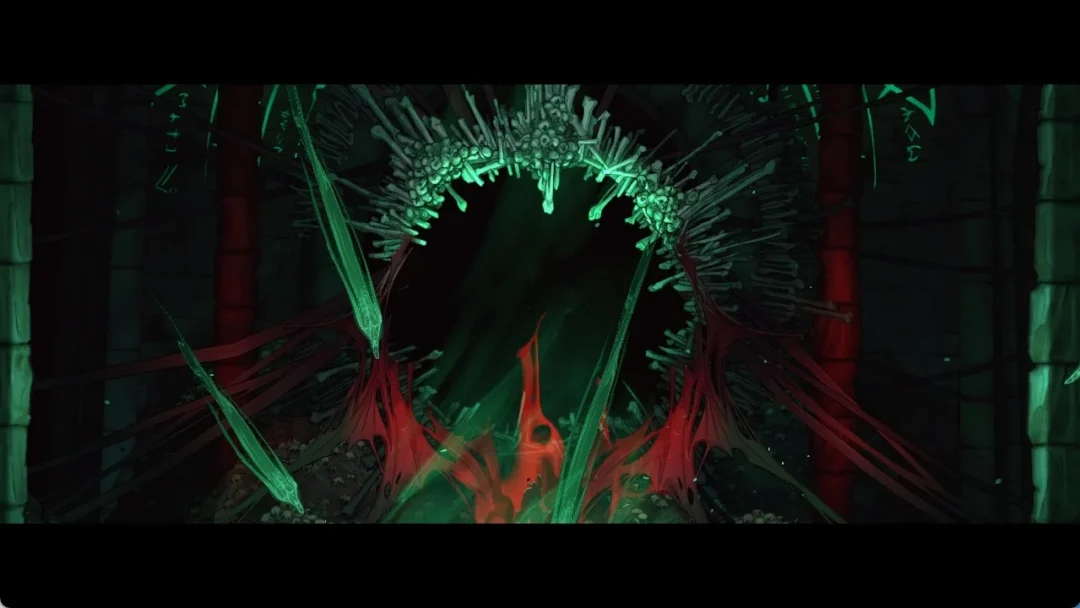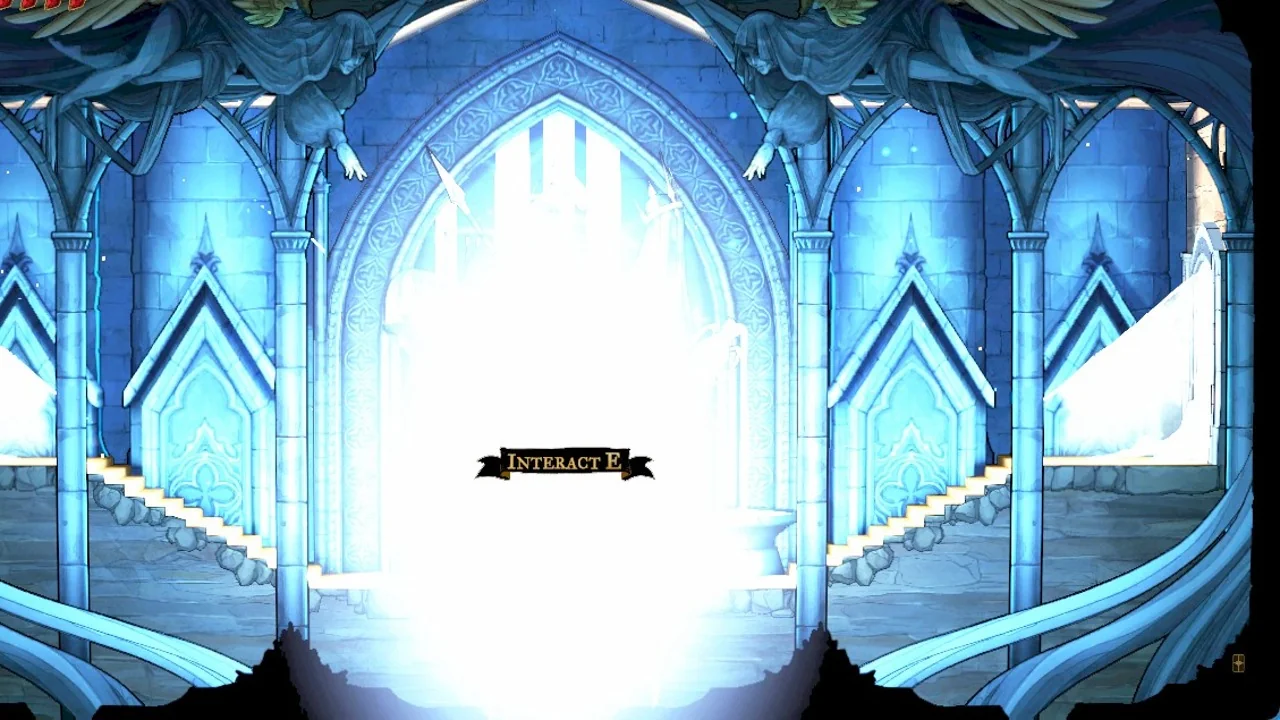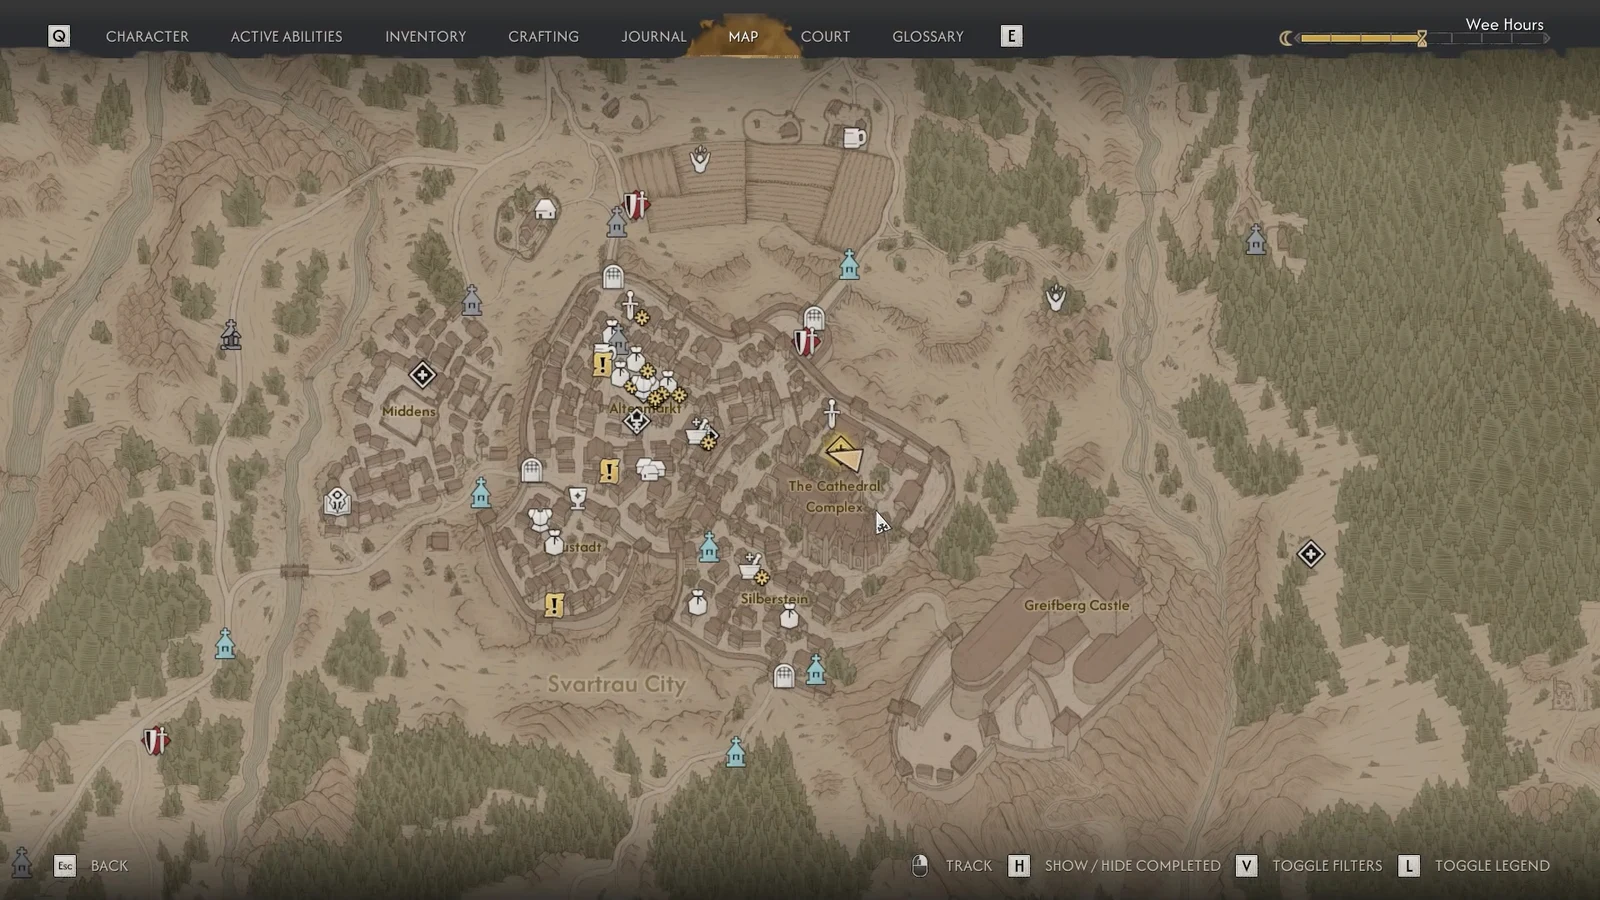
A Monk and a Saint is the side quest in The Blood of Dawnwalker that hands Coen the Broken Sword of St. Mihai. It runs through Svartrau Cathedral, a well in the courtyard, and a sealed crypt holding an undead saint who has been chained underground for a very long time.
Quick answer: Learn what the St. Mihai symbol looks like, then go to the western part of the Cathedral Complex, interact with the grave markers until one shows that symbol, drop into the crypt, break the cracked brick wall in the middle room, and kill Mihai, Patron Saint of the Cathedral.
How to unlock A Monk and a Saint
The quest starts on its own after you finish Between the Worlds, provided you have already cleared Echoes of Silent Bells for Anca. Anca is the one who points you toward Albertus, the monk who knows the legend of St. Mihai.
If you skipped that thread, there is a second door in. Enter the courtyard of Svartrau Cathedral and approach the well on the northern flank of the main building. That triggers Night Terrors, and Night Terrors feeds straight into A Monk and a Saint.
Albertus in the Middens and his riddle answers
Albertus lives in the Middens, the slum district on the western edge of Svartrau City. Undead dogs roam the area, so clear a path before you start poking around. Keep Focus Mode on and look for glyphs scrawled on walls until you reach a house that is completely covered in them.
Albertus is rambling and will only help once you prove you know the legend. Give these answers, in order, to get through the conversation.
| # | Correct response |
|---|---|
| 1 | Abelard the Sorrowful |
| 2 | Svartrau Plaza |
| 3 | His penance, the place of his redemption |
| 4 | Never once set foot inside it |
| 5 | St. Mihai, a great warrior, arrived at Vale Sangora |
Thank him when you are done, then grab the Herbal Remedies I Manual from the junk pile in his home before you leave.
Three ways to learn the St. Mihai symbol
Coen cannot recognize the right grave until he knows what Mihai’s symbol looks like. Any one of the following gives him that knowledge, and they cost different amounts of time, which matters because every action pushes the 30-day clock forward.
| Method | Time cost |
|---|---|
| Inspect the ceiling murals inside the Cathedral Complex | 0 hours |
| Read The Annals of Svartrau Cathedral in the Cathedral Complex library | 1 hour |
| Read the Thief’s Note during the Night Terrors quest | 1 hour |
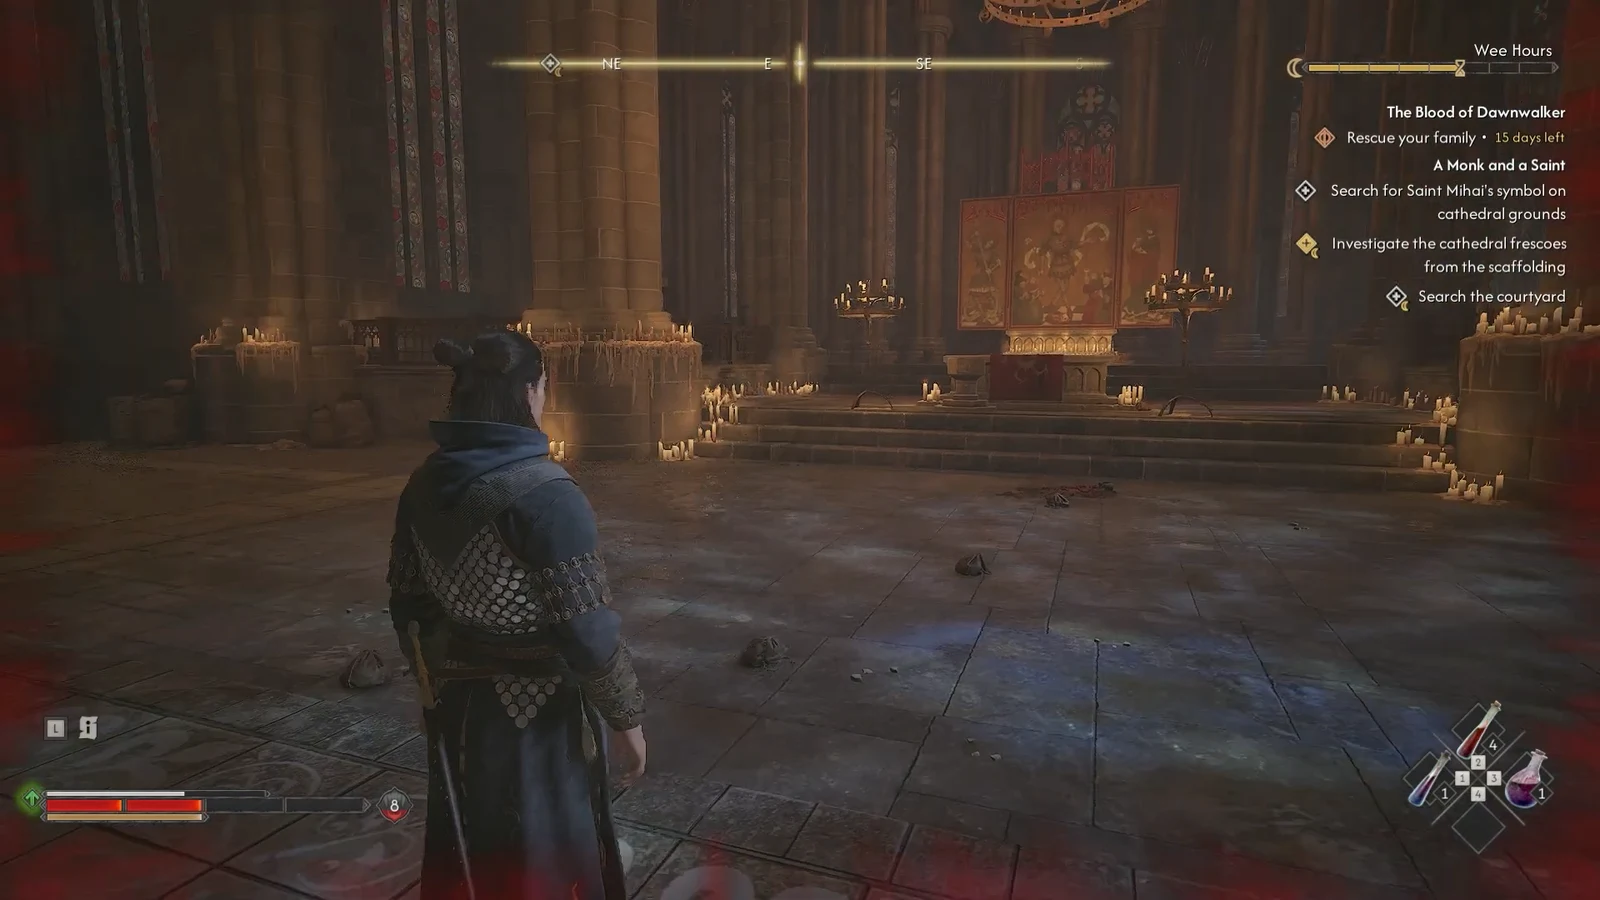
The murals are the cheapest option. Enter the cathedral through the upper balcony window, then move along the scaffolding above the nave. Boyar-ess Xanthe is running a ritual for the Blood Guards on the floor below, so stay up high and out of sight. Climb the scaffolding on the right side and inspect the ceiling frescoes until Coen picks out the marks of Sanctus Mihai and Saint Tobias.
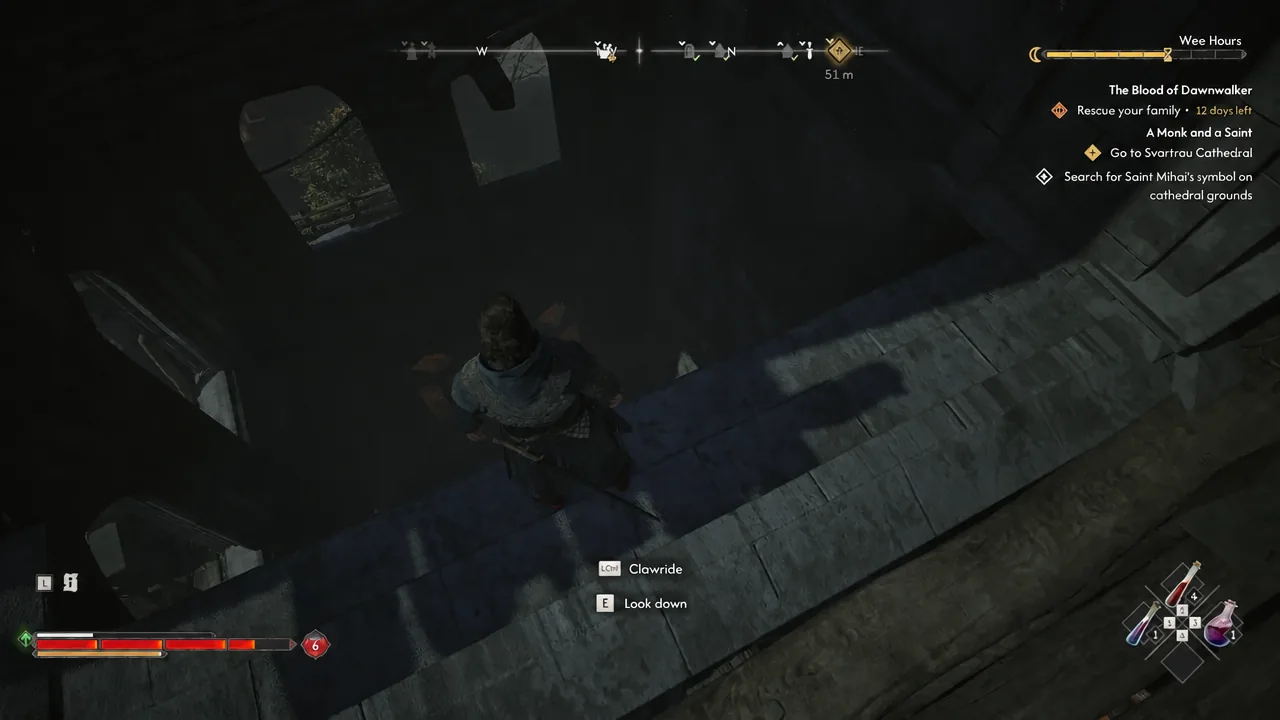
The altar paintings on the main floor and the covered frescoes on the upper scaffolding are worth a look too, since they set up who Tobias was before the crypt fight explains the rest.
The well route and the Thief’s Note
If you go through the well instead, the sequence is short. Pull the wooden cover off the dry well in the cathedral courtyard and climb down, which costs one Time Segment. Kobolds are waiting at the bottom, so deal with them before exploring.
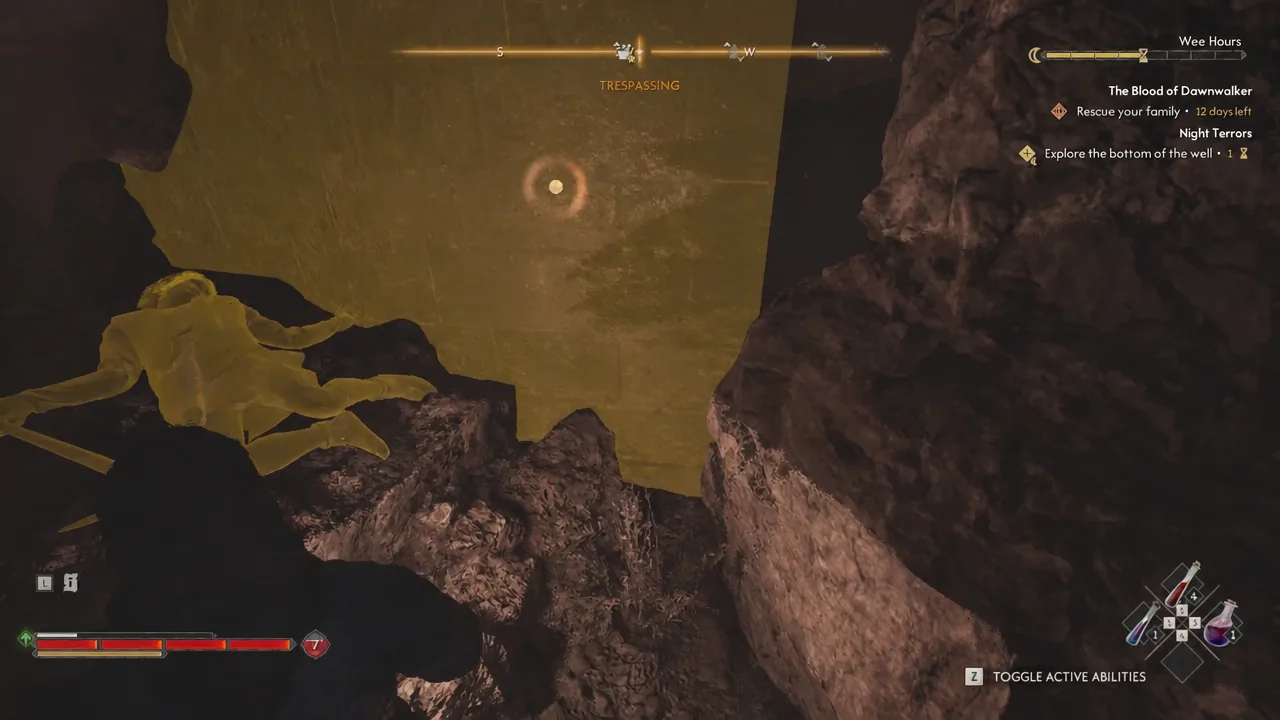
Follow the cave passage until you find a corpse slumped against a wall. Investigating the scene costs another Time Segment and yields the Thief’s Note, which describes the memorial stone in the courtyard and the crypt behind it.
Where to find the crypt in the cathedral courtyard
Head back up and go to the western part of the Cathedral Complex, the garden with the stone cross. Guards patrol around the well here, so clear them out if Night Terrors did not already handle it.
Now interact with the memorial stones. Facing the cross, the correct one is the third stone from the left. If you prefer to count from the other side, start at the bottom right corner and move one grave to the left. Brush the leaves off it, and Coen slides the block aside to open the passage. That interaction costs one Time Segment.
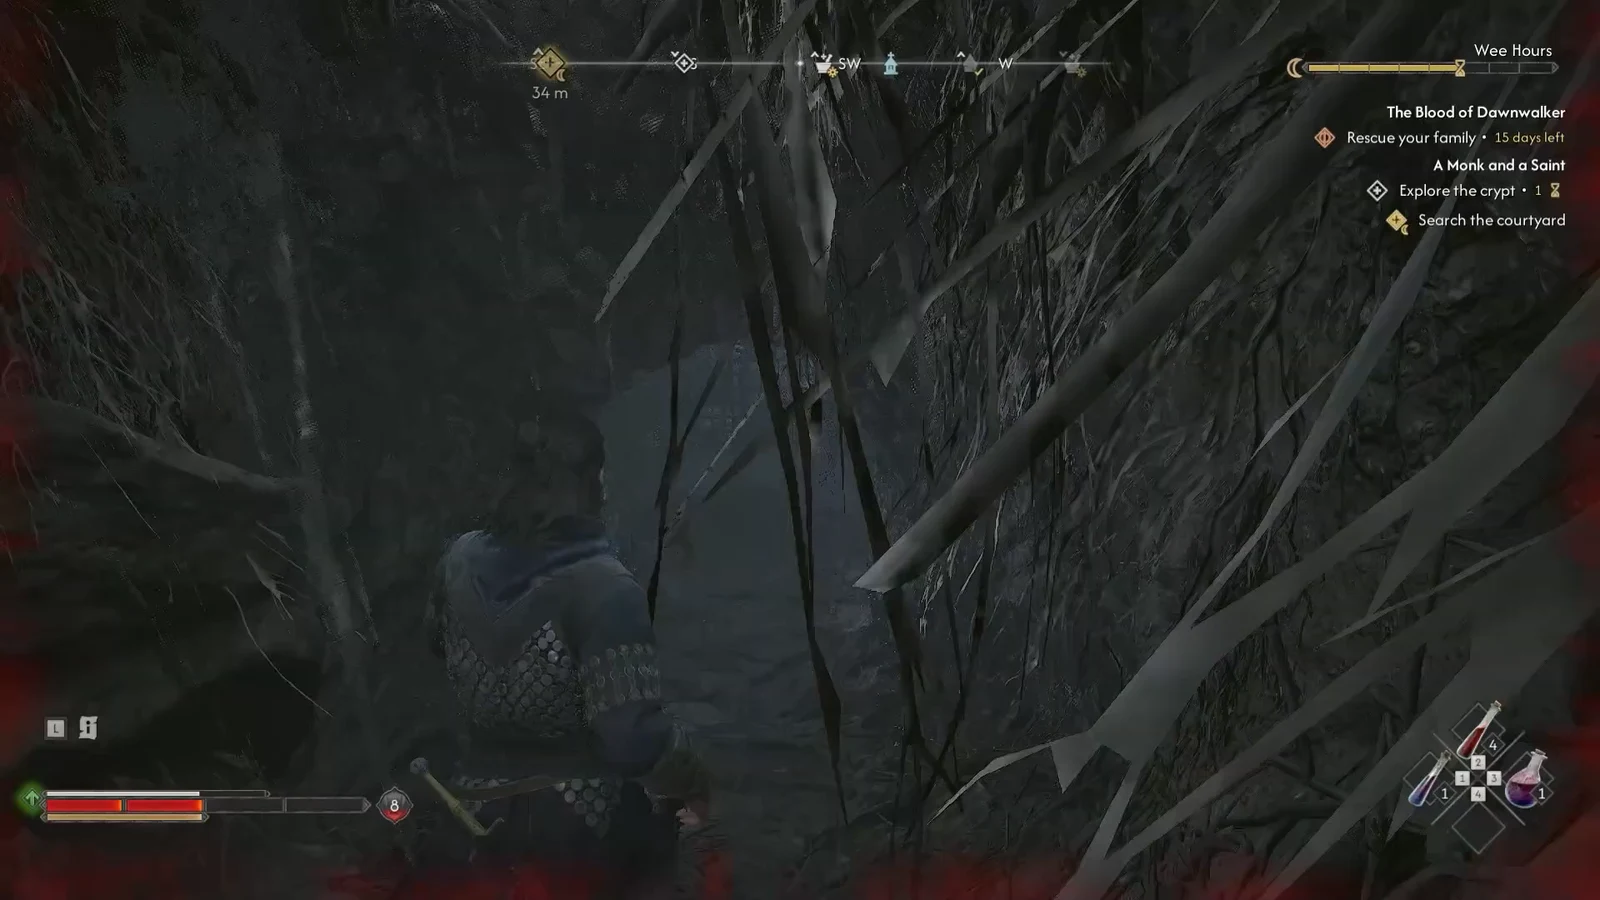
Drop in and work through the dark stone corridors. The coffins along the way can be looted, including a Silver Chalice, so sweep the side rooms before you commit to the boss.
How to free and beat Mihai, Patron Saint of the Cathedral
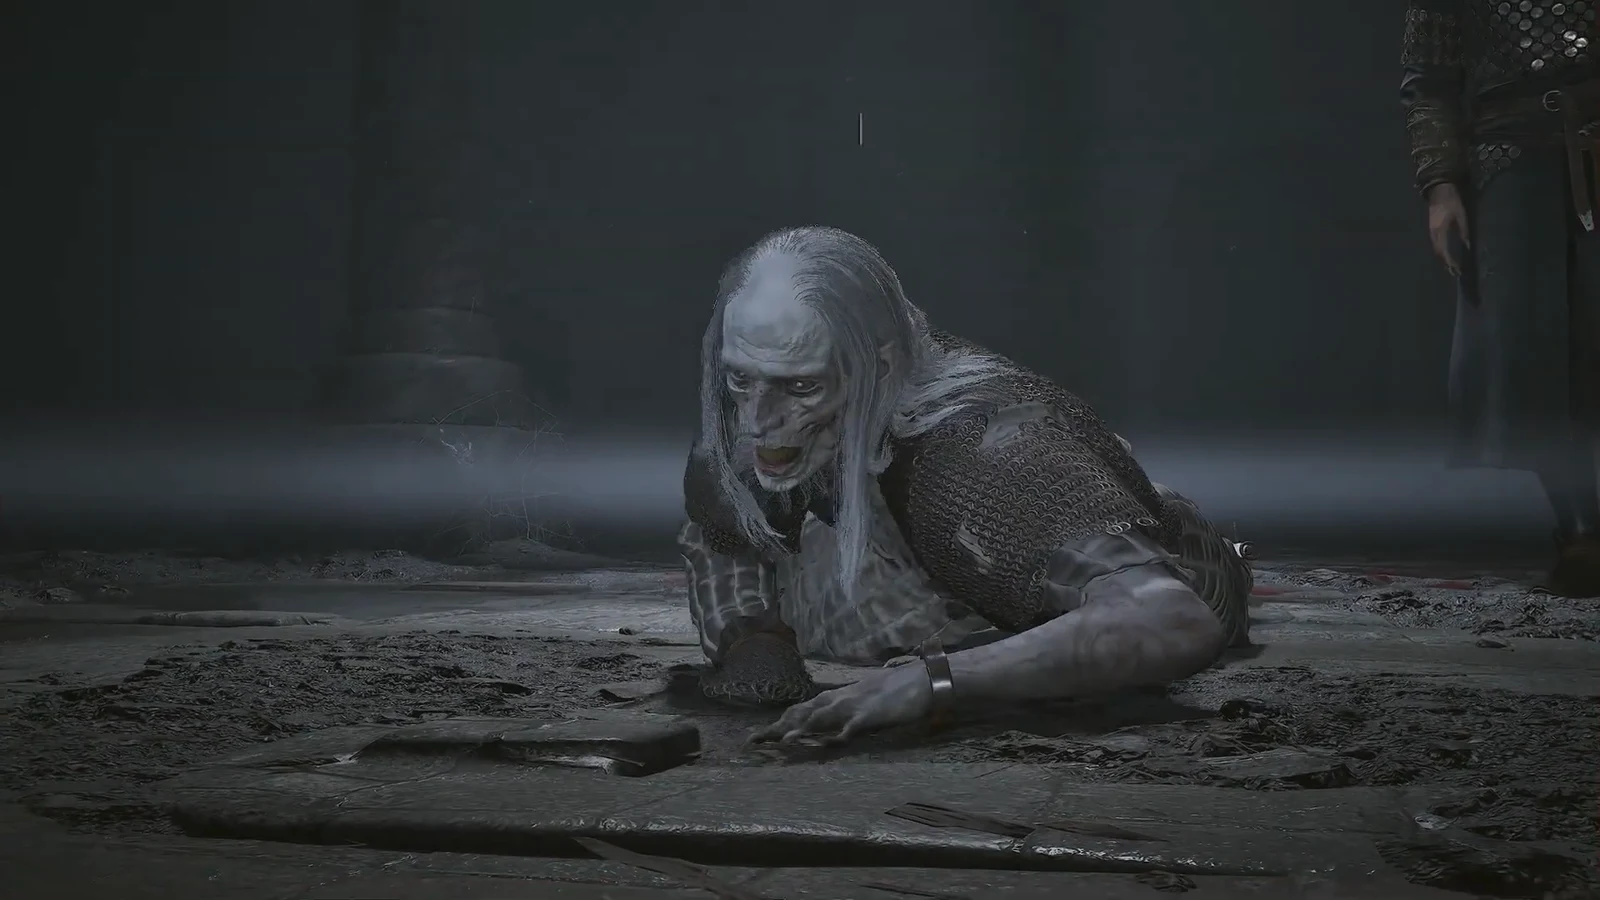
Tip: if it is still daytime when he goes down, you can compel Mihai’s spirit. Pick up the Worn Sheath and the Broken Chains to get the full account of what was done to him.
A Monk and a Saint rewards and how to confirm it completed
After the fight, Mihai mistakes Coen for Tobias, the man who betrayed him, then realizes what Coen actually is. He explains that the Kohboldin took the other half of his blade and asks Coen to find the pieces and reforge it. He also tells him to seek out The Augurs for help with his condition.
| Reward | Notes |
|---|---|
| Broken Sword of St. Mihai | Weak as-is; needs Sword Shards to temper |
| 1,000 XP | Granted on quest completion |
| Skill Points | Awarded on defeating Mihai |
| Worn Sheath | Looted after the fight |
| Mihai’s Journal | Background on his fall |
You know it worked when the quest log closes out A Monk and a Saint and Forge It Anew appears in its place, with the objectives to find other sword shards and to search for an uriashi blacksmith. If the crypt entrance will not open, it is almost always because Coen has not yet learned the symbol, so go back and read the murals, the Annals, or the Thief’s Note first.
The blade you walk out with is close to useless in its broken state. It only becomes worth carrying once you gather Sword Shards and temper it up the tiers during Forge It Anew, which is where the real payoff for all of this sits.